It's time for another 3D-printed figurine. This one will be truly epic! It’s going to be bigger than the
last, and way more complicated. It’ll have a mix of 3D-printed parts, laser-cut parts, and even some made out of clay.
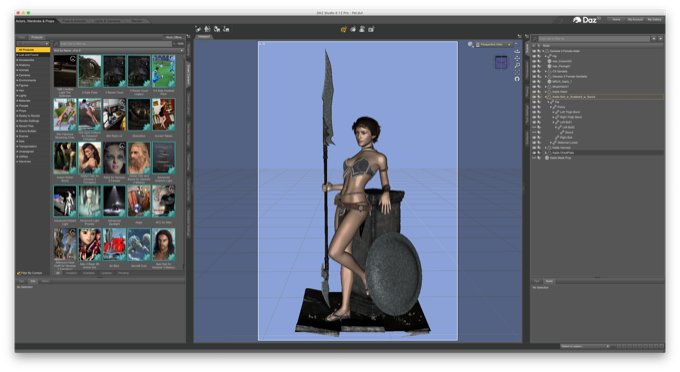
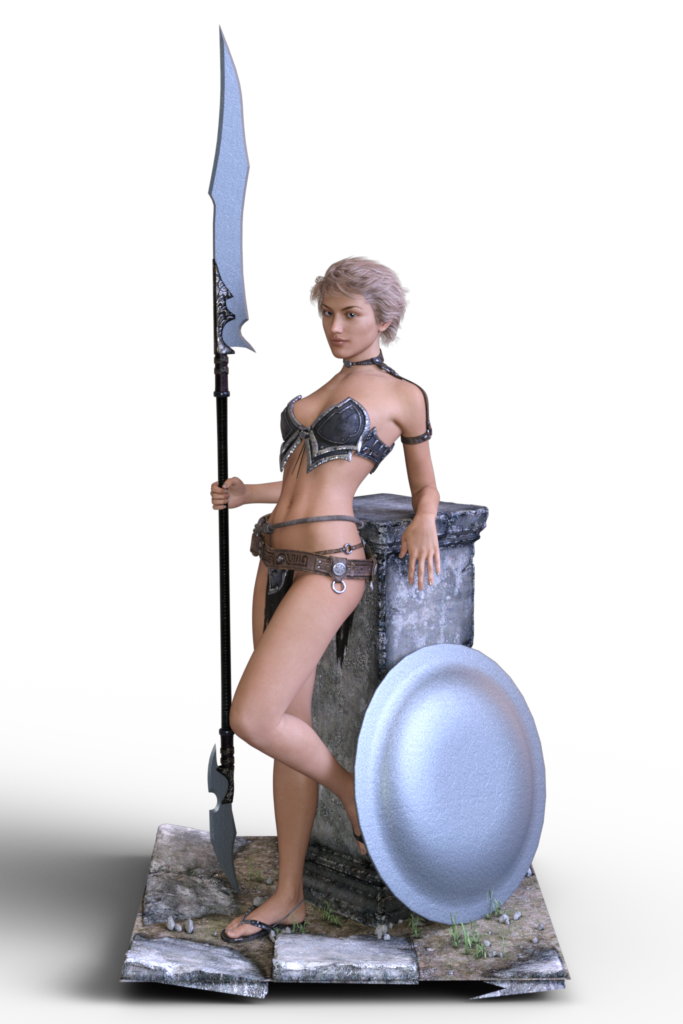
It should look a little something like this. The last figurine that I made proved that details in clothing will be lost after sanding and painting. In addition, having to mask off the model in order to paint the clothes is a laborious task. I’d prefer to make the clothes out of real materials
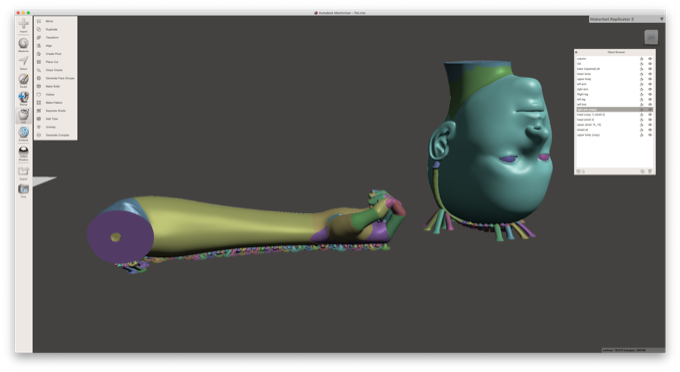
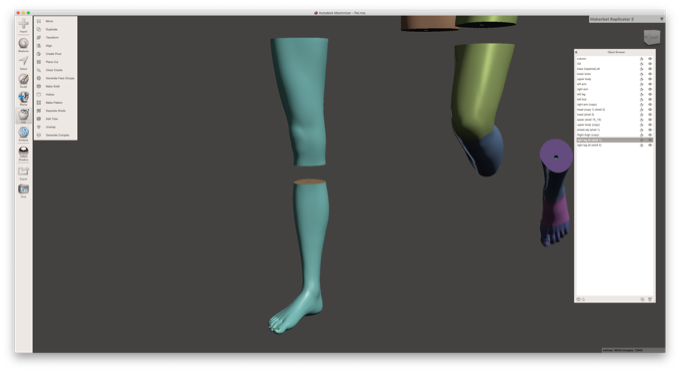
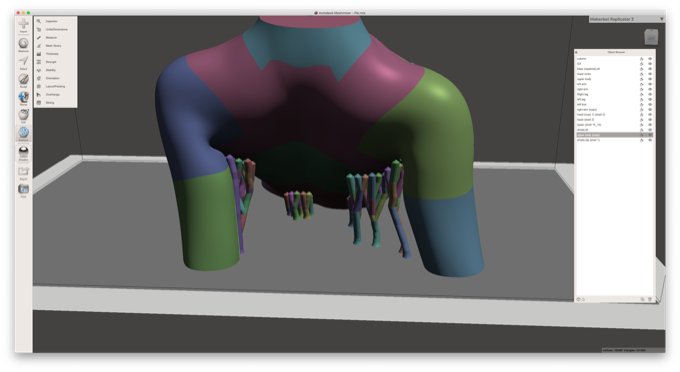
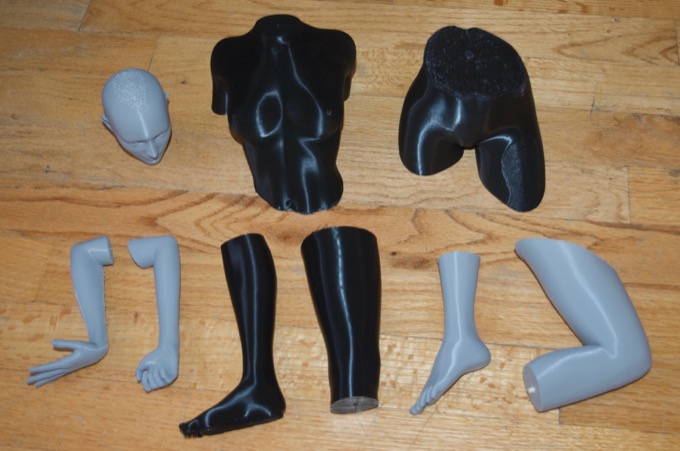
I imported the model into Meshmixer and started cutting up the model into smaller parts that can be oriented so that they can be printed without support material.
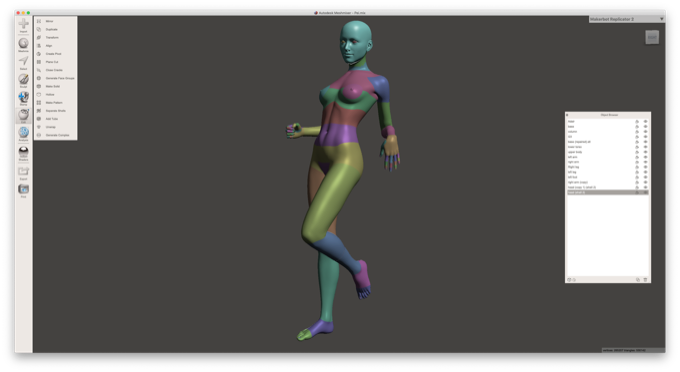
That should do it.
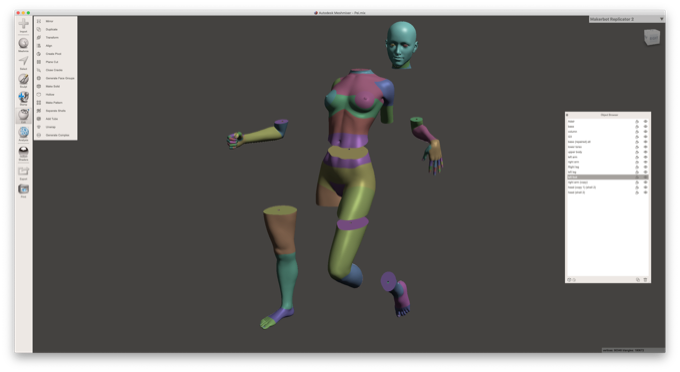
I have some 3.5mm wooden dowels that I want to use to pin the model together while gluing it so I put matching holes in all the parts.
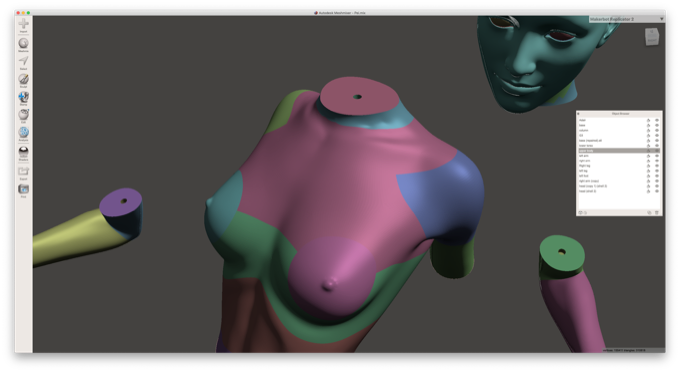
Six out of the eight parts can be printed without support material, but the head and the right arm will need it. There’s just no way around it.
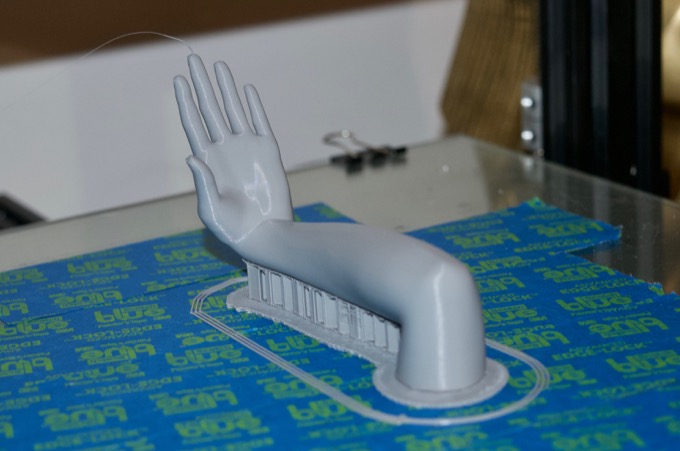
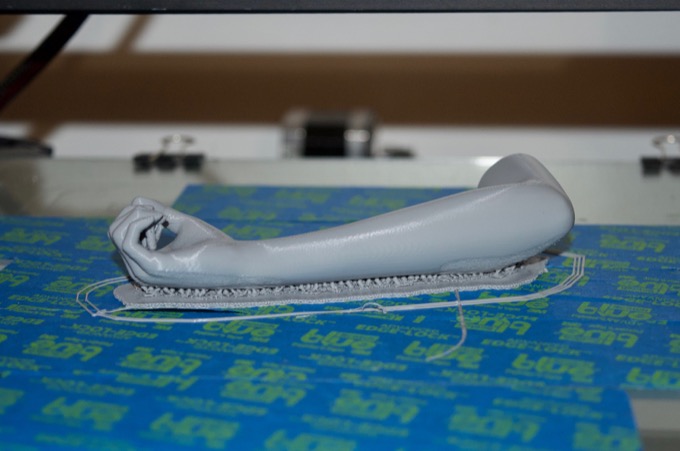
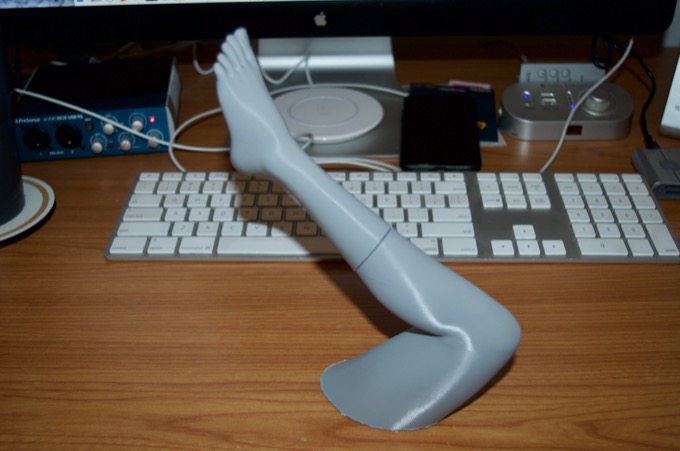
I started with the arms since they are the smallest parts. They should take about 8 hours each printed at .1mm layer height with 5% infill.
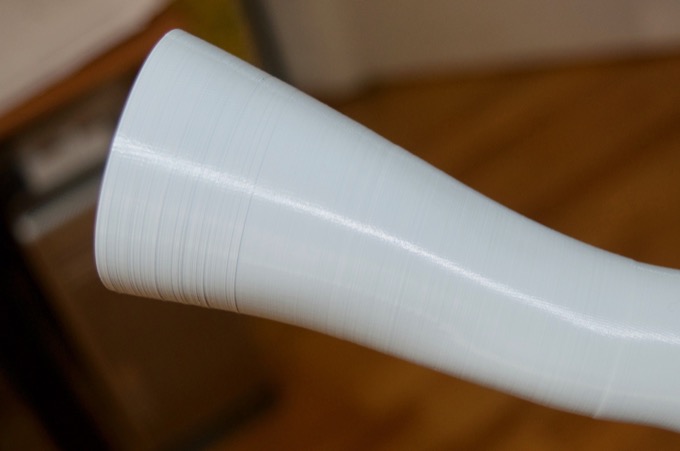
Wow, that looks awesome. .1mm on the CR-10S blows my mind!
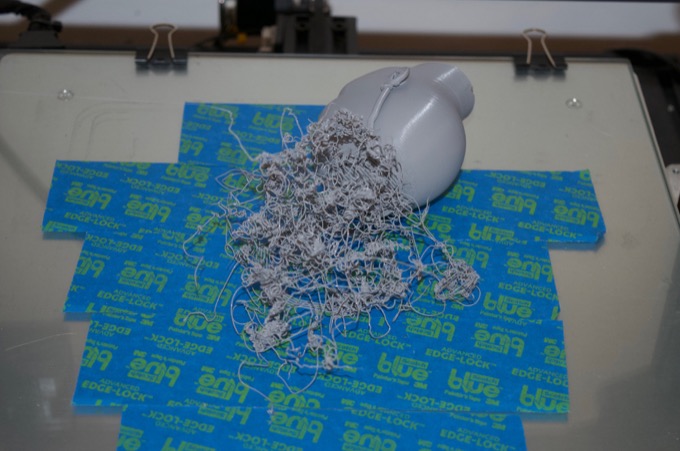
I then tried to print the head. The first attempt failed towards the end. It was so close but I guess there just wasn’t enough support material at the base. I printed it overnight so I didn’t see it fail. I woke up to this nightmare. That’s 14 hours down the toilet.
I added more supports for the second attempt. That did the trick. That ear looks like it's a little chewed up where it connects with the support material. Hopefully I can fix it with some Bondo.
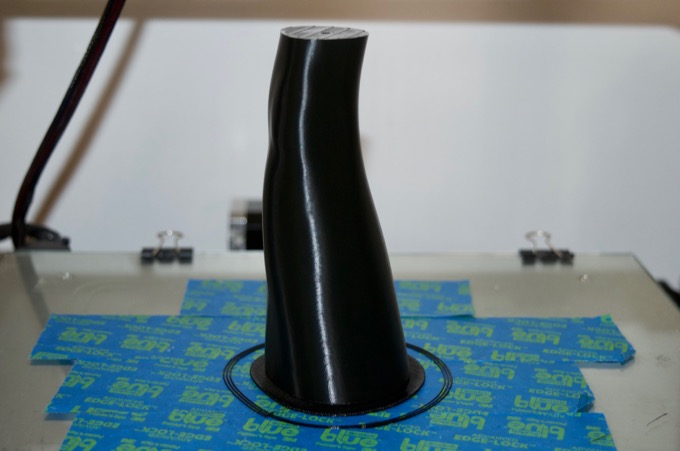
I then started with the larger pieces. For the first attempt of the right leg, the power in the house blipped for a second. It was just enough to stop the printer dead in its tracks. That’s another 21 hours down the toilet. It failed at 97%. It was so close!
However, I wasn’t really happy with the way that the print was coming out. I think it was too top-heavy and this caused it to rock back and forth slightly as it printed. This caused a lot of layer shifting towards the top. I could probably sand it out, but for the second attempt I think I’ll flip the model 180 degrees and print it thigh-down. Hopefully the larger base will give the model a little more rigidity.
Unfortunately, nine hours in someone forgot that the light switch in the computer room controlled the outlet that the printer is plugged into and flicked the switch by accident.
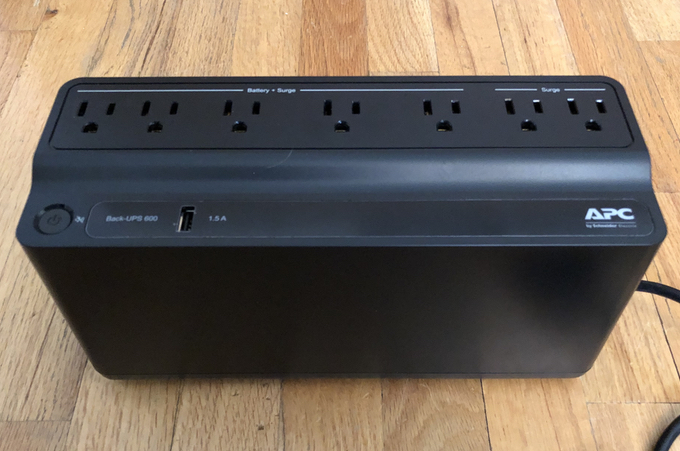
OK, that's enough time and plastic wasted. Time for a UPS. I've been printing for 5 years and it's a total mystery why it's taken me this long to bite the bullet on a UPS. I hopped on Amazon and picked one up for $60 bucks. No more failed prints due to power outages!
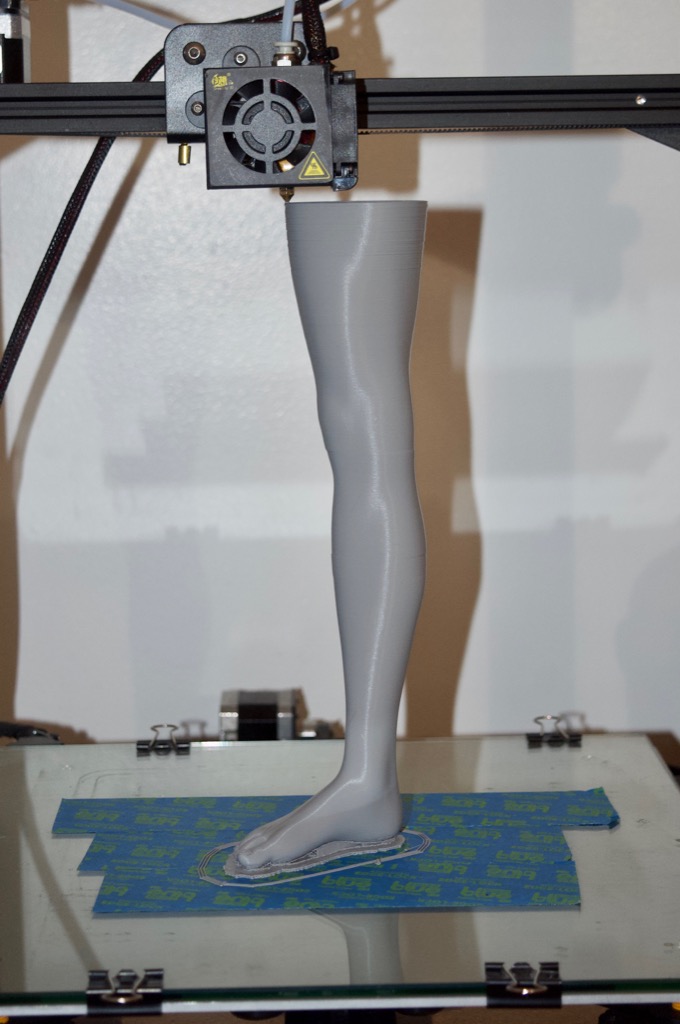
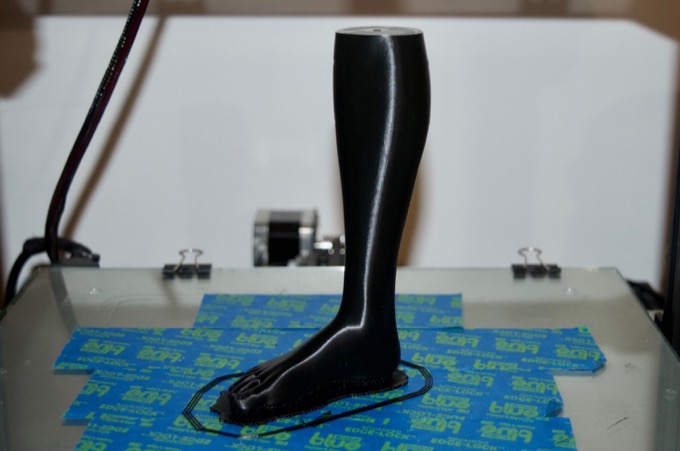
OK, here goes a third time! I started it a few hours before bed. It was looking amazing. I can't even see any layer lines.
When I woke up in the morning it was about mid-calf. Fingers crossed when I get home from work it'll be done. This is a 26 hour print!
NOOOOOOOOOOOOO!!!!!!!!
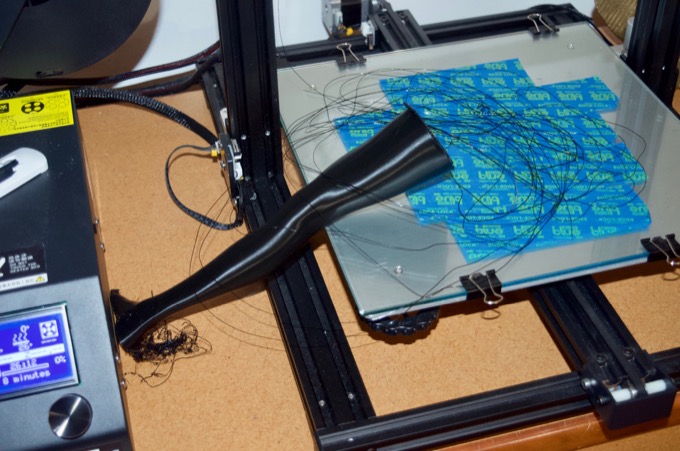
Time to cut my losses. I went back into Meshmixer and cut the leg in two.
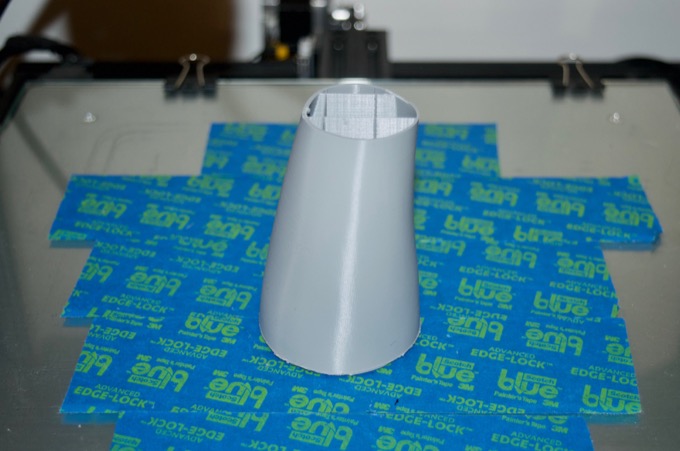
Success! That came out amazing.
Both pieces together took 25.5 hours.
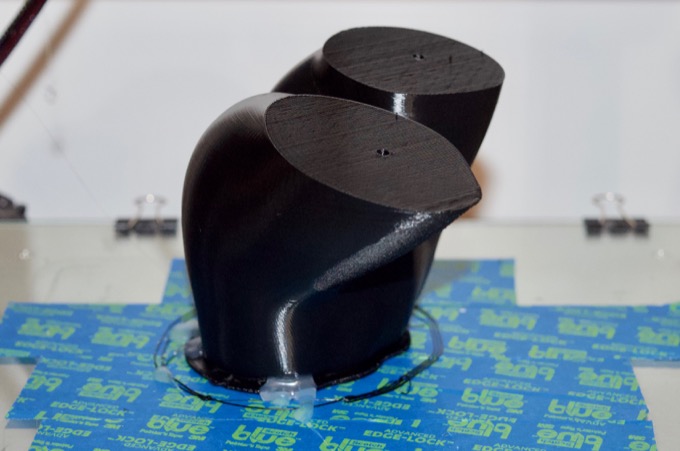
I printed the left leg in two parts from the start. Altogether it took 24.5 hours to print. As mentioned before, I keyed all the parts with a 3.5mm hole in order to accommodate some wooden dowels. They fit perfectly.
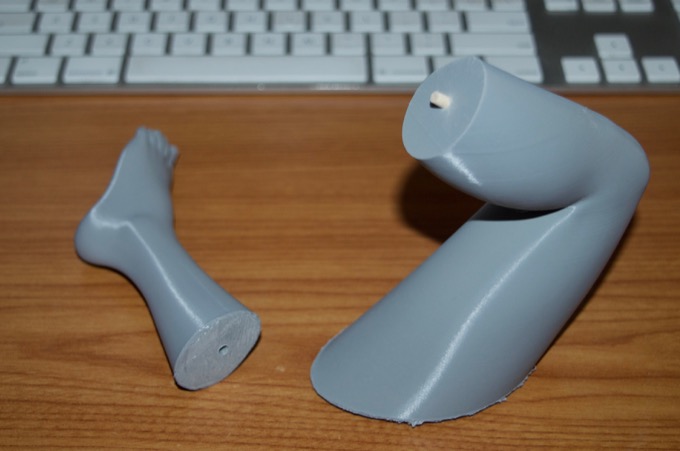
See, there would have been no way to print that without a ton of supports. The dowels will work nicely in helping me glue the parts together. I'll just have to Bondo and sand the seams. This was a lesson learned from the last figurine that I printed. It was a real pain holding the parts together perfectly while the epoxy set.
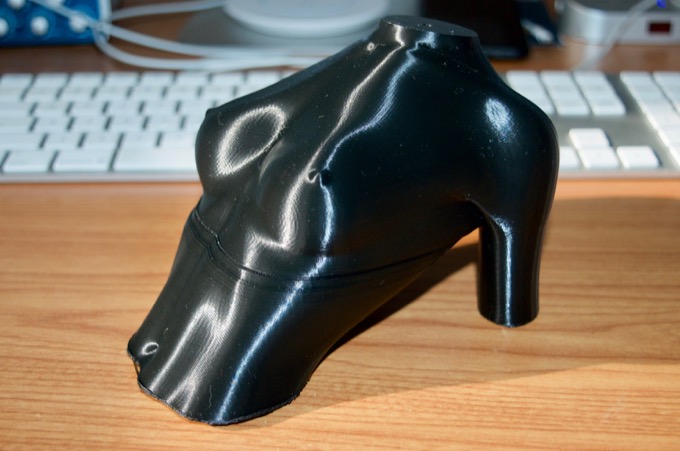
The upper and lower torso pieces are the largest to print. I saved those until the end because I wanted to start with a fresh roll of PLA. While I waited for two new rolls to arrive from Amazon, I printed all the other parts from all the partially used rolls that I have accumulated.
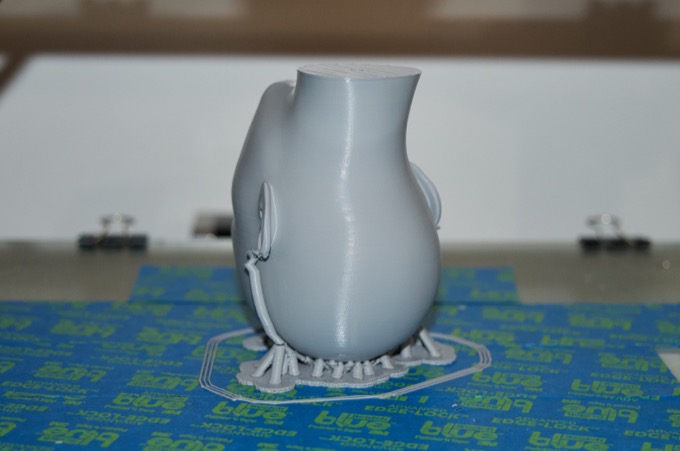
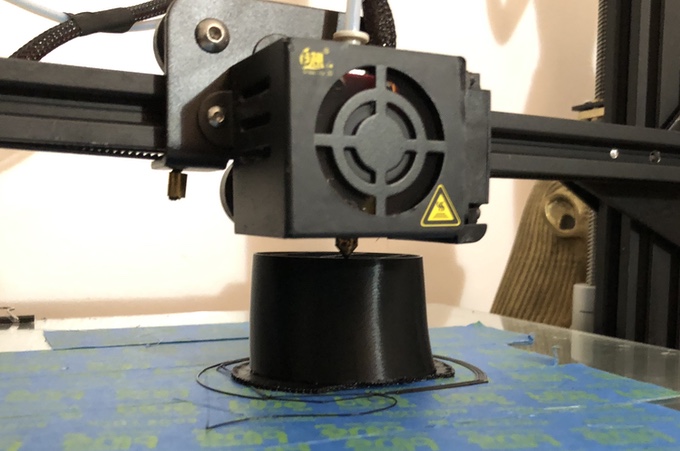
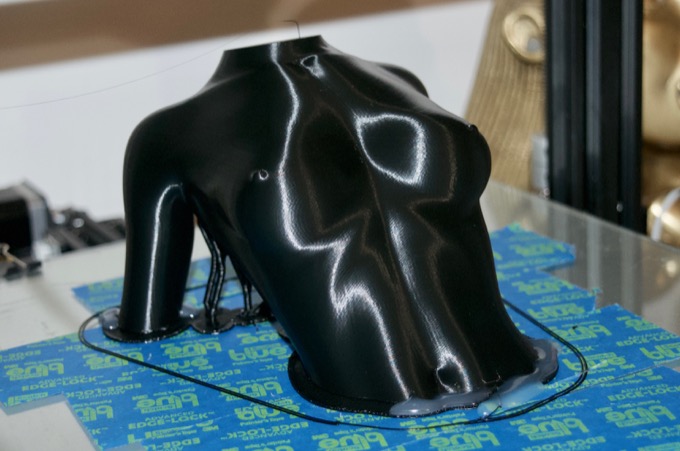
The lower torso wasn't even half way in when I realized that the left thigh had a pretty steep angle with a pretty extreme overhang. It was only going to get steeper as the print progressed. It wasn't obvious when looking at the part in Meshmixer, but in real life it was pretty apparent that the part was going to get pretty heavy on one side. I was concerned that the part would break off the bed. In order to save the print, I squirted some hot glue at the base in order to secure it to the bed.
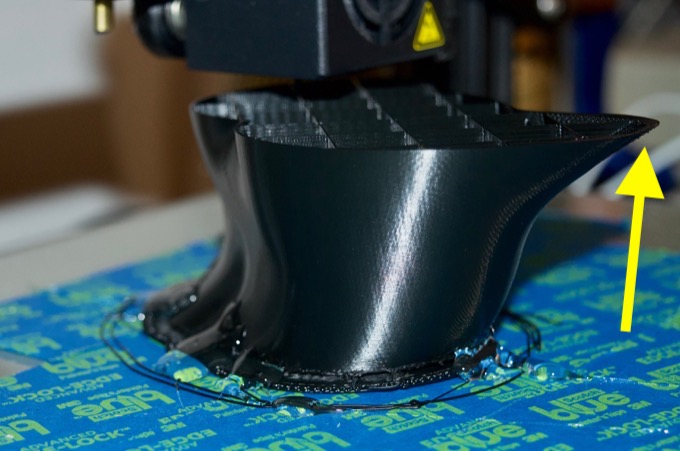
That worked like a charm. I'm pretty sure that the part would have survived, but with the time I wasted with the previous three prints, I wasn't going to take any chances with this 18.5 hour print.
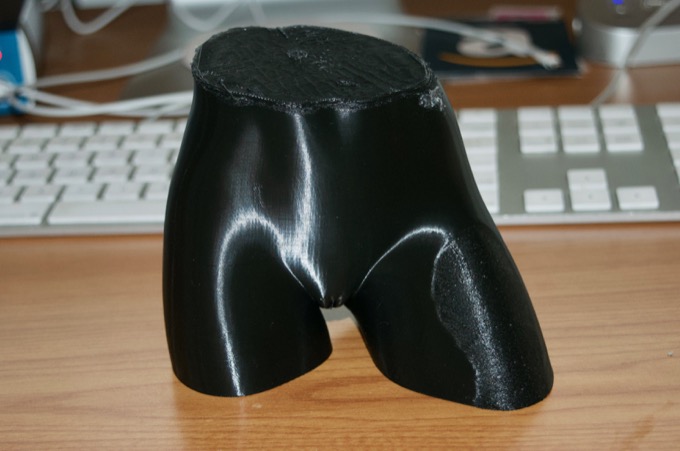
That came out really nice. It is strange that the top of the left thigh (the part that was overhanging) came out with a rougher texture than the rest of the model. Not to worry. I’ll sand it smooth.
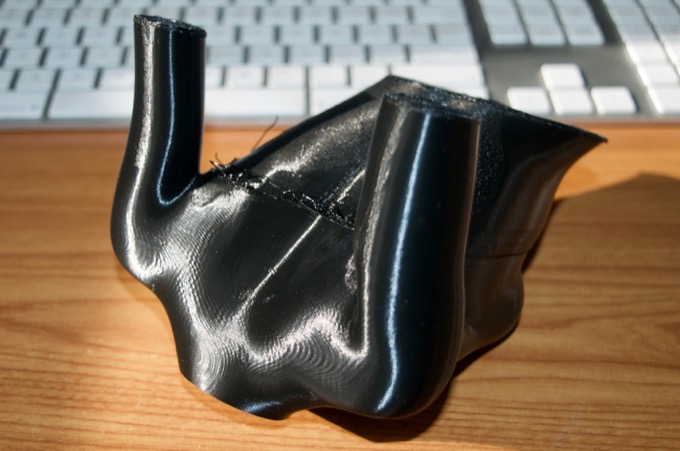
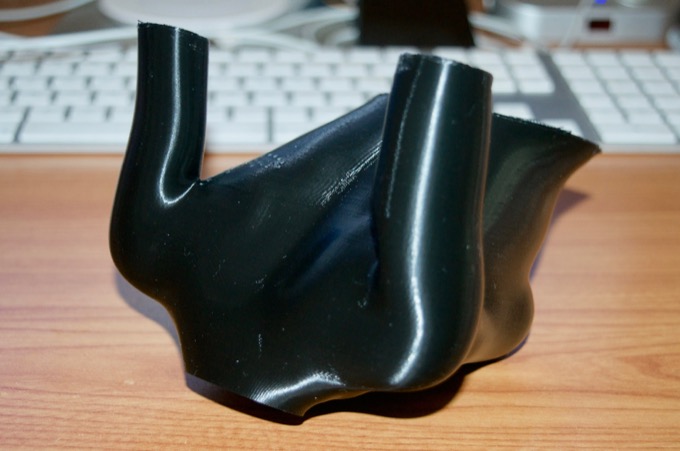
Finally, the upper torso. The largest part yet. It took 20.5 hours to print. The results were less than stellar. I started the print pretty late at night and went to bed when there was about an inch on the bed. Everything looked OK, but I woke to another failed print.

I think I might have set the print speed too high. I think the violent movements of the nozzle and the really high travel speed might have managed to knock the model loose causing a huge layer shift halfway through the print. It also looks like the front of the model was starting to lift from the bed. Maybe that is what caused the layer shift. Who knows what happened?
The back looks like it could have also used some supports. It's a mess. I don't think I can sand this smooth. The time and effort required is probably not worth the effort. It's probably quicker to just try and reprint the model with some supports, a larger raft, and a slower print speed.
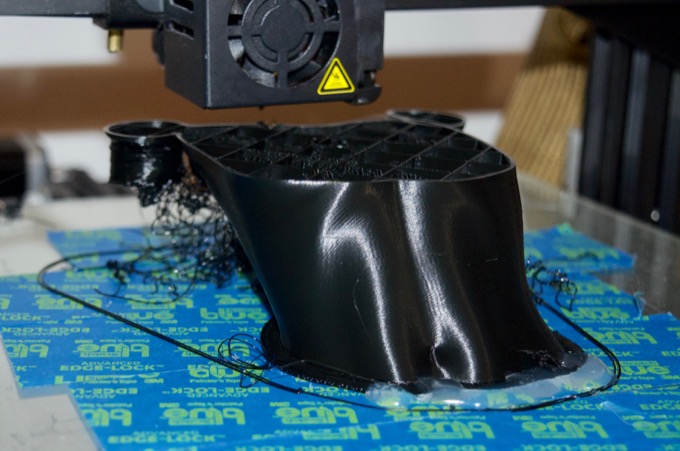
Attempt two…I added some supports, changed the print settings, and tried again.
Once enough of the model had printed, I even squirted some hot glue around the base to stop it from lifting off the bed. A few hours in I thought I was out of the woods. The print was looking pretty good. Unfortunately, when I woke up in the morning 16 hours went down the toilet. Apparently some of the supports broke loose and took the right arm with it. Fail.
I reinforced the supports, made them thicker, widened the raft, and slowed the printer back down to the default settings. 25.5 hours later….success!!
The back came out really nice too.
The last figurine took 74 hours and 45 minutes to print. Not counting the failed prints, this one took 123.5 hours to complete. By far my longest print.
.1mm on the CR-10S looks amazing. These prints are silky smooth. I printed the last figurine with a .2mm layer height. It took a lot sanding and a lot of paint before I was happy with the finish. For this one I might get away with just a light sanding and two coats of primer. (Although I probably won’t be able to resist wet-sanding it with 800 grit!)
Time for some weapons!
See this project from start to finish: 23" 3D-Printed Figurine - Part I
23" 3D-Printed Figurine - Part II 23" 3D-Printed Figurine - Part III 23" 3D-Printed Figurine - Part IV 23" 3D-Printed Figurine - Part V 23" 3D-Printed Figurine - Part VI 23" 3D-Printed Figurine - Part VII 23" 3D-Printed Figurine - Part VIII 23" 3D-Printed Figurine - Part IX 23" 3D-Printed Figurine - Part X 23" 3D-Printed Figurine - Part XI
