23" 3D-Printed Figurine - Part IV
Feb 01, 2020 Filed in:
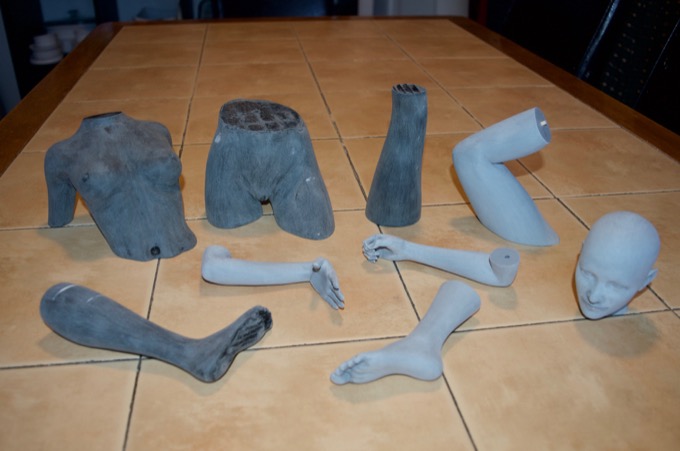
3D Modeling | 3D PrintingIt's time for some sanding and gluing. I touched up some of the minor blemishes with Vallejo putty and gave all the pieces a sanding with 150 grit paper.
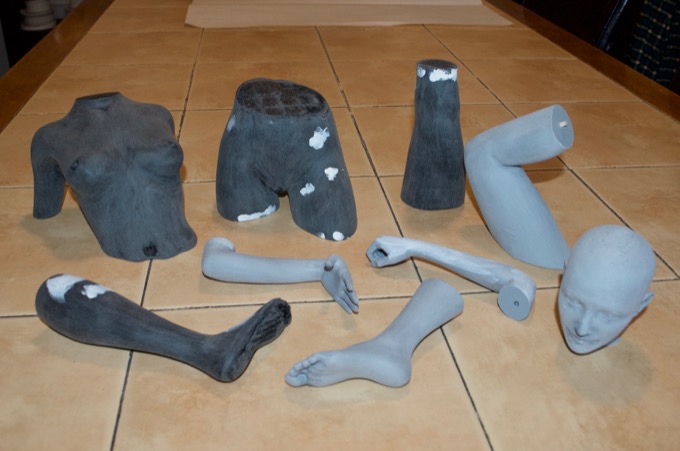
I then gave them another pass with 220 grit.
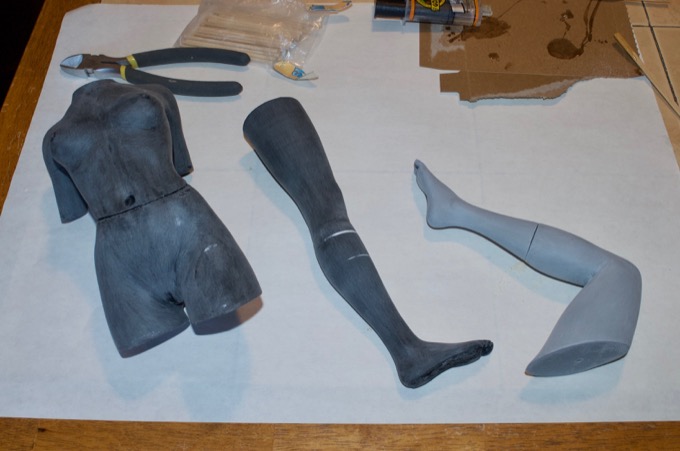
For the final assembly, I started by gluing the legs together and the torso pieces.
I then glued the legs to the torso.
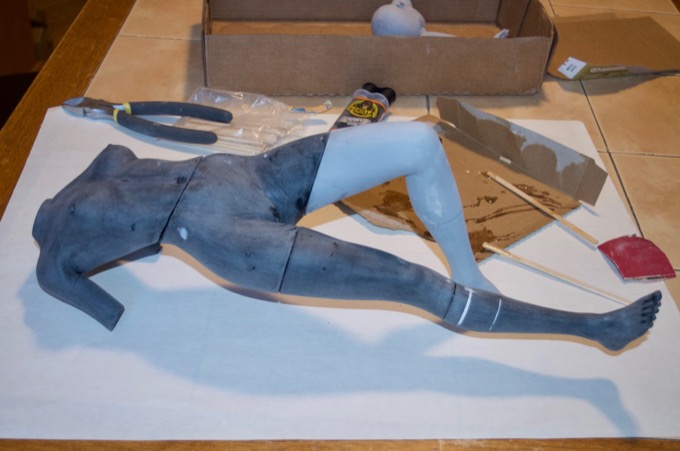
Finally, the arms and the head. Looks awesome.

Rather than using Bondo the fill the seams, a friend recommended that I use some 3M Acryl-Green putty. It's a little pricey, but it comes in a huge tube that'll last a while. It's just like Bondo, but you don't have to mix it. It dries in 10 minutes and sands easily.

The first pass with some 100 grit paper revealed that I'll need to go back and fill in some additional spots with the putty.
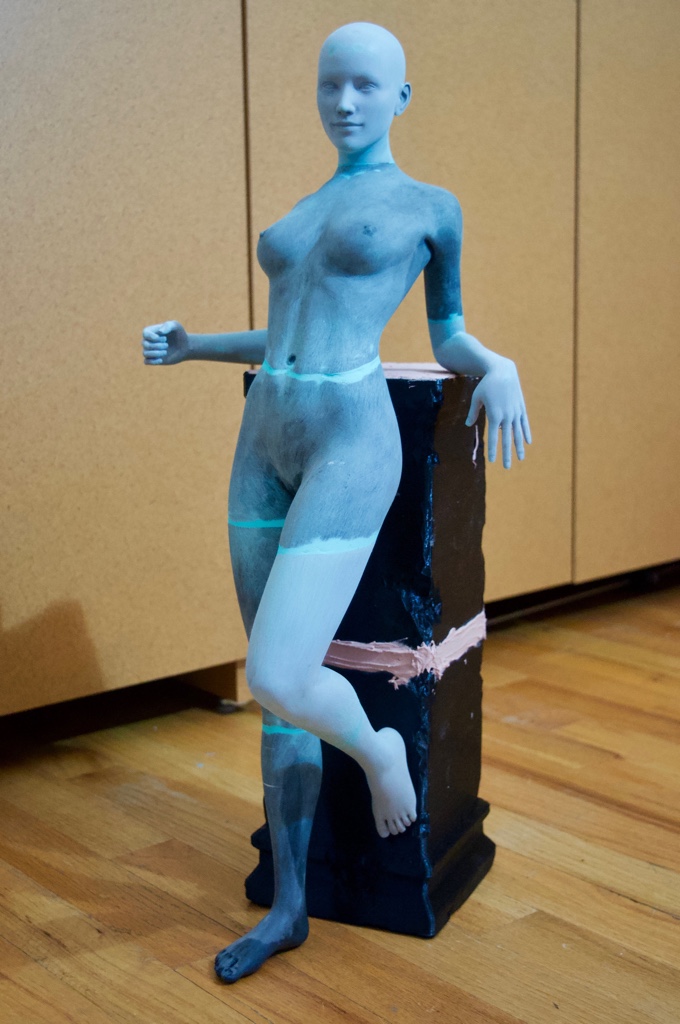
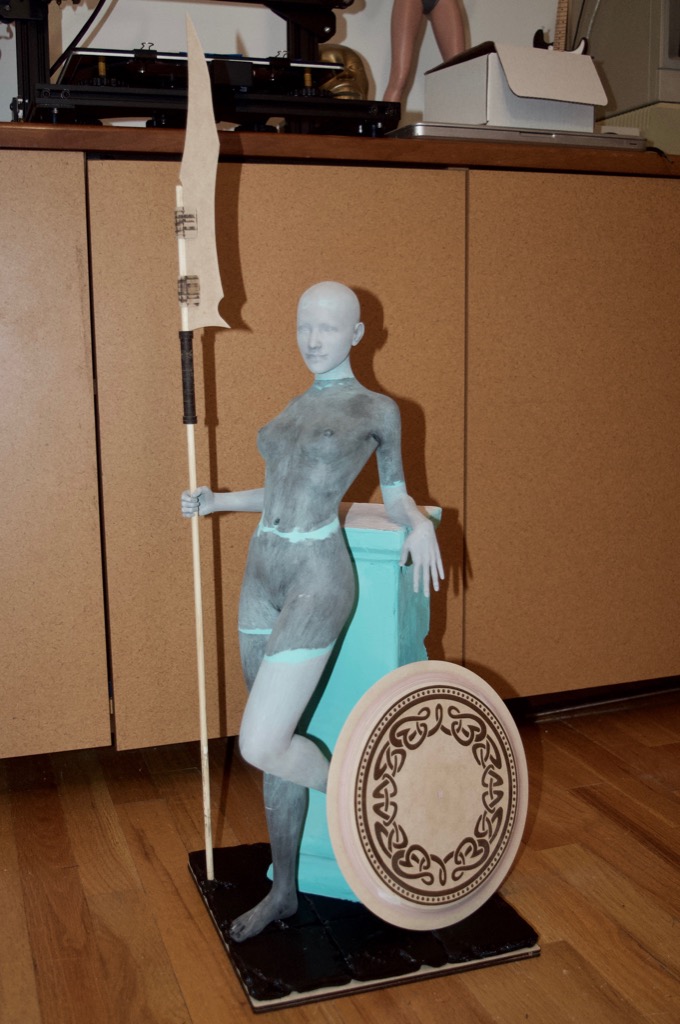
The second pass looks much better, but I won't know for sure until that first coat of primer goes down. I also gave the column a coat of Acryl-Green to cover up all the print lines. Just for fun, I put everything together to see what it looks like so far. Awesome!
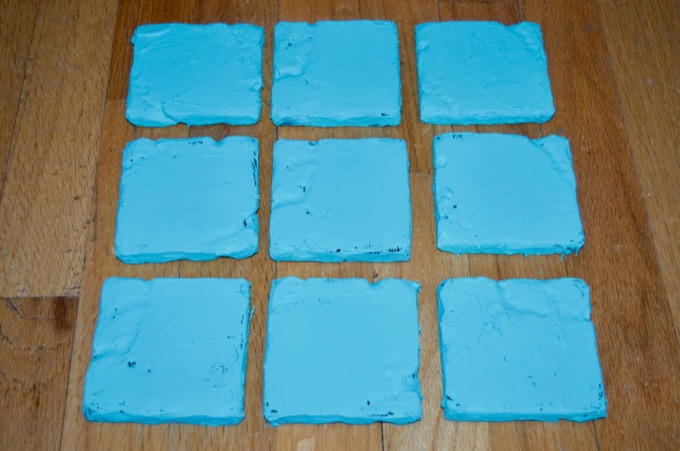
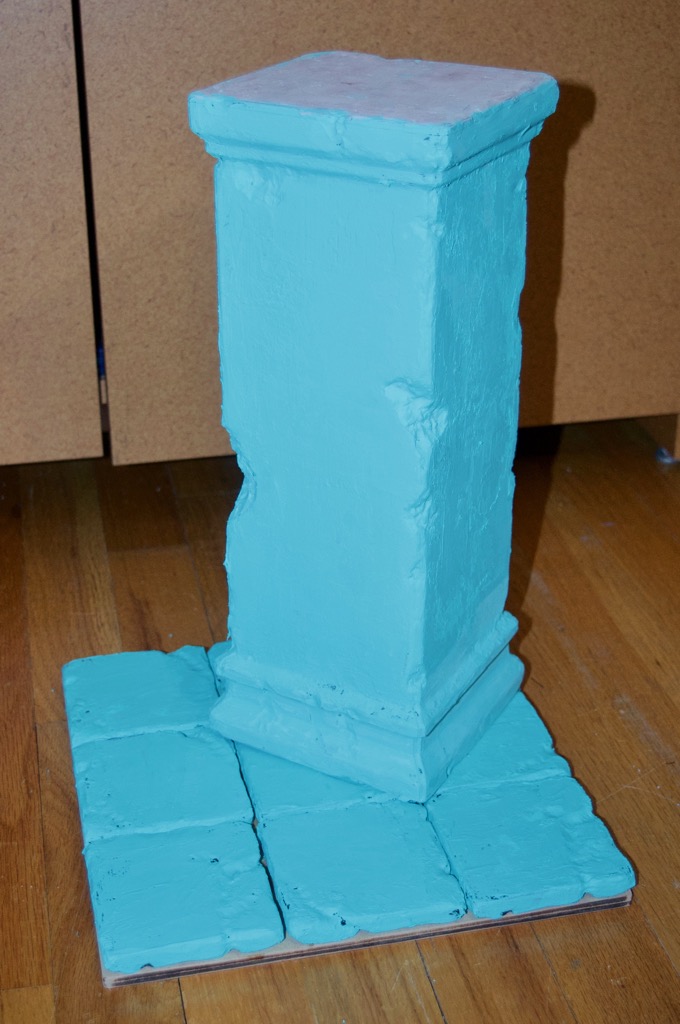
Before continuing with the figurine, I wanted to put a little more work into the base. I wanted to get it to a point where I could start to lay down some coats of primer. While I'm waiting for paint to dry, I can sand the figurine. I started with the nine tiles and lathered them with a nice coat of Acryl-Green to cover up all the print lines. It also helped to hide the fact that they are nine identical looking tiles.
I then epoxied them to the base and scratched out an area to expose the plastic so that I could glue the column to the base.
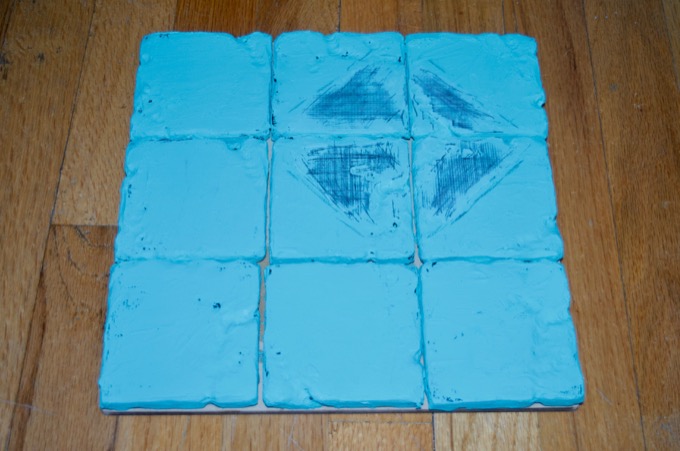
Looking good!
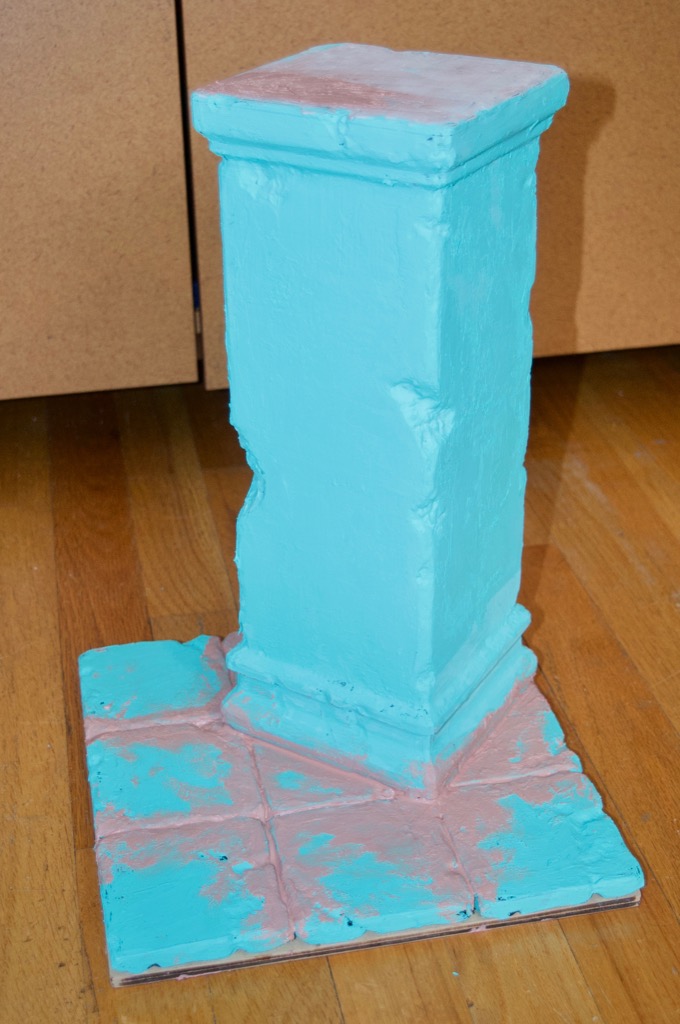
I then filled in the gaps between the tiles with some Bondo.
 See this project from start to finish: 23" 3D-Printed Figurine - Part I 23" 3D-Printed Figurine - Part II 23" 3D-Printed Figurine - Part III
 23" 3D-Printed Figurine - Part IV
23" 3D-Printed Figurine - Part V 23" 3D-Printed Figurine - Part VI 23" 3D-Printed Figurine - Part VII 23" 3D-Printed Figurine - Part VIII 23" 3D-Printed Figurine - Part IX 23" 3D-Printed Figurine - Part X 23" 3D-Printed Figurine - Part XI
