Time for some painting!
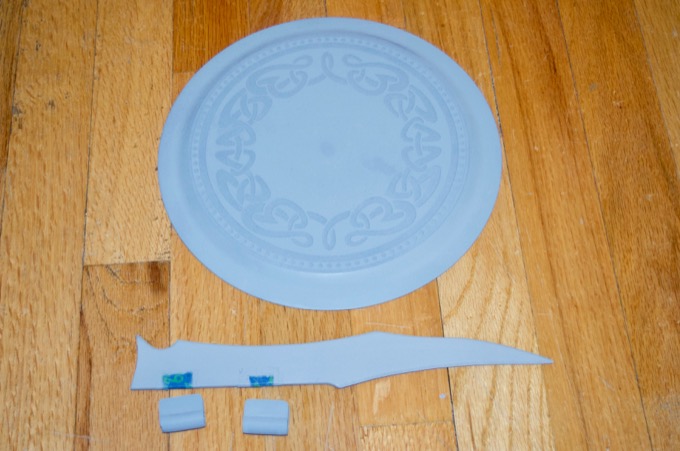
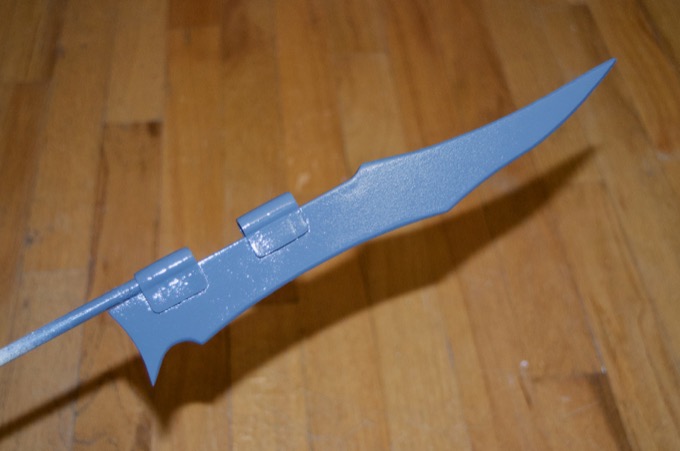
I started by giving the weapons a few coats of primer.
A friend of mine turned me onto the technique of using graphite powder to give objects a metallic finish. He picked up a huge tub online. Honestly it's more than you could use in a lifetime. He poured some into a jar and sent it my way.
The finish that you get varies greatly depending on the color of the undercoat that it is applied over. I don't want the shield and spear to be too dark so I decided to do some tests before taking the plunge.
I spray painted three pieces of Draftboard white, gray, and black. I then gave them a glossy topcoat.
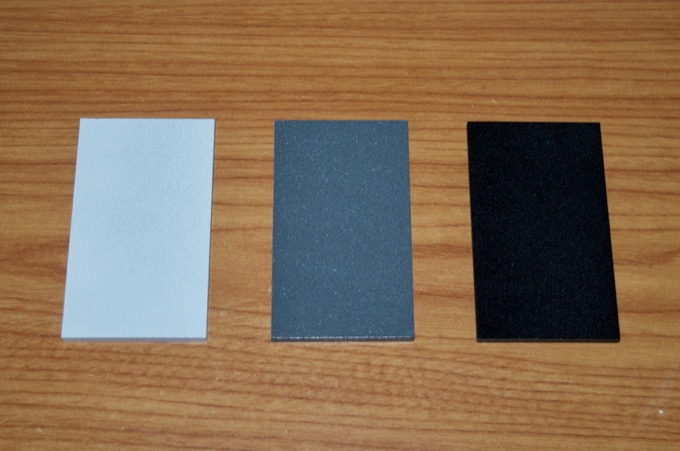
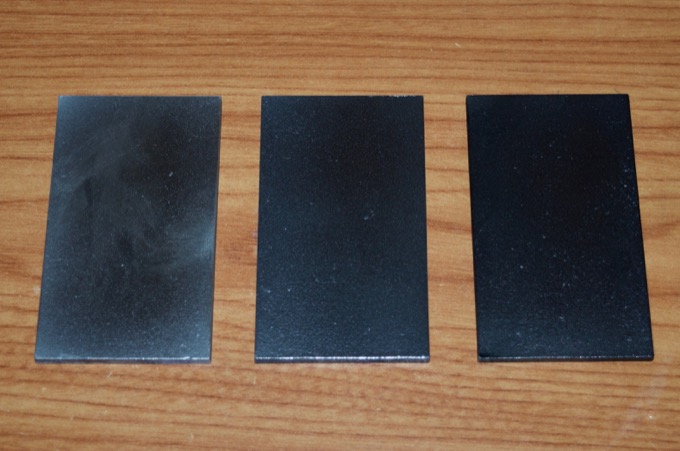
I then buffed on the graphite with a cotton ball. Wow! That looks amazing. The pictures do not do them justice. The white is definitely the shade that I am going for, but it does not apply very well. There is some weird streaking on the finish. I thought maybe that I might have gotten finger prints all over the gloss and the graphite just made a mess, but a second test sample handled with gloves had the same results.
Yup, I think I'll go with the gray.
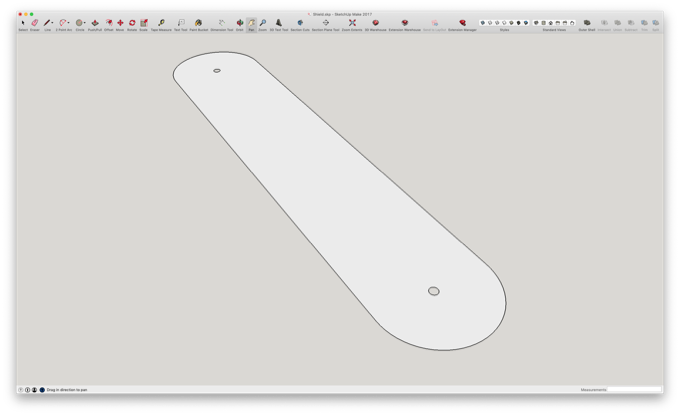
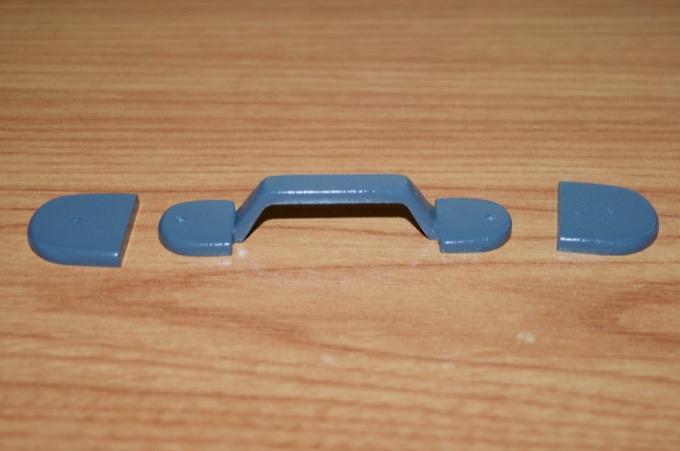
For the shield hardware, I jumped into SketchUp and designed the handle and the forearm strap.
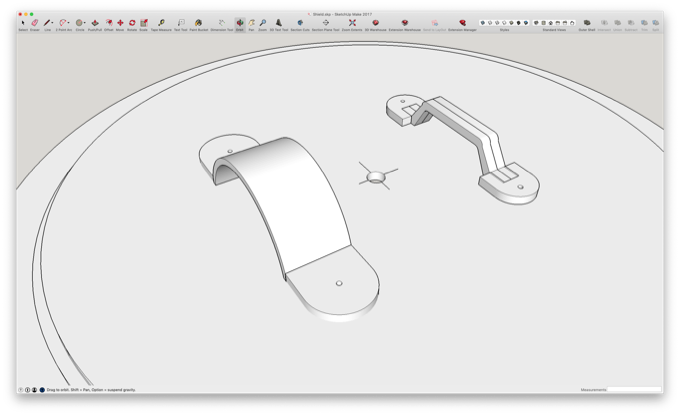
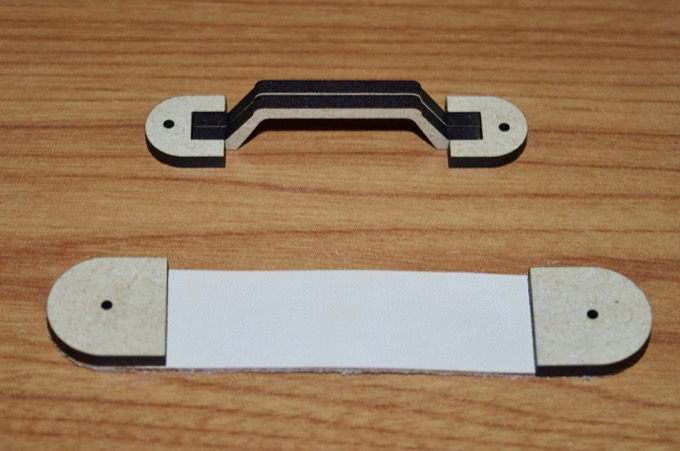
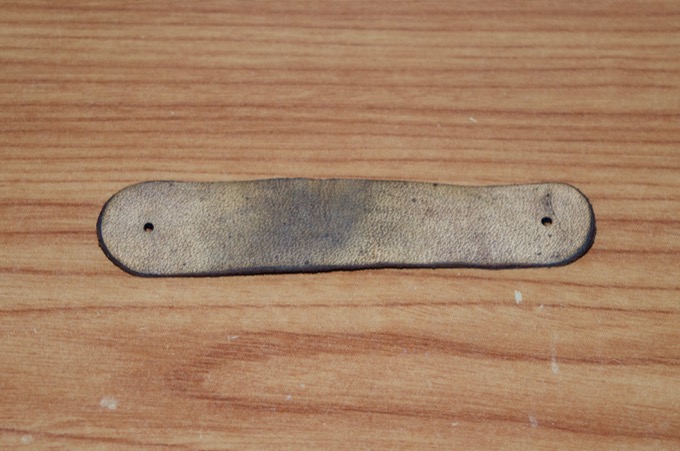
The handle and the strap holder will be laser cut out of wood. The strap will be laser cut out of leather.
I then laser cut all the pieces.
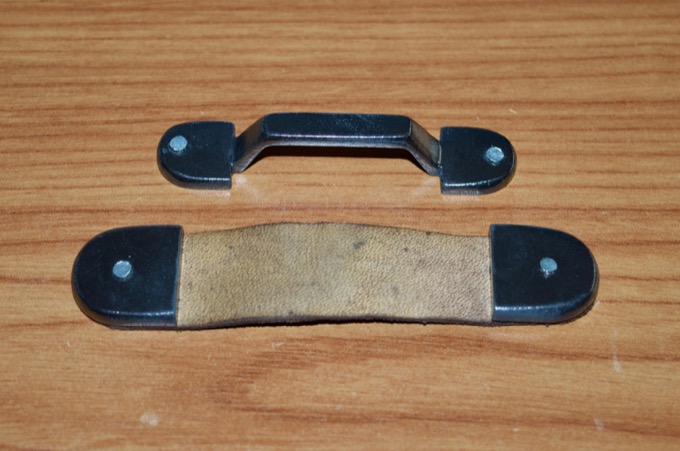
I glued the handle pieces together and rounded off all the edges with some sandpaper.
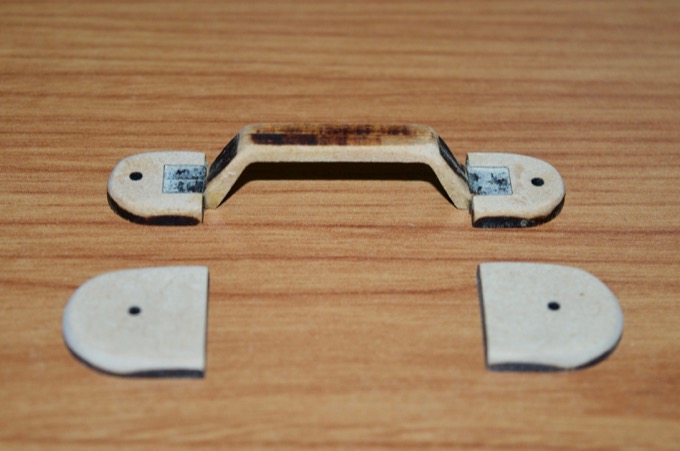
I then painted them gray.
For the leather, I weathered it with some wood stain.
I then applied the graphite. Wow, so shiny!
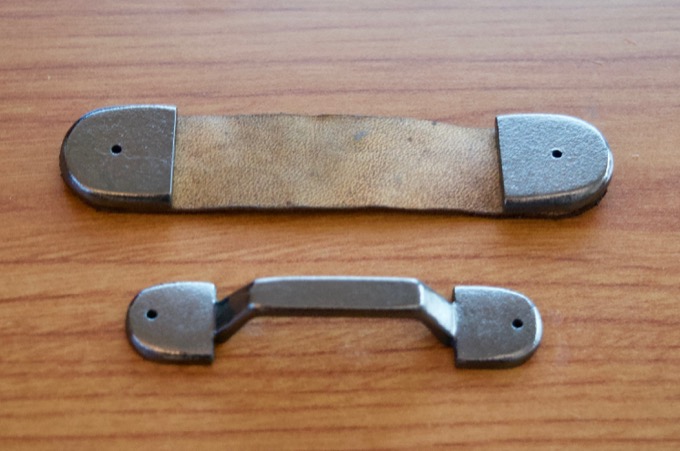
I had some really small nails that I was able to cut the heads off.
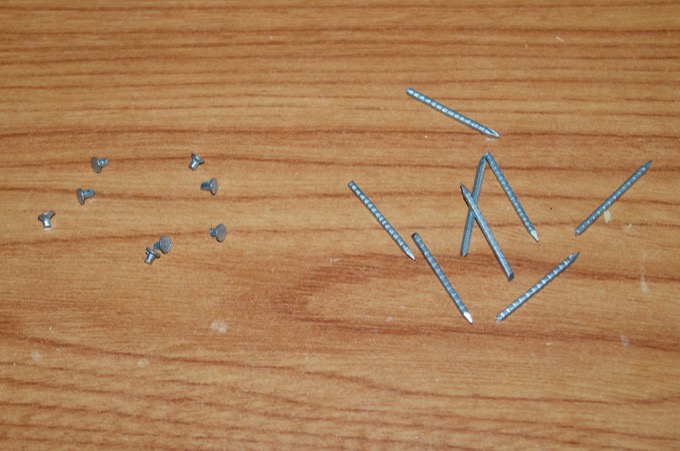
I then glued the nail heads into the holes for the finishing touch.
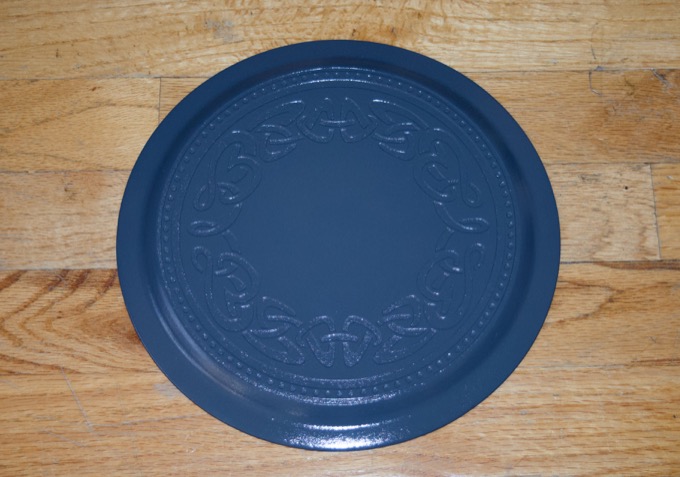
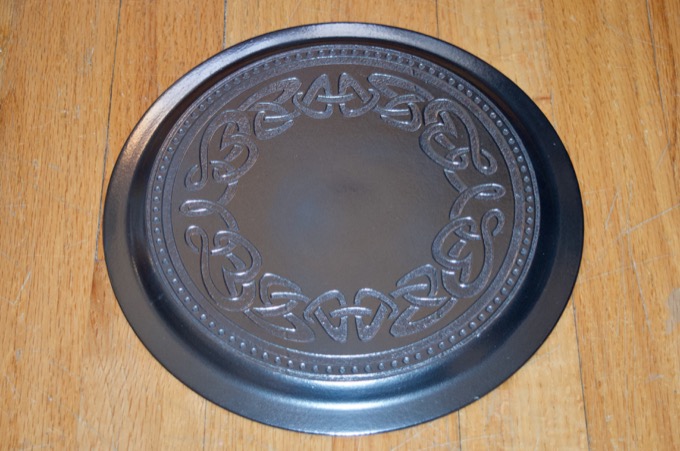
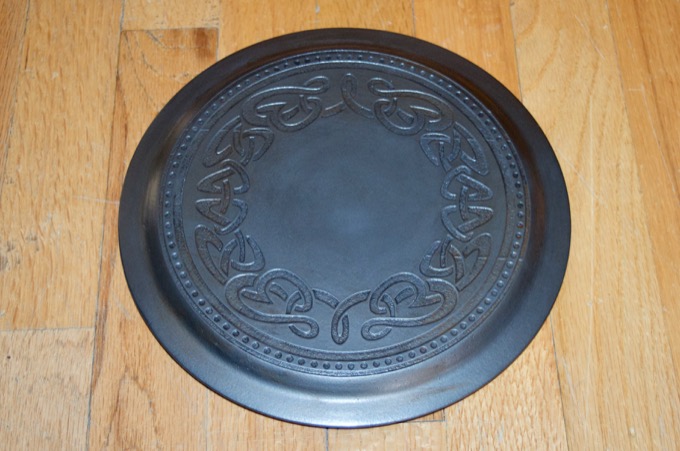
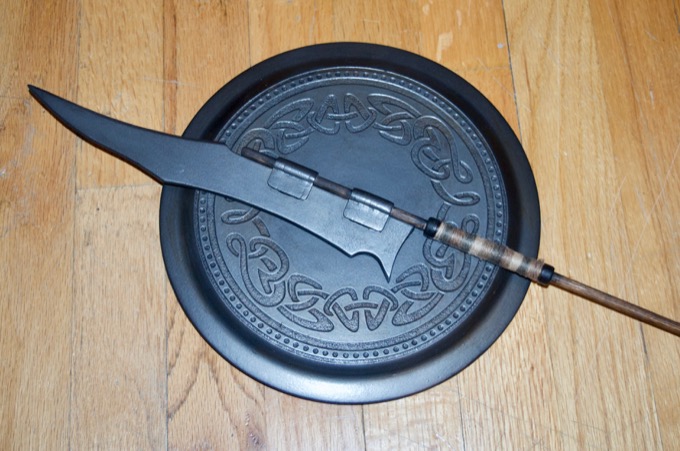
I applied the graphite to the shield and gave it two coats of gloss. That looks awesome.
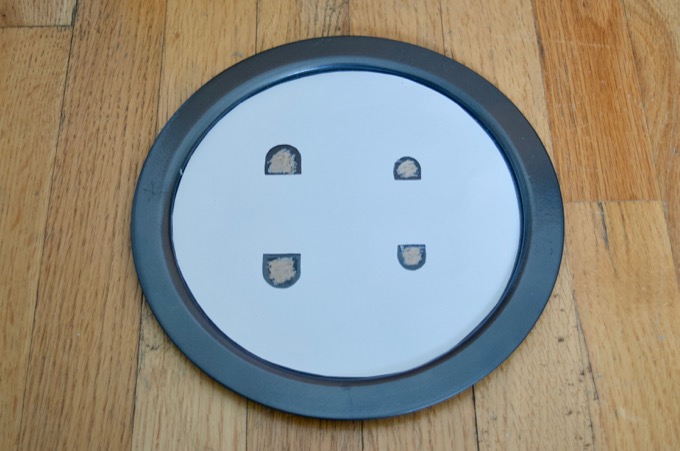
I made a template so that I could glue the handles in the right spot. I used my Dremel to remove the paint so that I could glue directly to the wood.
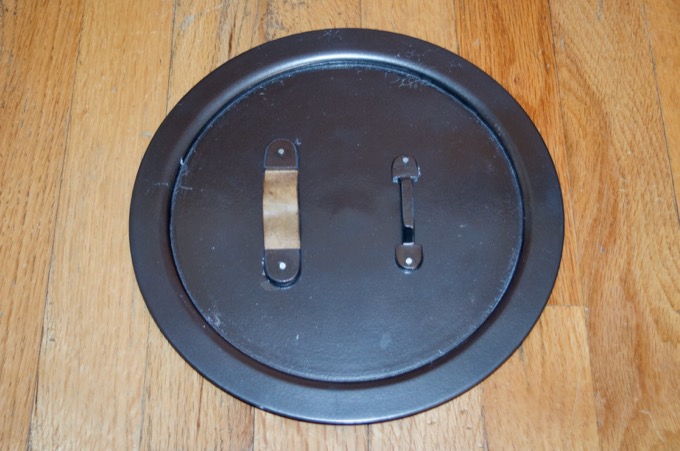
I then glued the handles on. It was so cold outside that the clear coat on the back froze and cracked in a few spots. I figured it'll just add to the aging after I weather it. If that happened to the front it would have been a do over, but once the shield is glued to the base, you'll never see the back.
Finally, a little weathering with some acrylic paint.
For the spear, I needed to first sand the grip.
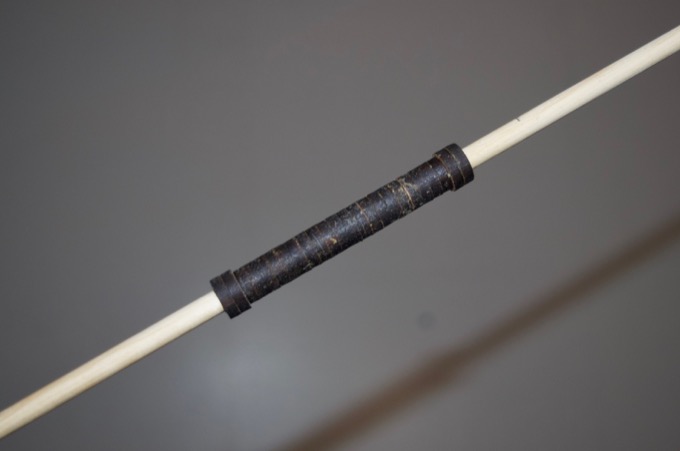
I put it in my drill and spun it against some sandpaper to make it nice and smooth and give the ends a nice shape.
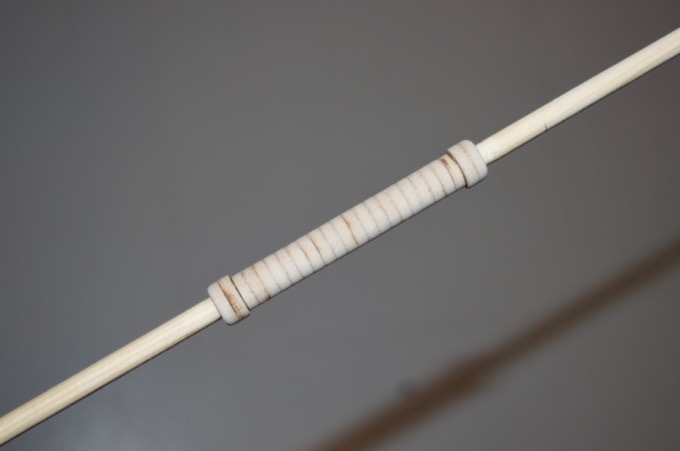
I then stained the wood.
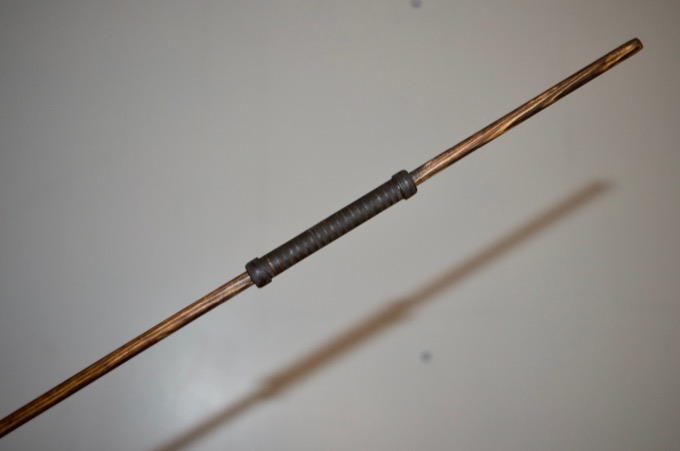
For the blade, I gave it two coats of primer, followed by two coats of gray.
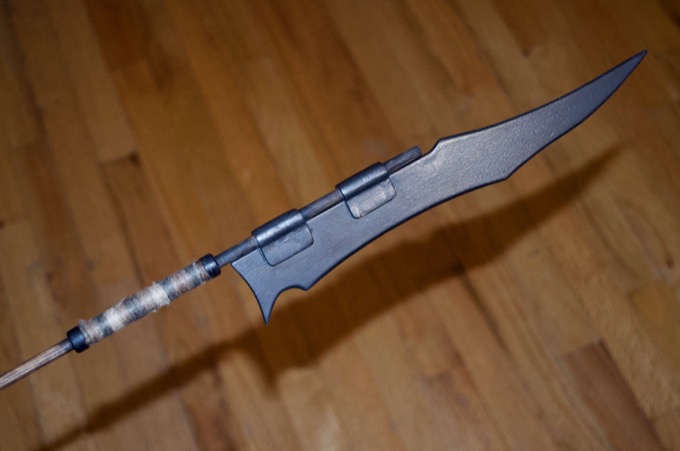
I then applied the graphite and gave it two coats of gloss. So shiny!
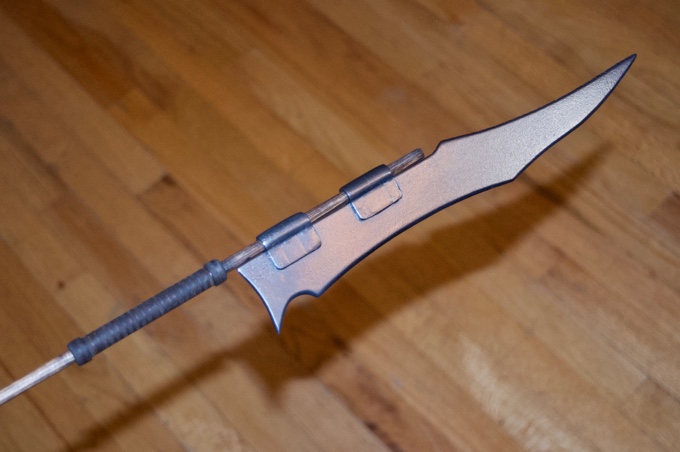
I then painted the grip, wrapped it with some colored twine, and weathered it.
I'm really happy with the way that they turned out.
 See this project from start to finish: 23" 3D-Printed Figurine - Part I 23" 3D-Printed Figurine - Part II 23" 3D-Printed Figurine - Part III 23" 3D-Printed Figurine - Part IV
 23" 3D-Printed Figurine - Part V
23" 3D-Printed Figurine - Part VI 23" 3D-Printed Figurine - Part VII 23" 3D-Printed Figurine - Part VIII 23" 3D-Printed Figurine - Part IX 23" 3D-Printed Figurine - Part X 23" 3D-Printed Figurine - Part XI
