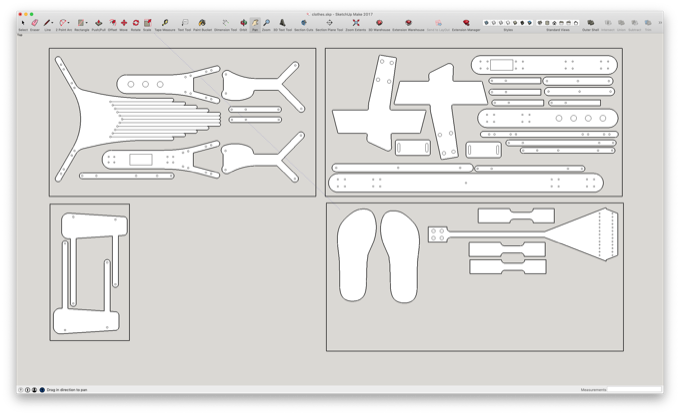
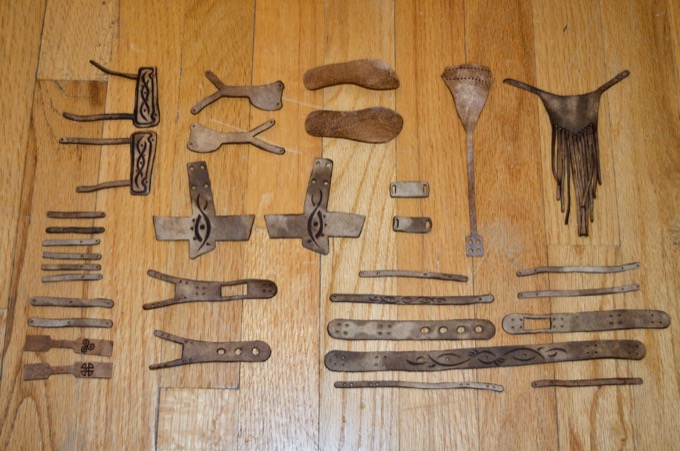
The leather that I ordered from Glowforge finally arrived. They measure 5" x 10" so I arranged all my pieces into 5" x 10" panels as to waste as little leather as possible.
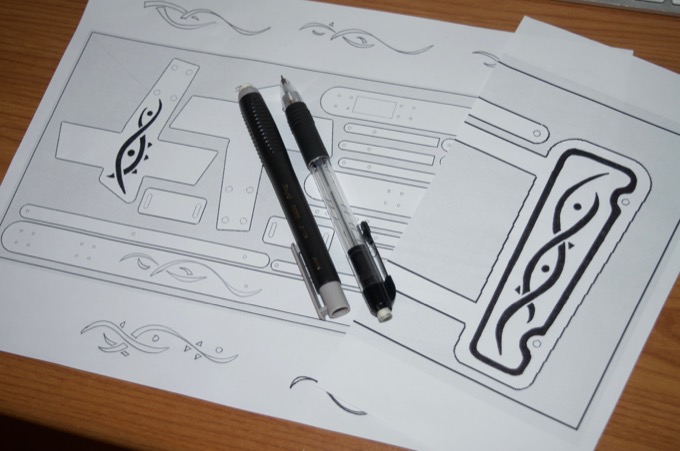
I printed them out and started to chalk up some nice designs.
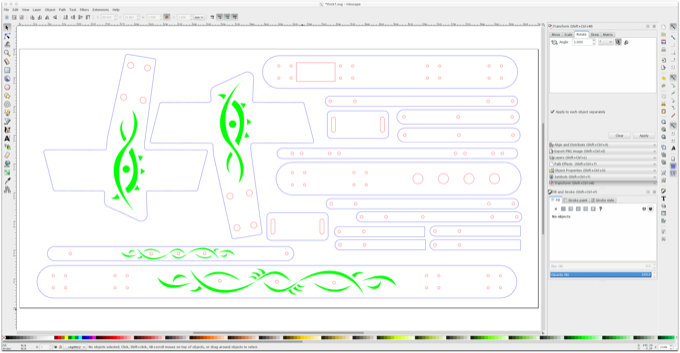
Once I was happy with the look, I imported the panels into Inkscape and replicated my designs.
I then cut out all the pieces. The shoe soles and panties were cut out of thin leather while the rest were cut out of medium leather.
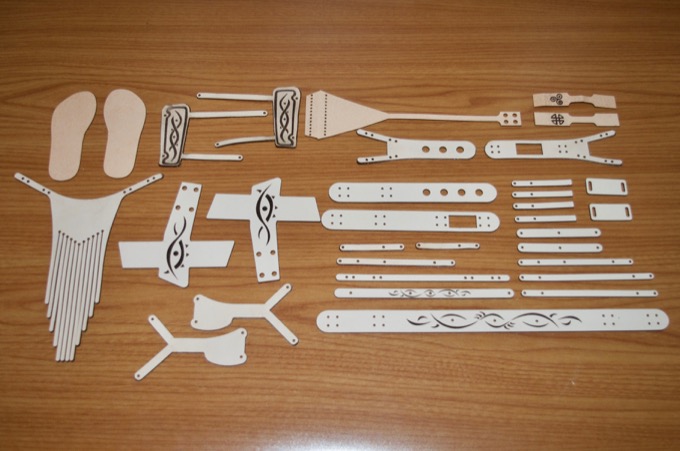
I then weathered all the pieces with some brown wood stain.
After they had dried, I started the assembly. I sewed some string around the top of the panties to secure the cord in place. Plus, the added detail looks kind of nice.
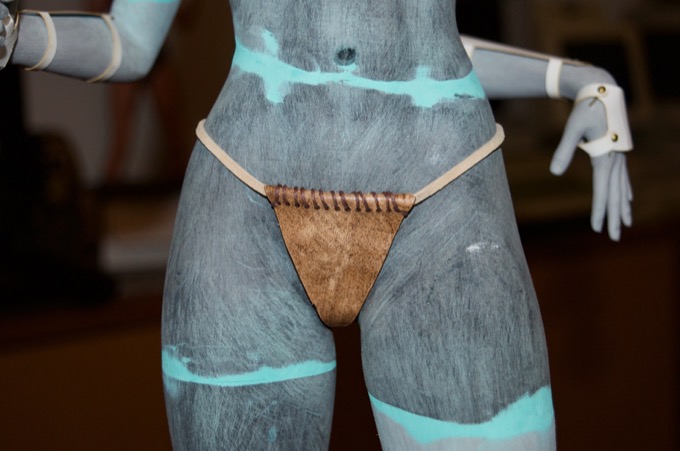
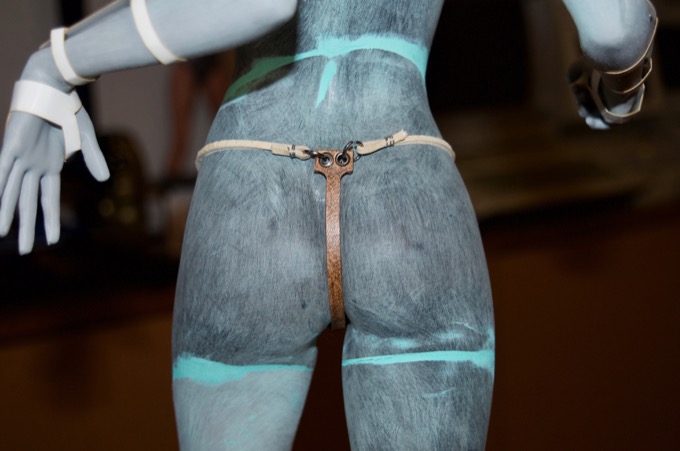
I then assembled the loin cloth.
That looks awesome.
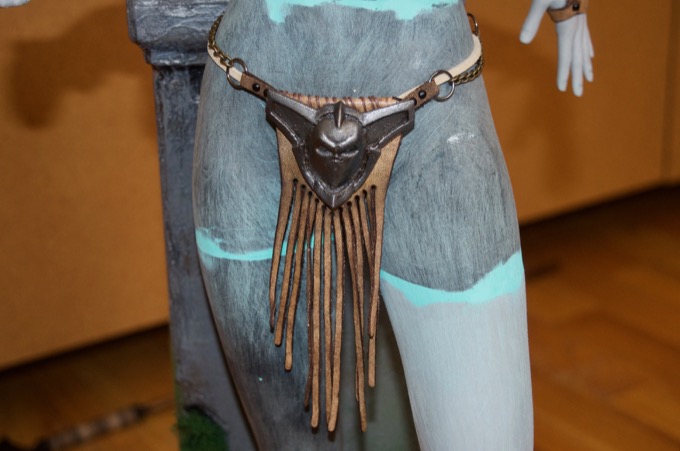
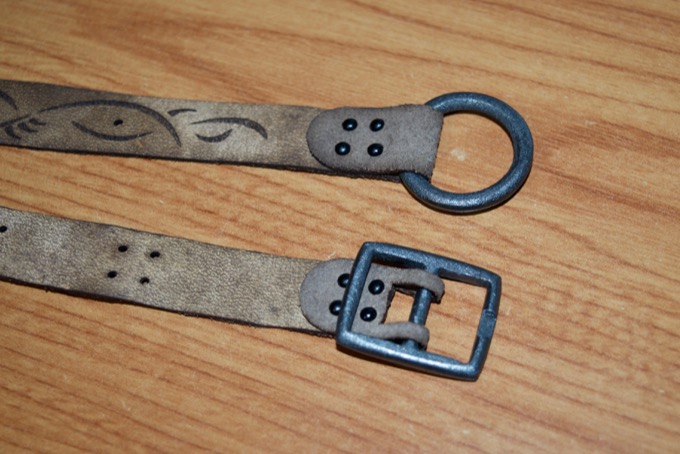
The hardware for the belt came out amazing. They look just like metal. The last thing to do was to design the prong for the buckle.
I made this little jig so that I could bend some acrylic into the desired shape.
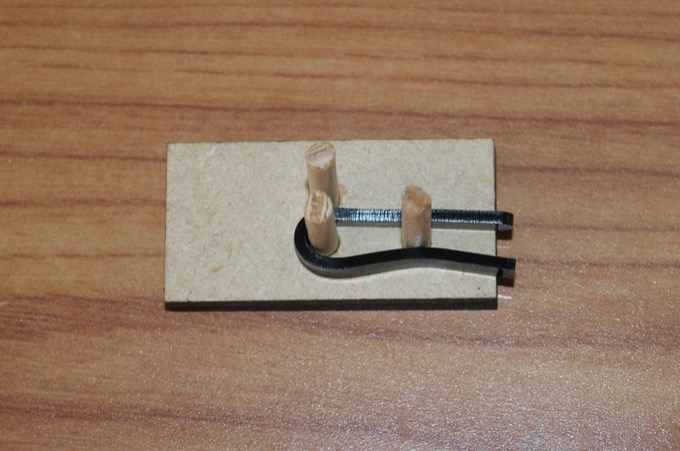
I then painted it and gave it the same graphite treatment as the belt hardware. It looks perfect.

I'm not too happy with the bracers. The leather is too thin and they came out kind of beat up and flimsy looking. That, and the metal brads are almost impossible to install.
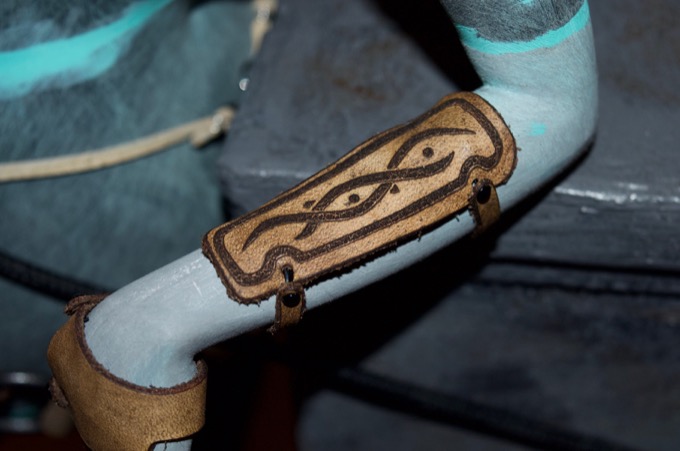
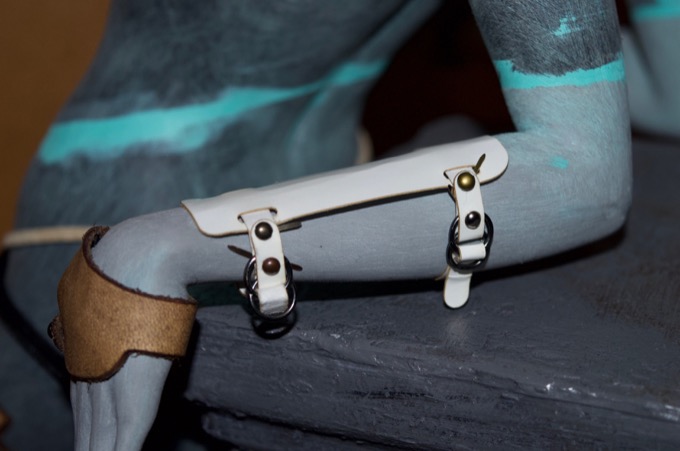
I decided to use some thicker leather and had a go at a new design. Instead of integrating the straps and using the brads to secure them, I decided to go with separate straps and some double hoops.
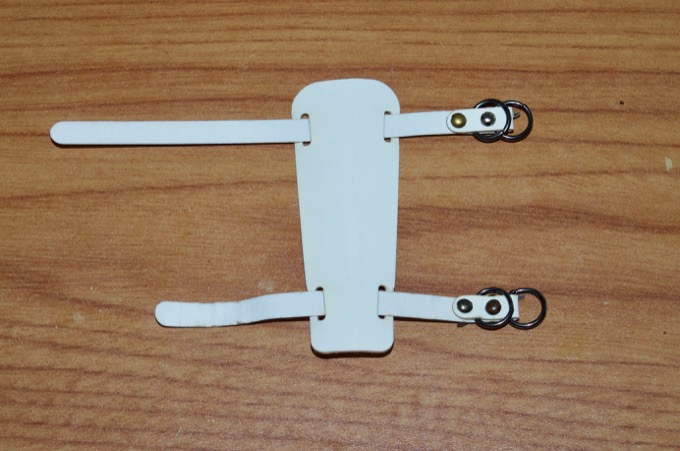
That looks much better, and is so much easier to put on.
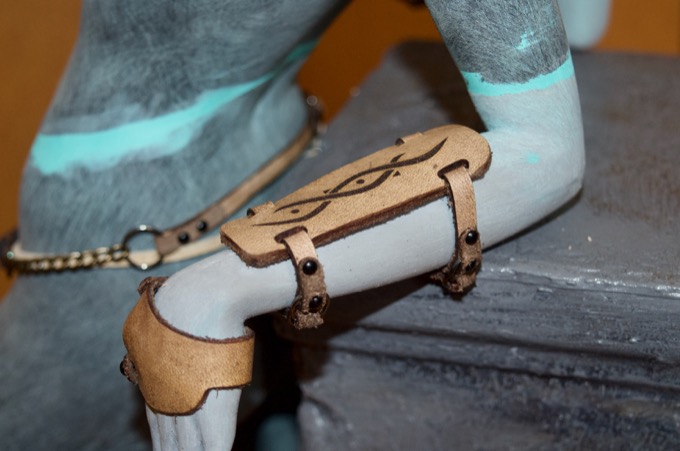
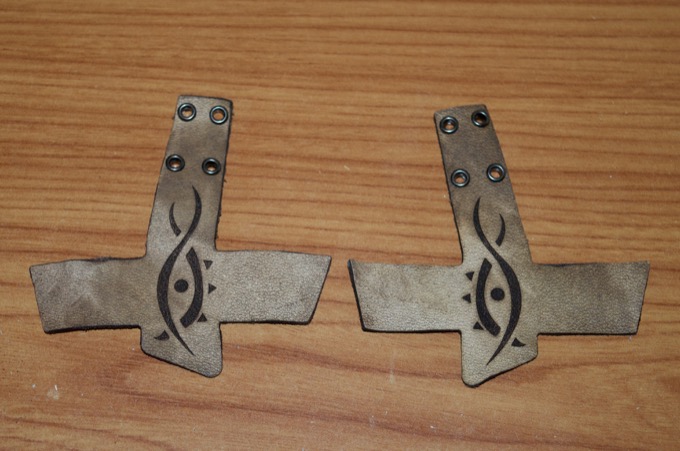
Happy with the new design, I cut the pieces out of thick leather and weathered them with wood stain.

So much better!
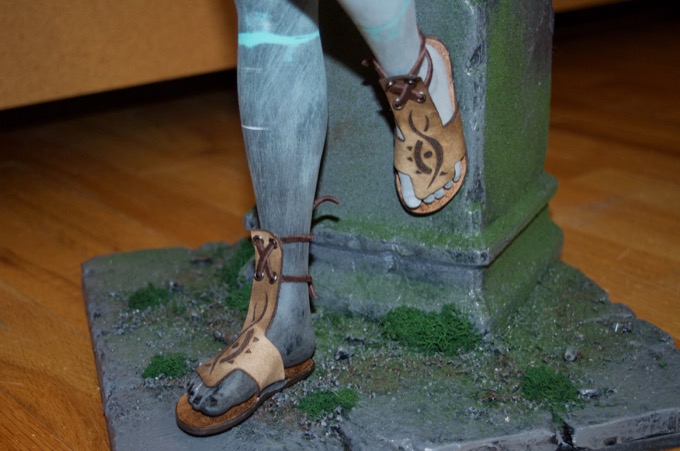
Next up was the shoes. I installed some eyelets into the holes for the laces.
I used a failed print in order to hold everything in place while the epoxy set. It worked out so nice that I printed another one to do the left foot.

I'm really happy with the way that they came out.
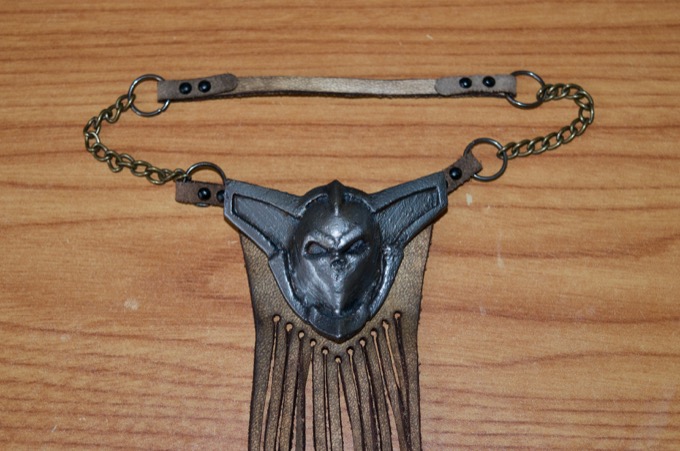
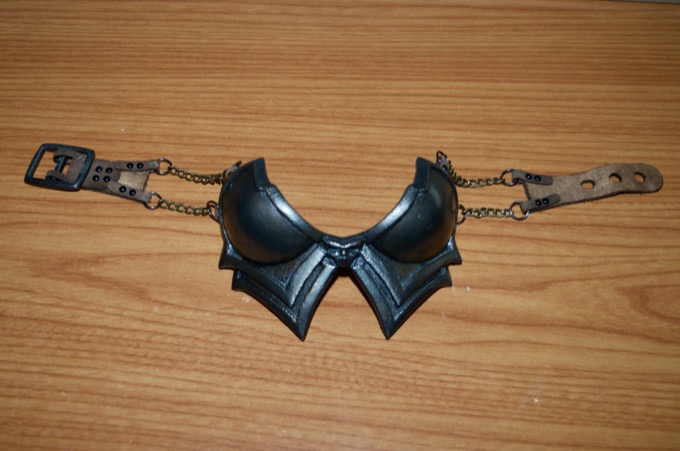
Next up was the breastplate. It was a little tricky getting the lengths of the chains just right and gluing them in place, but it worked out.
That it! All the clothes and armor have been made. That was a lot of work, but it was a lot of fun. The model is looking fantastic.

I think it's time for a final sanding and some primer!
See this project from start to finish: 23" 3D-Printed Figurine - Part I 23" 3D-Printed Figurine - Part II 23" 3D-Printed Figurine - Part III 23" 3D-Printed Figurine - Part IV 23" 3D-Printed Figurine - Part V 23" 3D-Printed Figurine - Part VI 23" 3D-Printed Figurine - Part VII 23" 3D-Printed Figurine - Part VIII 23" 3D-Printed Figurine - Part IX 23" 3D-Printed Figurine - Part X
23" 3D-Printed Figurine - Part XI
