The column will be the largest single model that I have printed. It is 13.75" tall.
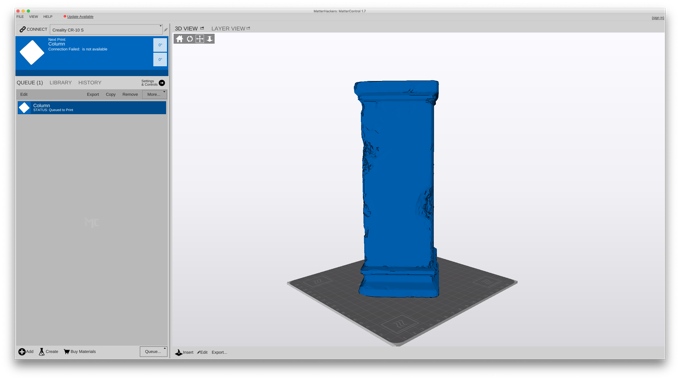
I was going to laser cut some draftboard and assemble it like a box, but it seemed like a lot of work. I'd have to put a lot of work into cleaning up the seams and weathering it. Not impossible, but more time than I want to spend. That, and I like the look of the ancient beat up column as it is.
It'll take a week to print this with any amount of infill so I made the model hollow. The walls are pretty thin with 5% infill.
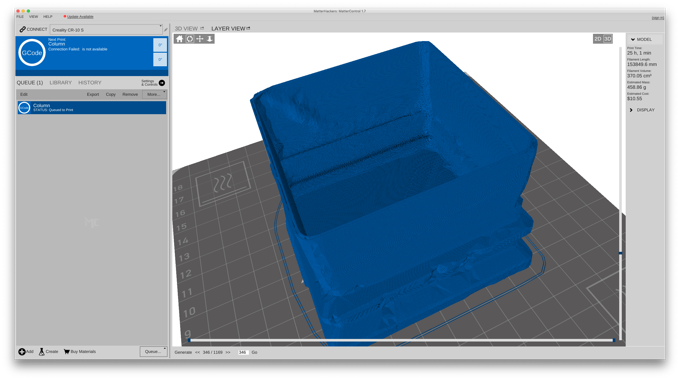
I just hope that once it gets to the top, the PLA will be able to bridge the gap.
You know what? This is a bad idea. That is a huge print. It'll take days to get to the top. That's a lot of time and material to waste if it fails on those top layers. I think I'll cut it in half and print it in two pieces. If the top layer fails, I'll still be able to glue them together and Bondo the seam.
Back to the drawing board…
I cut the model in half, hollowed it out and made the walls 4mm thick.
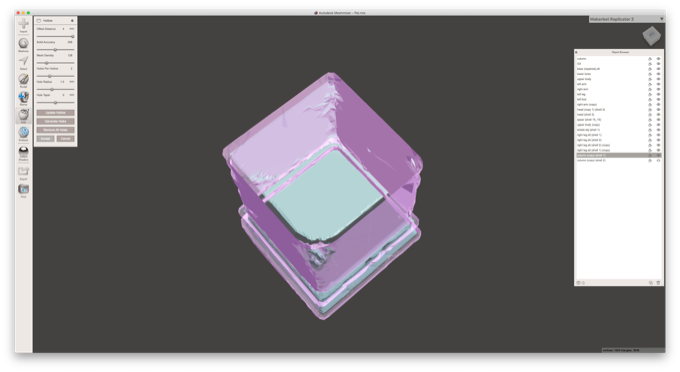
I then keyed the model with some 10mm pegs and 11mm holes.
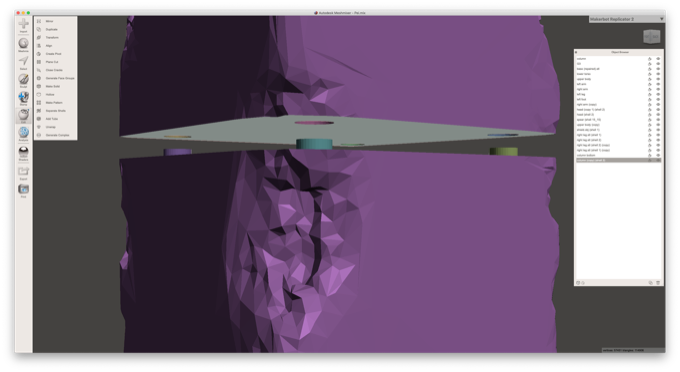
Just to play it safe, I lowered the speed setting for bridging to 30mm/s. Fingers crossed.
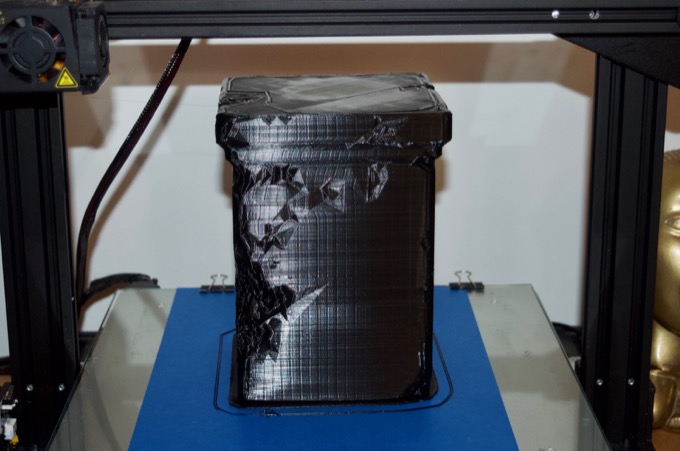
Nailed it.
The top took 23.5 hours to print
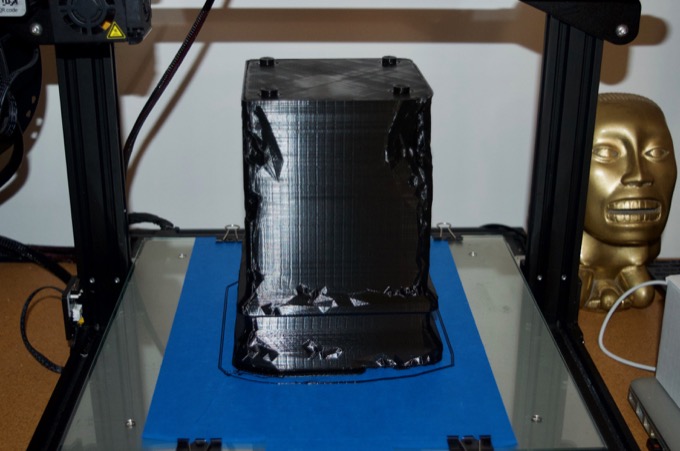
The bottom took 29.5 hours to print.
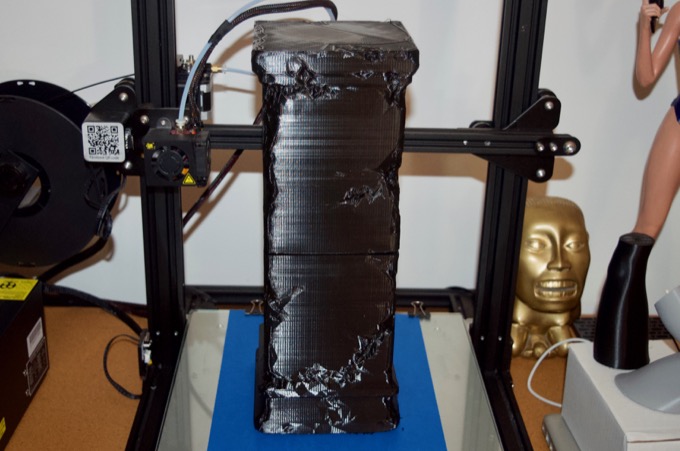
The pegs and the holes need a little cleanup in order for them to fit together just right. Once I do that I can epoxy the two halves together and Bondo the seam.
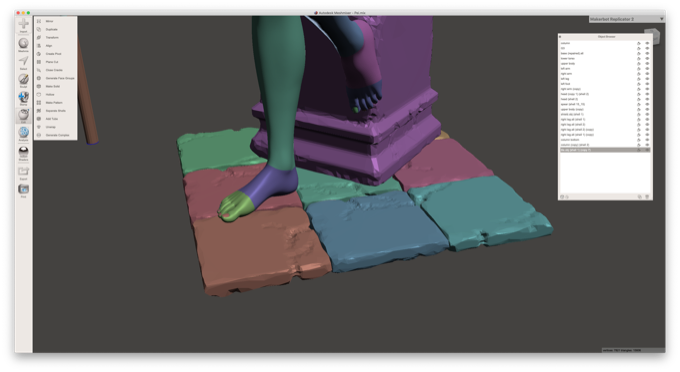
For the base, I was going to try and print this…but after sleeping on it I decided to go a different route. This massive base is not going to fit on my printer, so I'd have to cut it into pieces, print them and, glue them together.
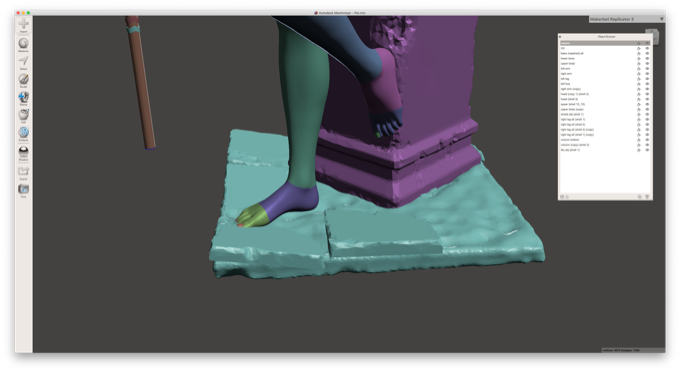
I decided to go with separate tiles instead. I can apply Bondo to them, sand out the lines, and add details to make each one a little unique. I think that'll look much better glued to a 10" x 10" piece of Draftboard.
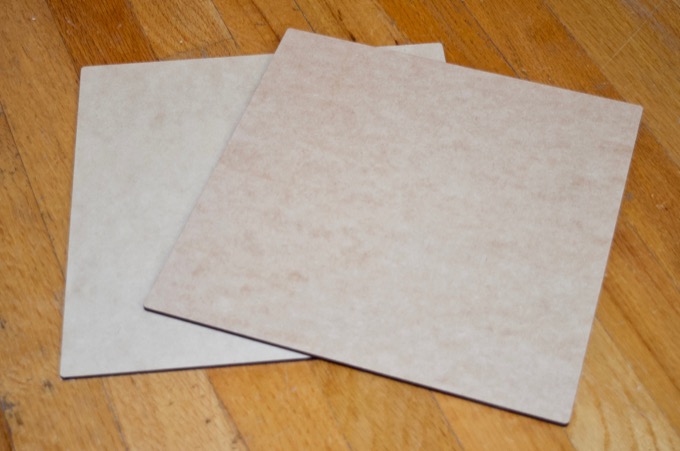
I cut out two squares that I can glue together for the base.
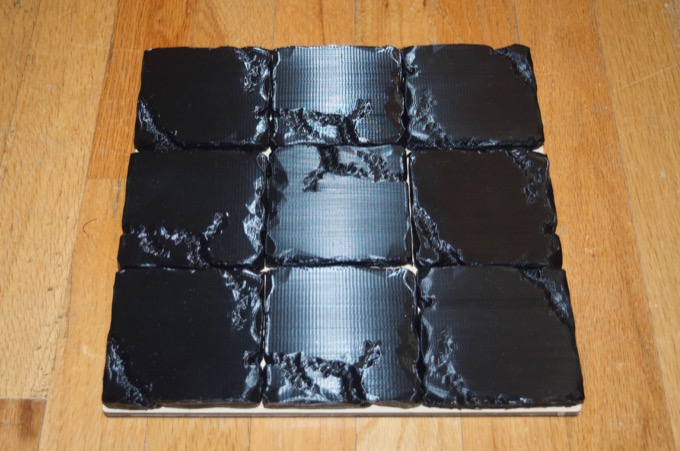
I then printed nine tiles. It took 19.5 hours to print them all. It was worth it because that's going to look awesome.
I think that's everything I need. It's time to start sanding and painting!
See this project from start to finish: 23" 3D-Printed Figurine - Part I 23" 3D-Printed Figurine - Part II 23" 3D-Printed Figurine - Part III
23" 3D-Printed Figurine - Part IV 23" 3D-Printed Figurine - Part V 23" 3D-Printed Figurine - Part VI 23" 3D-Printed Figurine - Part VII 23" 3D-Printed Figurine - Part VIII 23" 3D-Printed Figurine - Part IX 23" 3D-Printed Figurine - Part X 23" 3D-Printed Figurine - Part XI
