As soon as I caught wind of Black 3.0 from
Culture Hustle hitting Kickstarter, I had to have a bottle. They advertise it as the “blackest black paint in the world”. It absorbs 98-99% of visible light. The regular price is $30 a bottle, but if you pre-ordered it on the Kickstarter, you could get two bottles for £30.00 plus £6.00 in shipping. With the exchange rate, it turned out to be $48.10. That’s $24 bucks a bottle, and a total savings of $12 bucks.
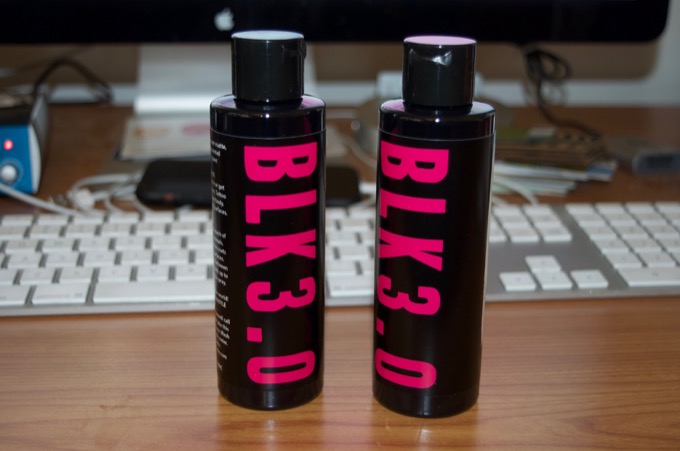
This is some pretty expensive paint at $24 bucks for a 150 mL bottle, so I don’t want to waste it. I had a few months to think about what I could make that would look awesome painted in Black 3.0. A few months went by, the paint was finally delivered, and I still had nothing in mind. It really needs to be something cool.
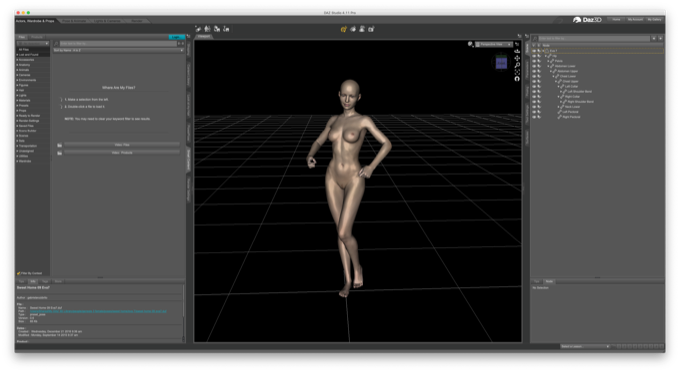
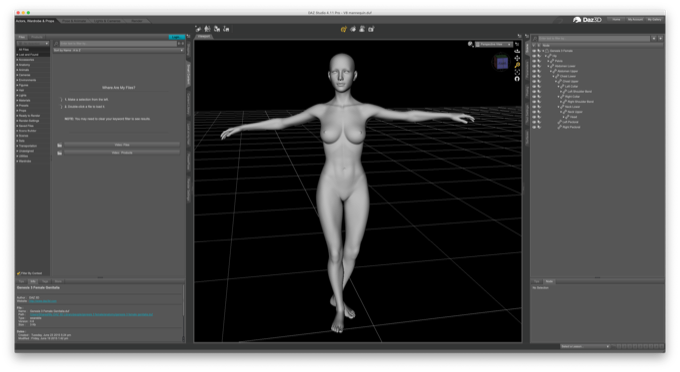
As a proof of concept I jumped into Daz Studio and posed a Victoria 7 model.
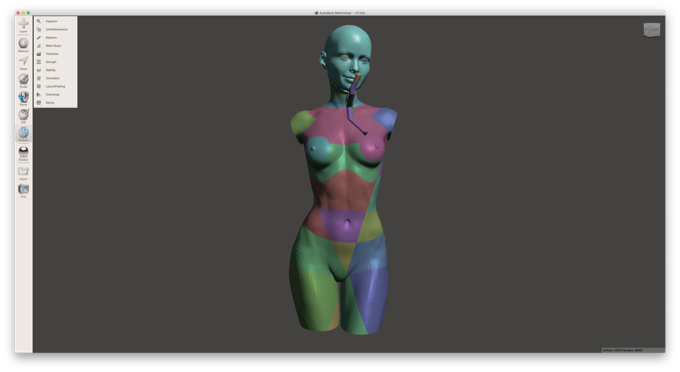
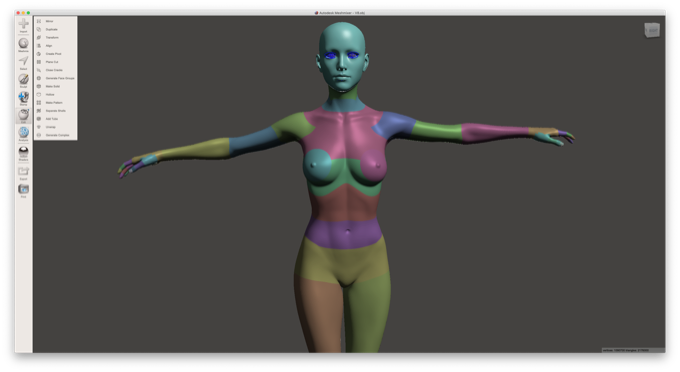
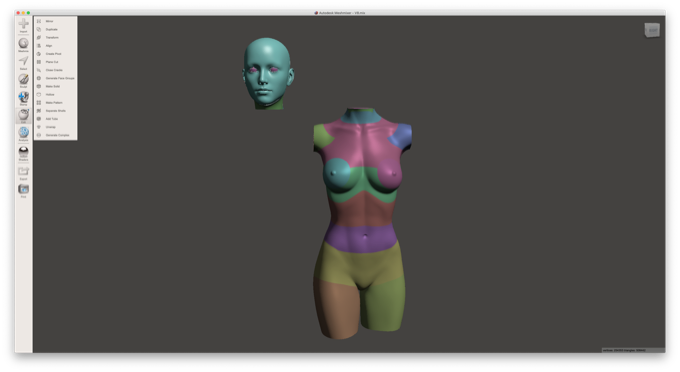
I imported the model into Meshmixer. I scaled the model to about 4 inches. I cut off the arms and legs, and added some supports under the chin.
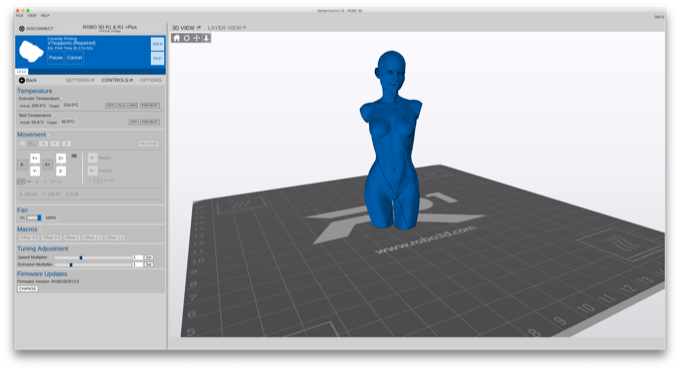
I then took it into MatterControl and printed it on my Robo3D.
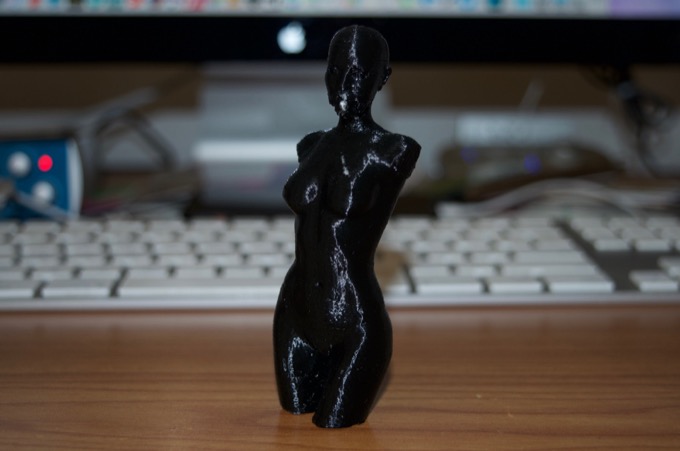
The print didn’t come out too bad, but the detail in the face completely fell apart. It would probably have come out much better if the model was printed a lot larger. This is just a proof of concept, and a chance to try out the paint, so I’m not too concerned about the quality of the print.
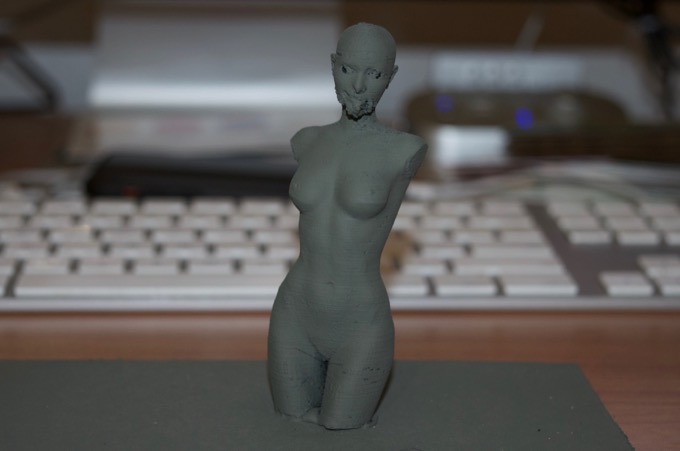
Since the model is black, I thought that it would be difficult to determine the paint coverage so I decided to give it a coat of primer. That way I’d be able to see just how much paint I was applying.
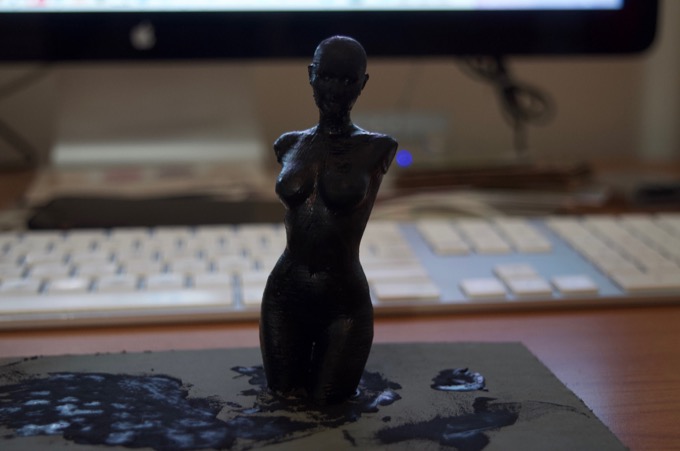
I took this picture without the flash just to show how black it is while it is still wet. It’s a little shiny, but pretty black.
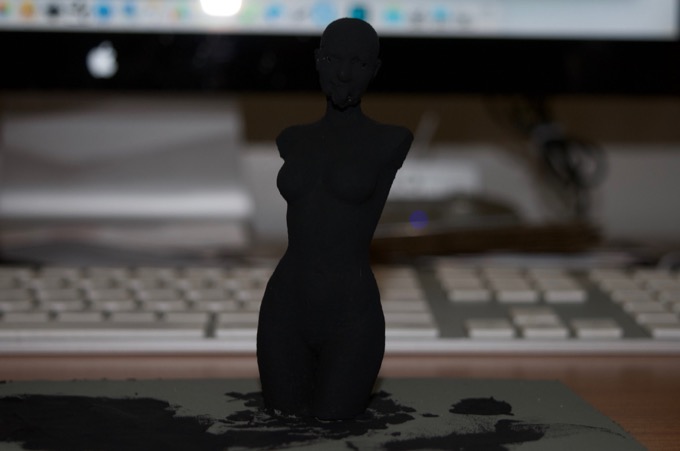
After it dried, I added a second coat.
Once it fully dried, I took this picture. Can you believe this picture was taken with the flash on? You can see the flash bounce off my monitor in the background. It is soooo black! It’s really hard to pick out details. When the model is held at arm’s length, it just looks like a silhouette.
I was sort of complaining before that it cost me $24 bucks for a 150 mL bottle, but I gave this 4” model two coats of paint and you can’t even tell I used the bottle. It really goes a long way. I think these two bottles are going to last me a very long time.
Time to super-size the model! Same as before, I posed the model and then exported it.
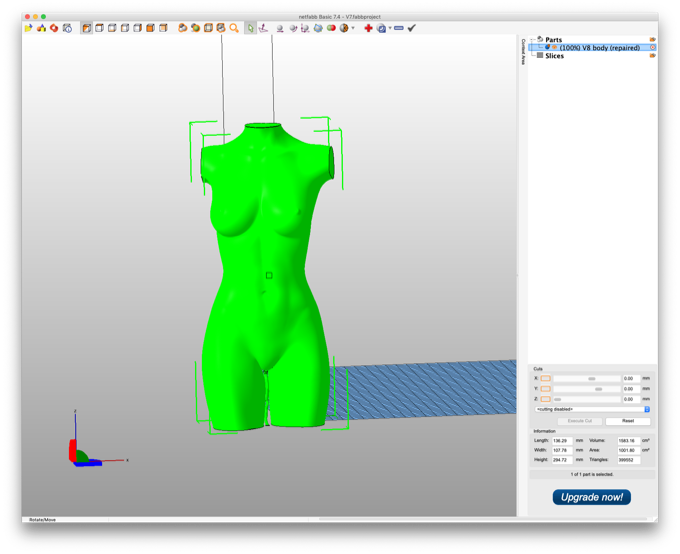
I then scaled the model up to 15 inches tall.
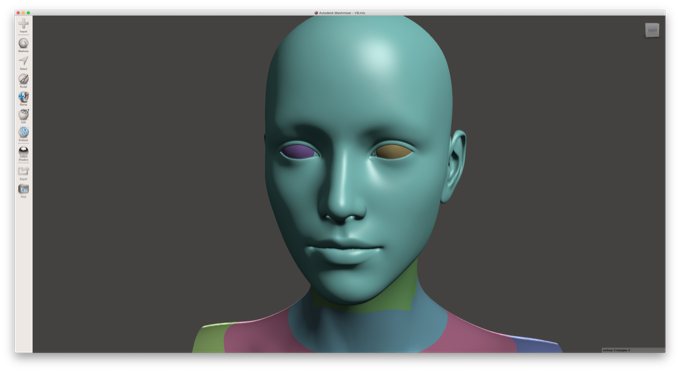
I removed the eye lashes, since they are too delicate to print.
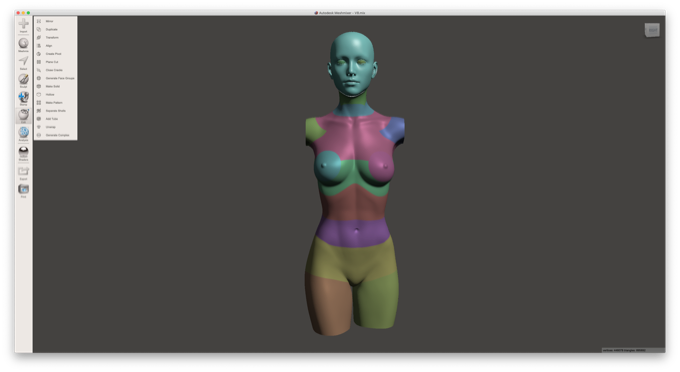
I then made my cuts.
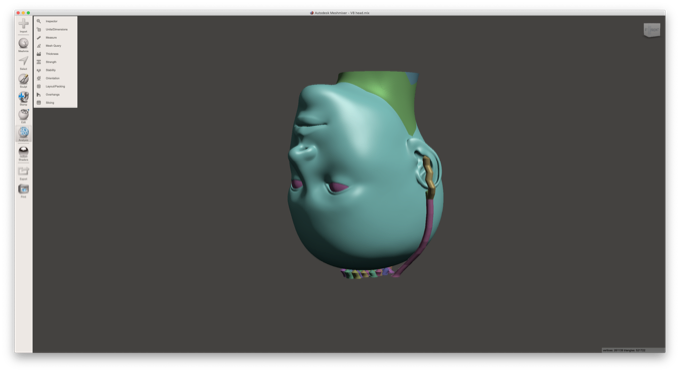
I decided to print the head separately this time so that I could orient it differently on the bed. Printing it face-forward will require support material under the chin and nose. I don’t want any support material potentially damaging the face. I can always sand the top of the head smooth.
The flipped the head upside down and added some support material to the ears and some to the bottom to increase the head’s contact with the build plate.
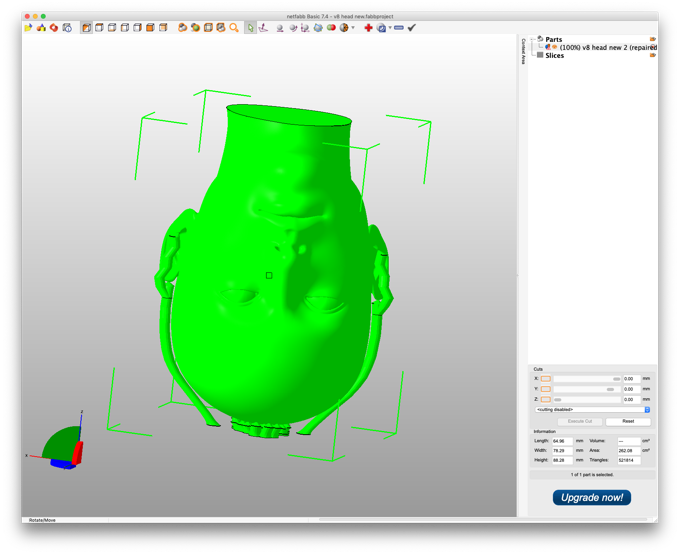
Finally, I took the models into Netfabb to check for errors.
While the body was printing on the Creality CR-10S, I got to work on printing the head on my Robo3D. The head is probably going to take a good six hours to print so I thought I’d save myself some time.
It took an abnormally long time to slice the model. MatterControl even crashed and I had to start over. I didn’t think the model was any more complicated than any other model I’ve printed. I suspect that it might have something to do with the internal mouth geometry that I left in the model.
Eventually, I was able to slice the model. I started the print and let it run overnight. About an hour in, I took a look at the model. I was not happy with the results. The entire model was covered in little blobs. I knew it was a failure, but I let it continue. When I woke up in the morning, I was greeted by this…
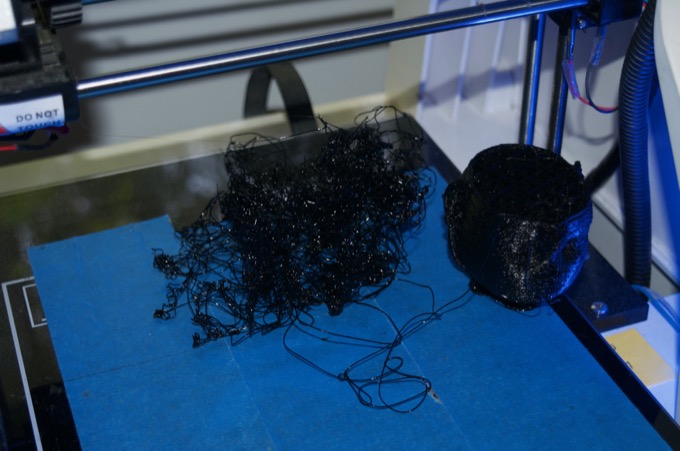
The model must have come off the bed at some point. I’ll have to increase the amount of support material at the base of the head in order to increase the amount of contact it has with the build plate.
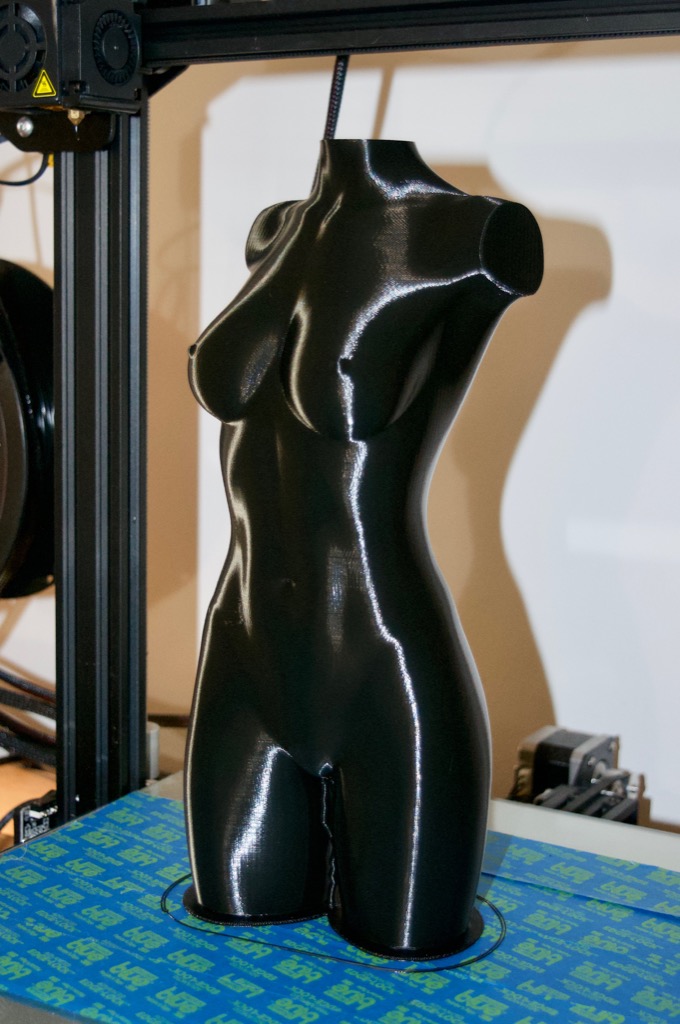
In the meantime…the body had finished printing. It came out amazing. It took 29 hours to print, and that was after lowering the infill to 10%. I can only imagine how long it would have taken if I left it at 25%. Although I started this print with a fresh role of PLA, I was a bit worried that I’d run out. Luckily, lowering the infill really went a long way. I don't think I even used half a roll.
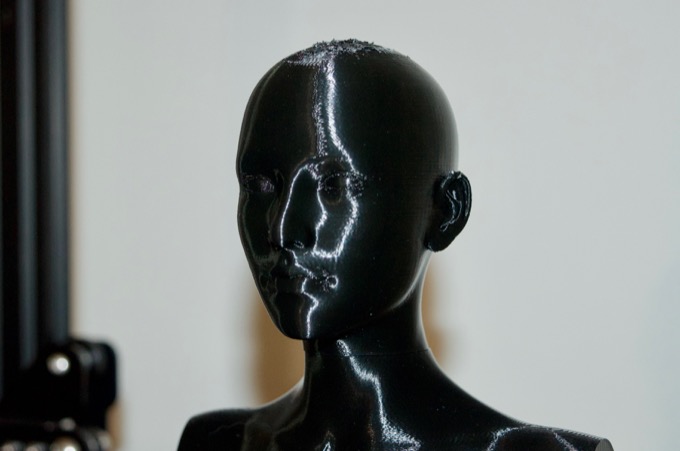
Since the Creality CR-10S was freed up, I went ahead and re-printed the head. After looking at the failed print, I decided that even 10% infill was too much for such a small part. I lowered it to 5%. It still took eight hours to print, but the results were well worth it.

I am really happy with the details. It was really hard pulling the support material off the head. It's going to need some sanding and Bondo to clean it up.
This is going to look awesome when it is complete.
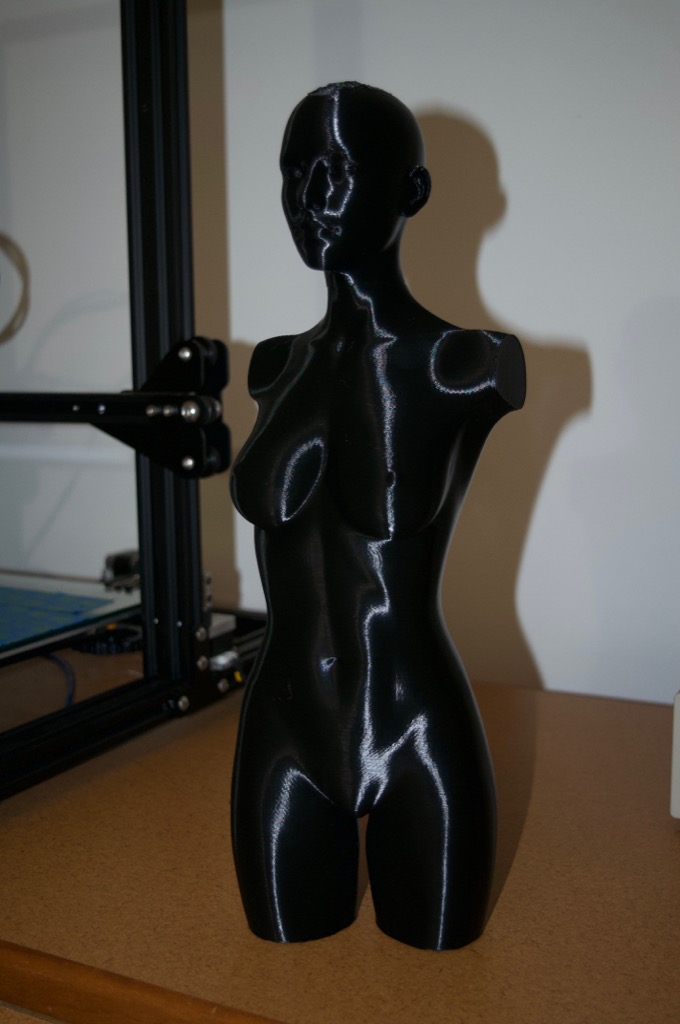
Next up, glue, primer, and paint…
See this project from start to finish:
3D-Printed Victoria 7 Project - Part I
3D-Printed Victoria 7 Project - Part II 3D-Printed Victoria 7 Project - Part III
