I'm really happy with the way that the
Victoria 8 model came out. I want to make some more large-scale figurines just like it. This time, I want to give it a full paint job instead of just painting it a single color.
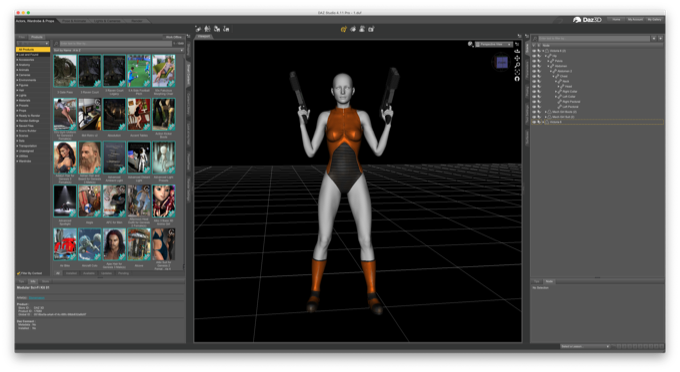
I jumped into DAZ Studio and posed a Victoria 6 character with an outfit and some guns. It's a simple pose, and a figure that I can easily slice into different pieces with minimal support material. I don't want to go bonkers with my first one, so I'm keeping it "simple".
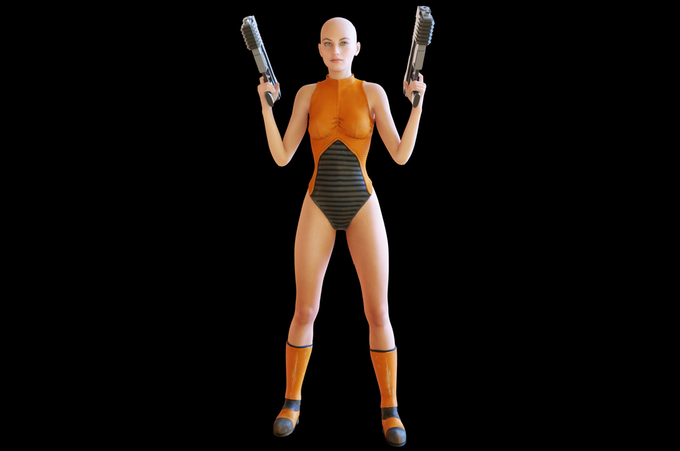
It should look something like this after it's painted. Maybe a different color scheme, but you get the idea. Since it's going to be about 20" tall, I might be able to find a doll wig or something for the hair.
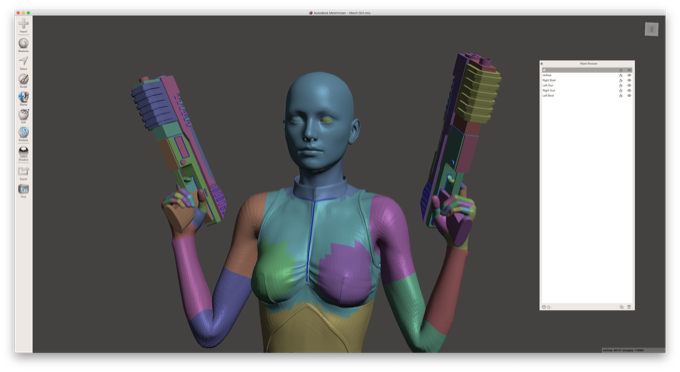
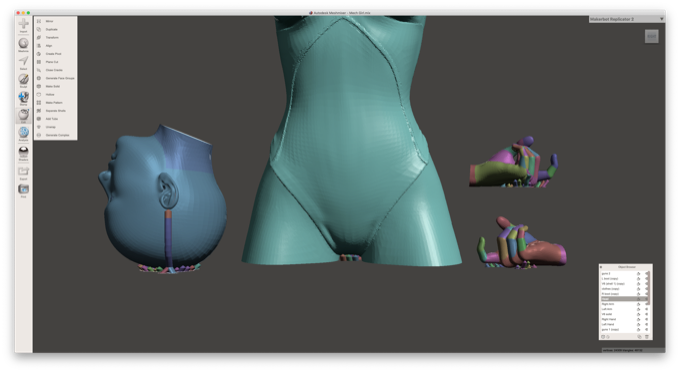
I took the model into MeshMixer and started to remove some of the smaller geometry that won't print, like eyelashes.
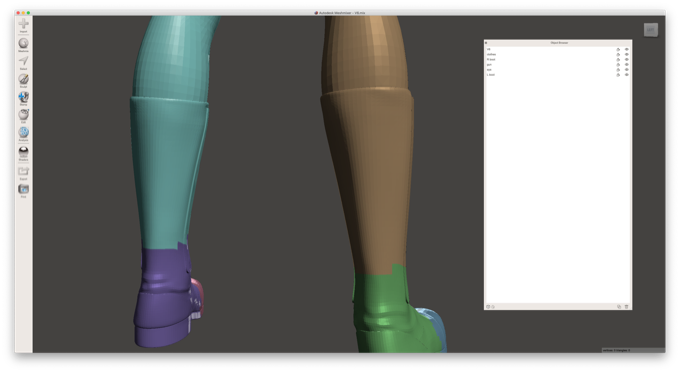
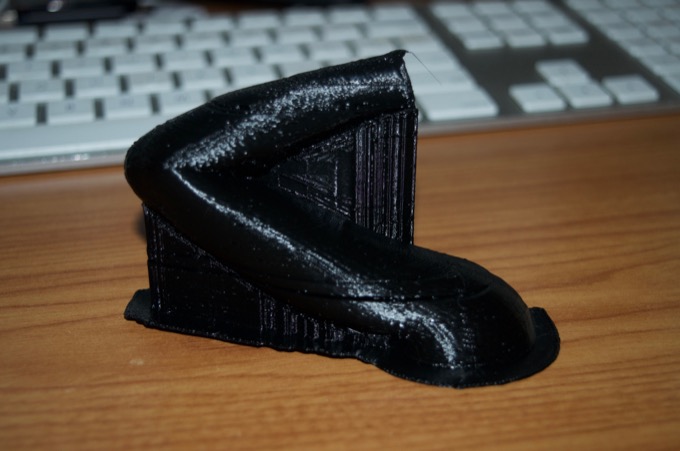
I removed the delicate straps and buckles from the boots.

There's no way those would print properly. Not to mention, I'd probably lose them after sanding the model smooth.
The clothes on the body are a little more complicated, and just trying to slice the model as-is just causes errors and crashing. I decided to turn the model into a solid object. It loses a little detail, but I don't think it'll be apparent once it's printed.
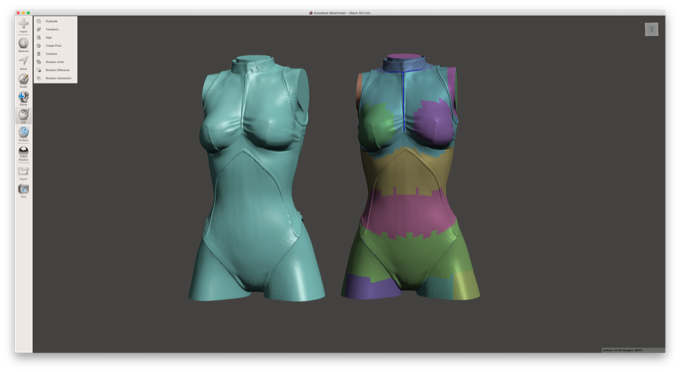
I then cut the model up into the necessary pieces.
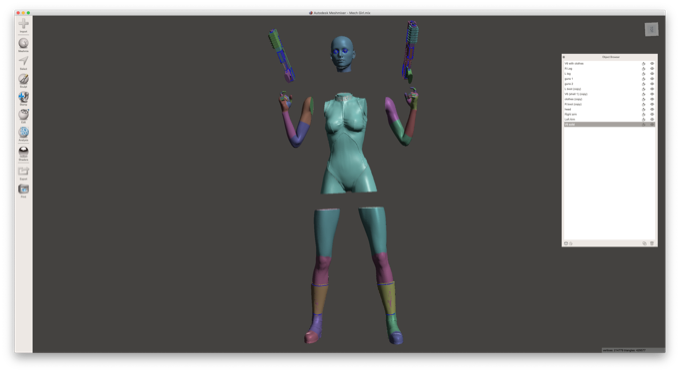
I added some support material to the parts that needed them.
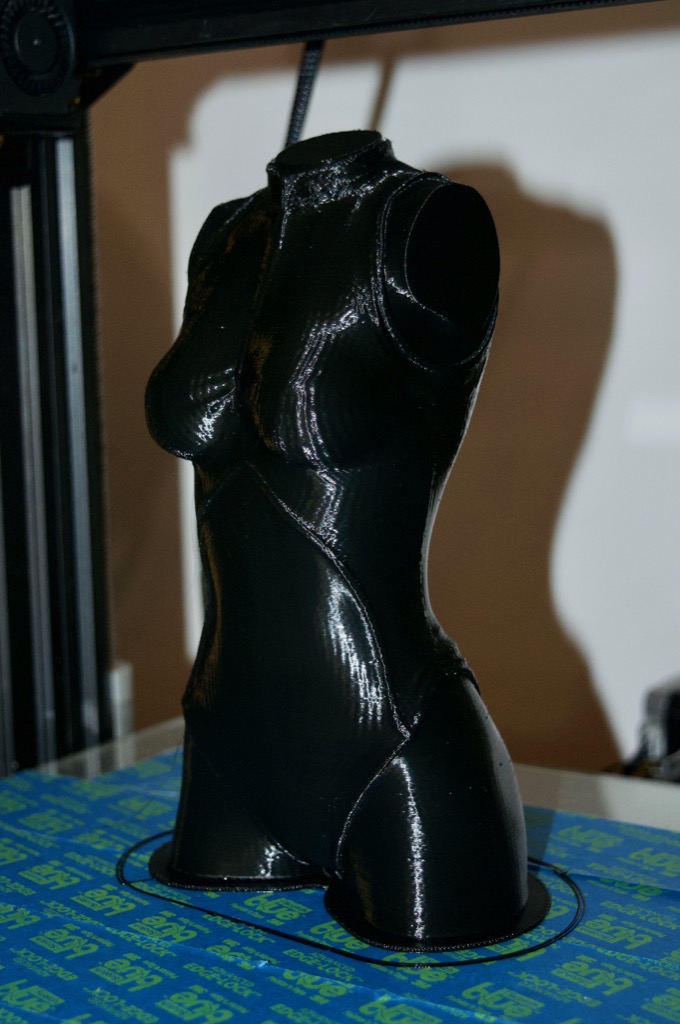
First up was the torso. If that fails, then the rest of the parts are useless. If I need to cut this differently, I don't want to have to go back and redo arms and legs. It took 9 hours and 15 minutes to print with a .2mm layer height with 5% infill. It came out pretty sweet.
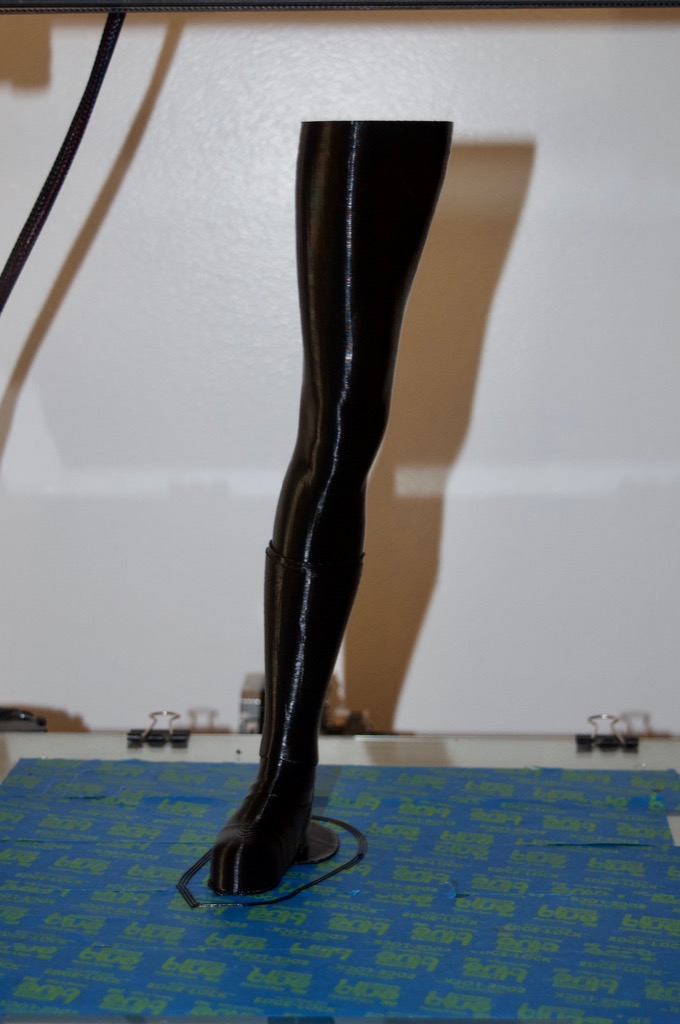
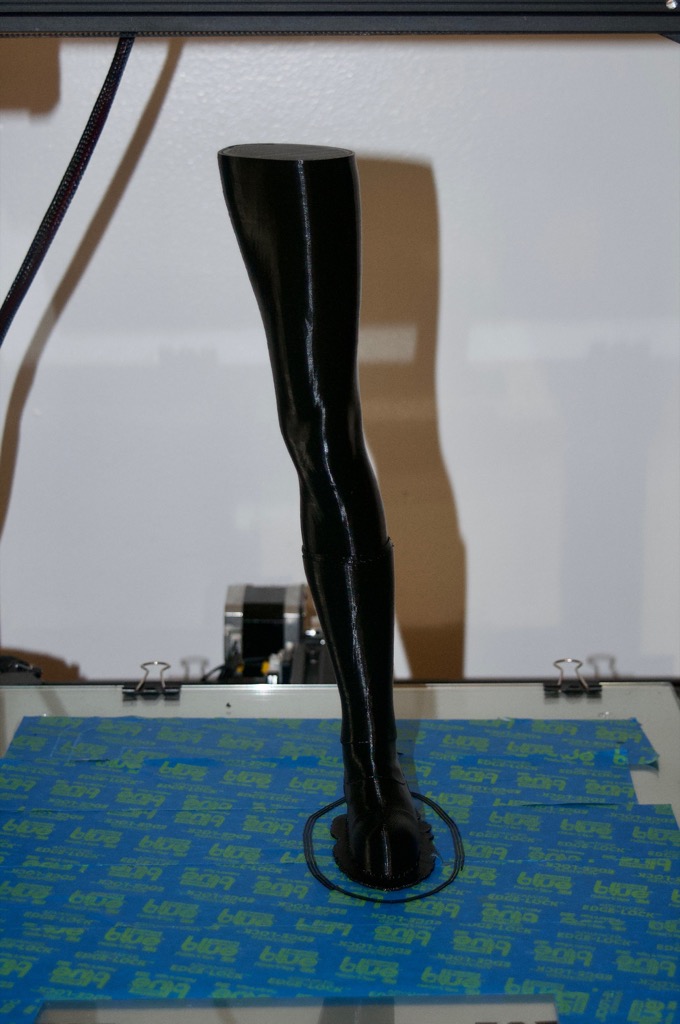
I'm amazed the legs printed with such a steep angle without failing over. Print time: 12:36
Print time: 13:27
Wow, this is going to be tall!
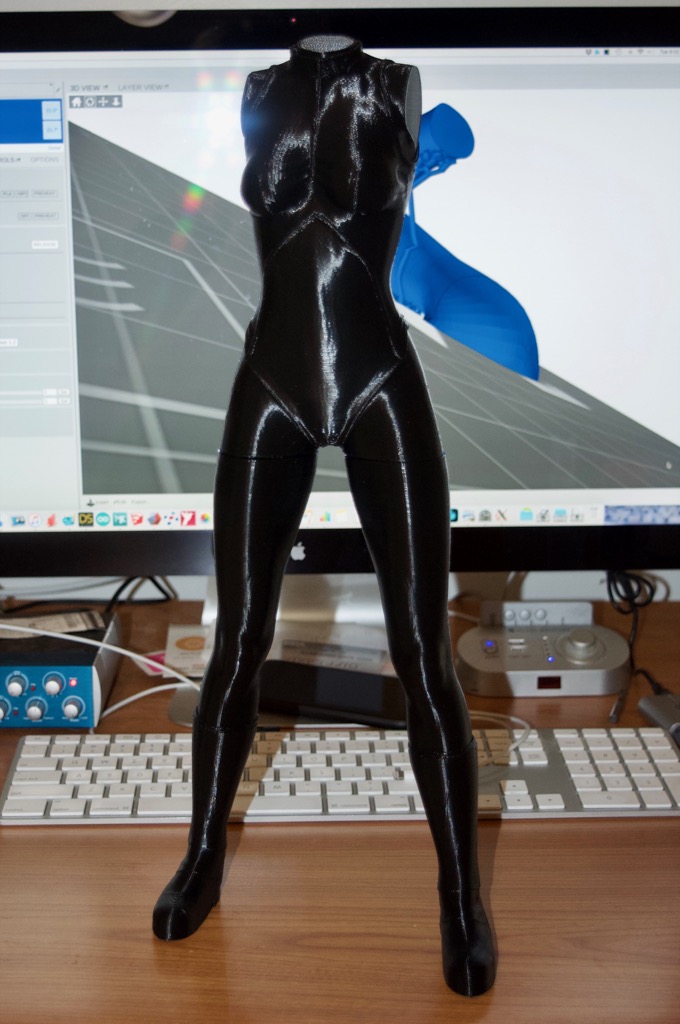
I probably should have keyed all these pieces together so that they'd glue together that much easier. I'll put that in the "lessons learned" bucket.
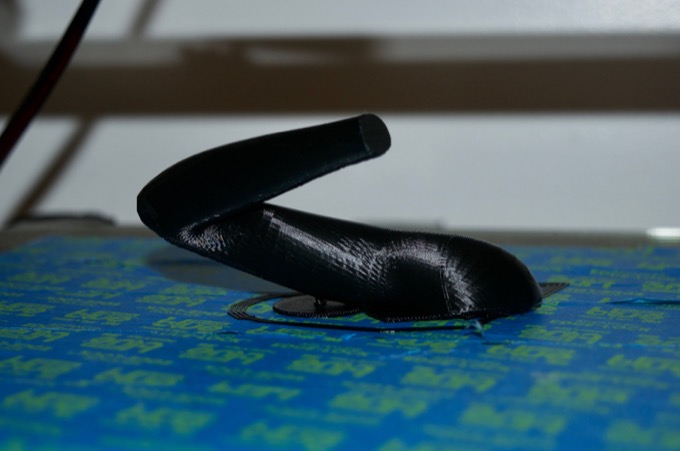
While parts were printing on the CR-10S, I thought I'd make use of the Robo3D to print the arms. Rather than go with the support material I generated in MeshMixer, I just dropped an arm into MatterControl and told it to print with default supports. Big Mistake.
There's no way that's coming off clean. Not to mention, the model itself looks horrible. There is some serious layer shifting that I cannot explain. I don't know if the slicer just couldn't handle the file, or if my Robo3D is in need of some maintenance.
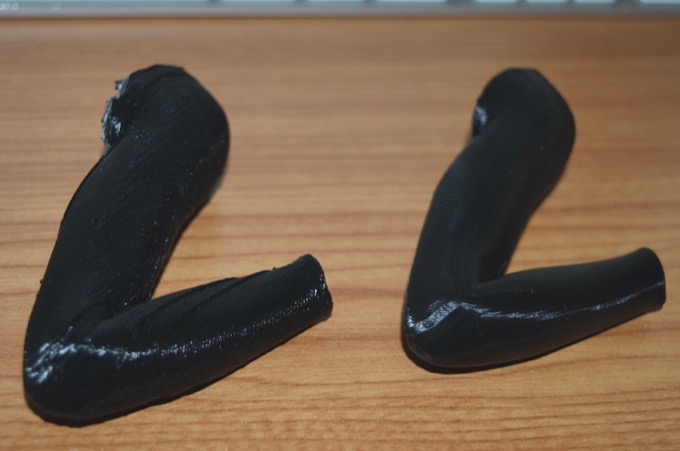
I decided to reprint it on the CR-10S. 7 hours later….the print came out flawless. It is silky smooth.
An order of magnitude better. I wonder why the Robo3D failed so hard. (Robo3D on the left, CR-10S on the right.)
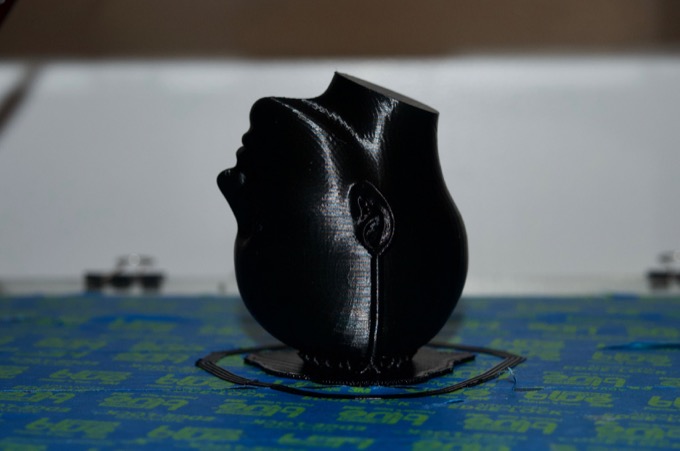
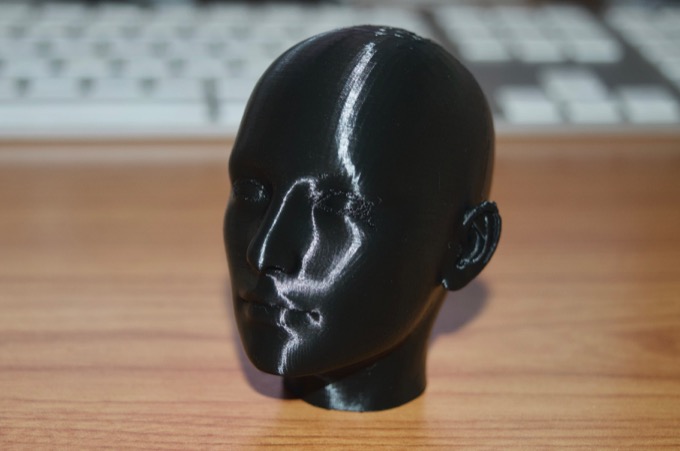
Next up was the head, printed with a .1mm layer height and 5% infill. Print time: 10 hours.
Wow! That. Looks. Awesome!
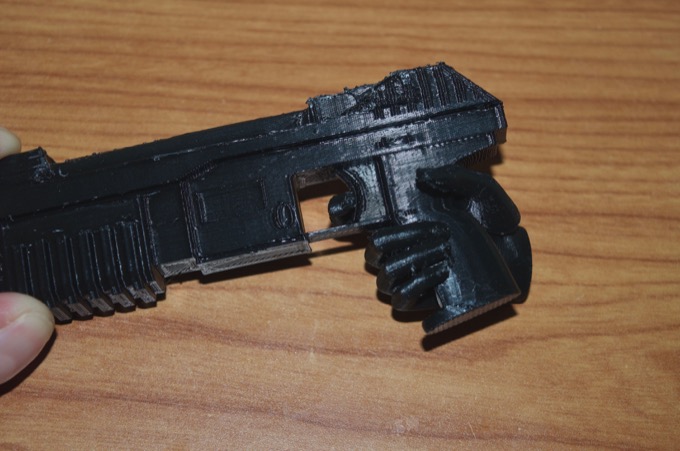
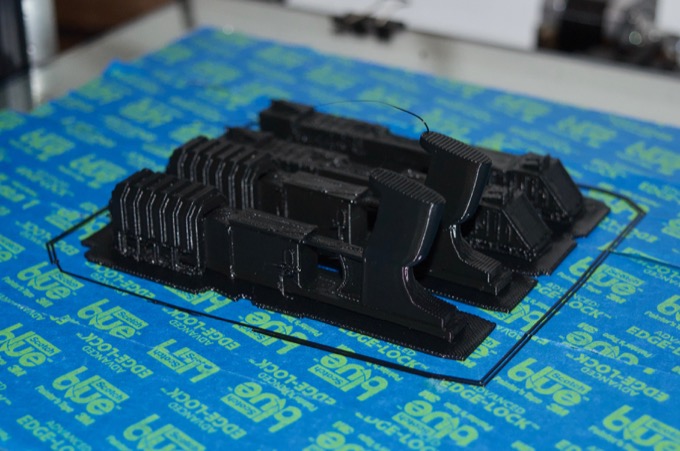
I then decided to print the guns. There's some pretty detailed geometry on the top, but there was no other way to orient the part without using a crazy amount of support material. I just hope that I can peel it off without making a huge mess of it.
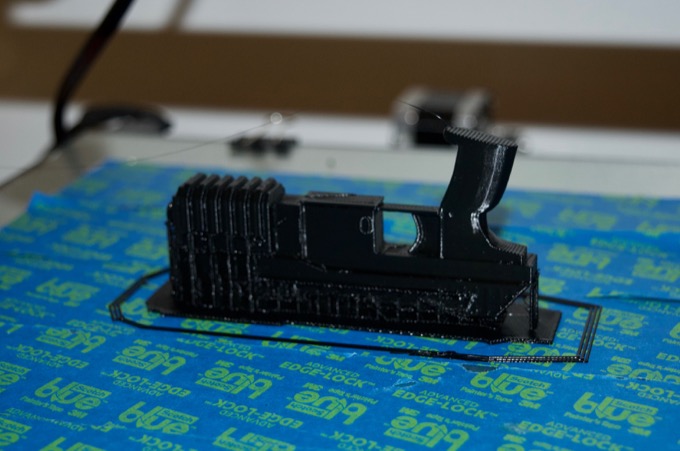
I'm not liking the way that those look. What a mess. It'll take forever to Bondo and sand the tops clean. I may have to cut the guns in half and then glue the parts together for a cleaner print.
Also, did I really think I was going to simply slide the guns into the hands? I think I did. Another classic case of "looks good on paper".
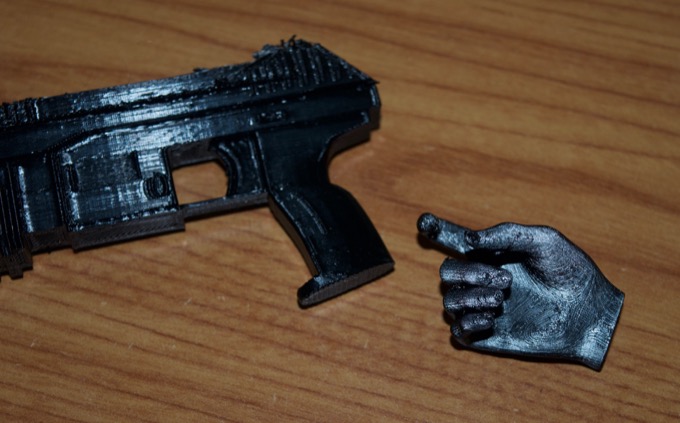
I was going to try and reprint the guns with the hands around the grips, but that'll be even messier than printing the guns handle-up. It'll require support material. Too much clean up work, and likely another messy failed print. I decided to slice the thumbs off the hands. I can then glue the guns to the hands, and then glue the thumbs on after.
Another five hours later, I had new hands and thumbs.
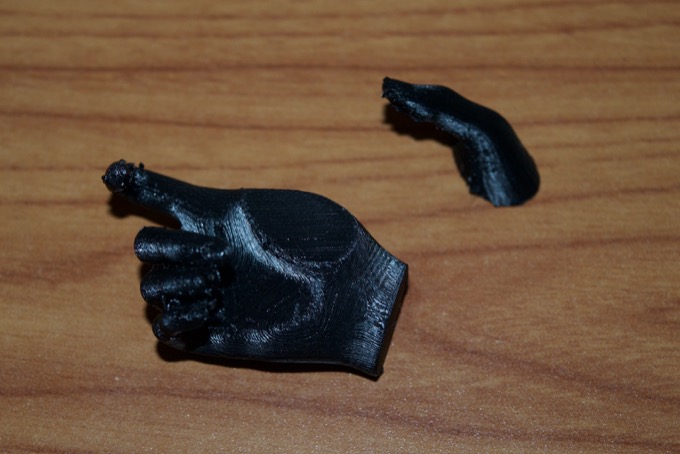
I think that'll work nicely!
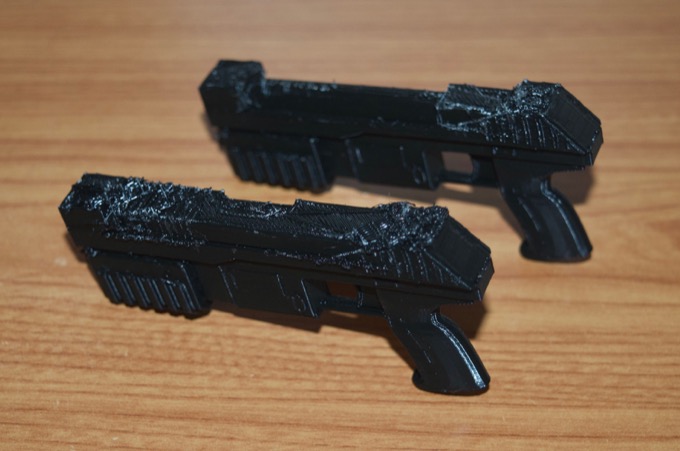
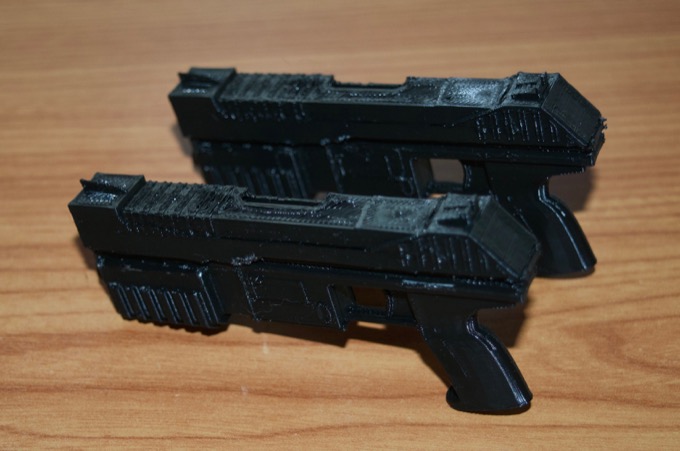
I sliced the guns down the middle and printed them again. Much better.
These are going to look great when glued together. Pulling off the support material from the previous prints destroyed the sights. I might not even have to Bondo the seam. It might just look like it's part of the gun.
Wow, that was a lot of printing. 74 hours and 45 minutes to be exact. (That's not counting having to print the hands and the guns twice.) 18" ruler for scale.
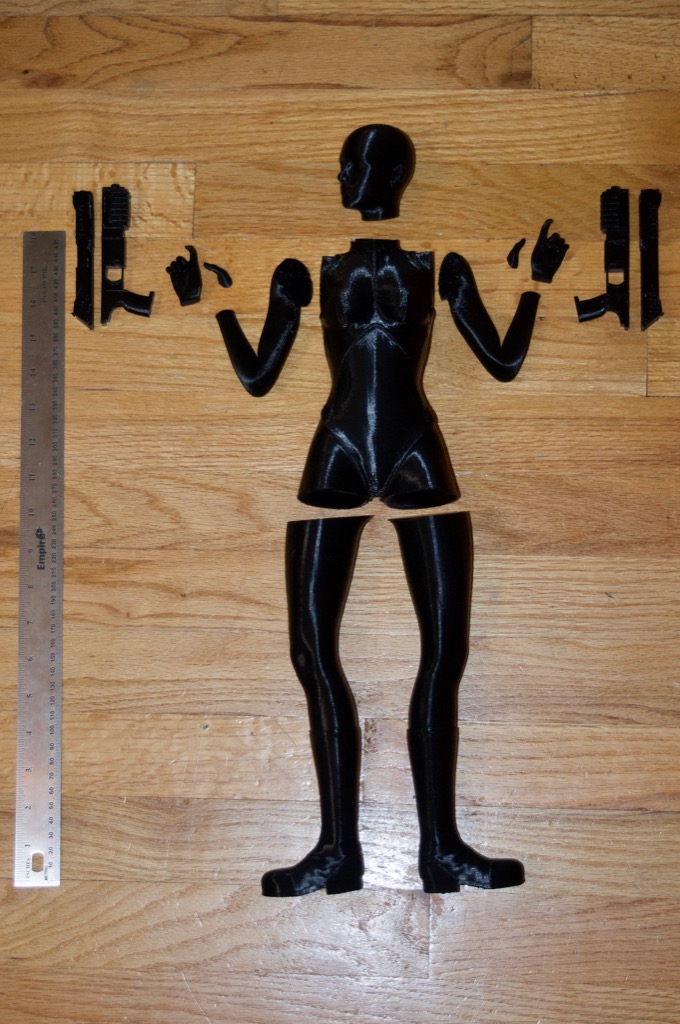
Next up…sanding and primer!
See this project from start to finish: 20" 3D-Printed Victoria 6 Figurine - Part I
20" 3D-Printed Victoria 6 Figurine - Part II 20" 3D-Printed Victoria 6 Figurine - Part III 20" 3D-Printed Victoria 6 Figurine - Part IV 20" 3D-Printed Victoria 6 Figurine - Part V 20" 3D-Printed Victoria 6 Figurine - Part VI
