With the guns complete and the model completely glued together (with the exception of the thumbs), it was time to clean up the seams. I used some Bondo to fill in the gaps.
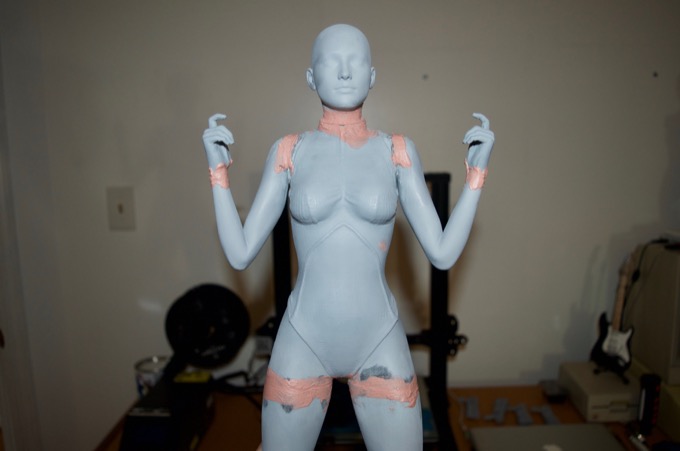
I then sanded the seams nice and smooth.
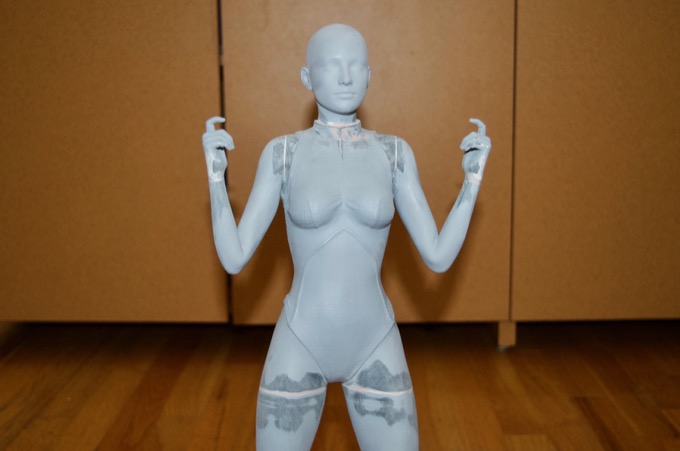
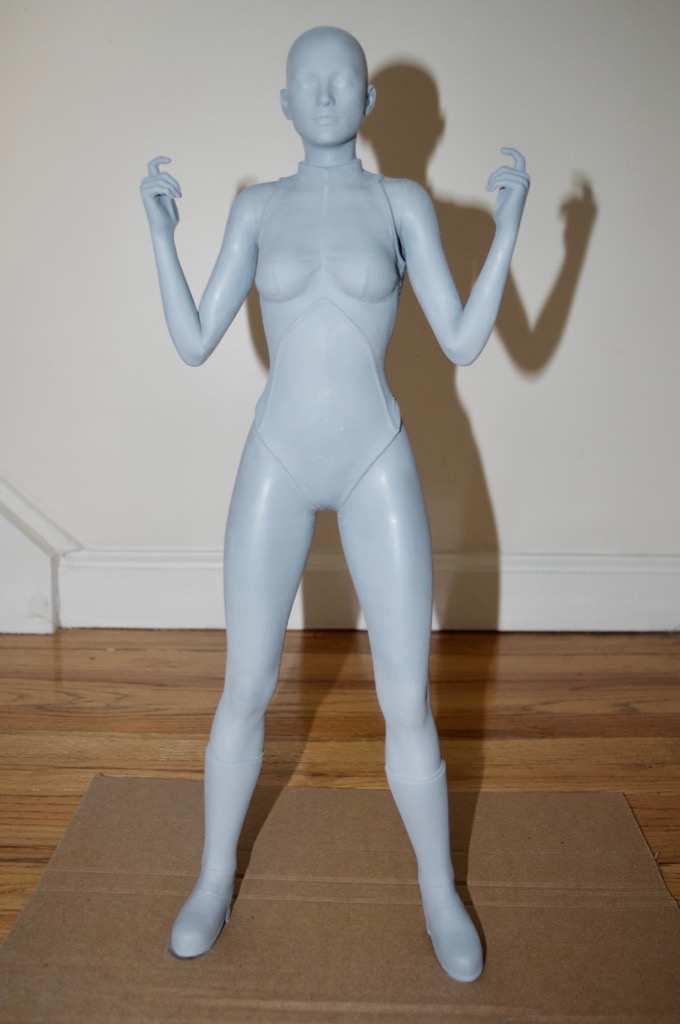
I then gave it a coat of primer to see how well it came out. There's a few spots that I'll go back and touch up with some Vallejo putty, but not bad!
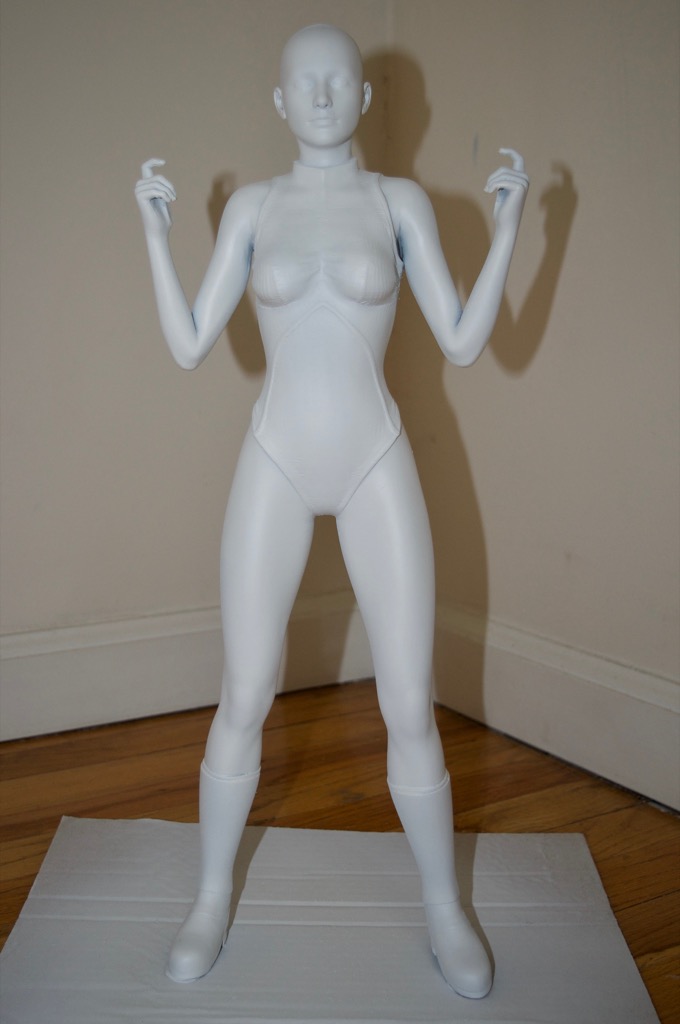
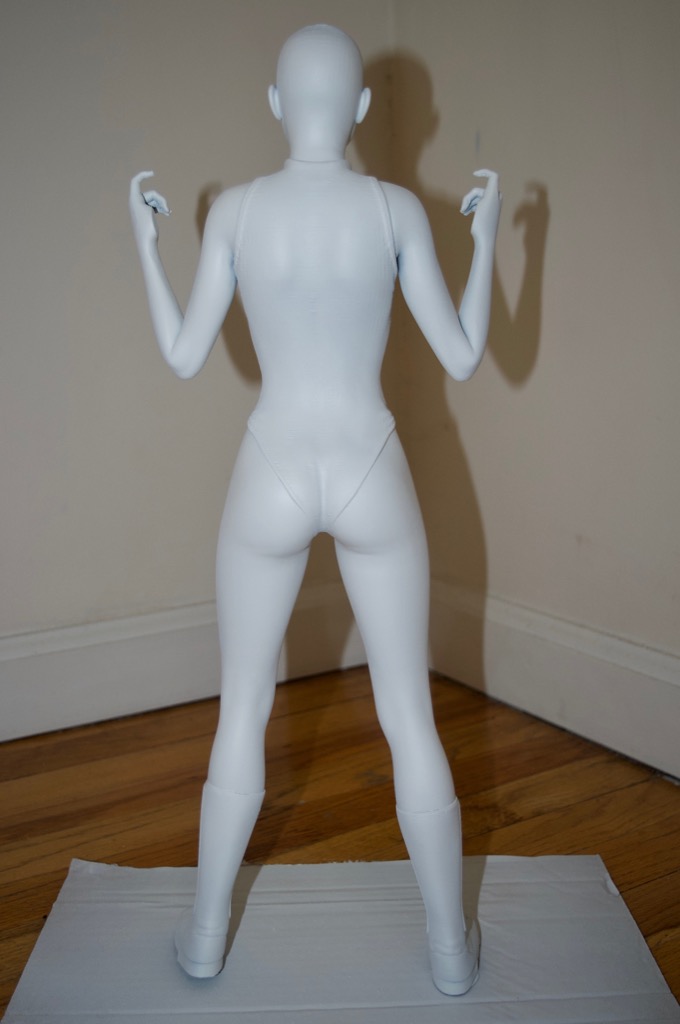
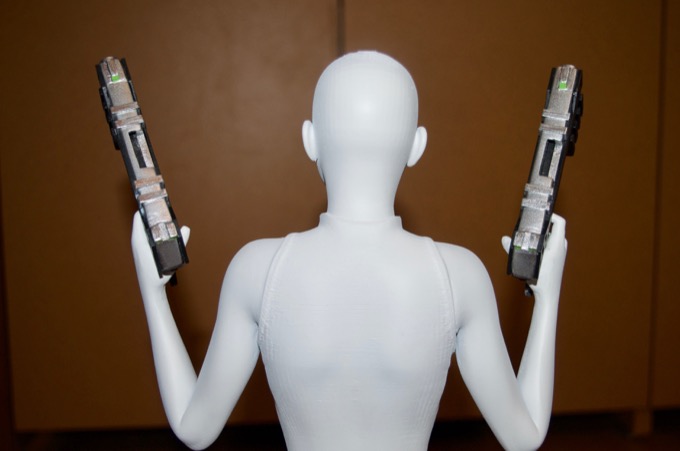
I made a few touch ups and then gave it a coat of matte white. That looks awesome. I think I'm ready to glue the thumbs and guns on.
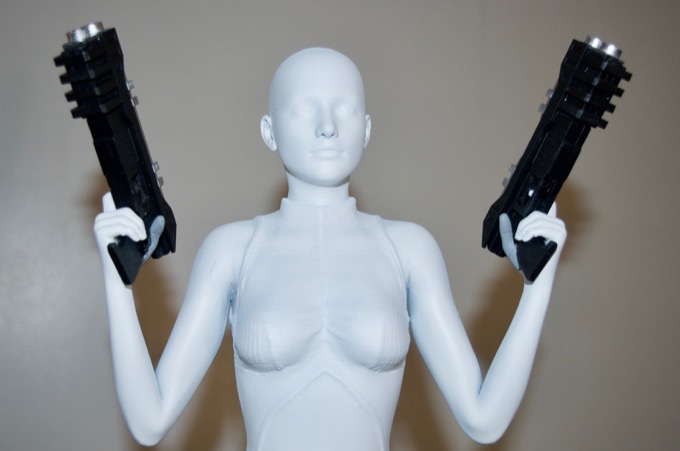
The last part of the assembly was to glue on the guns and thumbs. I had to file the thumbs down a bit in order to get them to fit properly around the gun handles.
I then filled the seams with Vallejo putty.
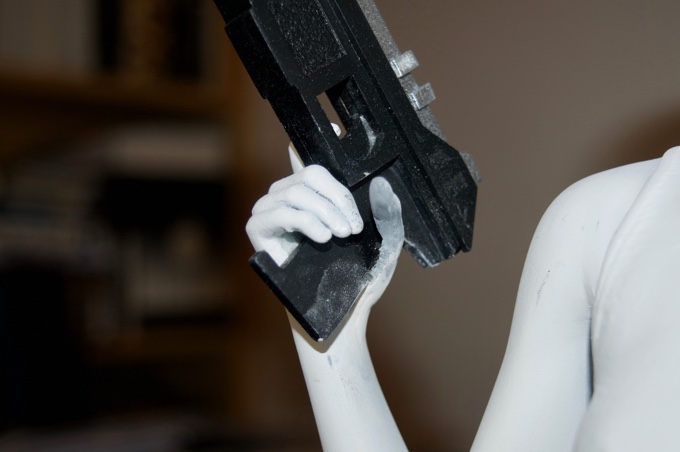
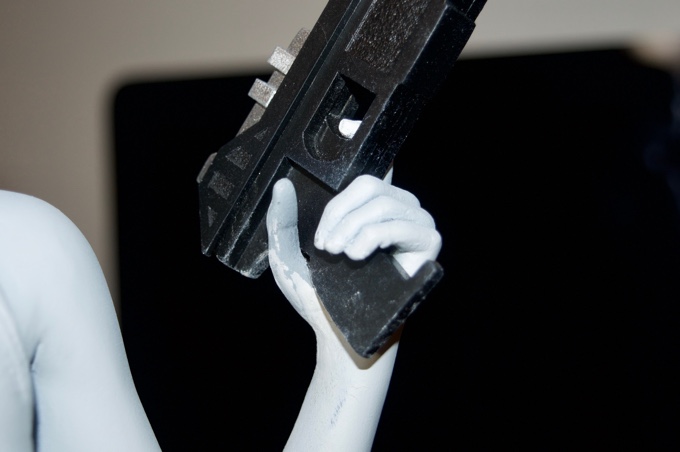
I then painted the thumbs.

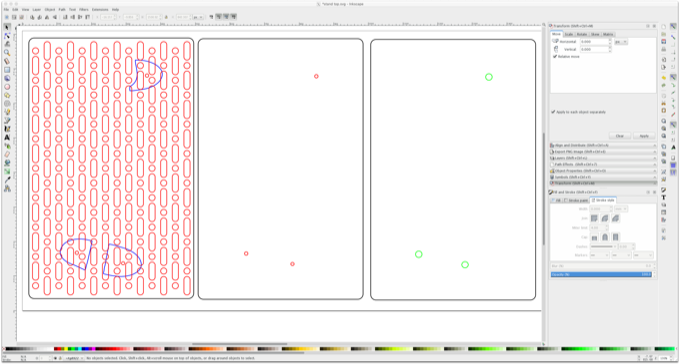
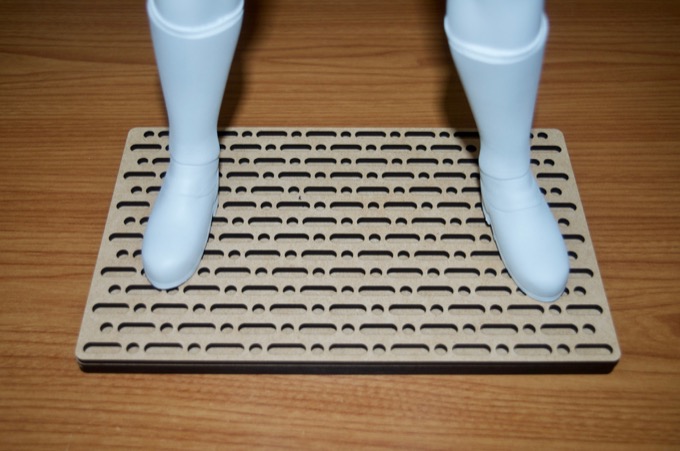
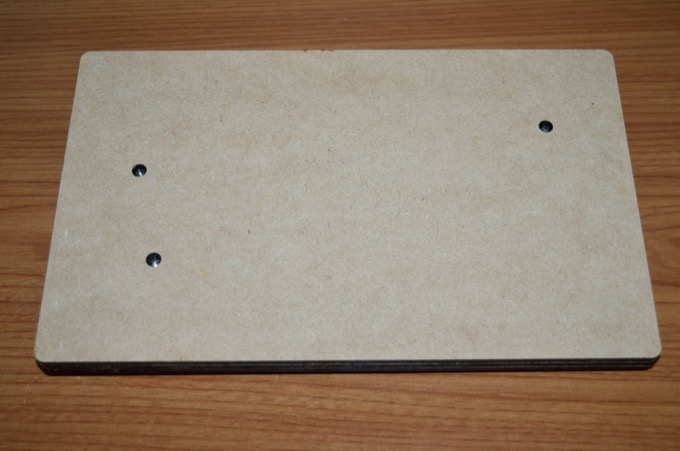
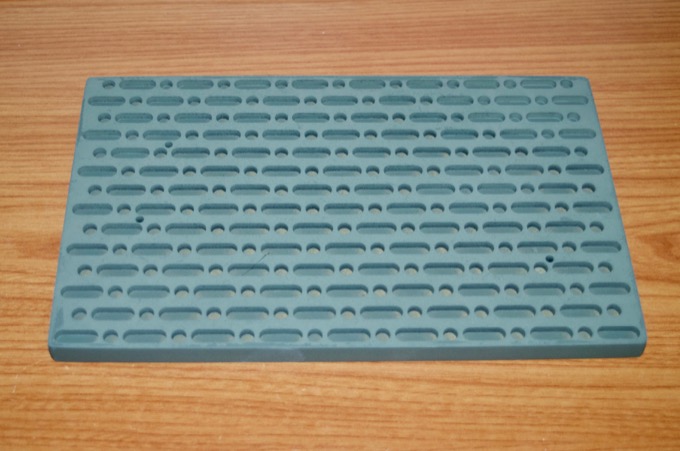
For the base, I jumped into Inkscape and designed something really cool. The base is made out of three layers and will be laser cut out of wood. There are holes that will accommodate some 4-40 screws that will screw into some threaded inserts that I will install into the boots. I made the holes on the bottom of the board a little larger so that the screw heads would fit inside.
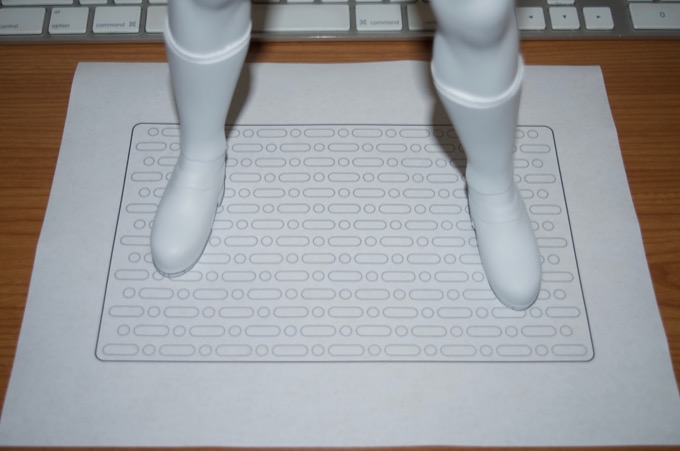
I first printed it out in order to make sure that the size and boot placement was correct.
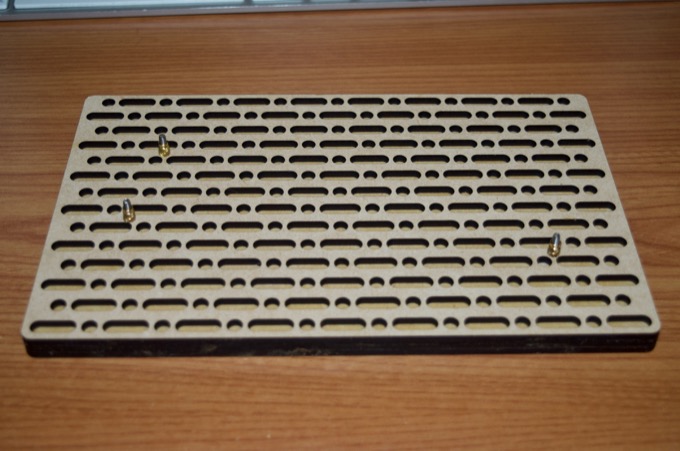
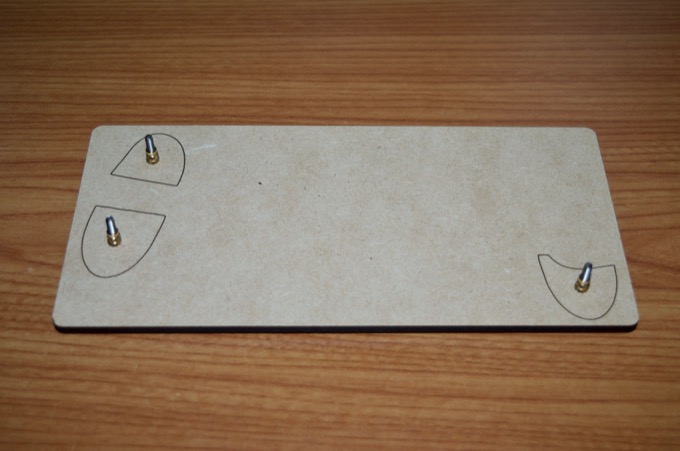
I then cut the panels out along with a jig for the boots. I'll use that to align and install the threaded inserts.
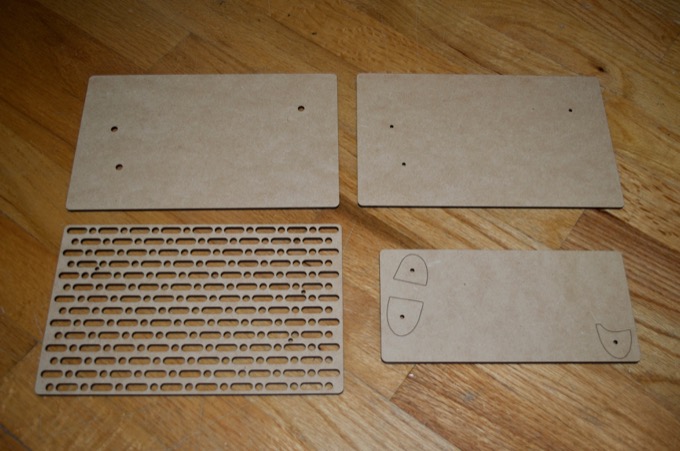
That's going to look cool!
The large holes on the bottom hide the screw heads nicely.
The smaller holes in the center allow me to insert some 4-40 screws and secure them into place with the threaded inserts.
I'll heat up the inserts and melt them into the boots using the jig.
I used some Vallejo putty to fill the seams on the sides and I then took it outside and gave it a coat of primer.
Once that dried, I gave it two coats of metallic black. I think I'll darken the holes a bit with some black acrylic paint.
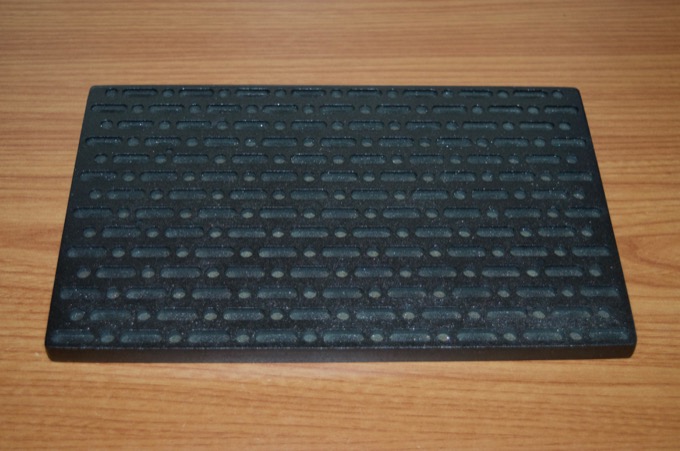
I think that'll do it. It's time for the final paint job!
See this project from start to finish: 20" 3D-Printed Victoria 6 Figurine - Part I 20" 3D-Printed Victoria 6 Figurine - Part II 20" 3D-Printed Victoria 6 Figurine - Part III 20" 3D-Printed Victoria 6 Figurine - Part IV
20" 3D-Printed Victoria 6 Figurine - Part V 20" 3D-Printed Victoria 6 Figurine - Part VI
