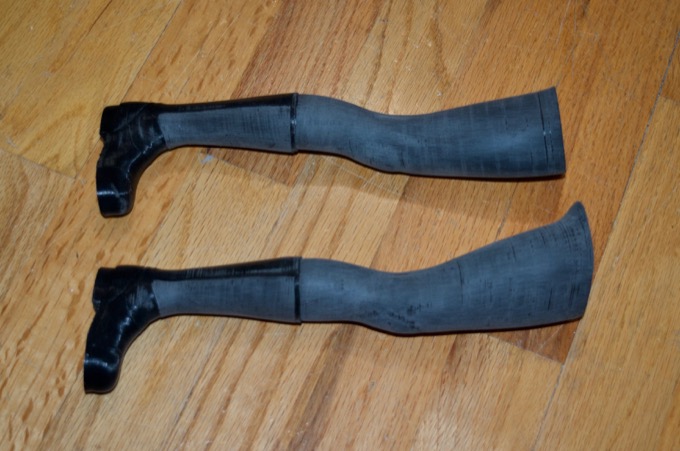
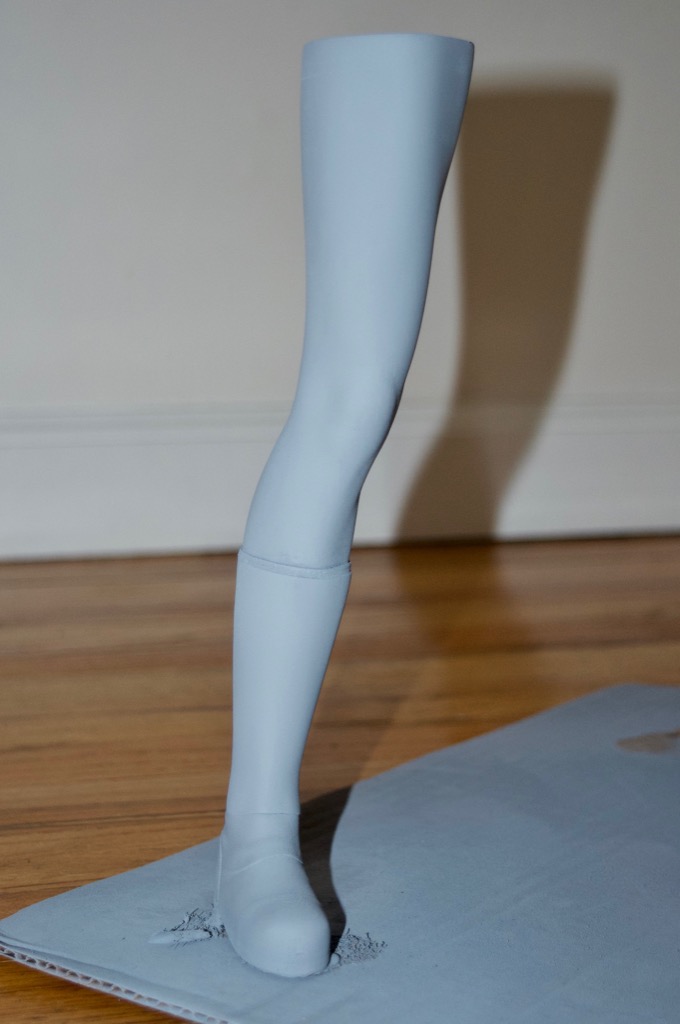
The legs were printed with a layer height of .2mm. They required a fair amount of sanding. I could have spent all day on them and continued to sand until the surface was as smooth as glass, but I wanted to see if I could just sand them until they were "good enough" and compensate with a few layers of primer. I didn't sand the boots completely either. I thought that the layer lines would give the "fabric" somewhat of a pattern or texture.
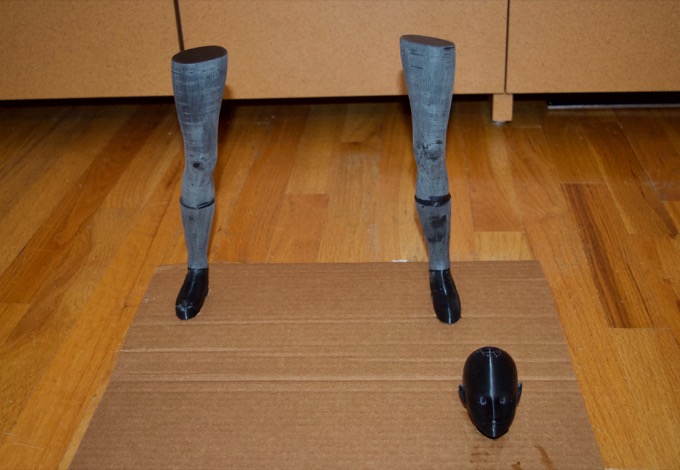
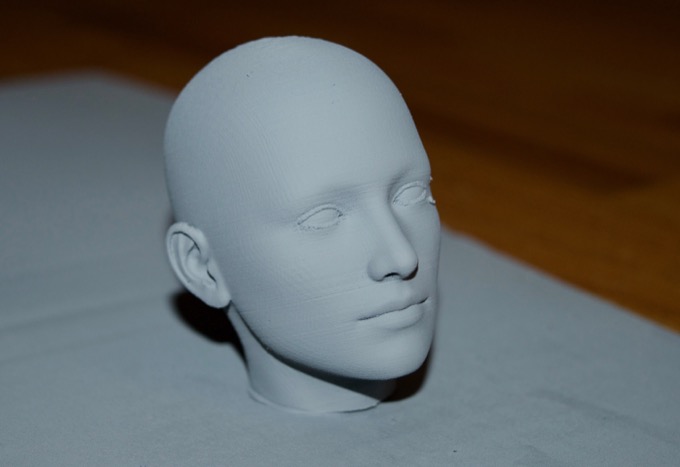
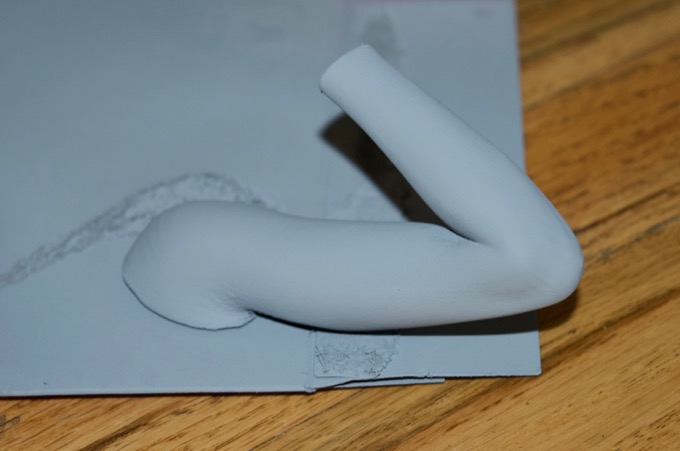
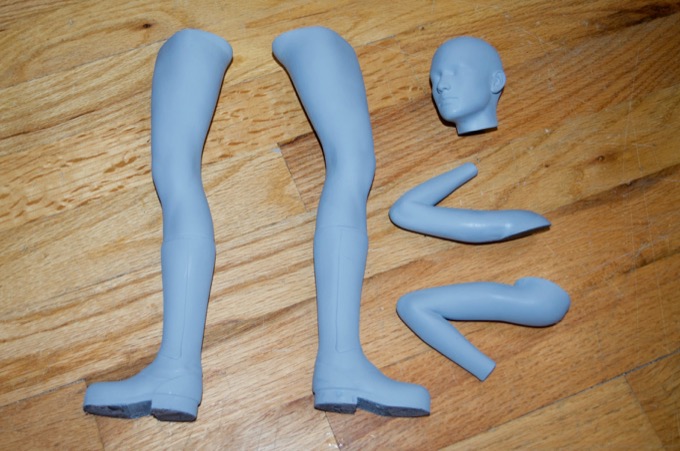
The head and arms were printed with a layer height of .1mm so I was hoping that I'd get away with a just few coats of primer and no sanding.
The legs did not come out half bad after giving them two coats. They will still require a little cleanup work and a few more coats, but not bad at all.
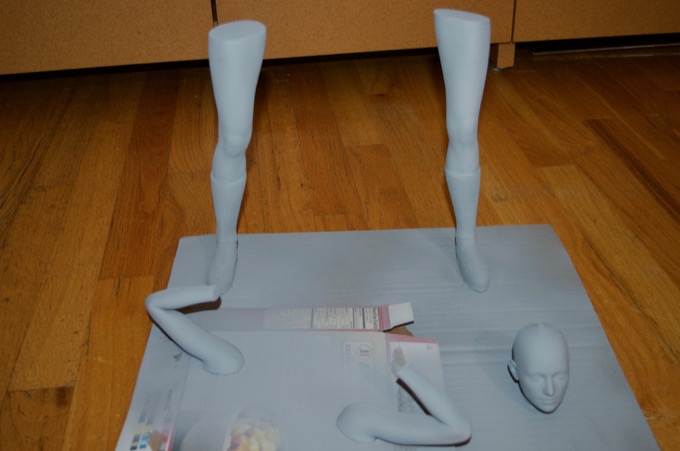
Unfortunately, two coats was not enough to cover all the lines on the arms. They are still very obvious. So much for that idea. I will have to go back and sand them too.
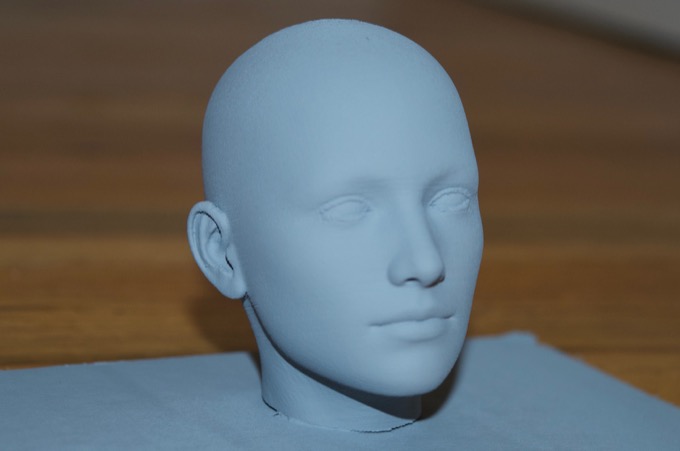
As far as the head, some of the lines did start to disappear. Maybe I laid the paint on thicker? I also did not notice that there was a blob of plastic under the left eye that will have to be repaired.
Seeing how the head came out better than the arms gives me hope. I might be able to just continue to add layers of primer until they are smooth. I'd rather give them six coats of primer than spend all day sanding.
More coats…..and a little sanding…looking good.
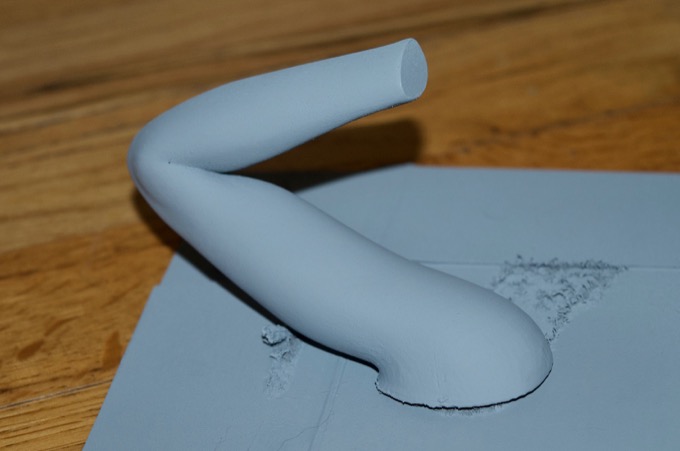
More coats. More sanding. They look awesome now. I think that's as good as they are going to get.
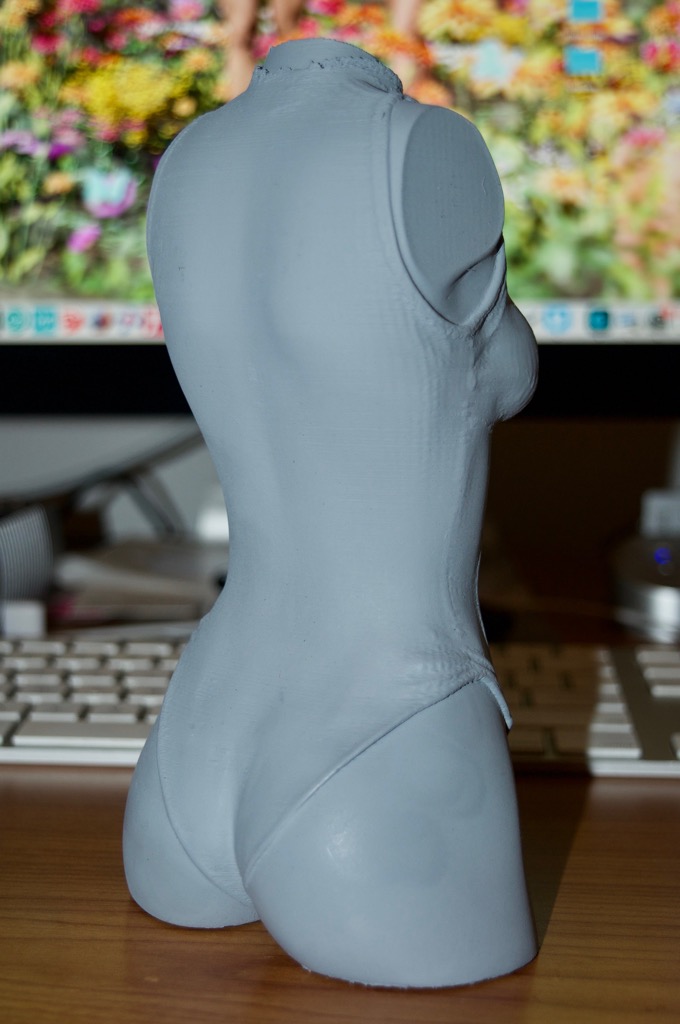
Next up was the torso. I only sanded the skin. I left the clothes alone. I thought leaving the print lines in would give the plastic a nice texture. I think it might actually help make it look like fabric.
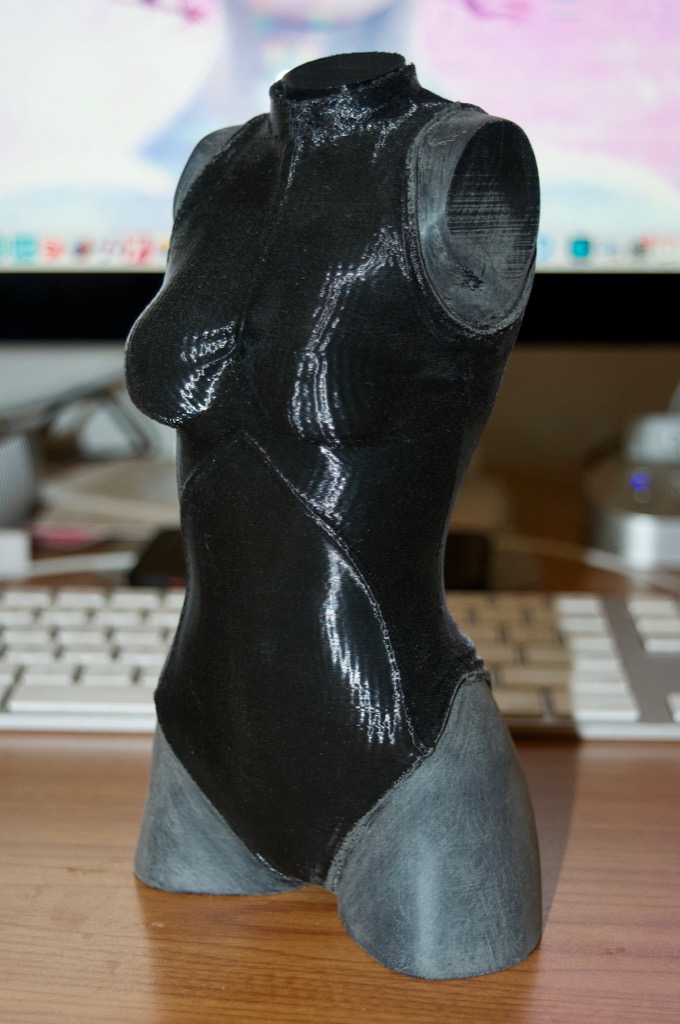
I didn't bother sanding the neck area either. I'm going to have to Bondo and sand the seam anyway.
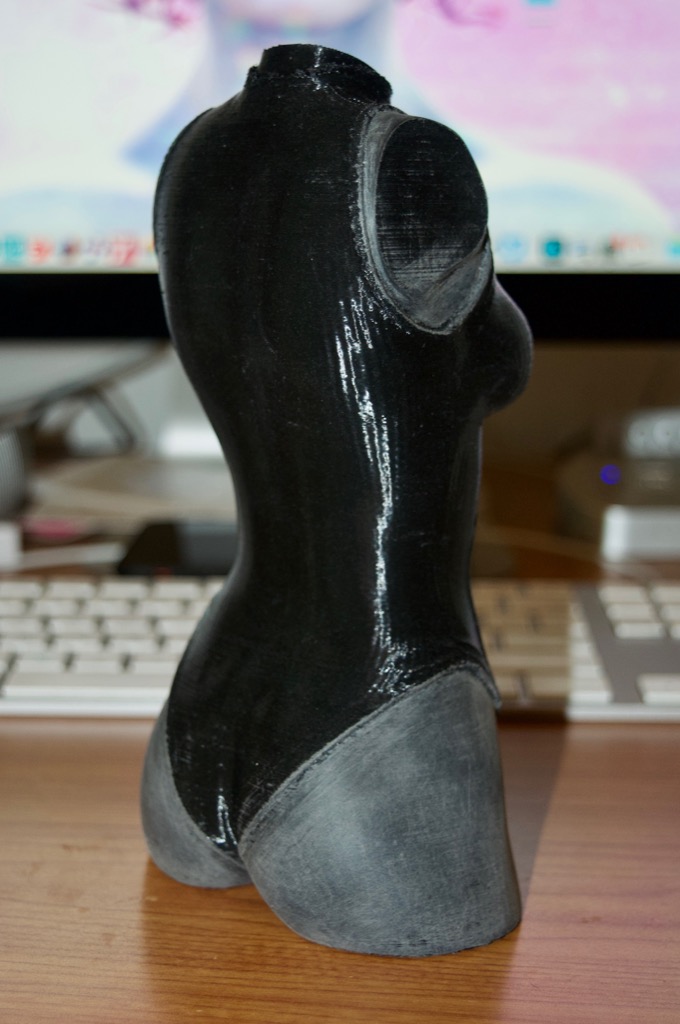
I then gave it a few coats of primer. It came out awesome. I really like how the clothes came out. I left all the little blips and imperfections alone.
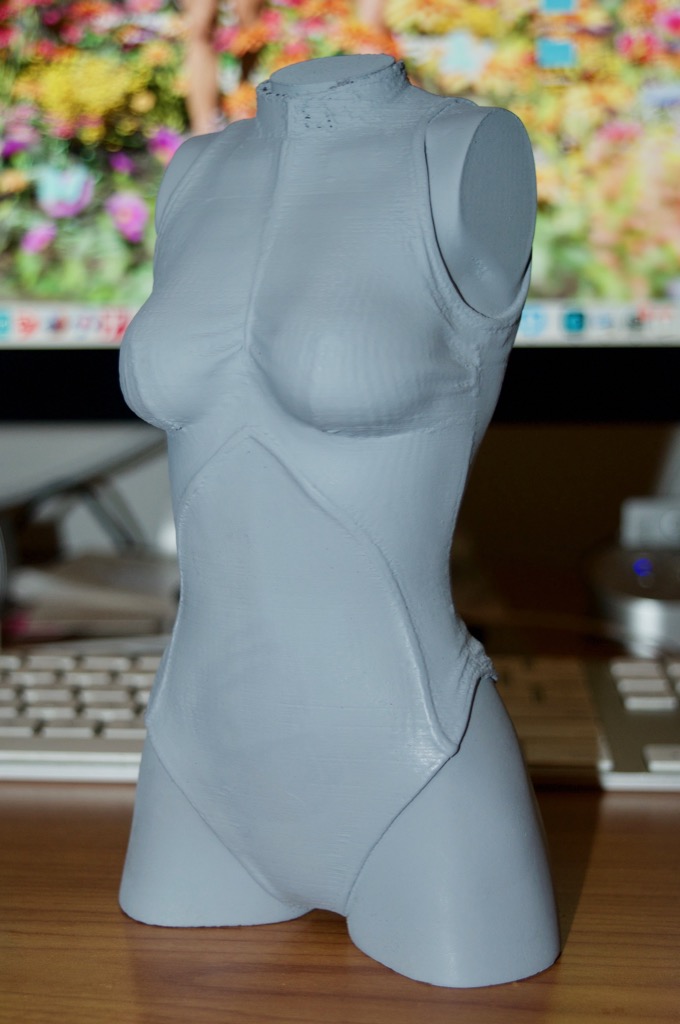
I think the slight imperfections and the presence of print lines really sells the weathered fabric look.
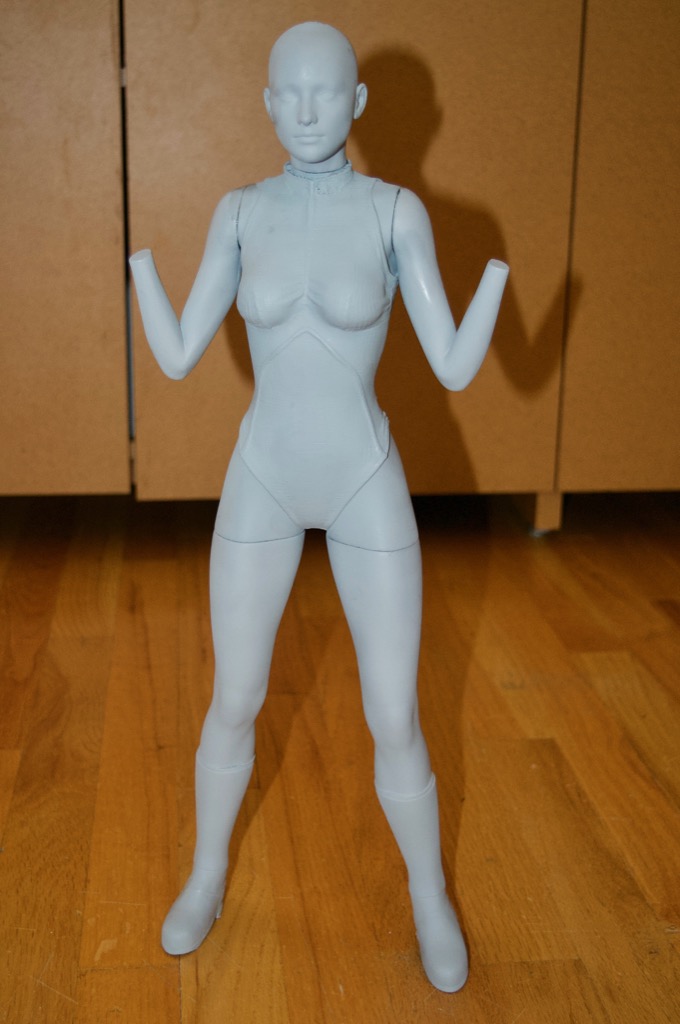
I then glued the arms, legs, and the head to the torso. Wow, it's big. It's just about 20" tall.
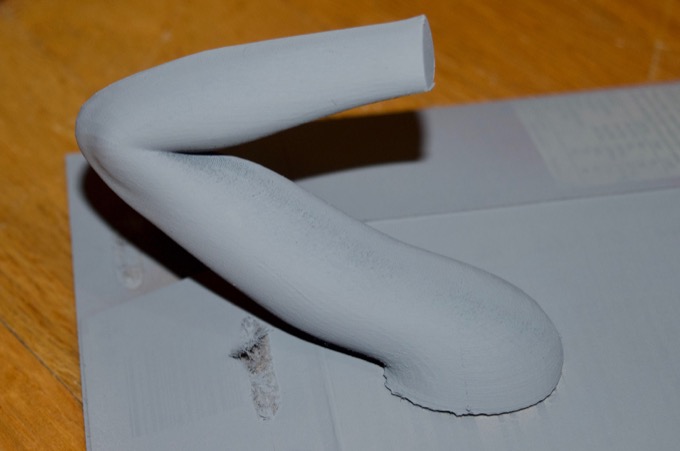
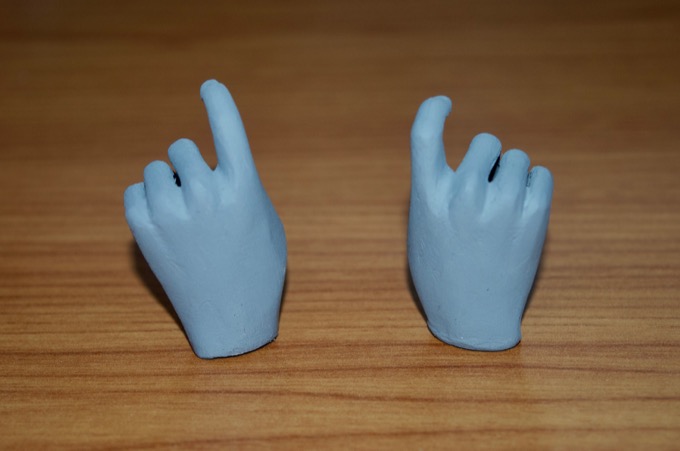
Next up are the hands. I think sanding will only get me so far. I think Bondo is just going to make a huge mess, and it's a real pain to sand it off such tiny little parts. I decided to pick up some Vallejo acrylic putty to smooth out the finish. It worked pretty well.
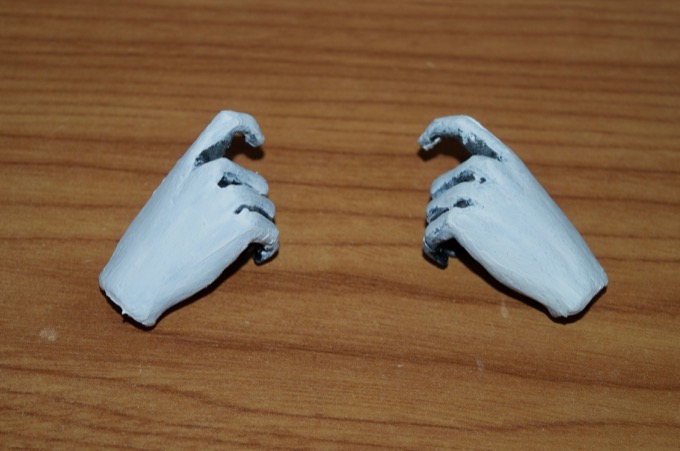
I then gave them a sanding and some primer. They are not perfect, but I think they look really good. I think some minor blemishes here and there might give the figure some character.
I then glued the hands on and got to work on smoothing out the seams. It needs a little more work, but it's almost complete.
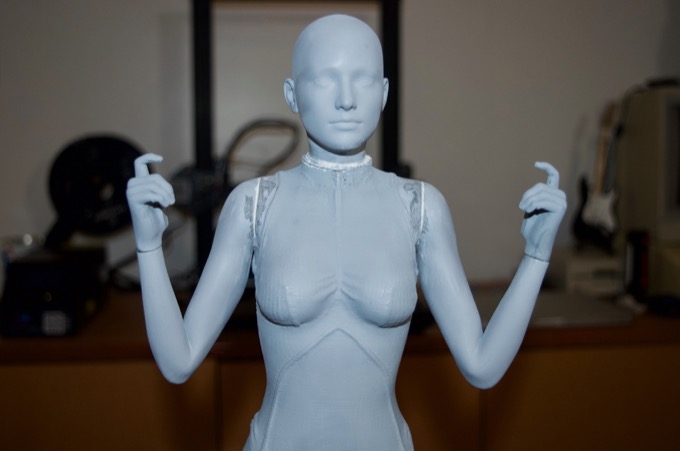
The last thing I need to do is glue the thumbs on. However, I can't do that until the guns are finished.
See this project from start to finish: 20" 3D-Printed Victoria 6 Figurine - Part I 20" 3D-Printed Victoria 6 Figurine - Part II
20" 3D-Printed Victoria 6 Figurine - Part III 20" 3D-Printed Victoria 6 Figurine - Part IV 20" 3D-Printed Victoria 6 Figurine - Part V 20" 3D-Printed Victoria 6 Figurine - Part VI
