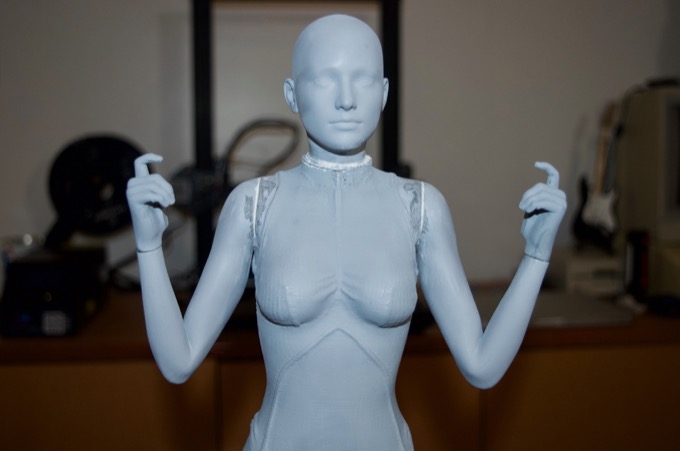
The model is almost complete, but I can't glue the thumbs on until the guns are complete and glued into the hands.
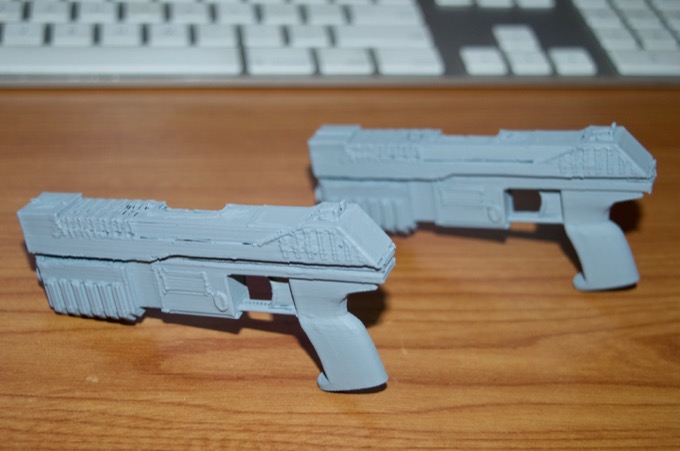
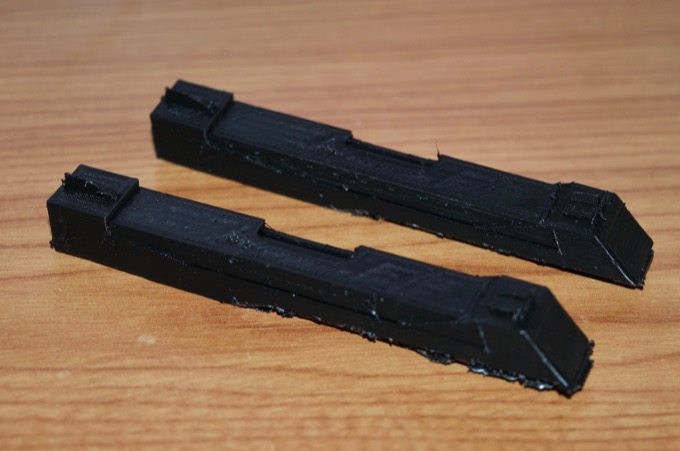
I sanded the faces of the two halves nice and flat and then epoxied them together.
I then gave them a few cots of primer so I could see what I was dealing with. Yikes! These need a lot of cleanup work. In fact, too much work.
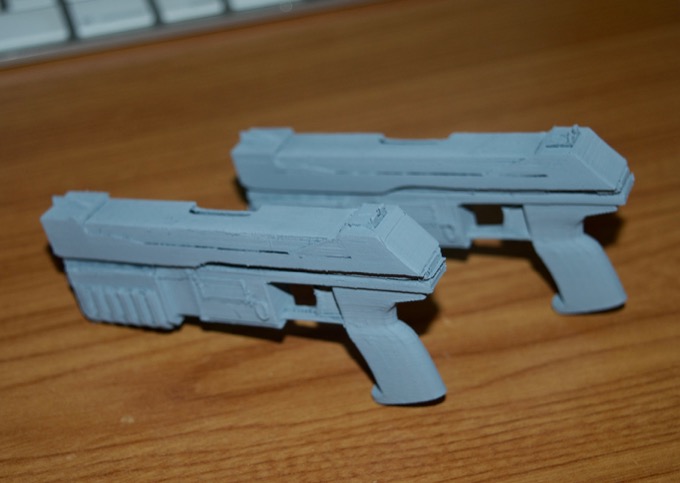
I decided to go back to the model and simplify it a little by removing some of the finer details from the slide.
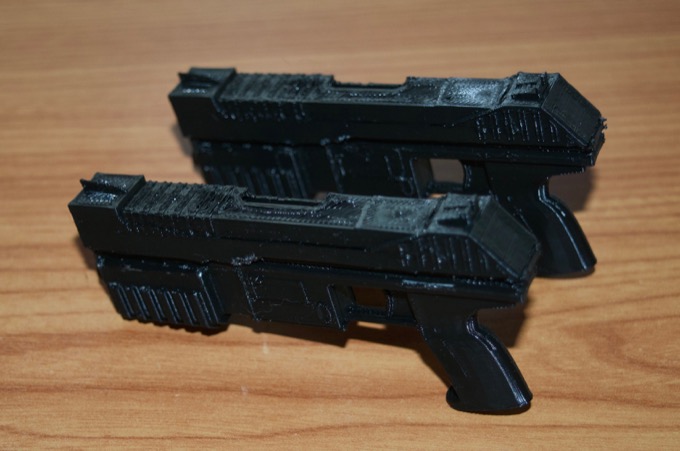
I then reprinted them. They look better, but how do they look after being assembled and pained?
Ugh! Horrible.
I used some Vallejo acrylic putty to fill in all the holes and smooth out the rough spots.
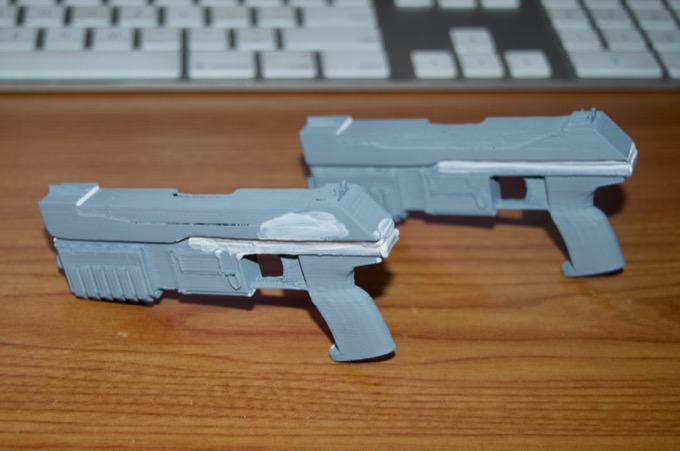
After they dried, I gave them another sanding and another coat of primer. This is just not working. They look better, but they are not the quality that I am looking for. This is the third set that I've printed. It's time to try something different.
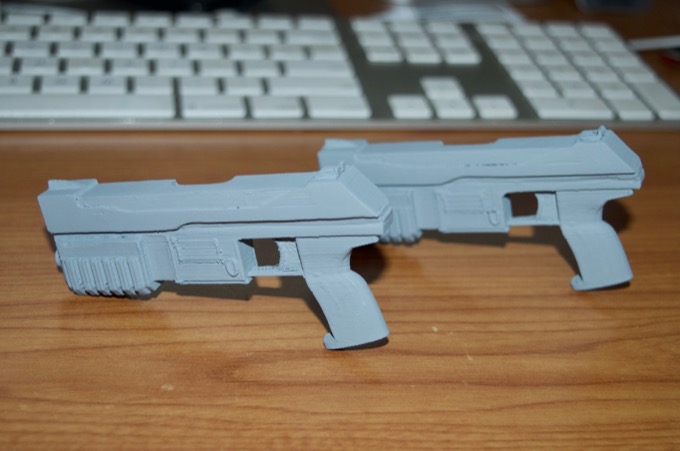
Rather that 3D-print the guns, I am going to try and laser cut a pair. That way all the edges will remain nice and sharp and I won't lose any details.
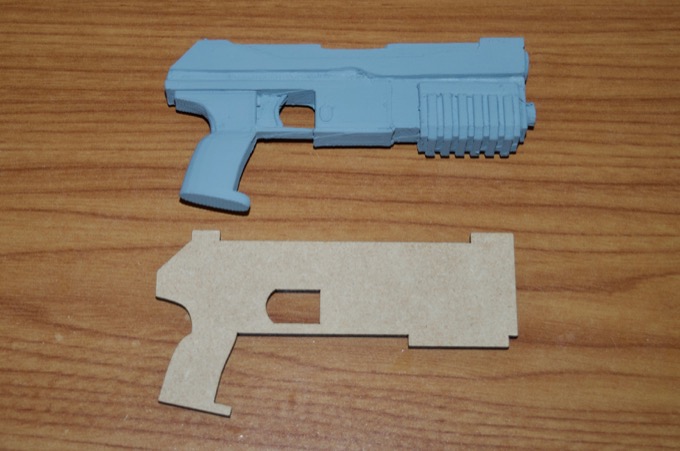
I jumped into SketchUp and designed my model with the intent of cutting it out of 3.5mm draftbaord. The plan is to make the guns out of several different layers using the same technique I used to make the phone from the
Telephone Box.I first started with the basic profile to make sure that I had the proper dimensions. Looks good.
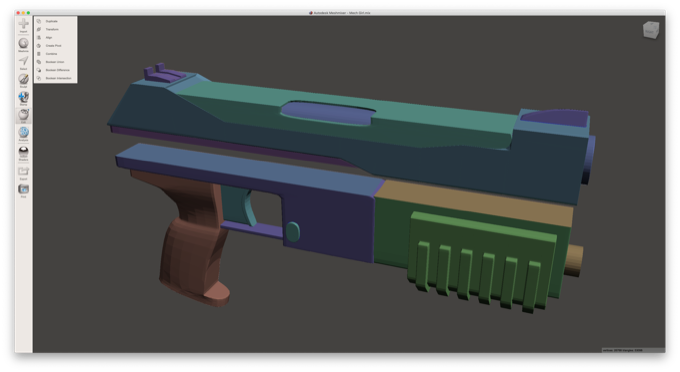
I then experimented with a few more cuts until I settled on a design that I was happy with.
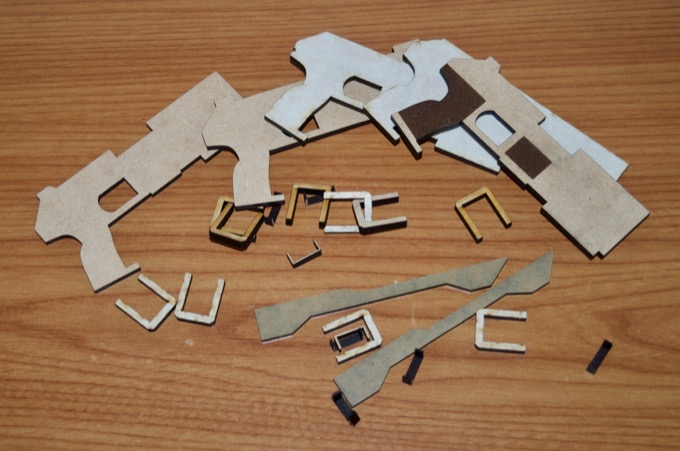
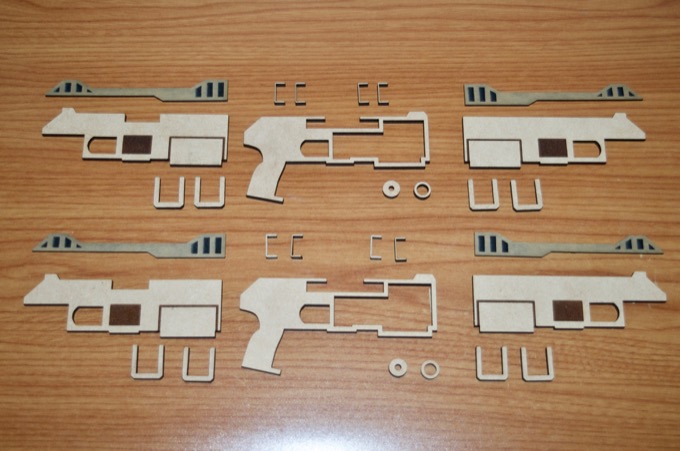
The guns are made up of five layers. Three are 3.5mm draftboard and two are 1/16" acrylic. There are 15 pieces all together.
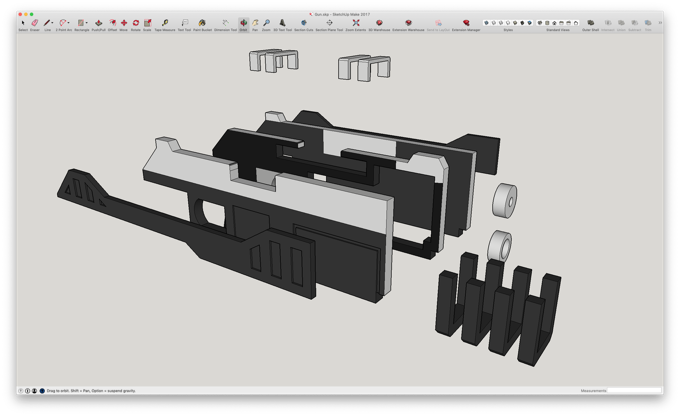
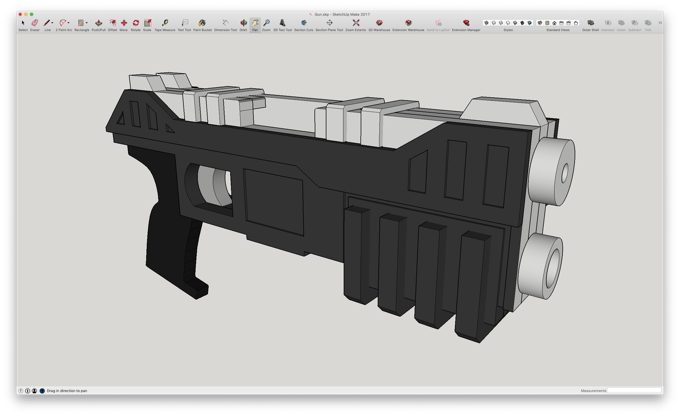
Once assembled and painted, it should look something like this:
I then cut out all of the pieces. That's a lot of pieces!
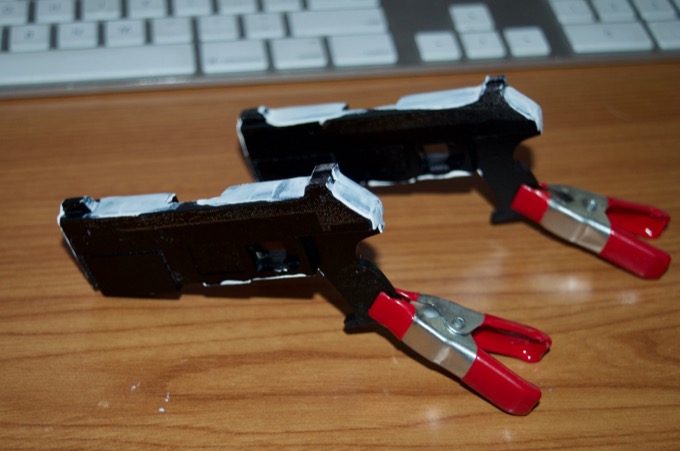
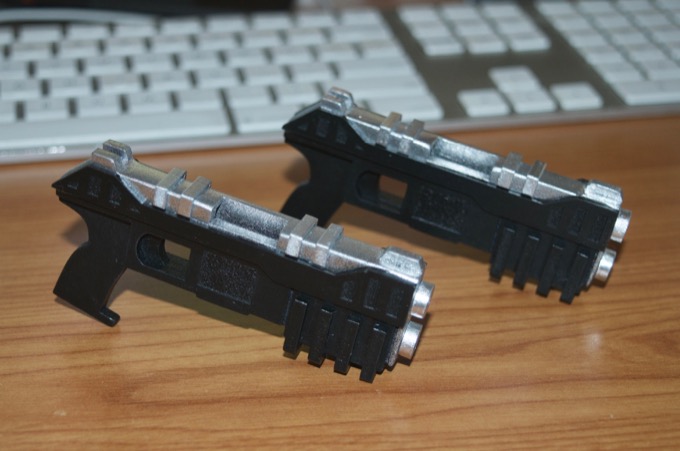
I started to glue the guns together. Some of the smaller pieces I'll paint separately. I gave them a coat of primer followed by a coat of black, but I didn't like how the lines on the top looked so I filled them in with putty.
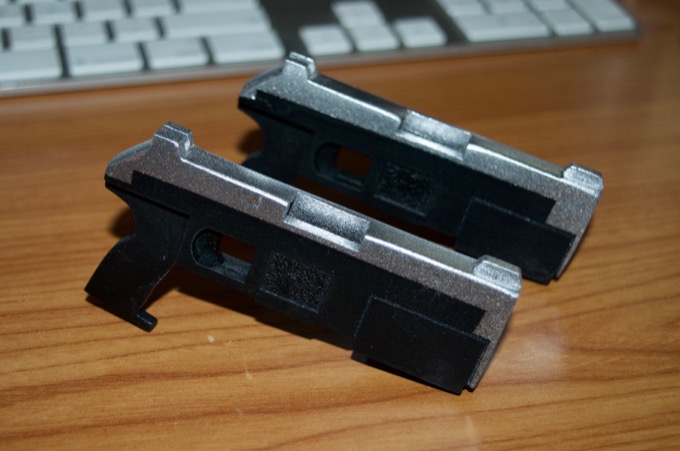
After some sanding and another coat of paint, they looked pretty good. I think I'll mask off the frames and paint the slides silver.
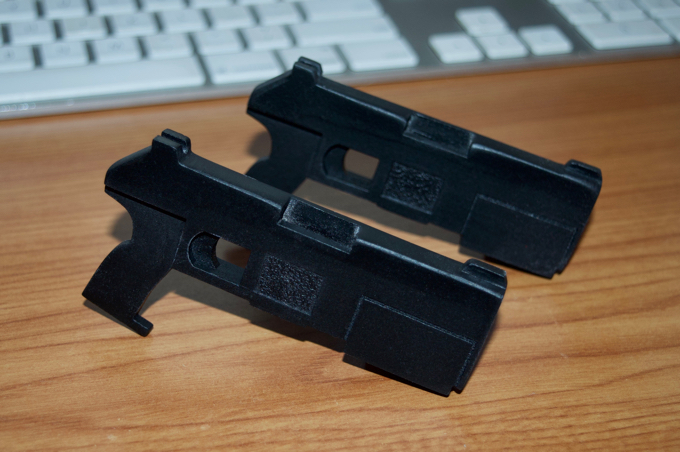
Nice.
I then glued all the other little pieces on. I really like the way that they came out. They look so much better than the 3D-printed ones.
I quick test fit. Looking good!
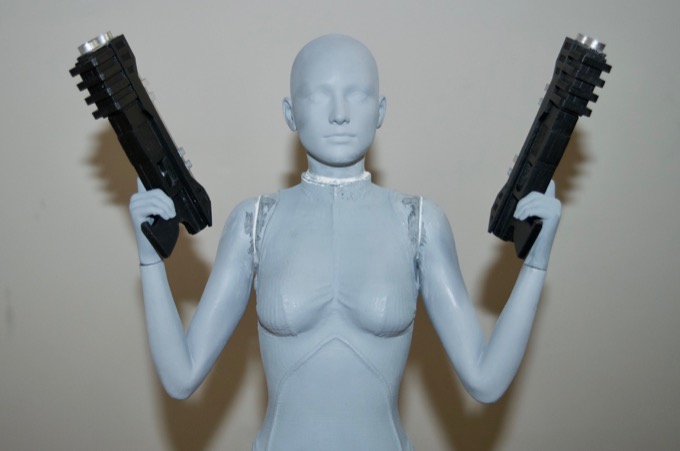
I just have to glue on the thumbs and clean up all the seams and I can start with the final paint job.
See this project from start to finish: 20" 3D-Printed Victoria 6 Figurine - Part I 20" 3D-Printed Victoria 6 Figurine - Part II 20" 3D-Printed Victoria 6 Figurine - Part III
20" 3D-Printed Victoria 6 Figurine - Part IV 20" 3D-Printed Victoria 6 Figurine - Part V 20" 3D-Printed Victoria 6 Figurine - Part VI
