With the body and dome complete, it's time to start on the legs and feet. Winter is here so I won't be sanding and painting any time soon, so I have a few months to print all the parts.
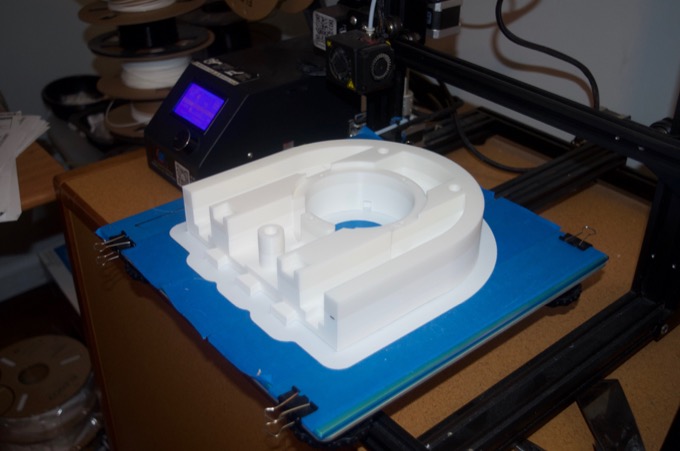
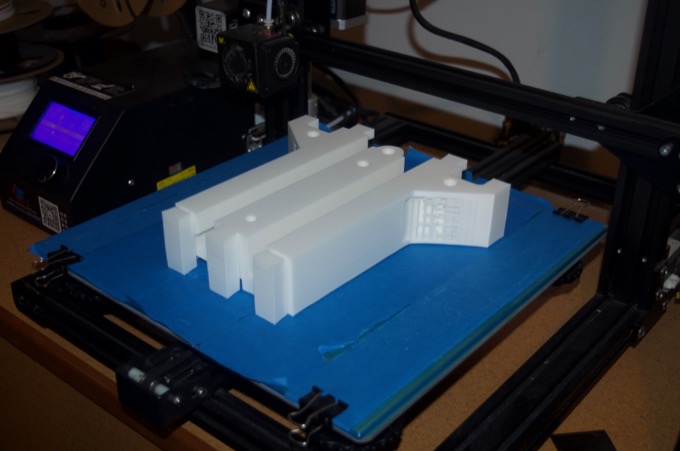
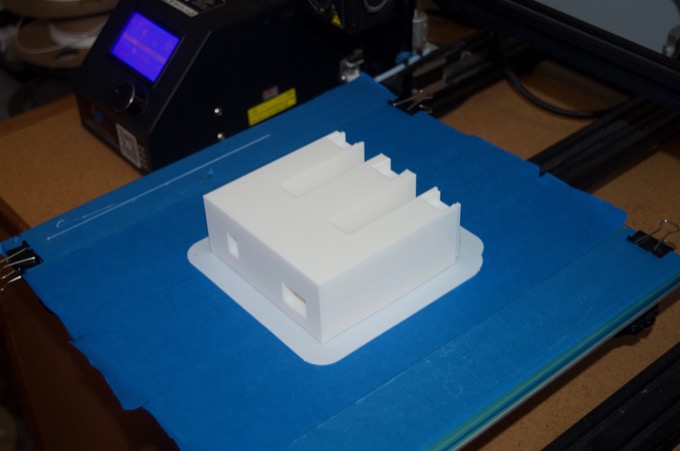
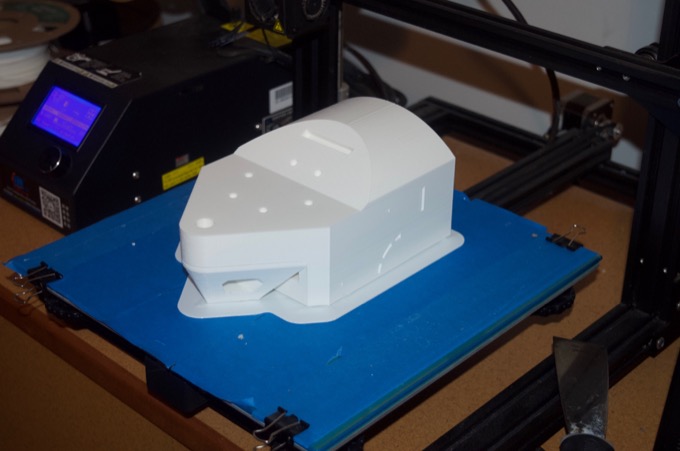
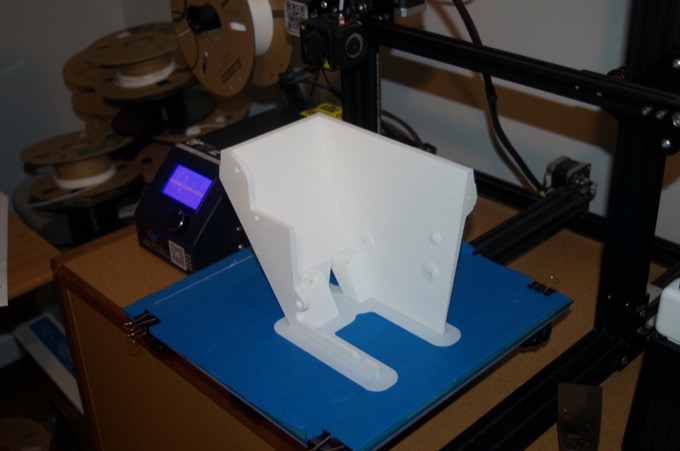
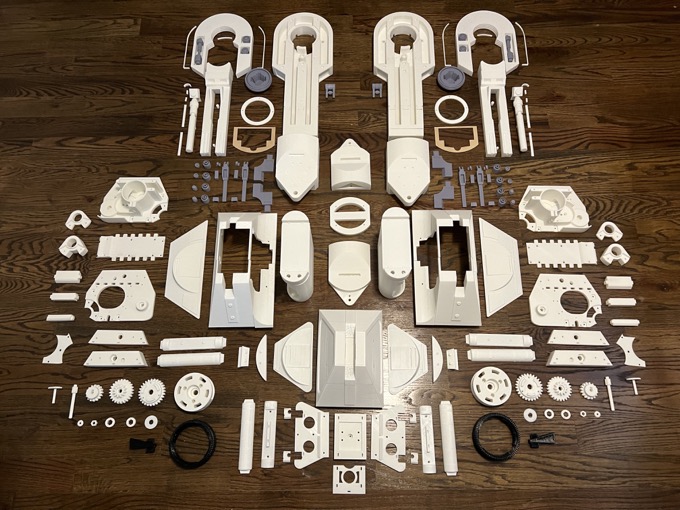
They need to be strong so most of the parts were printed with 45% infill. I took a picture of every part that I printed, but I won't post them all since there's well over 150 parts! Here are some of the bigger ones just to illustrate the work involved in printing them all. There's no shortage of 40+ hour prints here!
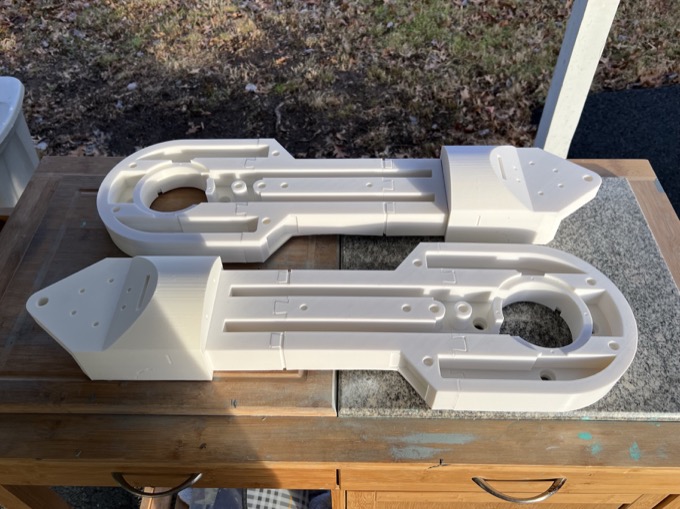
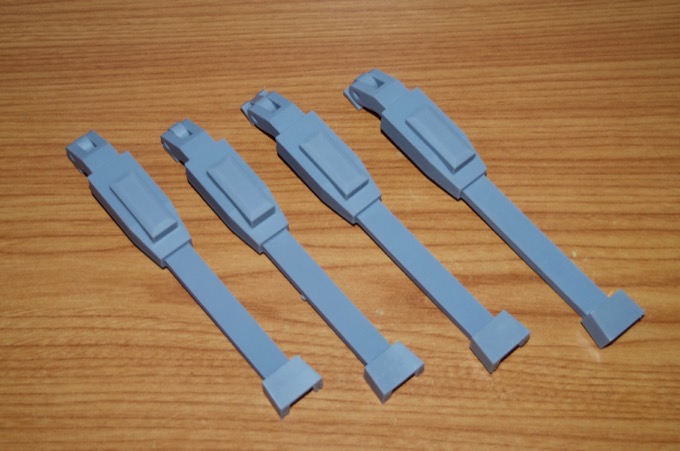
197 hours later… They weight 3 lbs and 6 ounces each.
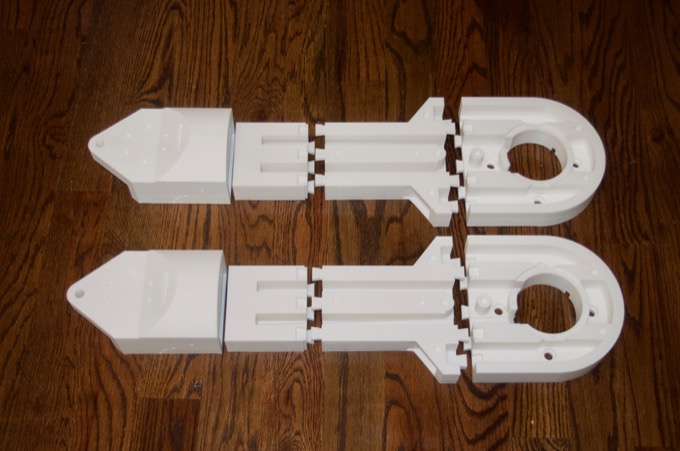
It took about 1.5 hours just to sand all the joints so that they would snap together nicely. The back surfaces of all these parts are pretty rough since I printed them all on a raft. Between that and all the dovetail joints, it's going to take a fair amount of work to clean them all up.
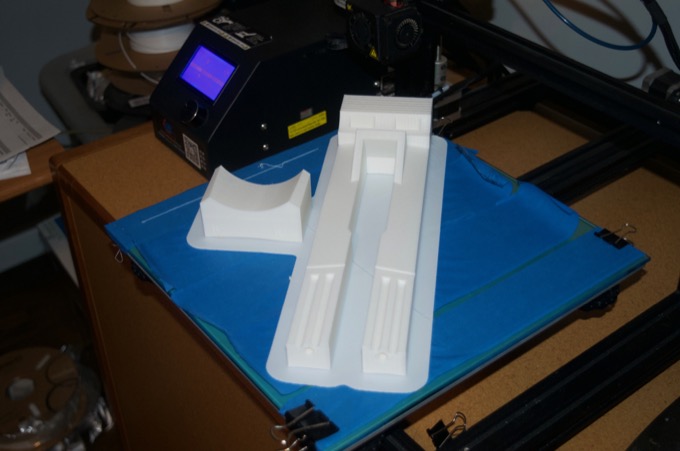
I then started printing all the other parts. Several parts were pretty big and almost took up the whole bed.
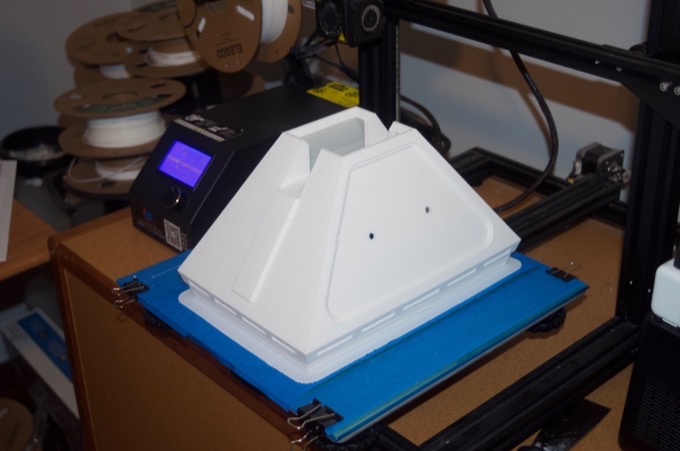
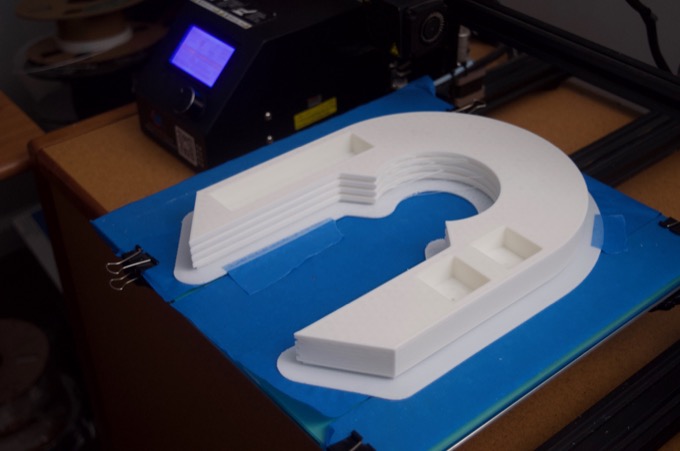
Although most of them fit, there were the odd part here and there that needed to be split.
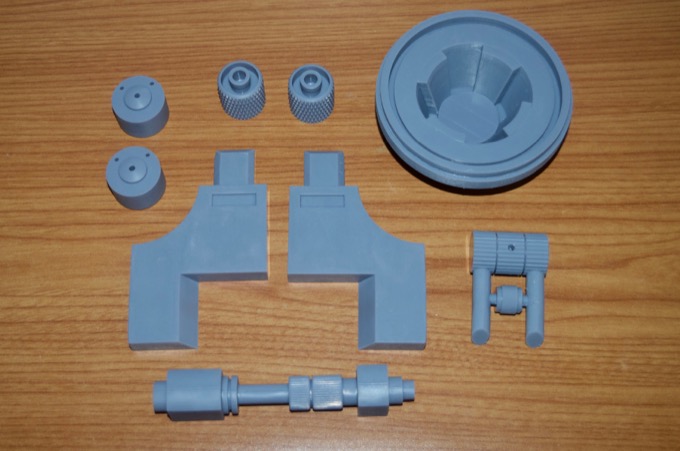
ELEGOO was offering some deep discounts for Black Friday so I took advantage of that and picked up a Saturn. I wanted to print as many of the greeblies in resin as I could. These came out amazing on the Saturn.
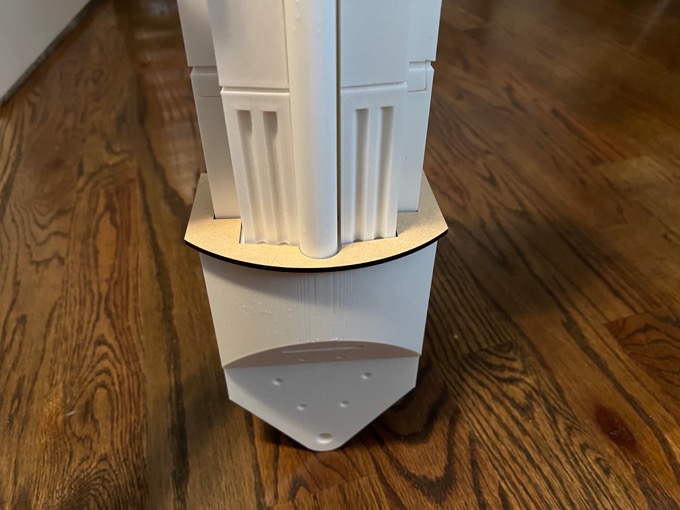
For the ankle bracelets, I opted to cut them out of MDF instead of printing them. They are supposed to look like they are metal, so laser cutting them would result in much sharper edges than if they were printed.
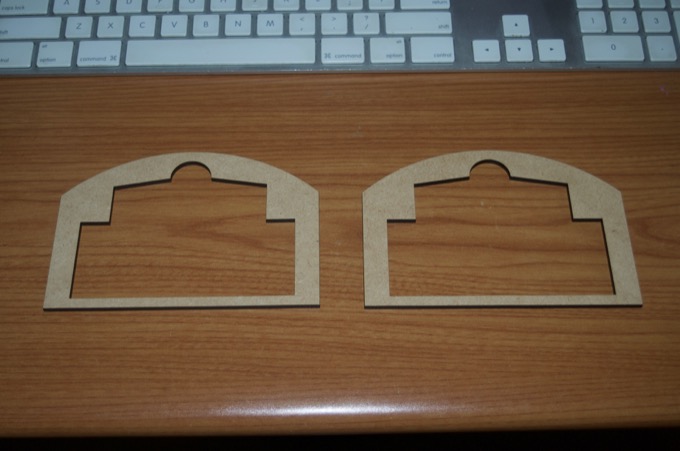
They fit perfectly.
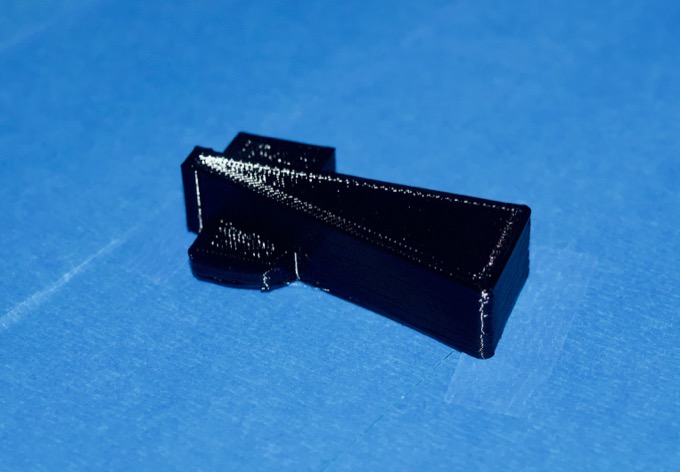
That last parts to print were the TPU parts. I've never used TPU before. I've heard it's hard to work with, so I was expecting this to be a disaster. Luckily I had no issues printing the foot locks and tires.

It took a little over two months to print all the parts. It was so much work! 175 pieces in total.
Now I just have to wait for the weather to get a little nicer and I can start to sand and paint.
See this project from start to finish:
3D-Printed R2-D2 - Part I - Dome 3D-Printed R2-D2 - Part II - Body 3D-Printed R2-D2 - Part III - Skirt 3D-Printed R2-D2 - Part IV - Body Assembly 3D-Printed R2-D2 - Part V - Body and Dome Finishing 3D-Printed R2-D2 - Part VI - Body and Dome Greeblies 3D-Printed R2-D2 - Part VII - Final Dome Assembly 3D-Printed R2-D2 - Part VIII - Legs and Feet

