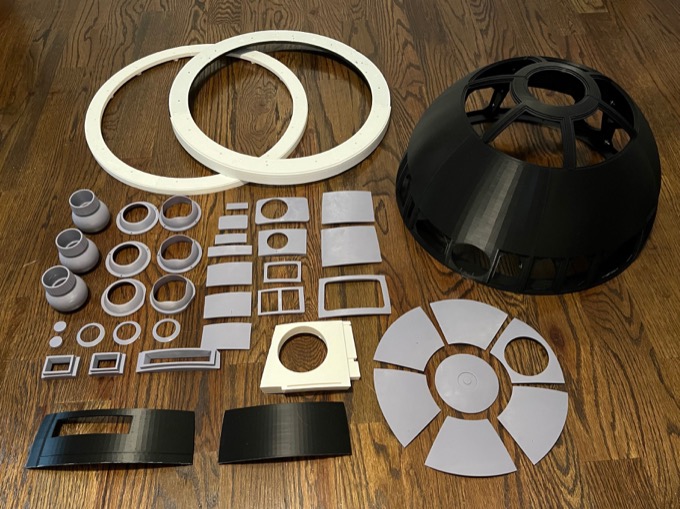
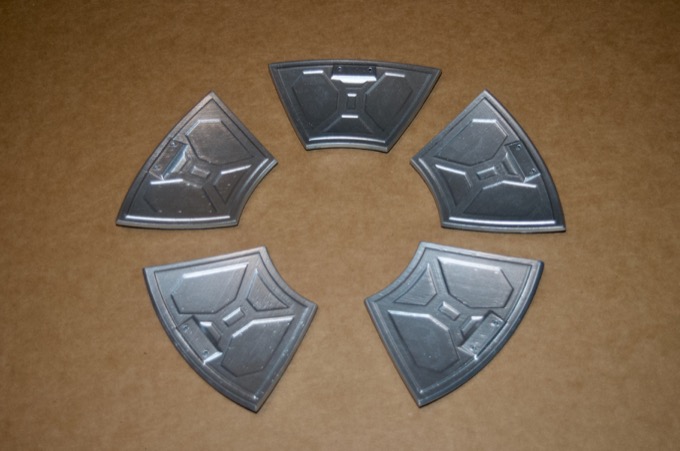
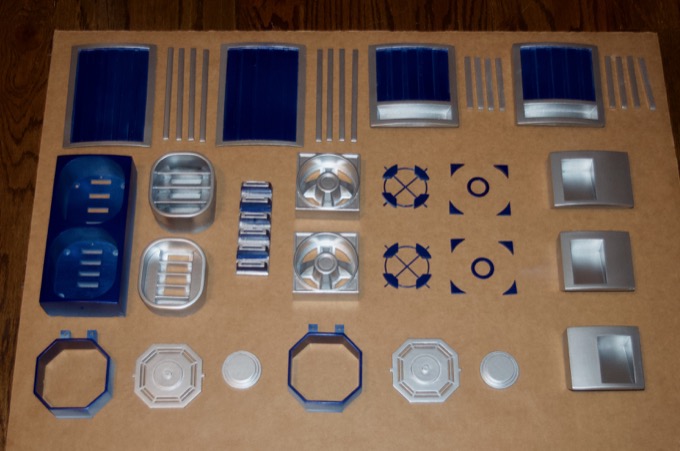
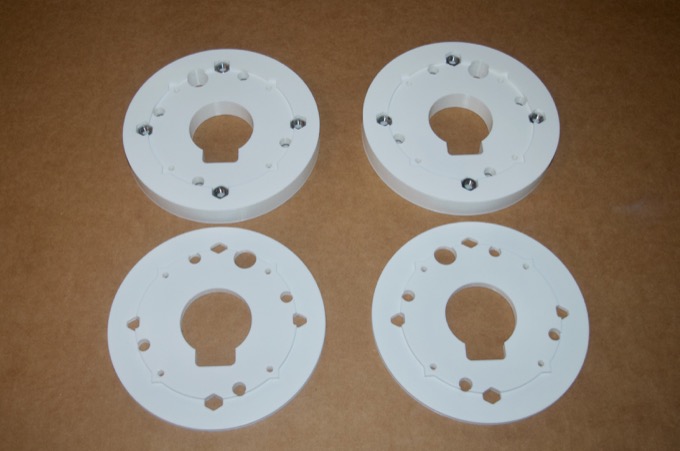
I jumped into this project feet first and immediately started printing all the dome greeblies right away. I printed most of the panels in resin because I wanted them to look really smooth and not require a ton of sanding to remove layers lines. However, after doing a little more research, it became clear that printing the top pie panels in resin was a mistake. Another R2 builder modified the original pie panels to include some additional details on the underside along with some screw holes that can be used to attach them to a mount that holds the servos. It looks like a really great solution for mounting the panels and servos to the dome.
The holoprojector mounts that I printed are the wrong ones. I need to print the ones that hold servos. The data ports, despite being printed in resin, look absolutely terrible and will need to be reprinted. The smaller panels also did not come out looking that great either. I'll have to reprint the majority of them in PLA.
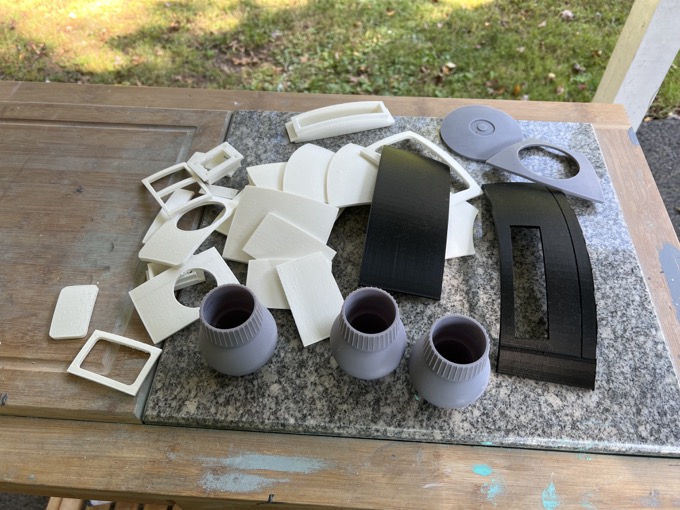
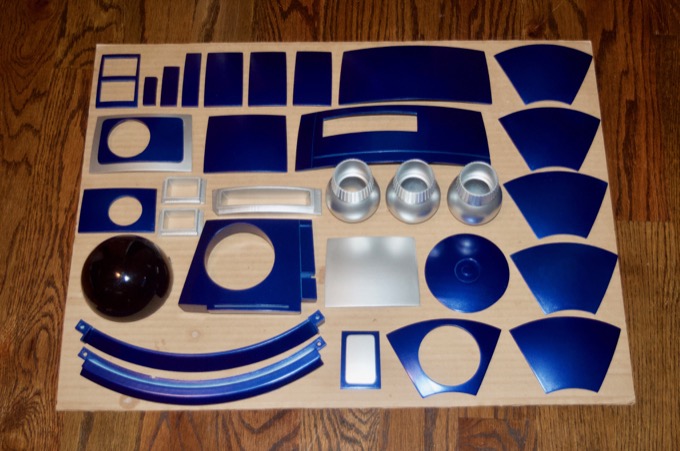
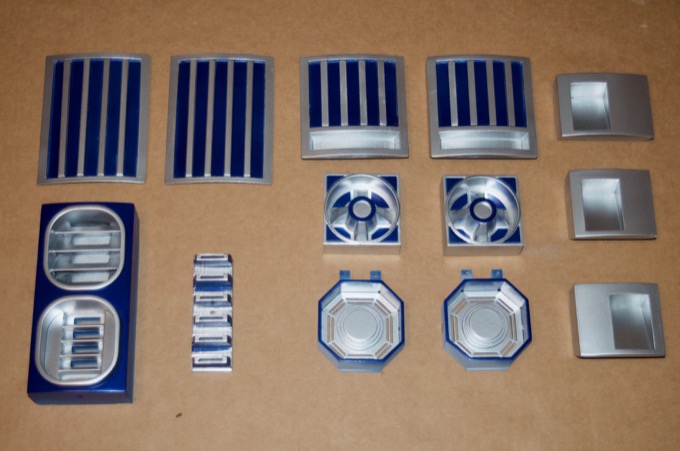
With the exception of two top panels and the holoprojectors, I pretty much reprinted everything in PLA. Let's get sanding!
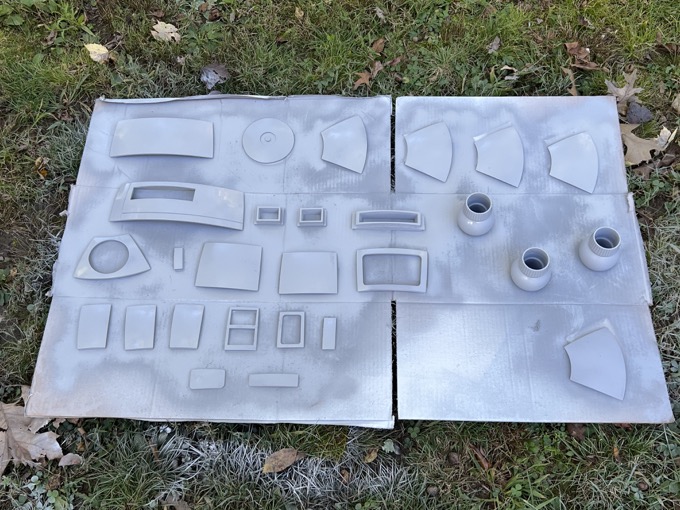
Once all the parts were sanded up to 400 grit, I primed them.
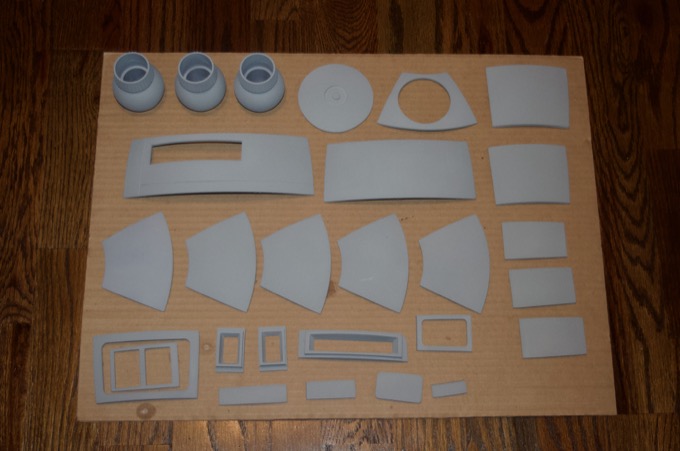
After one last sanding with 400 grit, they were ready for the final paint job.
Painting them was actually a fair amount of work. Any parts that are silver first required two coats of black, followed by two coats of silver.
The backs of the pie panels needed two coats of black, then two coats of silver. I then had to mask off the silver and paint the fronts blue.
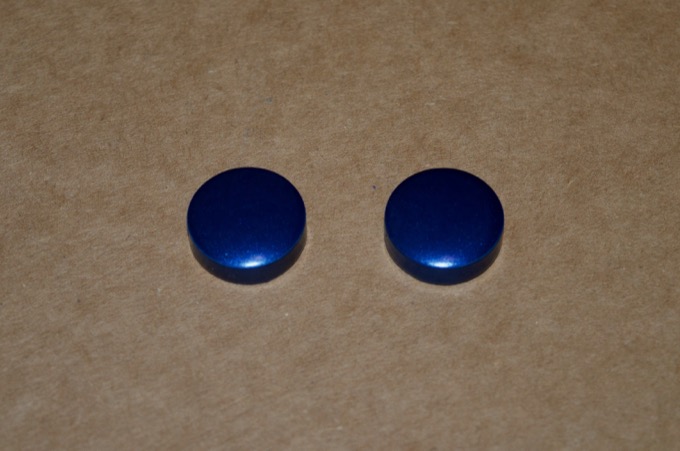
It was around this point that I realized I forgot the two little buttons that go on the back of the dome. So I sanded those, primed them, and then painted them blue.
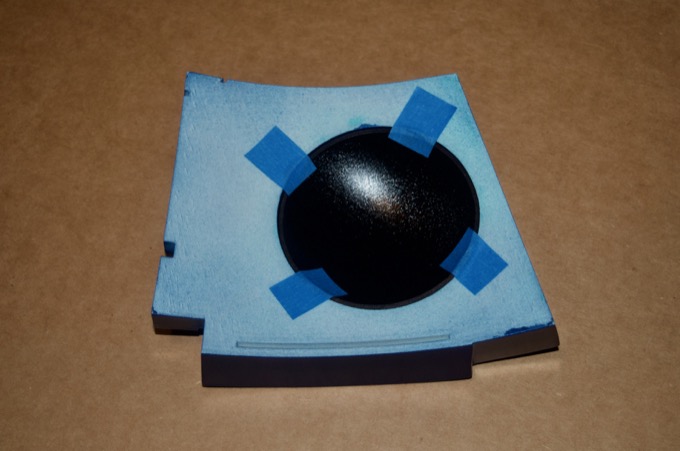
For the radar eye, I picked up a 100mm ornament ball, painted the inside black, and then cut and sanded it to size.
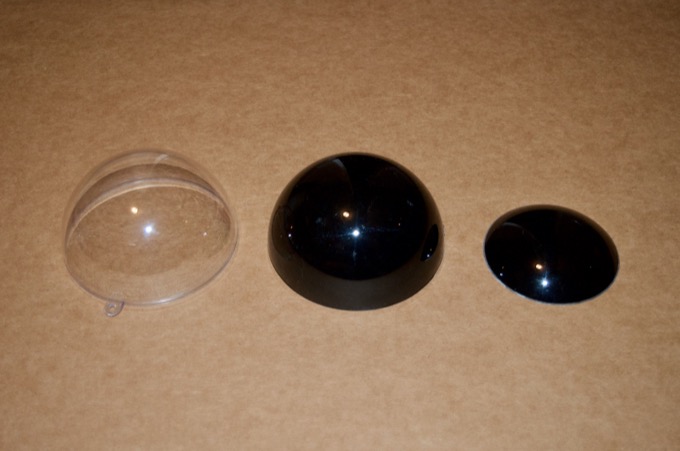
I don't think I even need to glue it in. I can just hold it in place with some tape. That way I can easily replace it if it ever gets scratched.
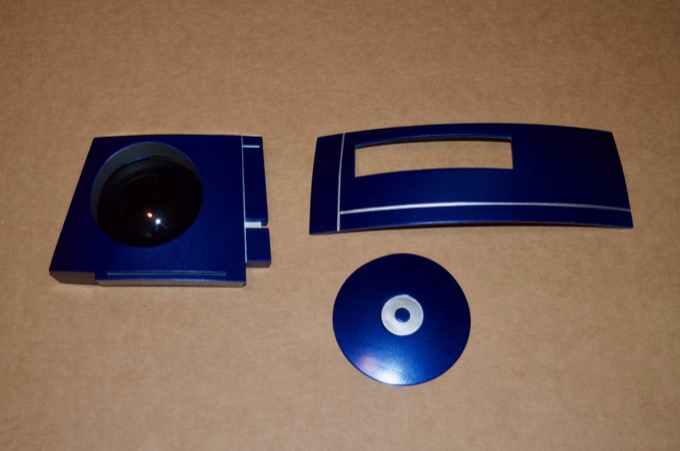
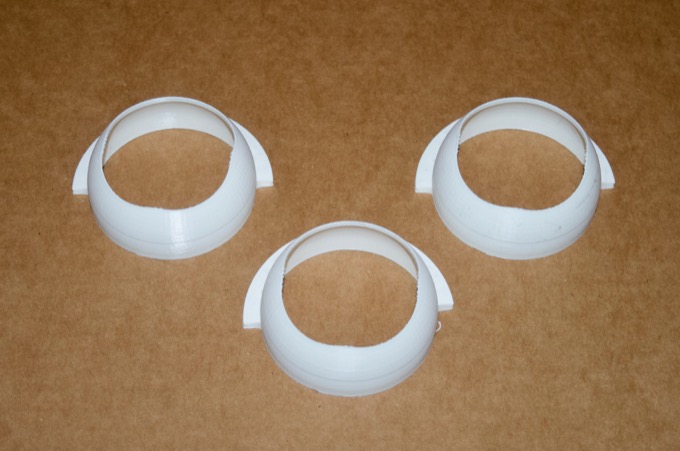
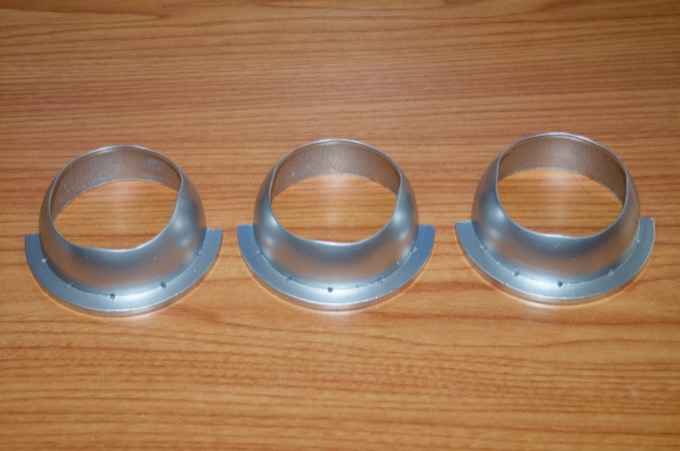
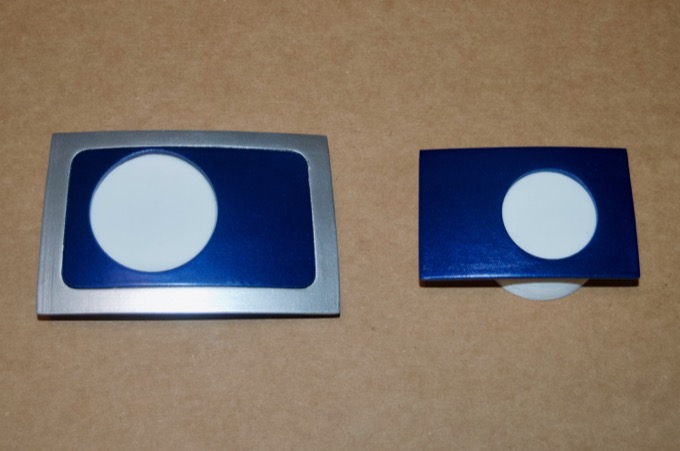
I masked off the areas on these three greeblies that needed some silver detailing
They came out very nice.
I printed the correct mounts for holoprojectors that use servos, as well as the LED holders.
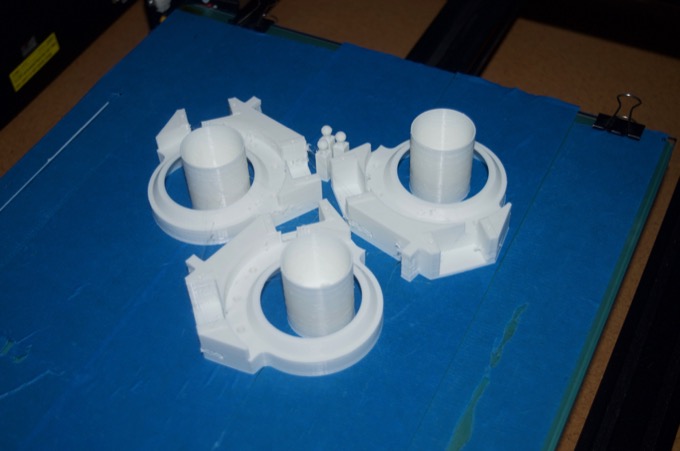
I also printed the corresponding frames.
I then sanded, primed, and painted them.
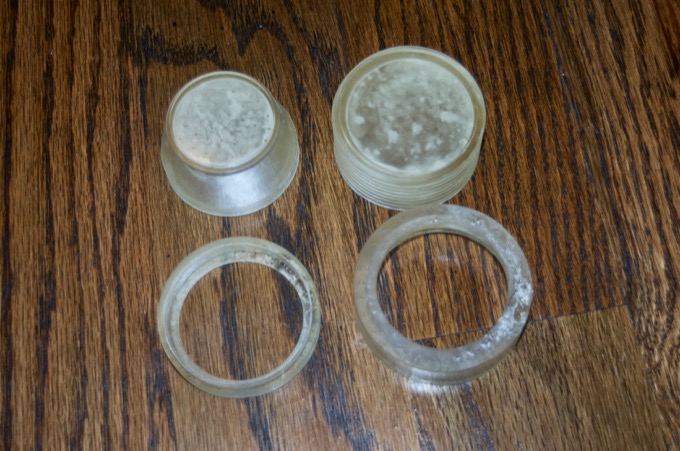
I printed the PSI lenses in transparent resin, but they came out horrible. They are totally unusable.
I decided to just print them in white PLA and hope that LEDs are visible through them. I printed them with 100% infill so that you won't see the infill pattern once the LEDs are on.
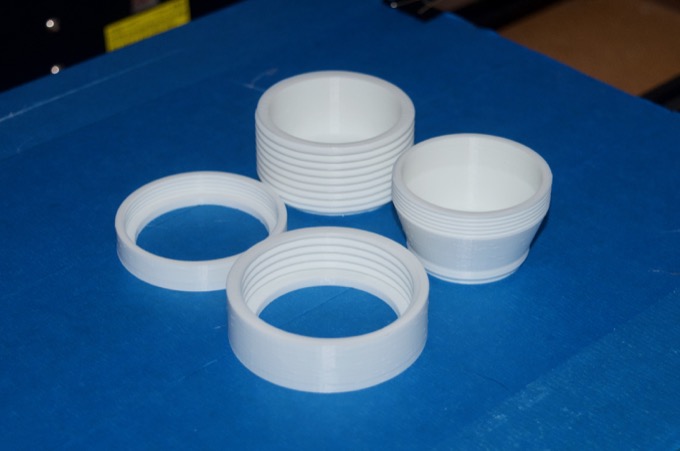
I'm not sure how well LEDs will shine through a few millimeters of PLA. I may have to revisit these because I don't know how well they'll work until I install the electronics.
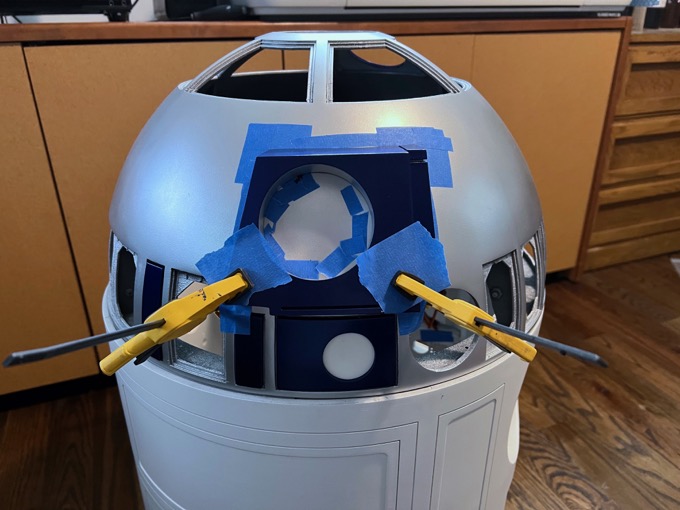
I do not want to glue the radar eye on to the dome. I want to make it easily removable in case I need to make a future repair. I already have some 4-40 threaded inserts so I think those will work perfectly. I first started by clamping it into position and outlined it with blue tape to indicate its position, as well as where not to drill.
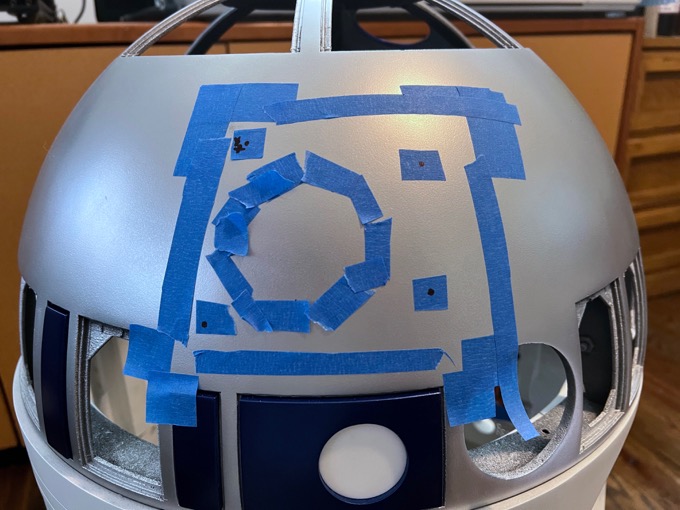
I then took a marker and made some dots where I need to drill holes.
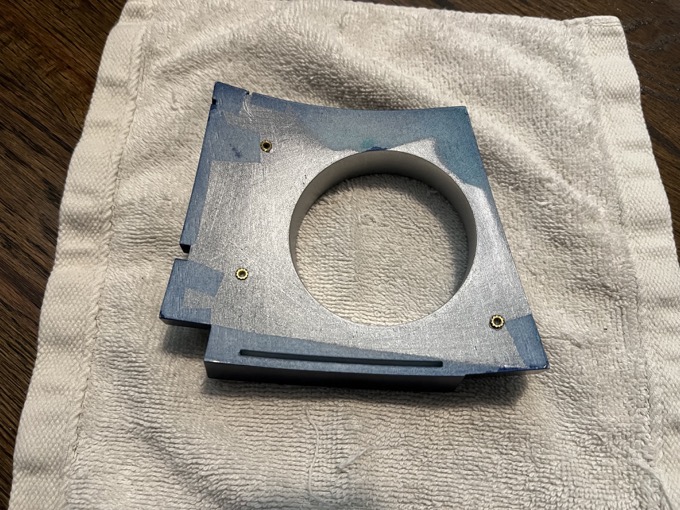
I then clamped the piece back into position using the tape as a guide. From the inside of the dome, I then marked the drill holes on the radar eye. With the hole positions now marked on the radar eye, I melted in some 4-40 threaded inserts. I decided that three was actually enough. There's not much real estate on the top right of the part, and using three might actually give me a little more wiggle room in case I need it.
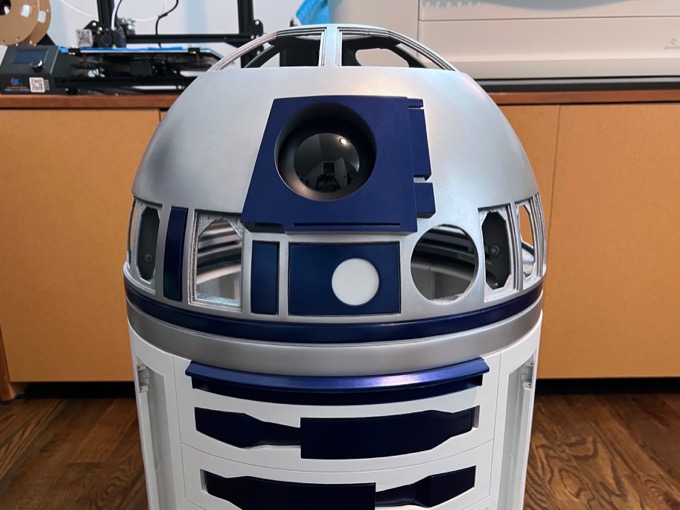
I then attached it to the dome. It came out perfect.
Before the dome can be attached to the body, the top ring and lazy susan have to be attached. However, there are several parts of the body that need to be installed before that can happen. I can always install them later, but I'd have to keep taking R2 apart. I'd like to avoid having to take R2 apart multiple times if I can.
I need to install the large data port and the utility arms. The utility arms are printed in two halves so that no supports are required. I'm not sure if gluing them together and mending a seam is less work than printing it as one piece and cleaning up the mess that the supports leave behind.
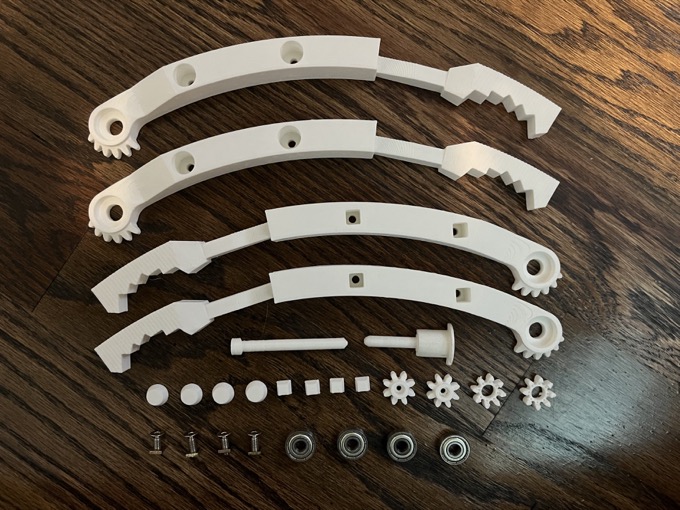
I glued them together, installed the hardware, and plugged the holes.
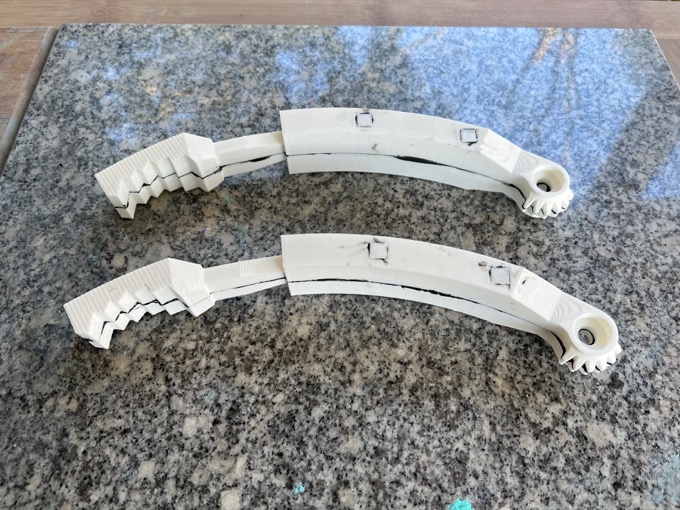
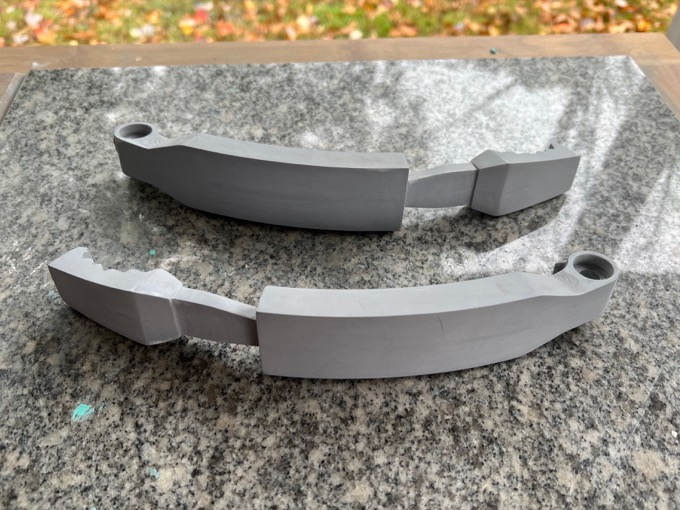
I then cleaned up all the seams and primed them.
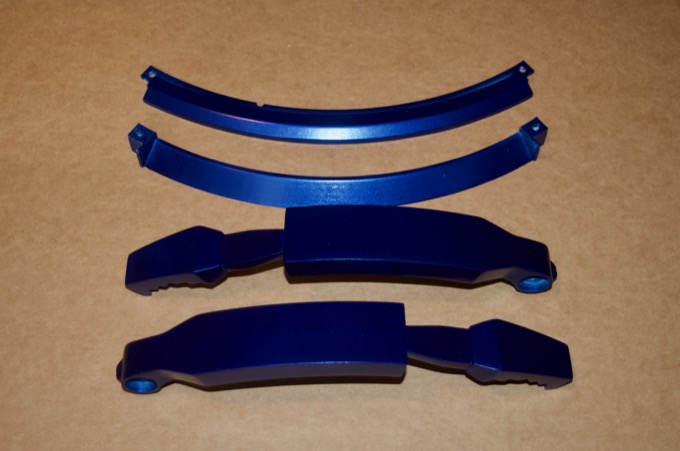
I then gave them the final paint job. I forgot to take a previous picture of the large data port, but here they are completed. All the parts came out really nice.
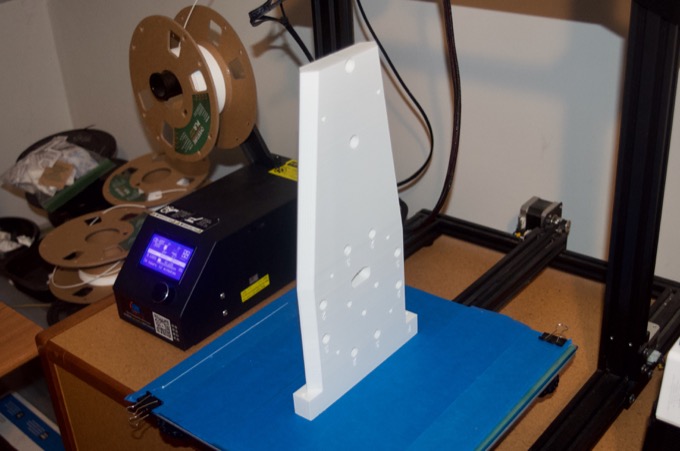
Another part that needs to be installed into the body before the top ring can be attached are the shoulder modules. They are structural parts so they were printed with 50% infill. They are rock solid and feel like planks of wood. They each took 35 hours and 22 minutes to print and used an entire roll of PLA!
The shoulder modules drop in and are secured by two 14.5" threaded rods. Instead of using metric rods as directed by the instructions, I went with 8-32 threaded rods since I could source them locally.
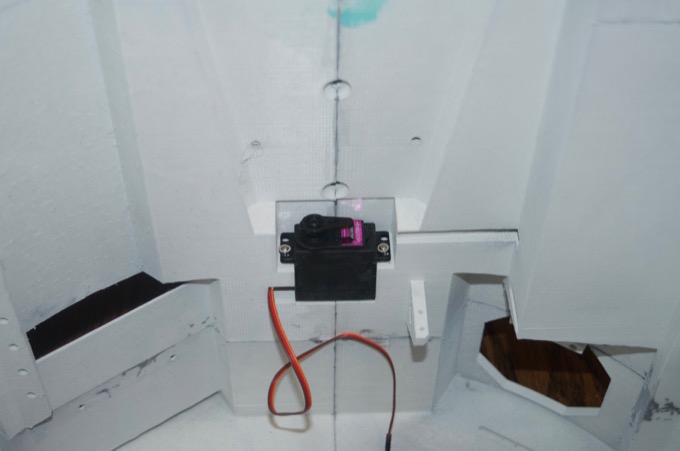
I managed to save myself a future headache by taking note of an additional "gotcha" when installing the left shoulder module. There is a spot underneath to house a servo for one of the front doors. The servo needs to be installed before the shoulder module is dropped in or I'll be taking R2 apart once I decide to work on the doors.
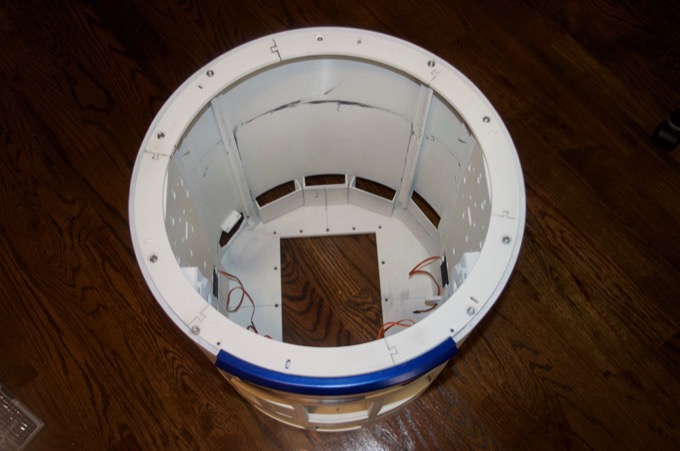
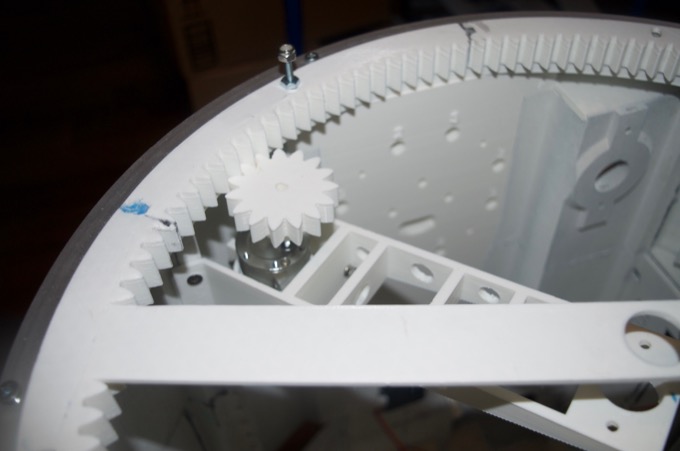
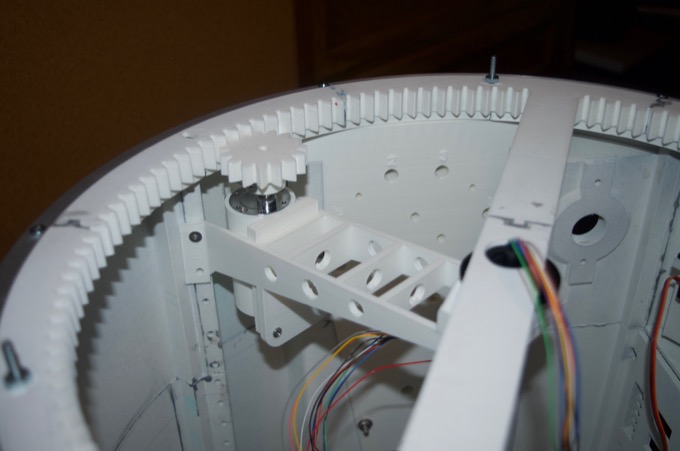
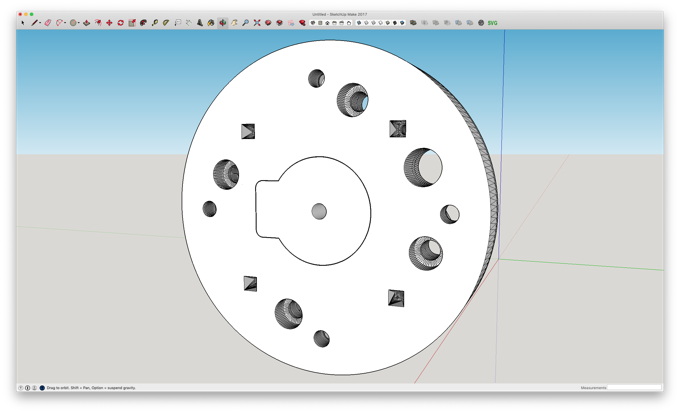
I then installed the top ring and the motor mount. The mount seems to be a little too short for my motor. In order for the gears to line up to where they should be, I have to pull the motor up about a 1/4" out of the mount. There's two screws in the mount that help secure the motor. If I pull the motor up, the bottom screw isn't helping to hold in the motor.
I took the file into SketchUp and made it a little longer, and slide the screw holes towards the top.
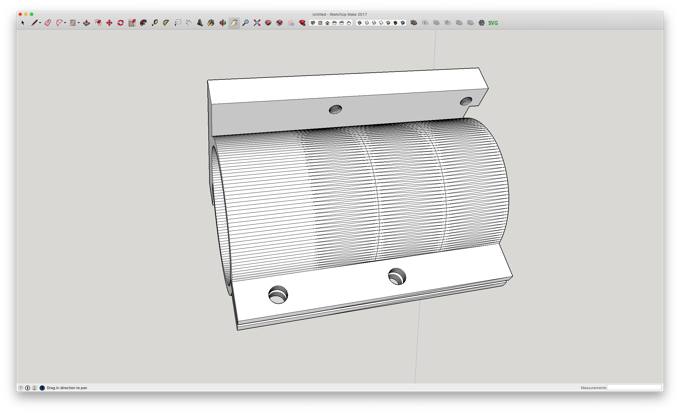
Much better!
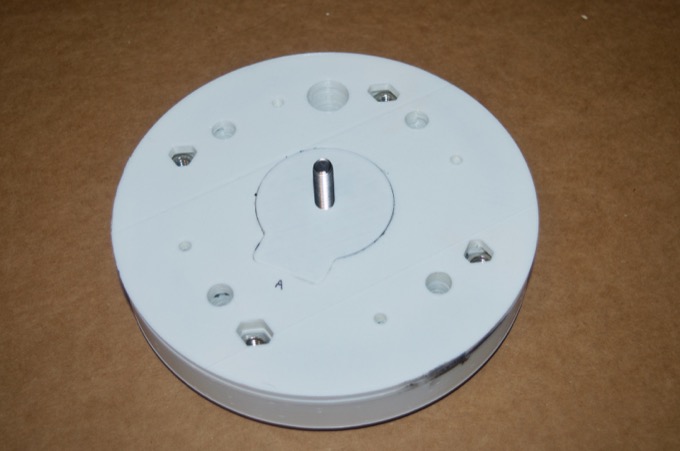
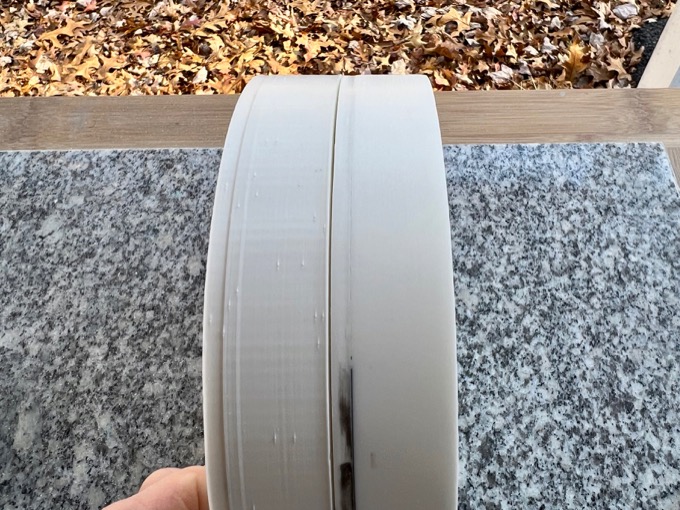
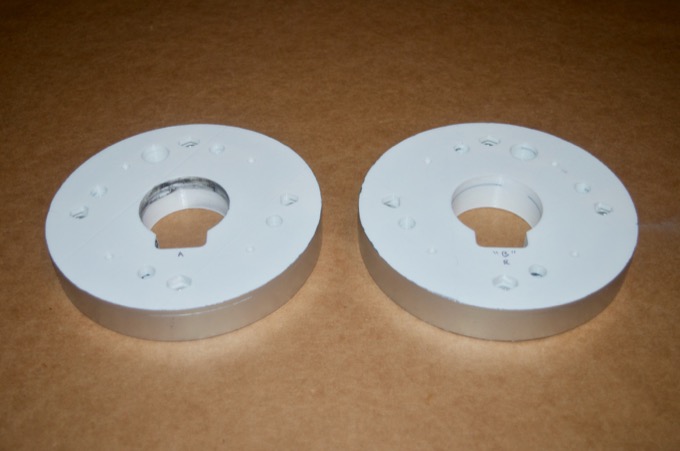
I then installed the Lazy Susan. However, I seemed to have forgotten to take a picture!
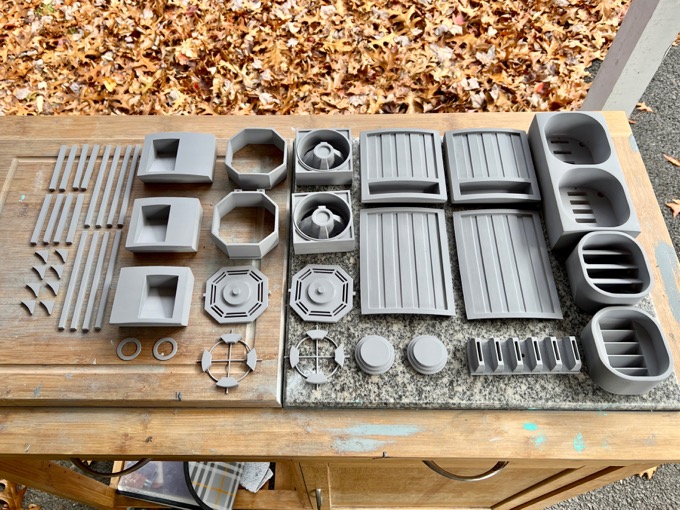
It was then time to sand and prime all the body greeblies.
Just like the dome greeblies, painting them was a lot of work.
I then glued the ones together that needed to be assembled.
It's starting to get really cold outside, which makes it hard to sand and paint. The last parts that I am going to be able to complete until the spring are the shoulder hubs. I started by dropping in the nuts and glued them together.
Since I wanted to make quick work of the shoulder hubs, I dropped the part into SketchUp and made an insert that I could use to spin the parts on my drill. That way I can sand them smooth in a matter of minutes.
I then threaded a M5 bolt through the center. This is going to work nicely!
I was able to spin them on my drill against some sand paper and sanded them to 320 grit in about 5 minutes. It worked perfectly. Look how smooth the one on the right looks!
I then primed and painted them black, and then silver.
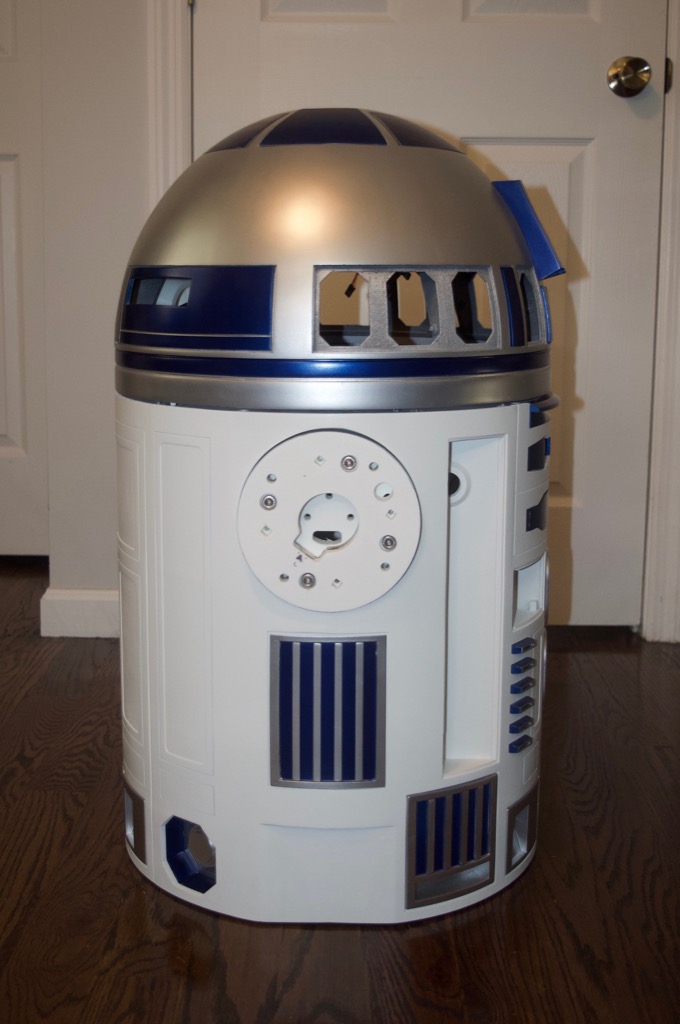
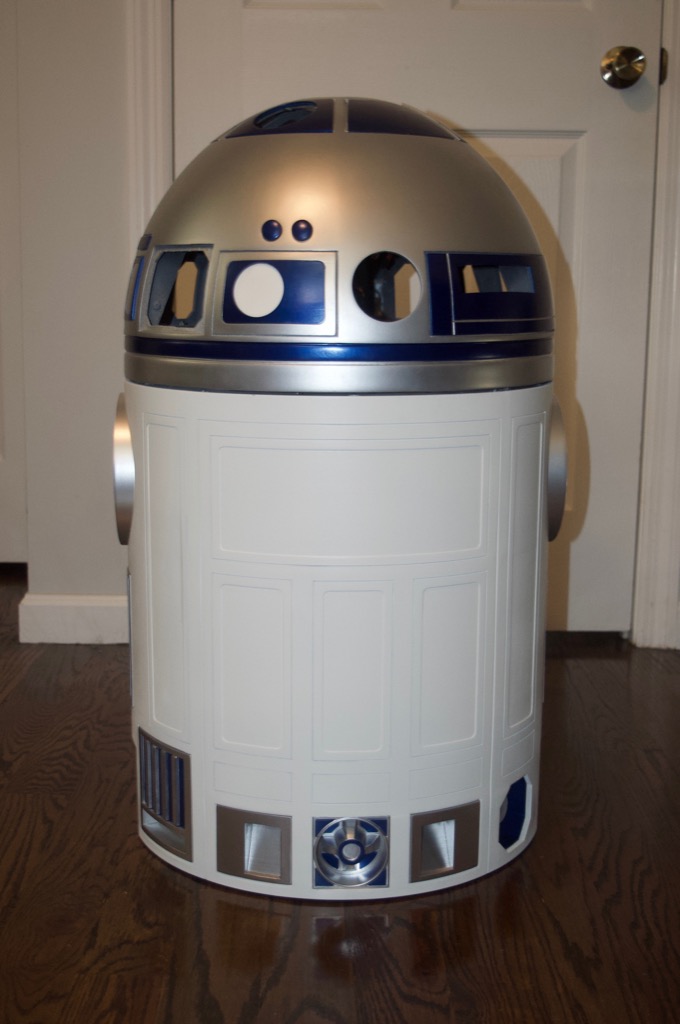
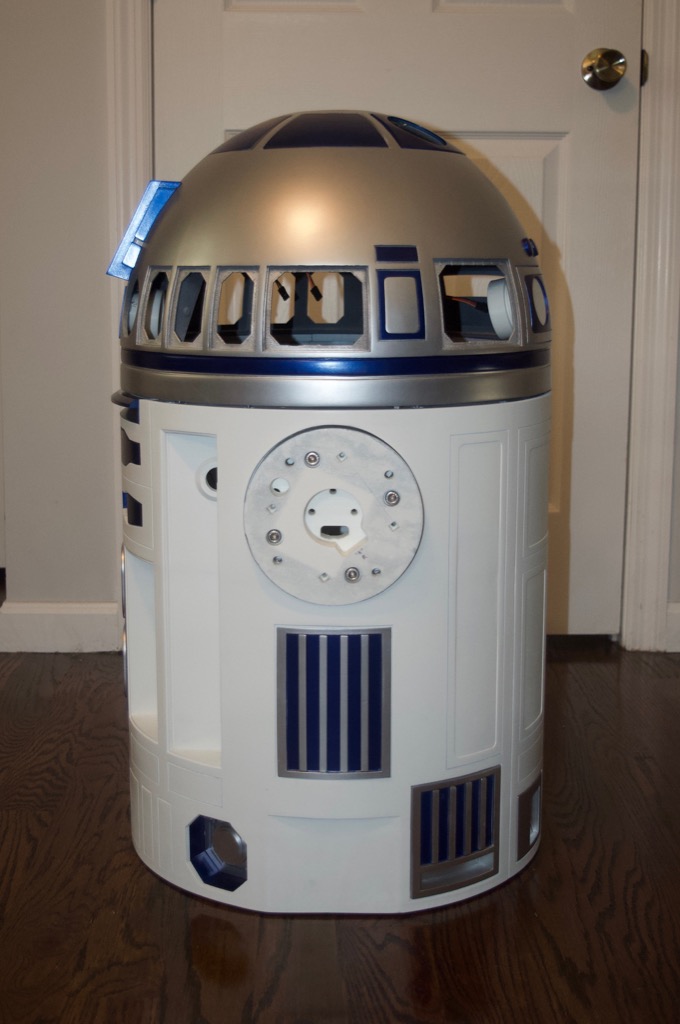
The final assembly! R2 is really looking awesome. With the dome and body pretty much complete, I can continue over the winter with printing the legs and installing some electronics.

 See this project from start to finish:
3D-Printed R2-D2 - Part I - Dome 3D-Printed R2-D2 - Part II - Body 3D-Printed R2-D2 - Part III - Skirt 3D-Printed R2-D2 - Part IV - Body Assembly 3D-Printed R2-D2 - Part V - Body and Dome Finishing 3D-Printed R2-D2 - Part VI - Body and Dome Greeblies
3D-Printed R2-D2 - Part VII - Final Dome Assembly 3D-Printed R2-D2 - Part VIII - Legs and Feet
