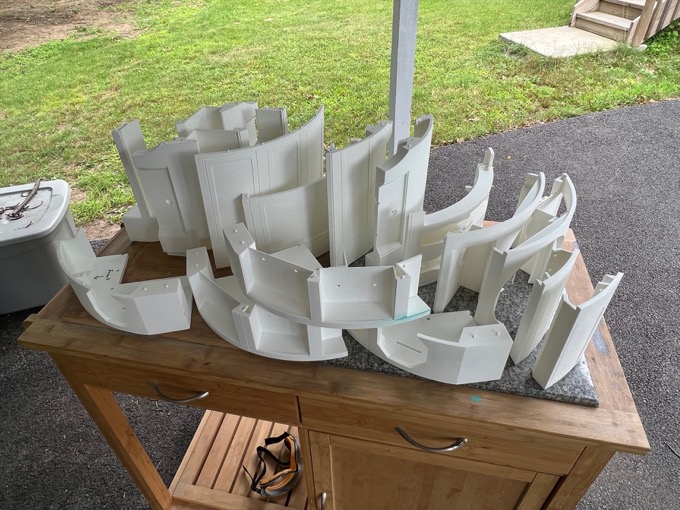
The moment of truth! It's time to glue the body together.
I took all 15 parts outside and sanded them all the way up to 400 grit.
The ankle support is going to work great to keep the parts aligned while the glue sets.
I first glued each of the two halves together.
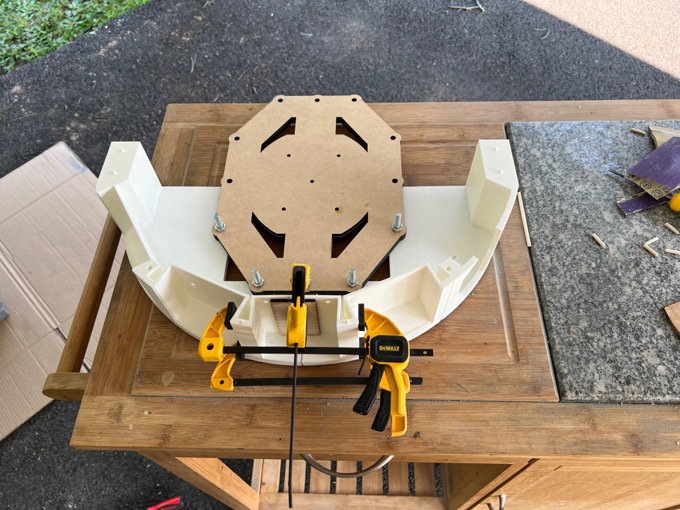
I then glued the two halves together.
That worked out perfectly.
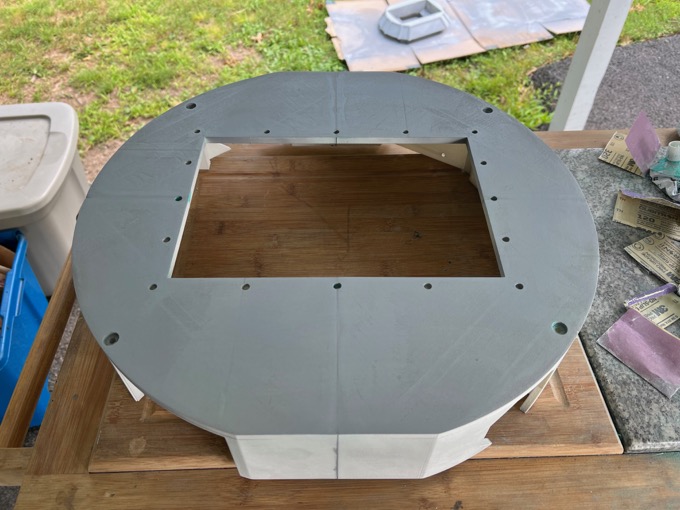
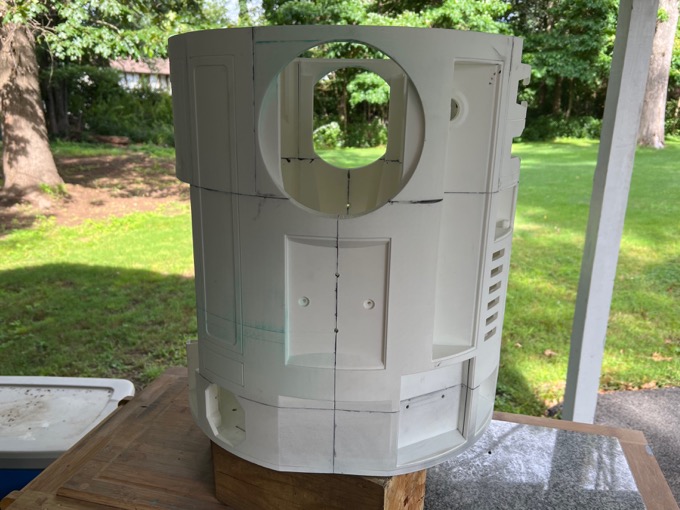
The bottom was a little rough so I got to work on filling the seams and cleaning up some of the blemishes.
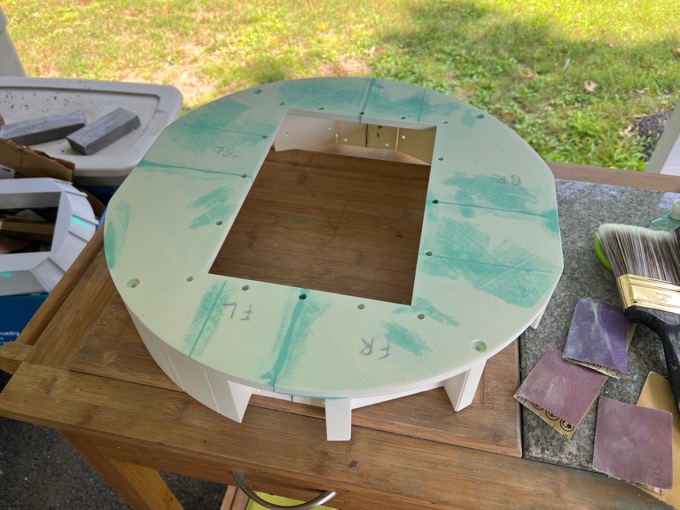
It needs a little more work, but it does not have to be perfect. The vast majority of the bottom will be covered by the skirt, so it's pretty much only the outer 1" of the base that'll you see. (And that's if you flip R2 upside down!)
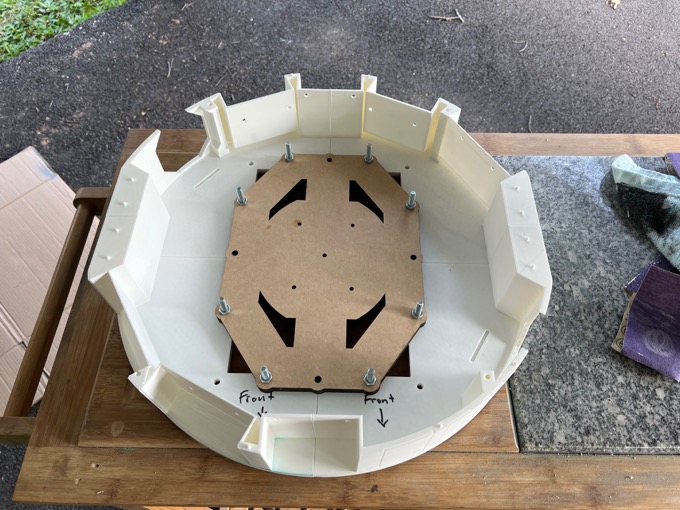
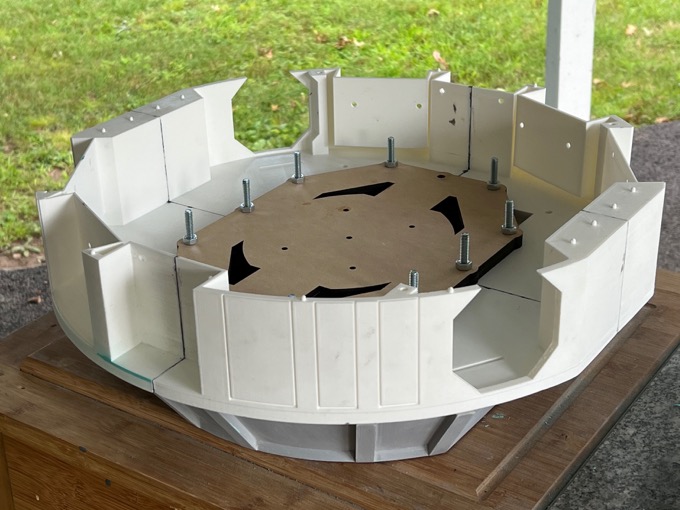
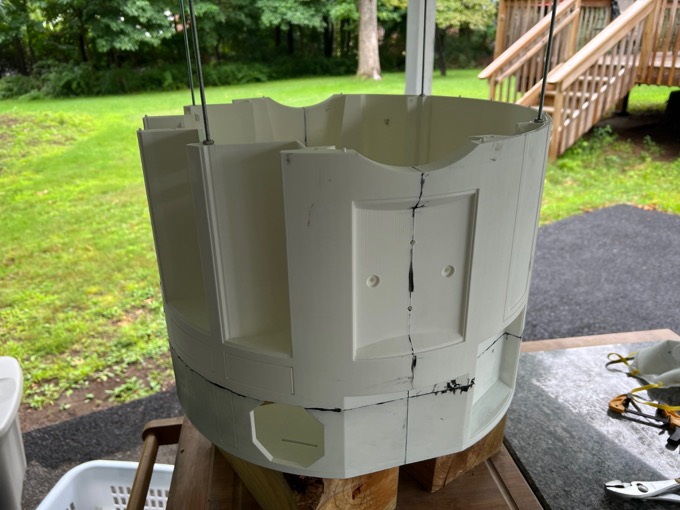
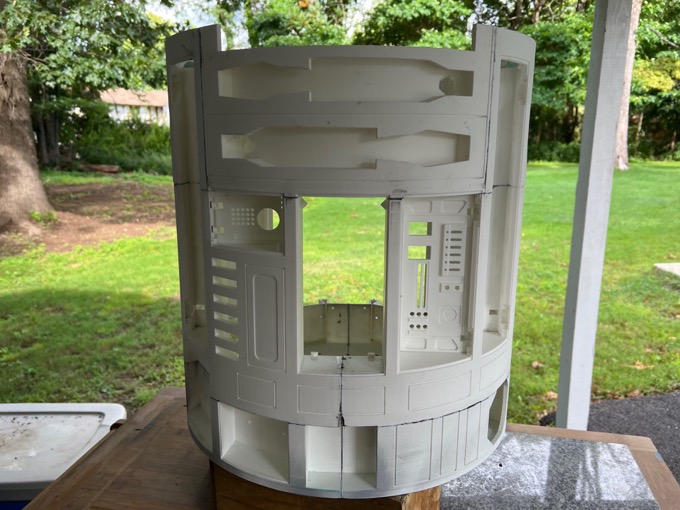
I then slide the two main parts over the threaded rods and glued them into place.
I then glued in the back pieces.
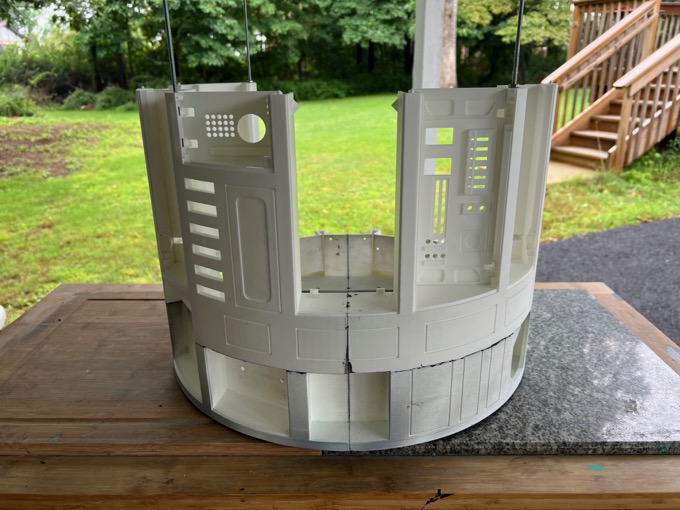
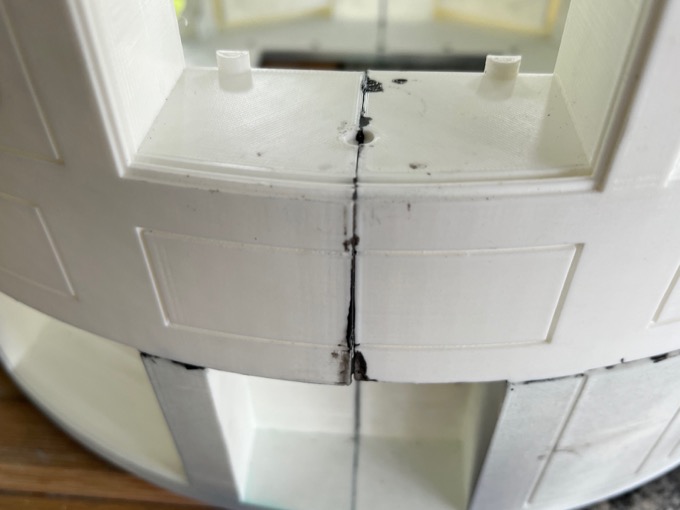
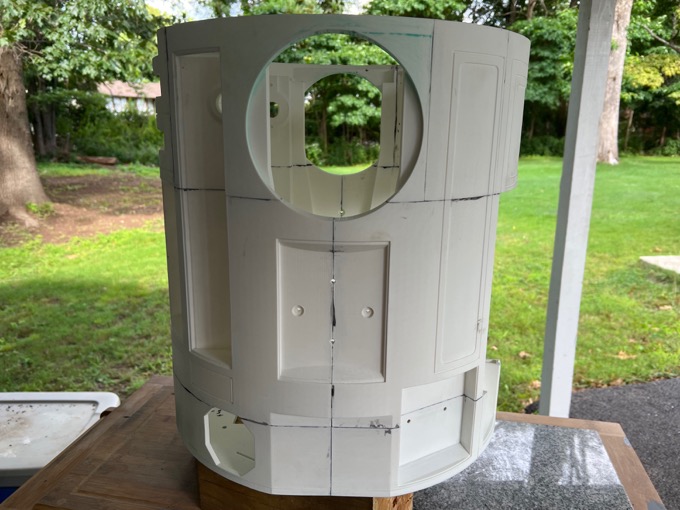
In retrospect, I should have glued the parts together first, and then glued the middle ring to the bottom ring. I am not sure why this happened, but this seam did not glue together well at all. I am going to have to try and clean that up later. I guess it's Murphy's law that the one bad seam would be on the front!
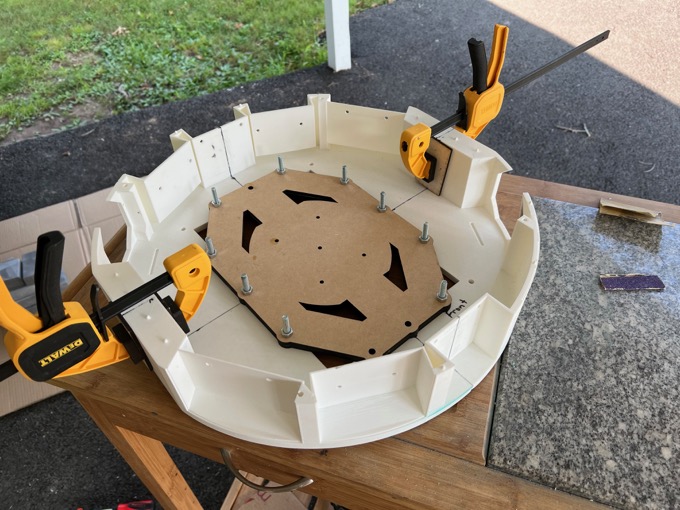
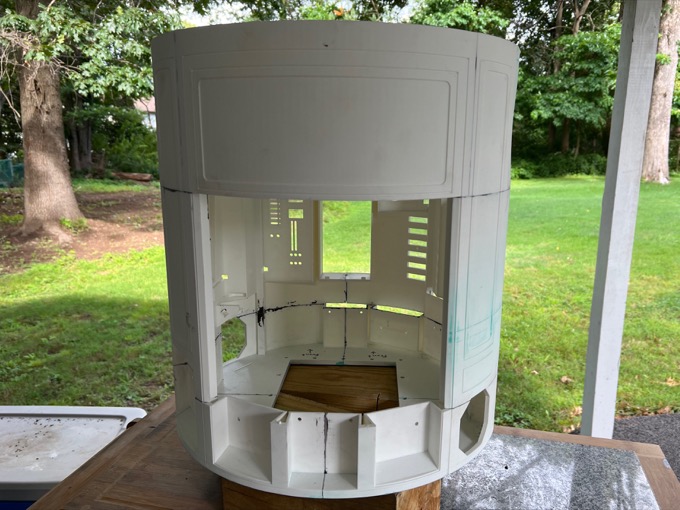
I then glued the top ring pieces together first, and then glued the top ring to the middle ring. Attaching nuts to the four threaded rods did not provide enough clamping force along with the two 24" clamps that I had. I had to run out and pick up a few more clamps for this. I used six, and a 12" one in the front.
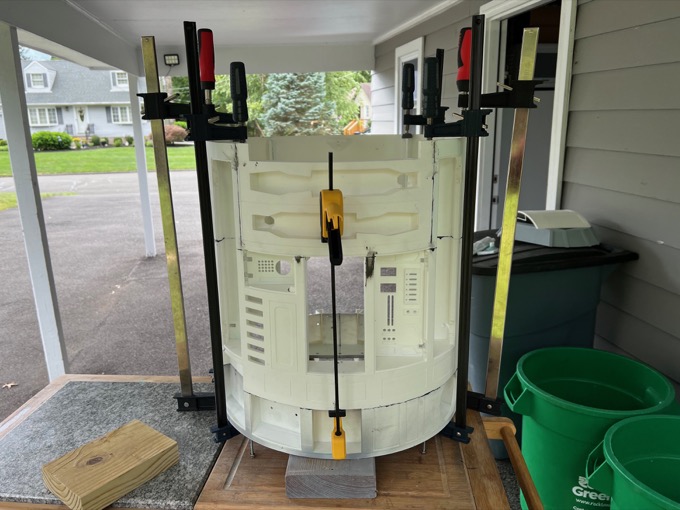
I dry-fitted all the parts before gluing them and practiced putting all the clamps in place first. When I was happy with the way it looked, I took it apart, added the glue, and reattached the clamps. With six minute epoxy, you have to be quick, but you also have to pay attention. If it goes together like crap, that's over 400 hours of printing in the garbage!
That was very stressful!
 See this project from start to finish:
3D-Printed R2-D2 - Part I - Dome 3D-Printed R2-D2 - Part II - Body 3D-Printed R2-D2 - Part III - Skirt 3D-Printed R2-D2 - Part IV - Body Assembly
3D-Printed R2-D2 - Part V - Body and Dome Finishing 3D-Printed R2-D2 - Part VI - Body and Dome Greeblies 3D-Printed R2-D2 - Part VII - Final Dome Assembly 3D-Printed R2-D2 - Part VIII - Legs and Feet
