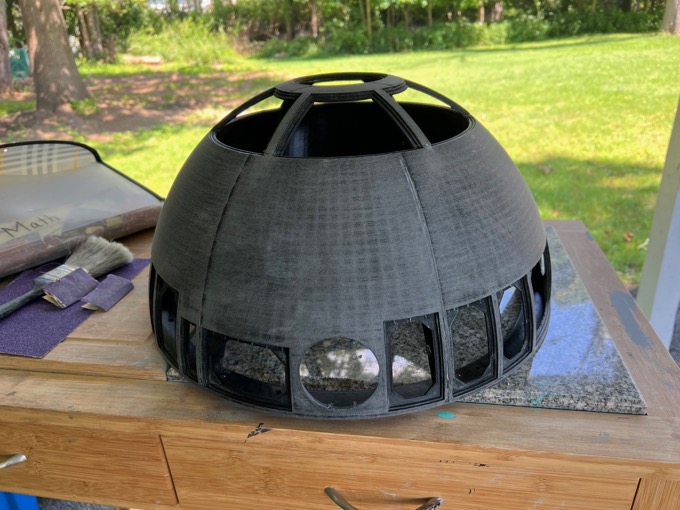
Now that the body and the dome have been glued together, it's time to start cleaning up all the seams and getting it painted! This is going to take soooooo long!
I started with the easiest pieces first: the dome rings.
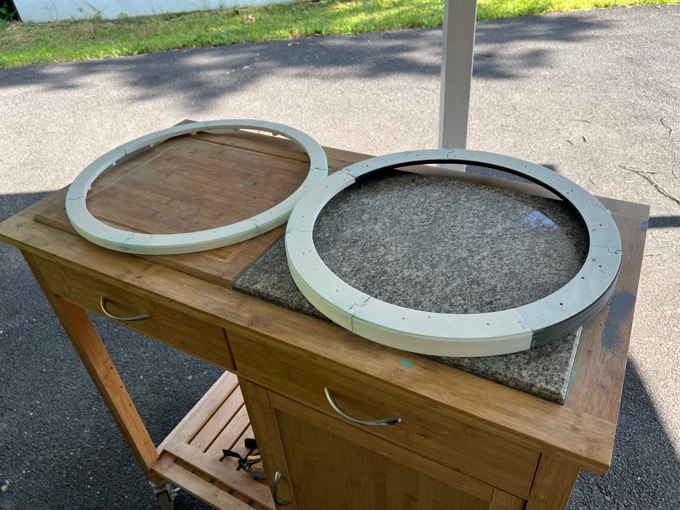
After a lot of seam repairs and sanding, I primed and sanded them to 400 grit.
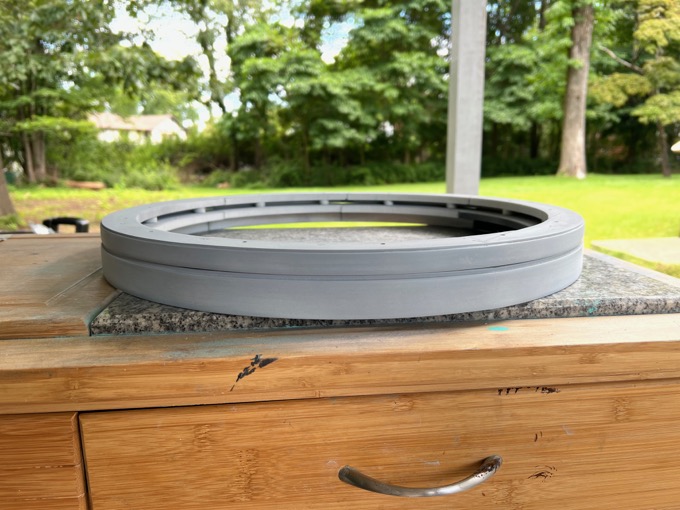
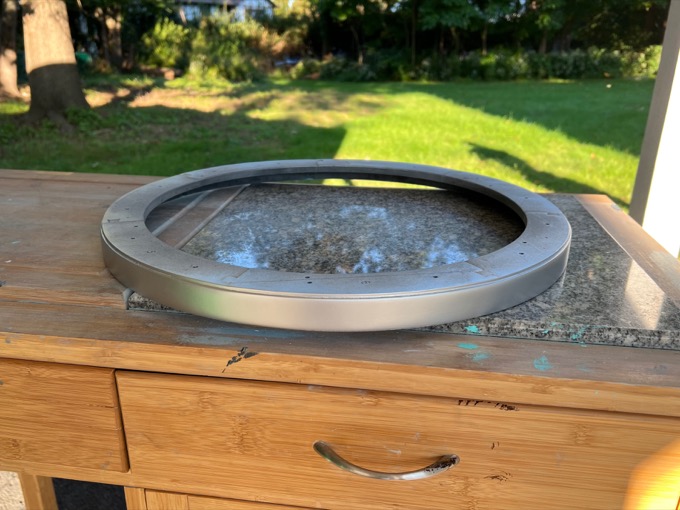
I then gave the bottom ring two coats of semi-gloss black, followed by two coats of metallic aluminum.
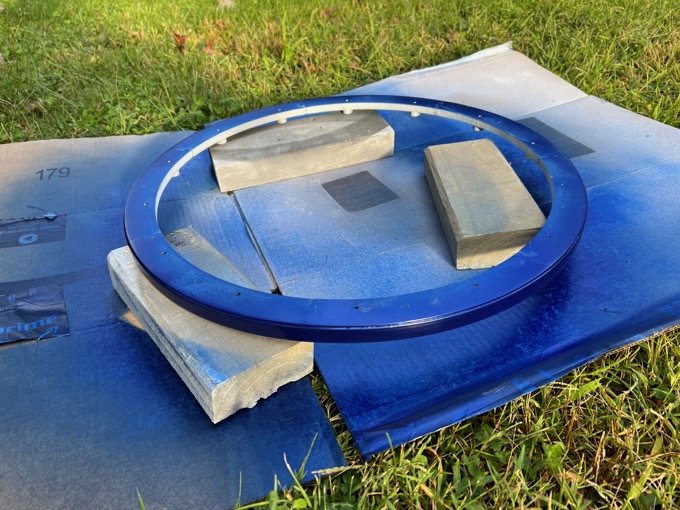
The upper ring got several coats of Dupli-Color Sonic Blue Pearl.
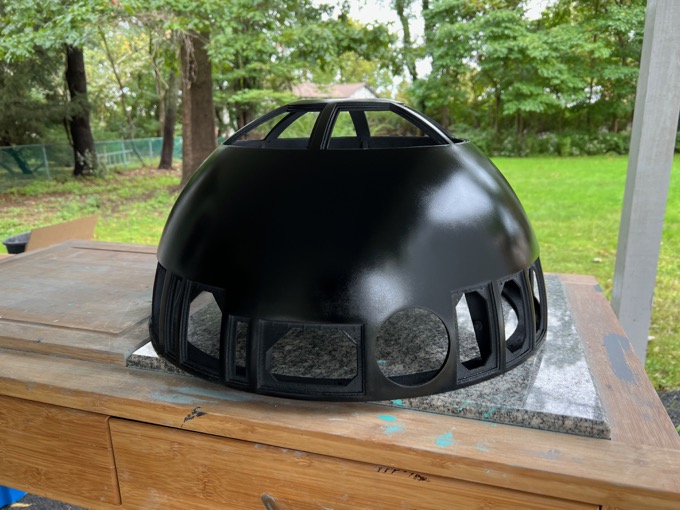
The dome needed some serious sanding with 60 grit paper to remove the print lines. I just hope that a few coats of primer will help smooth the surface out.
I filled all the seams with putty.
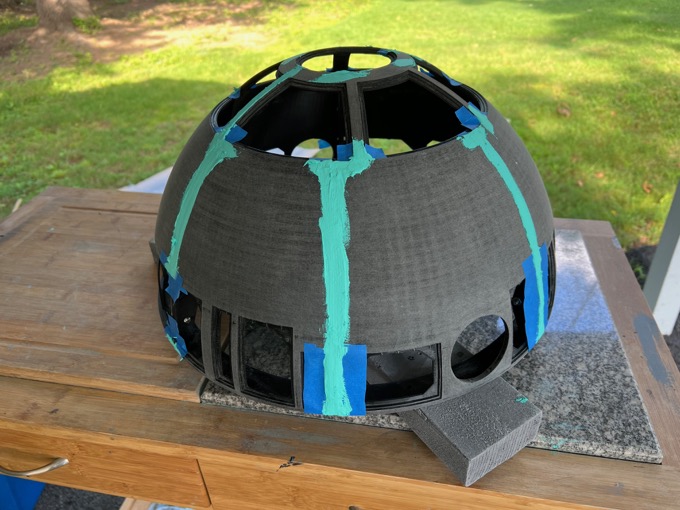
I then started the laborious process of sanding.

More priming, more putty, more sanding.
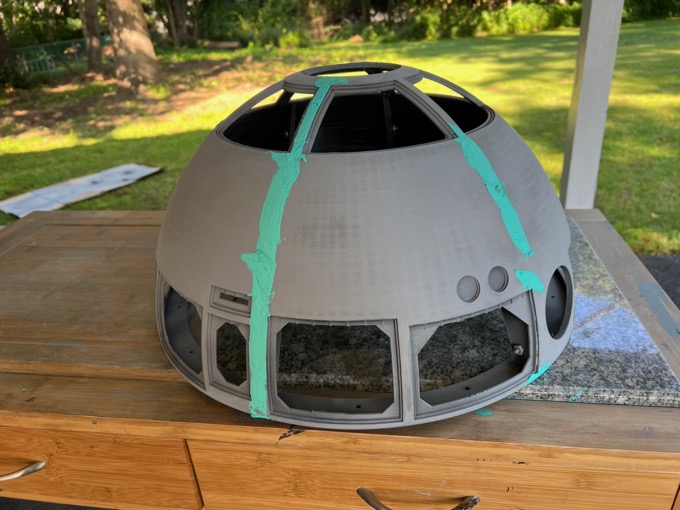
I am not sure how many passes I gave it, and how many cans of primer I used, but it was a lot. With each pass, I increased the grit until finally the last layer was sanded to 400 grit. I then buffed it with very fine steel wool. The surface feels like glass!
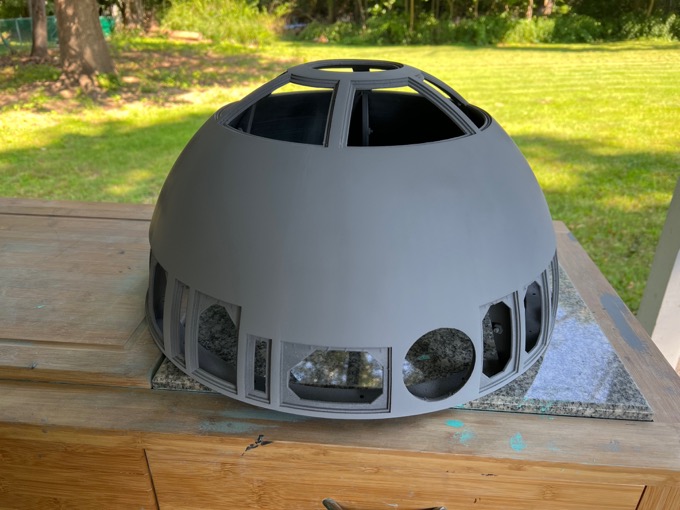
I then gave it two coats of semi-gloss black.
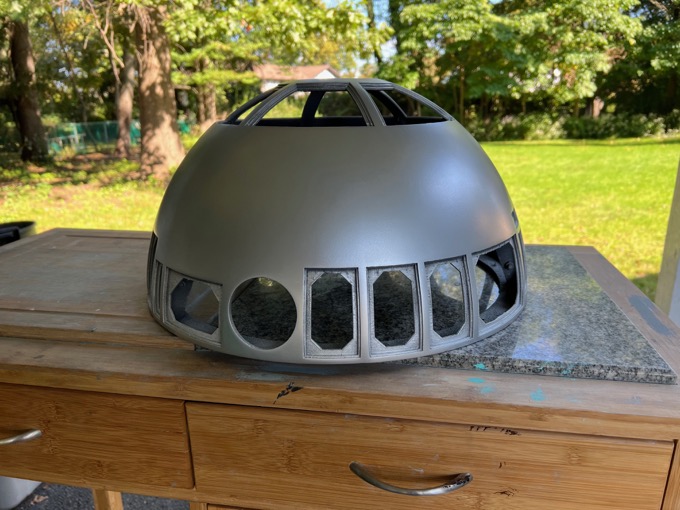
Finally, I gave it two coats of metallic aluminum. That looks awesome! I am really happy with how it came out.
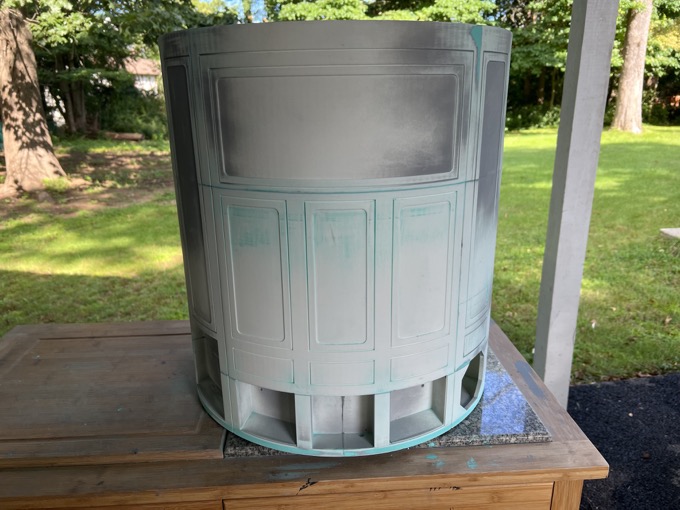
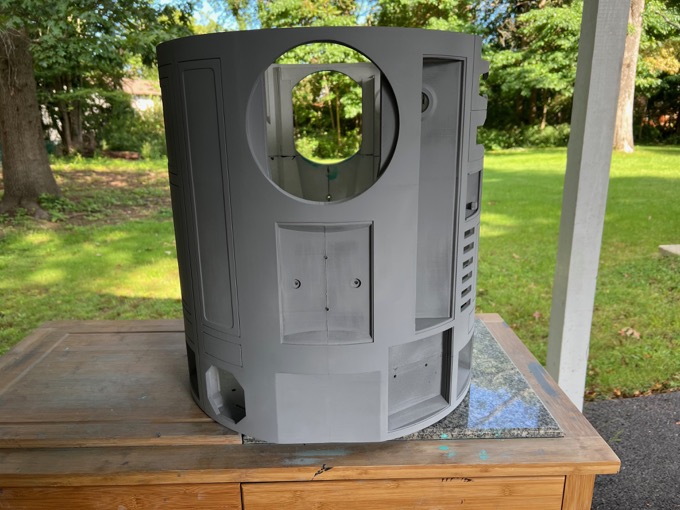
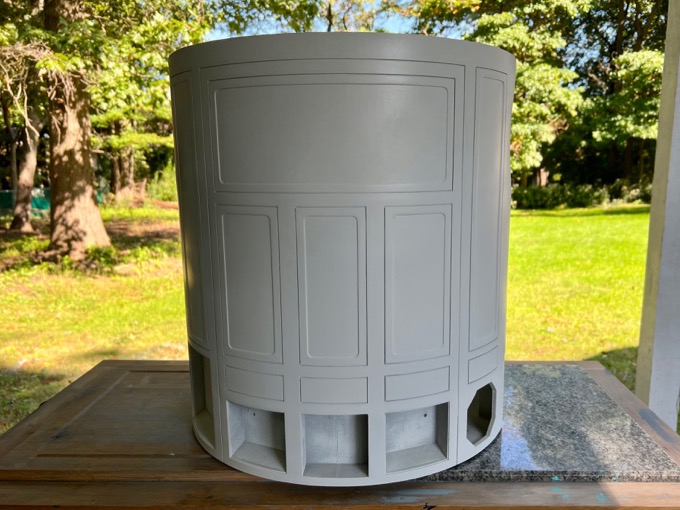
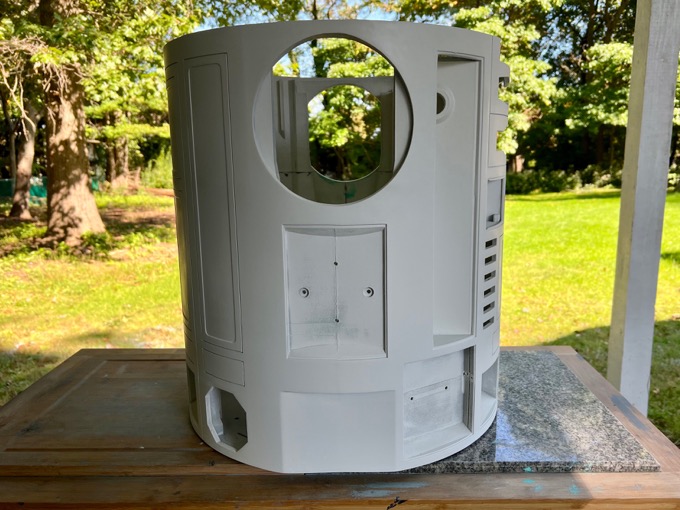
Now for the body.
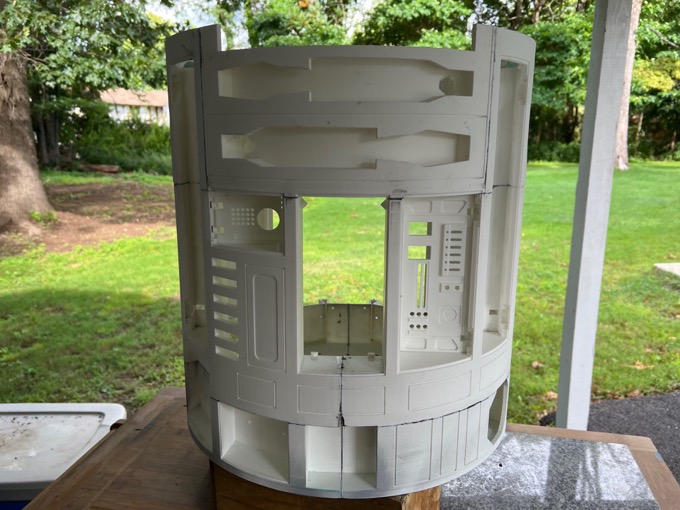
I first filled all the seams with putty.
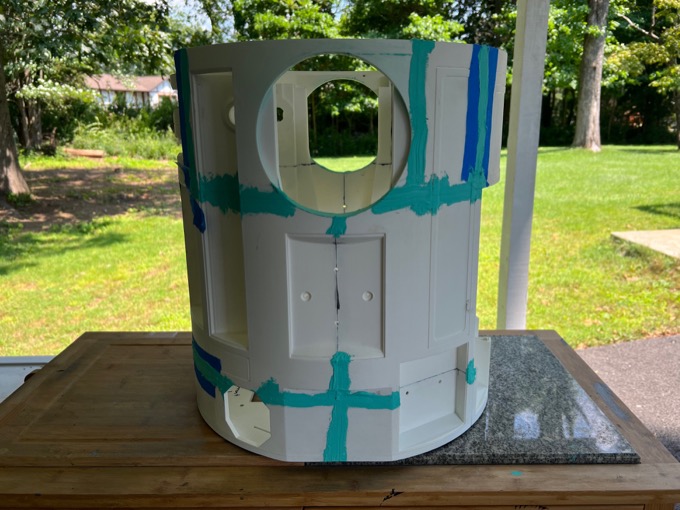
I then started the sanding process. This is going to be a lot of work. There are so many seams. In addition, some of the seams are not lined up well at all. They will need a lot of blending in order to make them invisible.
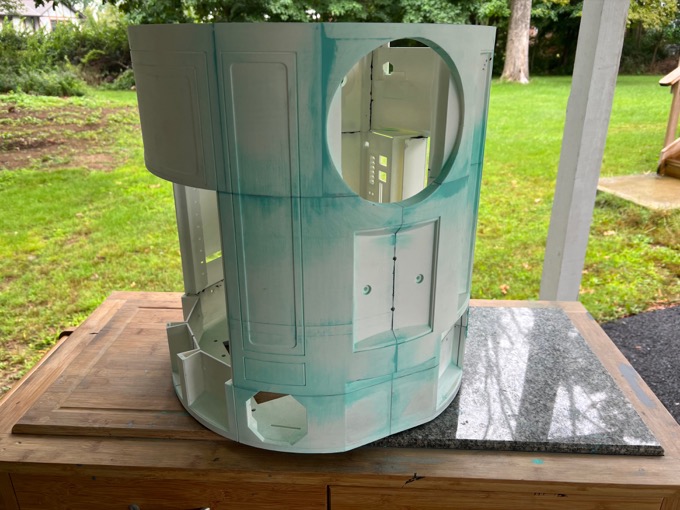
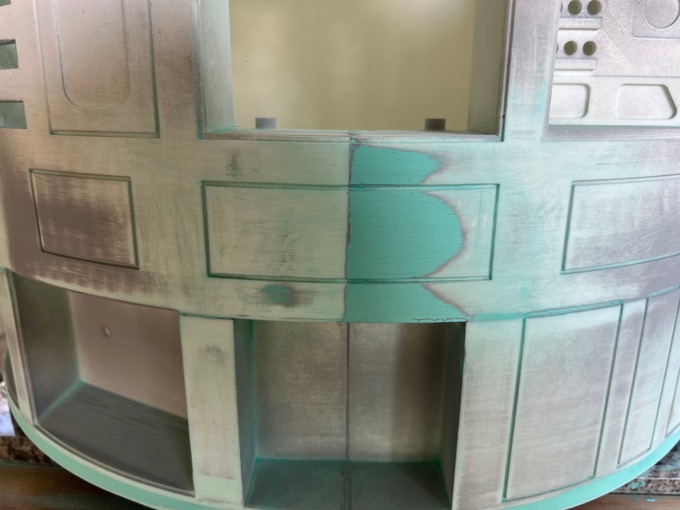
Just to see how bad things were, I lightly primed all the seams after they had been sanded.

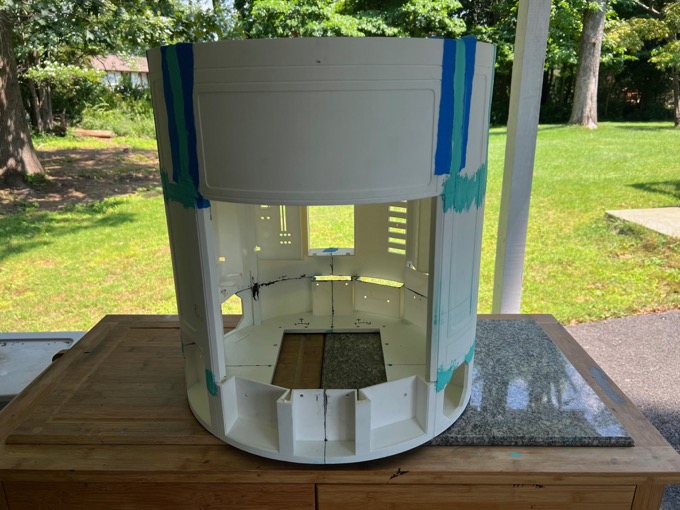
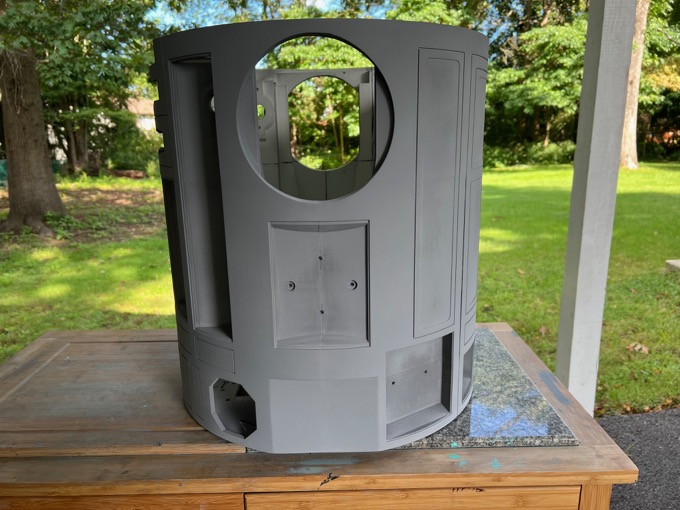
Round two! Fight!

It was at this point that I discovered that the back panel is not supposed to be a removal panel, so I glued it in.
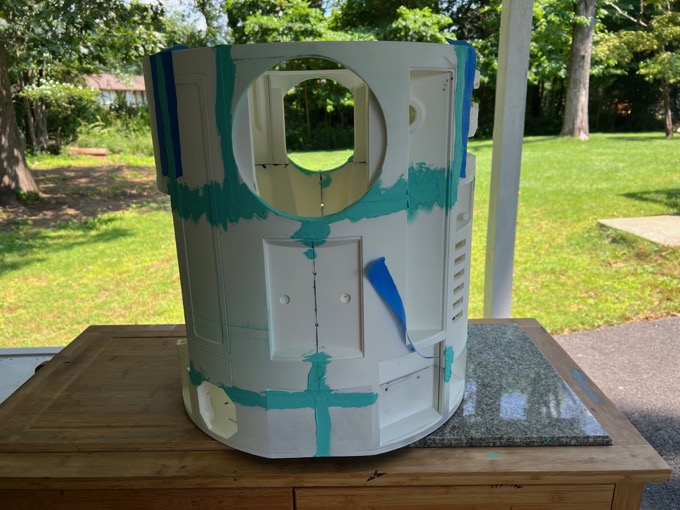
I then filled the seams…
..and sanded those too.
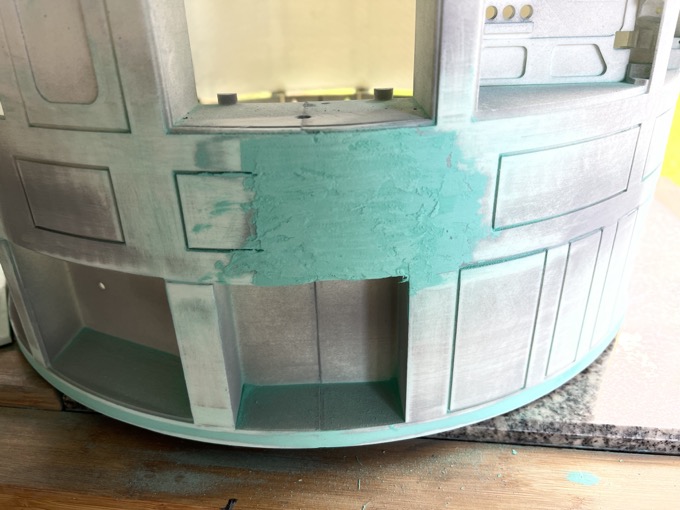
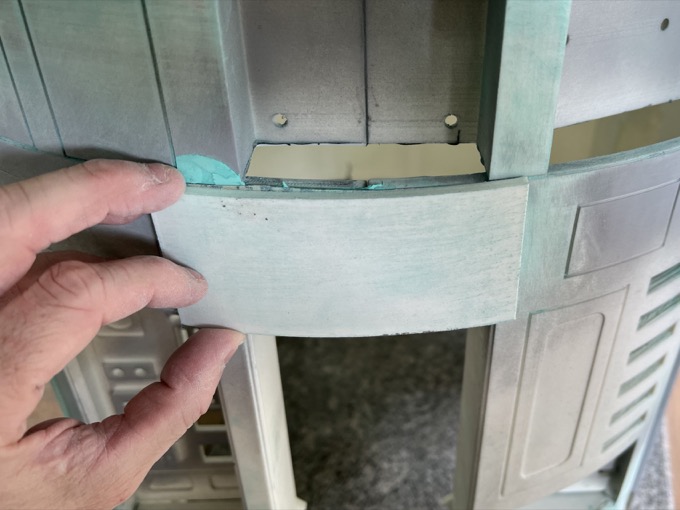
I totally botched gluing these two pieces together. The piece on the left is inset about 2mm from the one on the right. I gave it a pretty thick layer of putty in order to blend the two pieces together.
In order to help with the sanding, I took one of the panels into Meshmixer.
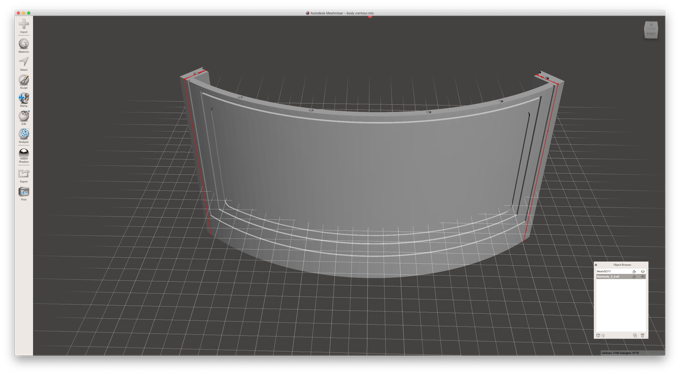
I cut the panel up and left a small portion that I can print to use as a sanding block.
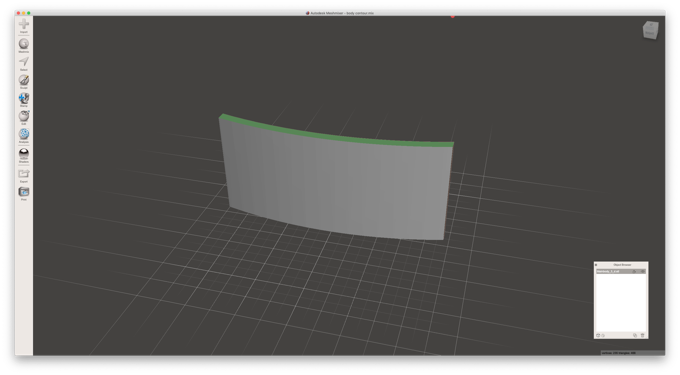
After I printed it, I glued some 150 grit paper to it.
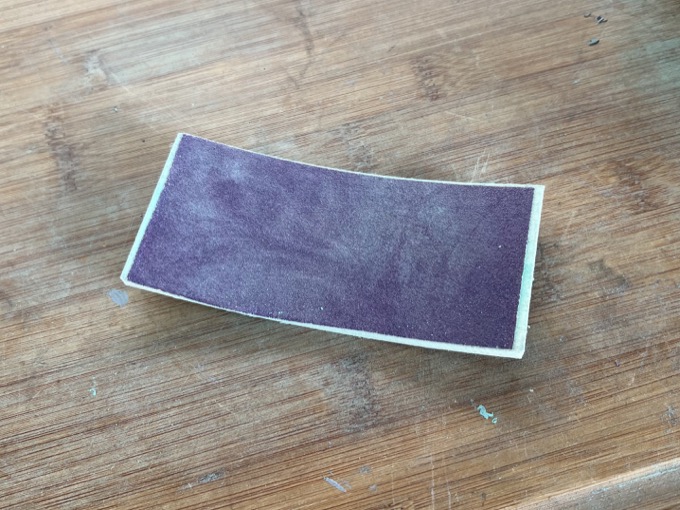
Since it matches the body's contour perfectly, sanding side to side will blend the two pieces together perfectly.
That actually worked out great. It's nice and smooth and you would never know it was repaired.
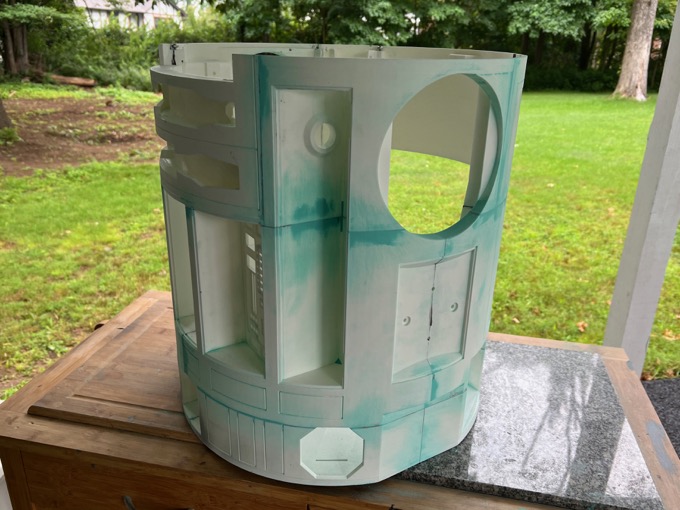
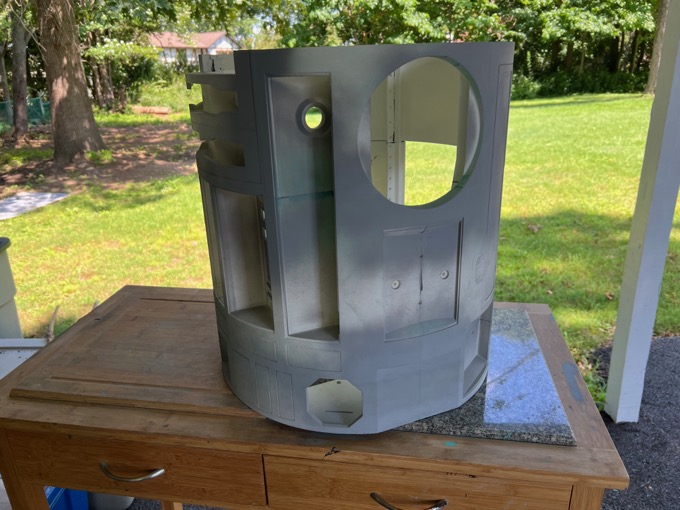
I continued sanding, cleaning up the seams, and priming until all the defects were removed. It was no easy task. I think I used four cans of primer.
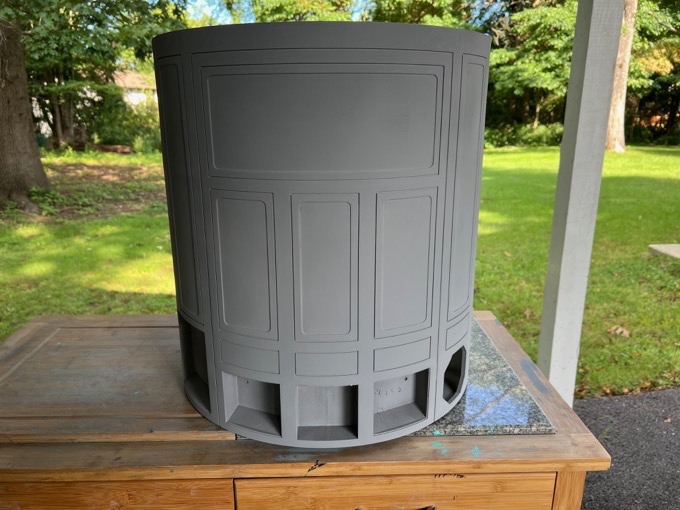
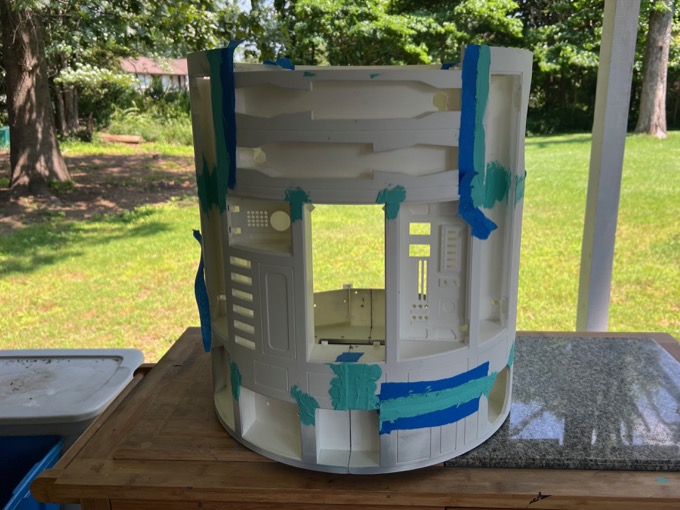
I sanded the primer to 320 grit and then started laying down several coats of white, sanding to 400 grit between coats. After 4 1/2 cans of paint, I was happy with the results.

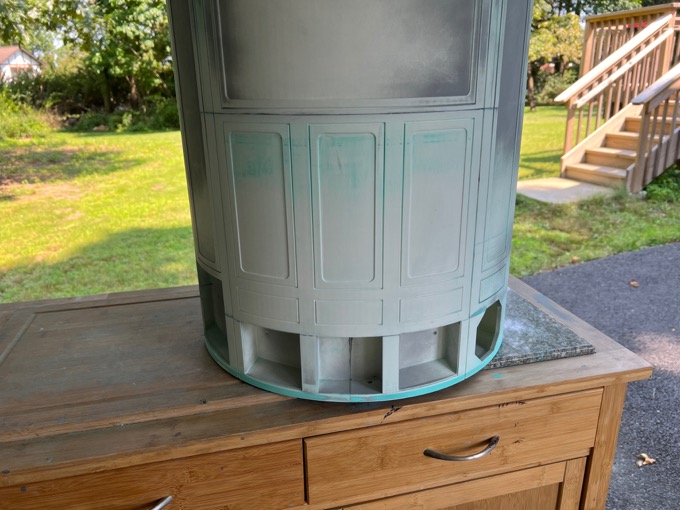
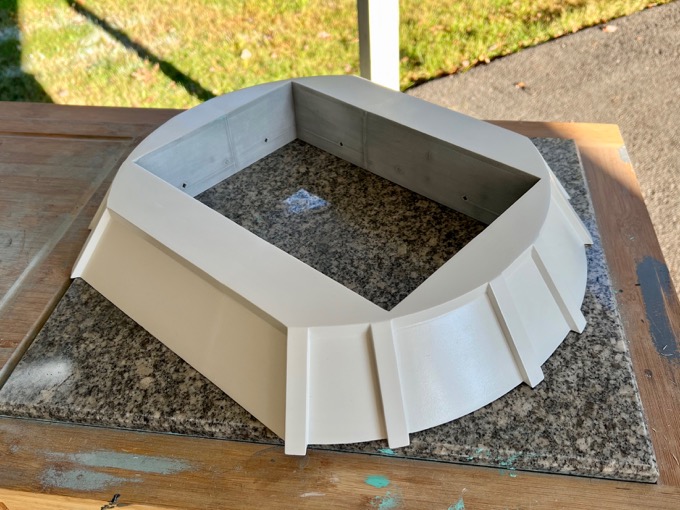
Last but not least, the skirt got the same treatment too.
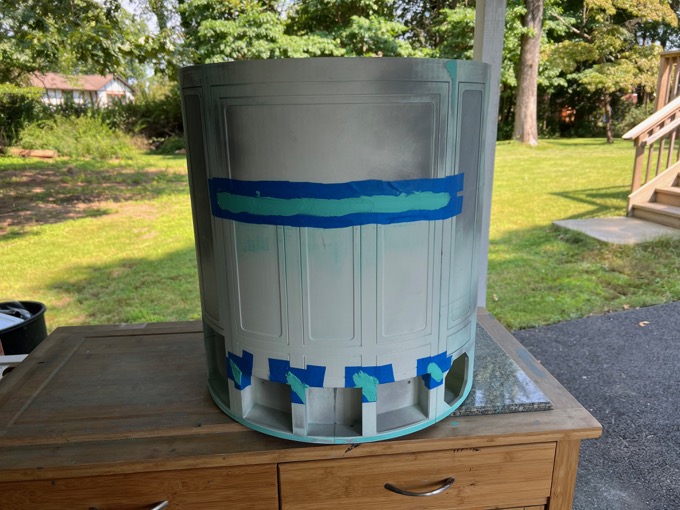
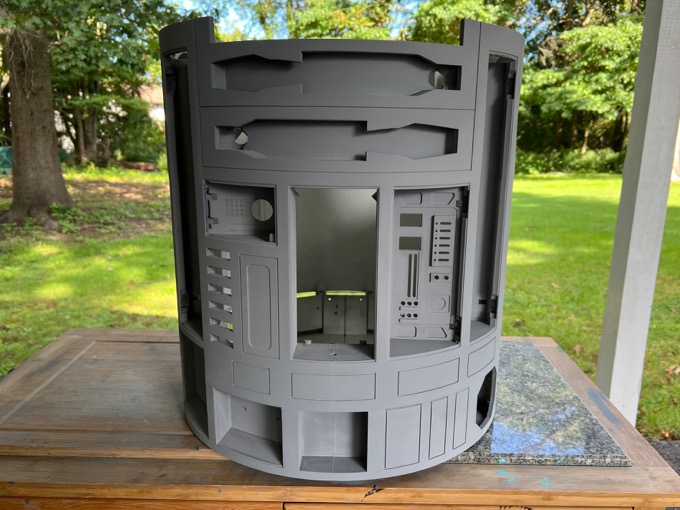
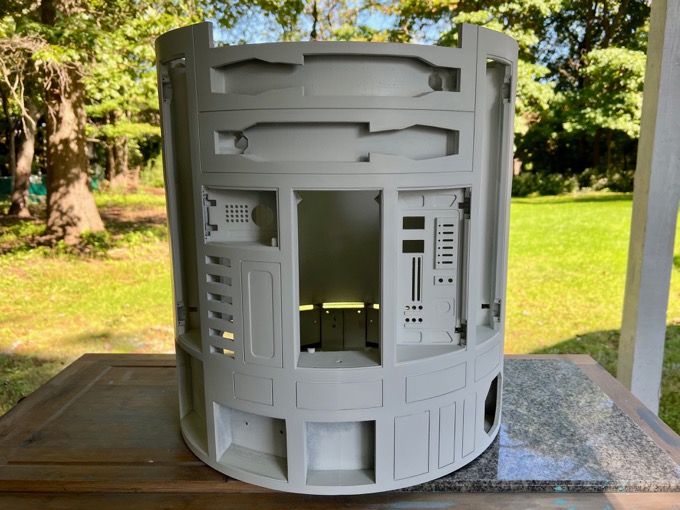
That was an enormous amount of work. It's all captured in one blog post, so it might look like I banged this out pretty quickly, but it actually took about two months to get to this point. The majority of my free time is limited to the weekends. There have been several weekends with nothing but rain, so progress has been slow.
It's really starting to look like an R2!
 See this project from start to finish:
3D-Printed R2-D2 - Part I - Dome 3D-Printed R2-D2 - Part II - Body 3D-Printed R2-D2 - Part III - Skirt 3D-Printed R2-D2 - Part IV - Body Assembly 3D-Printed R2-D2 - Part V - Body and Dome Finishing
3D-Printed R2-D2 - Part VI - Body and Dome Greeblies 3D-Printed R2-D2 - Part VII - Final Dome Assembly 3D-Printed R2-D2 - Part VIII - Legs and Feet
