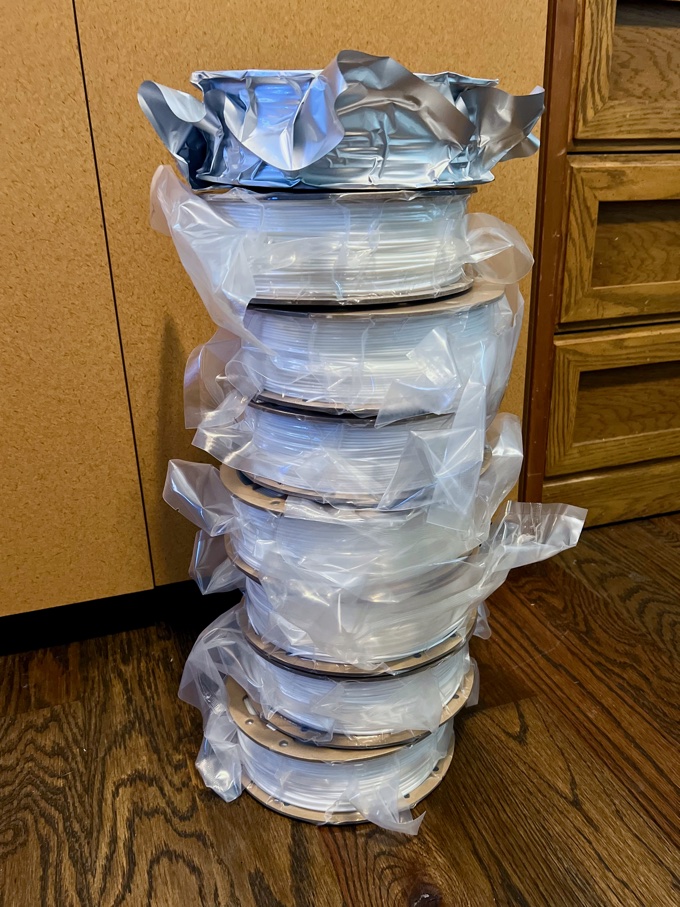
Woo hoo! Thanks to Amazon Prime Day I managed to save a few bucks on some PLA. I ordered a bunch of rolls for the body and the legs, and a roll of flexible TPU that I'll need for the wheels.
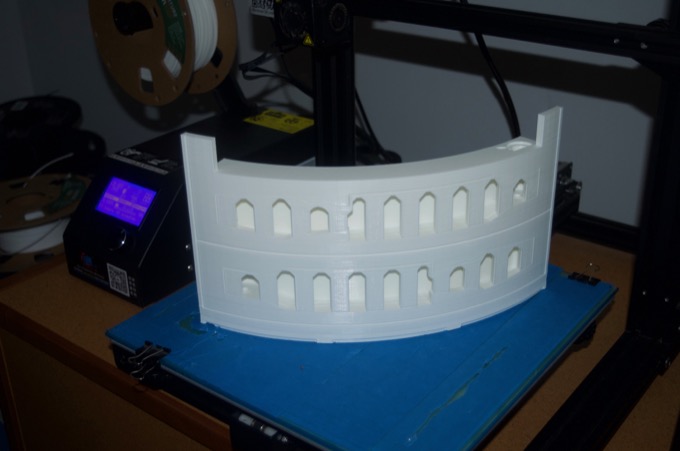
The body is basically made of 3 "rings" that get glued together. If you had a 500mm x 500mm print bed, you could print each of those rings in one shot. However, since I have a 300mm x 300mm bed, I have to print the smaller cut files. All together, there are 15 body parts to print.
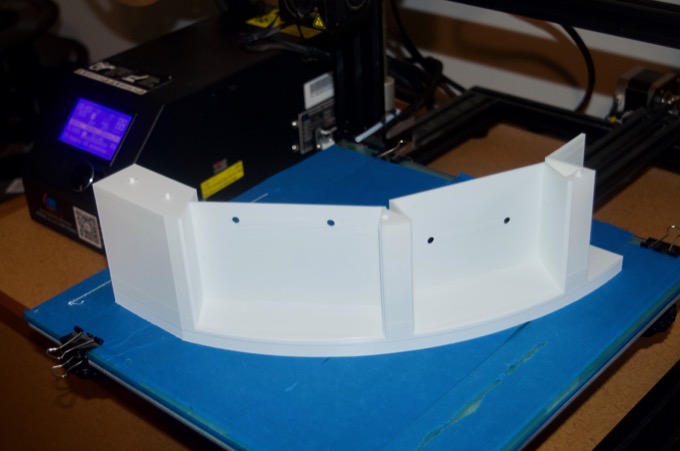
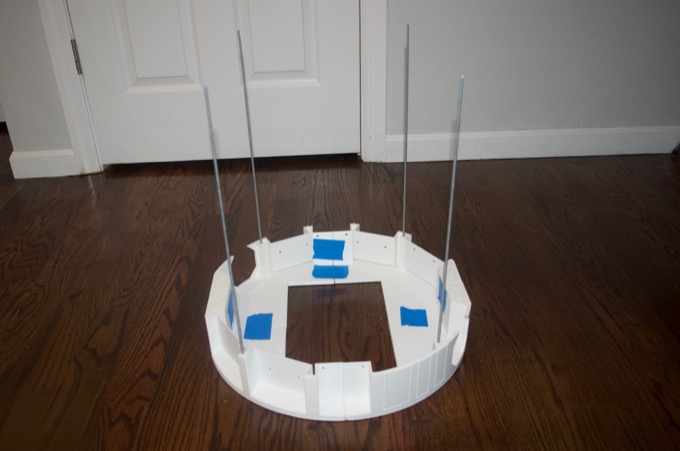
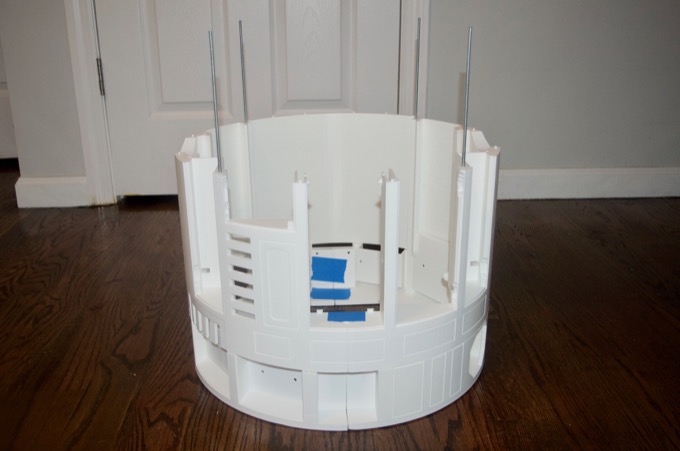
It took about 83 hours to print the bottom ring. I picked up some 8-32 threaded rods that fit into holes that run the length of the body. This helps with alignment while gluing, and adds some additional strength.
The middle "ring" is the biggest. These two parts that are the largest took 50 hours each to print.
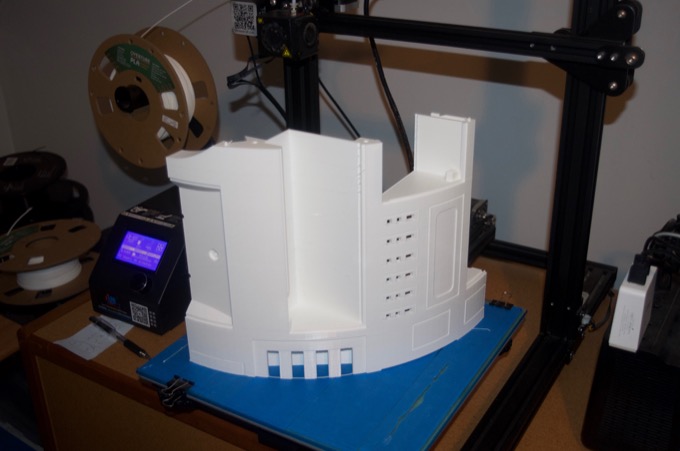
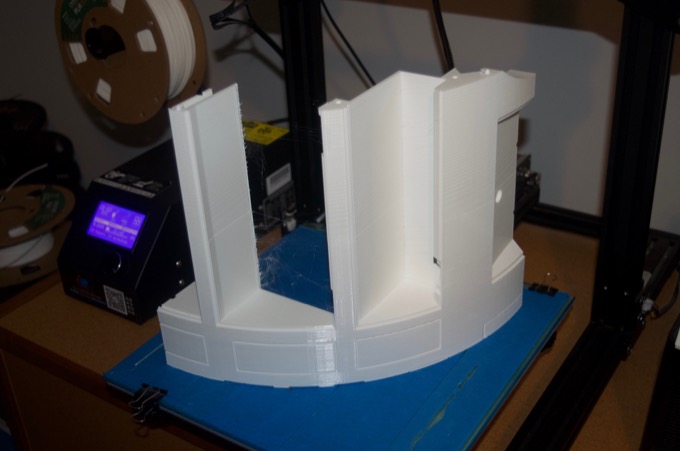
It took about 195 hours to print the middle ring.
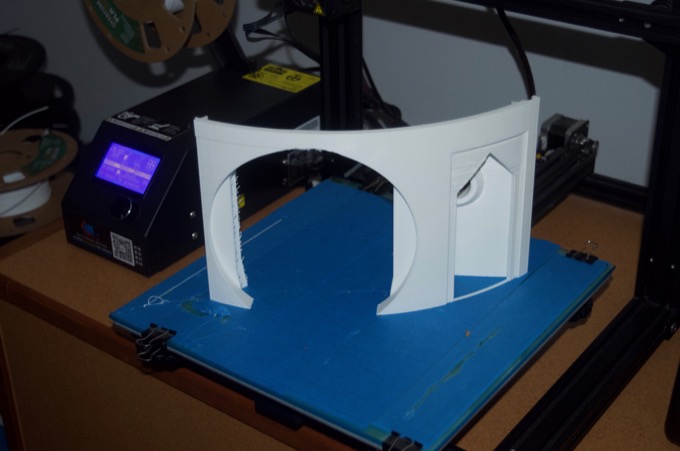
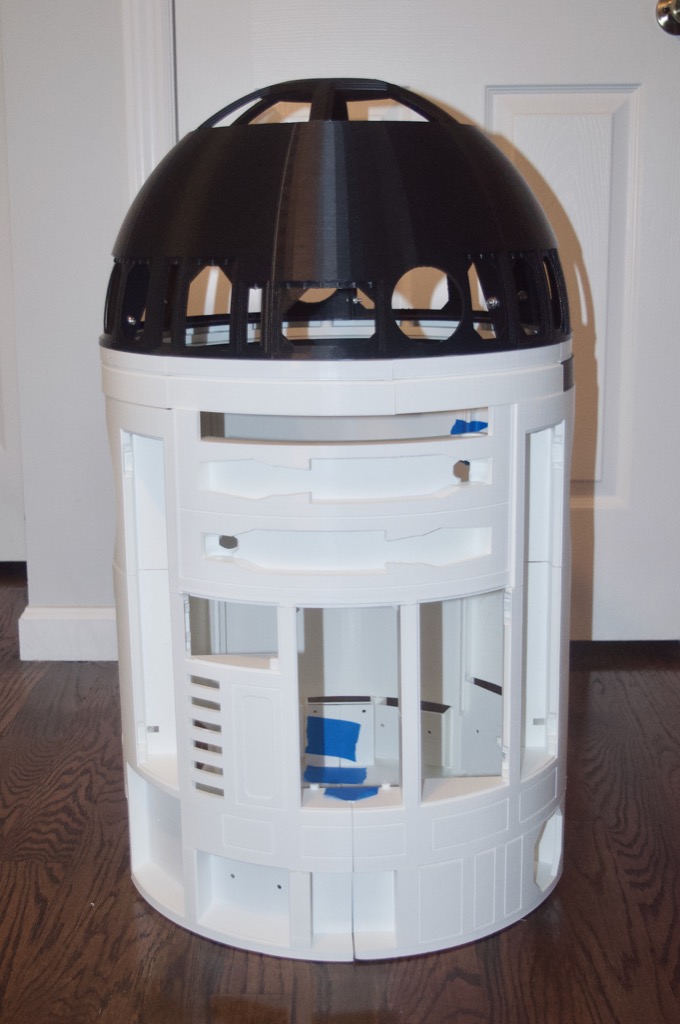
The top ring is smaller than the middle, but bigger than the bottom.
It took another 130 hours to finish, and a combined total of about 410 hours to complete. My printer has been printing around the clock non-stop for 19 days! I only had one print fail due to a power outage that lasted longer than my battery backup could keep the printer going.
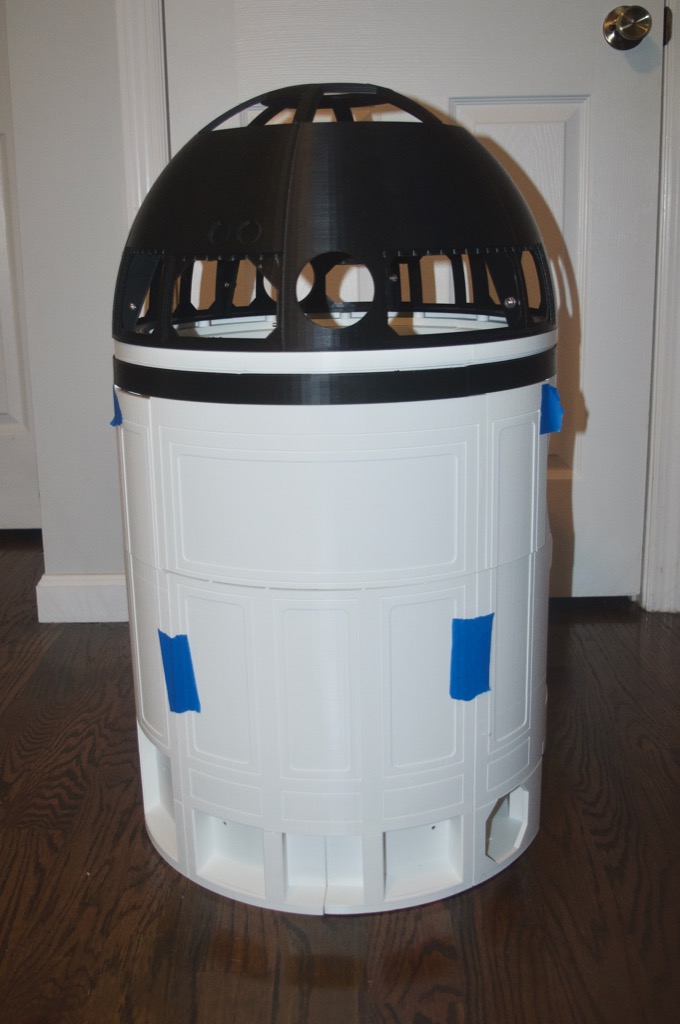
I couldn't resist putting the dome on top to get a sense of the size. R2 is huge!
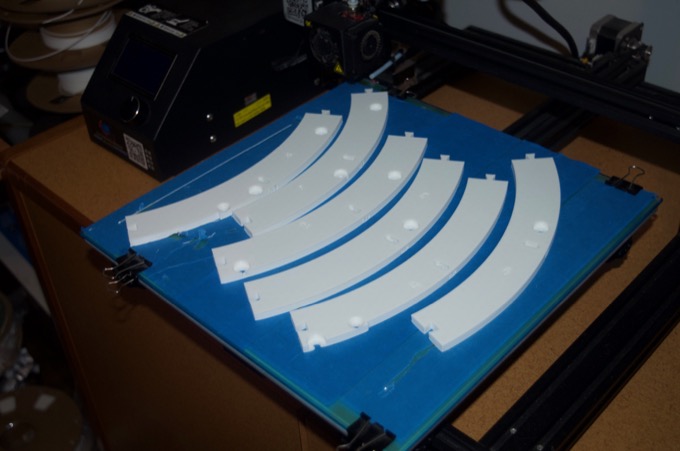
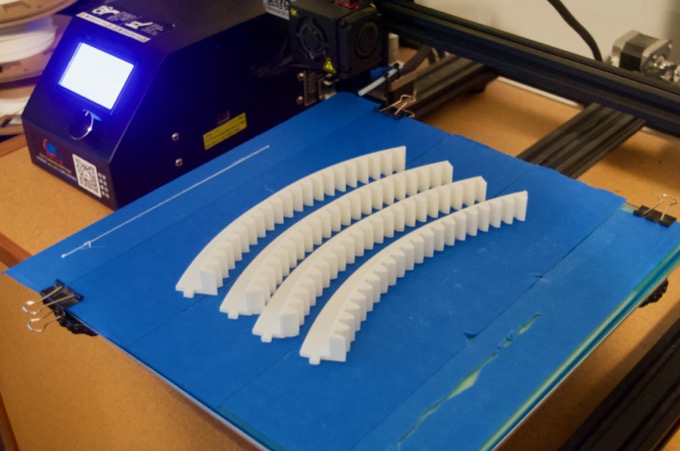
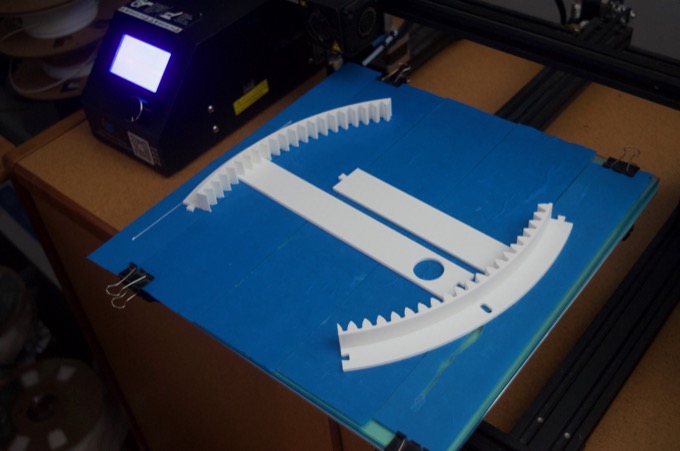
The last part to print for now is the top ring and the Lazy Susan gear.
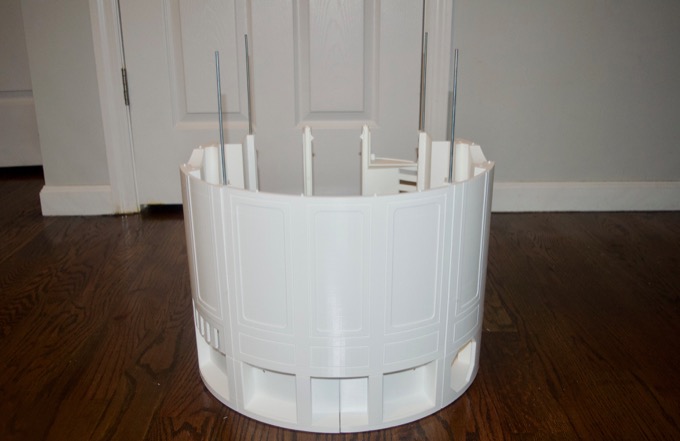
After a little sanding, the parts snapped together pretty well.
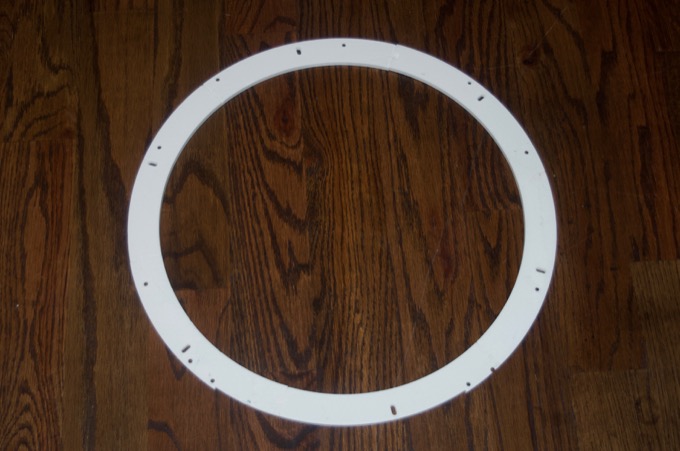
It snaps into place perfectly.

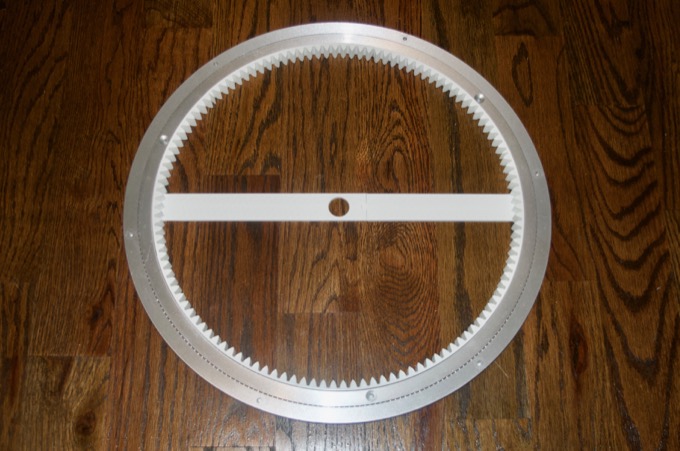
The Lazy Susan gear is another story.
Sadly, it does not make a perfect fit. I saw online that some builders had to scale it up to fit the Lazy Susan that they have. It looks like I am in the same boat.
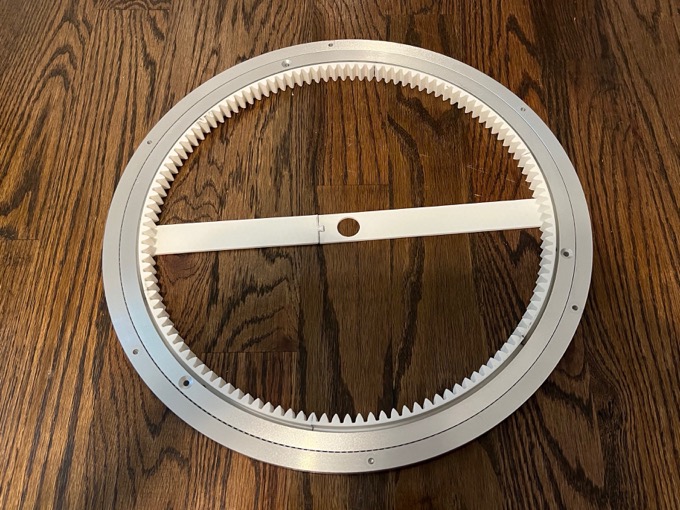
I scaled it to 102% and that seemed to do the trick.
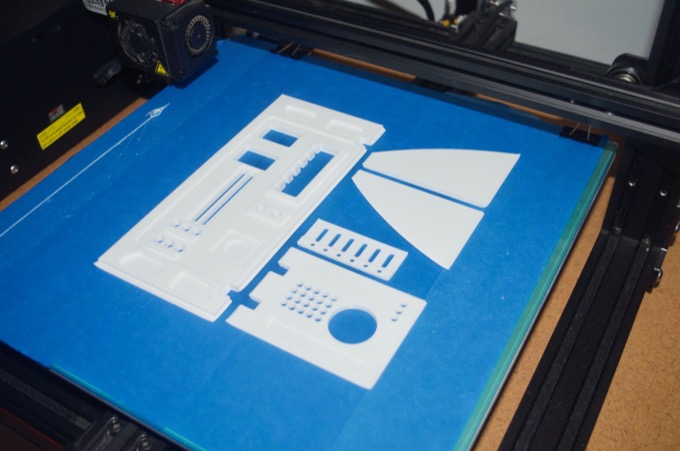
The last parts to print are the back and top panels for the data port and the charging bay.
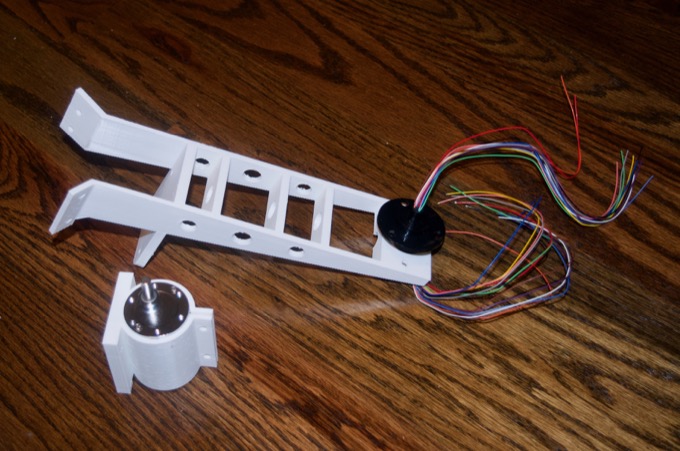
I also printed the housings for the split ring and the dome motor. I am probably not going to need these for a while, but I got a little carried away!
 See this project from start to finish:
3D-Printed R2-D2 - Part I - Dome 3D-Printed R2-D2 - Part II - Body
3D-Printed R2-D2 - Part III - Skirt 3D-Printed R2-D2 - Part IV - Body Assembly 3D-Printed R2-D2 - Part V - Body and Dome Finishing 3D-Printed R2-D2 - Part VI - Body and Dome Greeblies 3D-Printed R2-D2 - Part VII - Final Dome Assembly 3D-Printed R2-D2 - Part VIII - Legs and Feet
