It took a few weeks, but Glowforge finally got 1/4" Draftboard back in stock. I ordered 10 sheets so that I'd have plenty on hand.
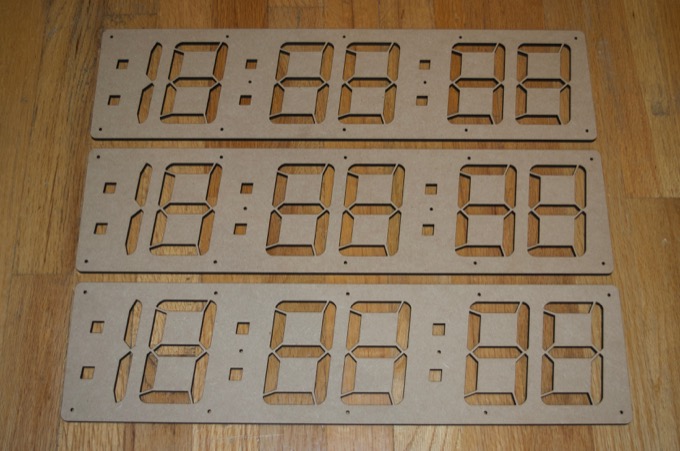
I cut three new panels and made the alignment holes small enough so that I could thread some 4-40 screws through them.
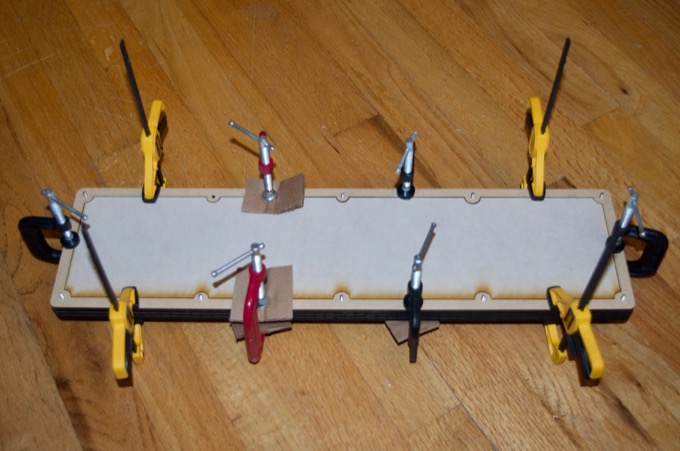
Screwing some nuts onto them also acted as clamps while the glue dried. Using 4-40 screws was a way better idea to align the panels together than my previous attempt with wooden dowels.

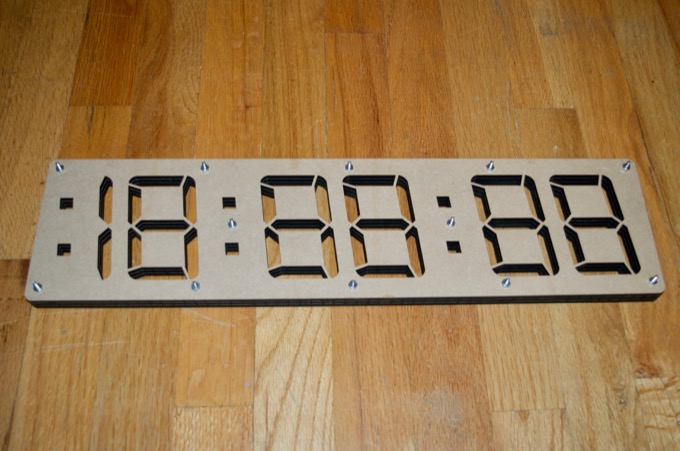
I continued to cut the rest of the panels and glued them together one-by-one. I also left the middle pieces in to also help the panels hold their shape. I can pop them out after it dries.
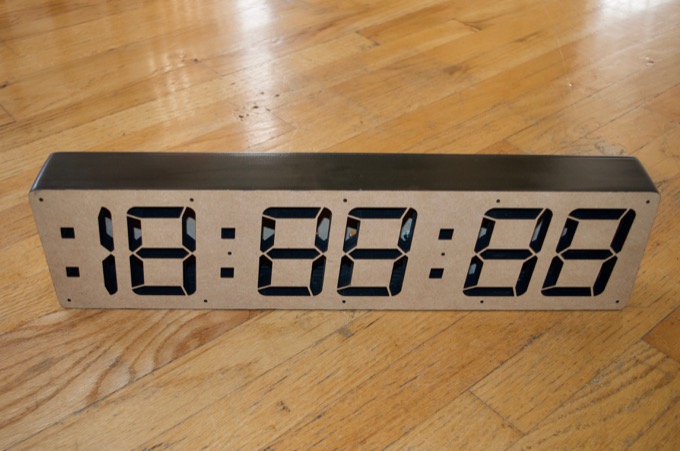
After I had an inch worth of panels glued together, I dropped the electronics in to see how much space I had to play with. I originally thought an inch would be enough to house the PCB, the buttons and all the wires, but it just might be a little too tight.
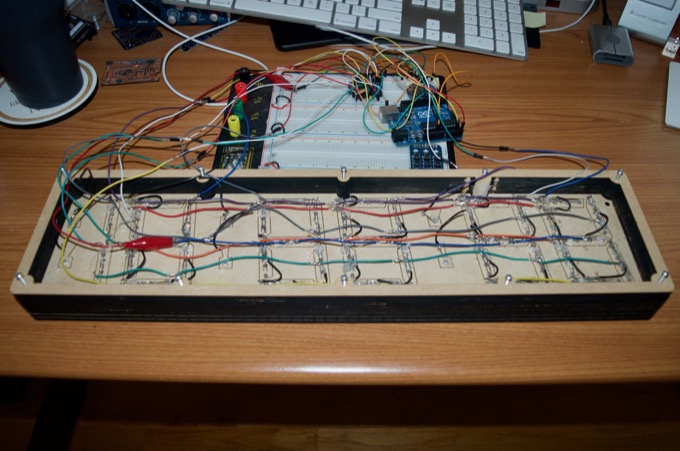
I decided to cut two more panels and glue them on. That should be more than enough.

This is going to be awesome.
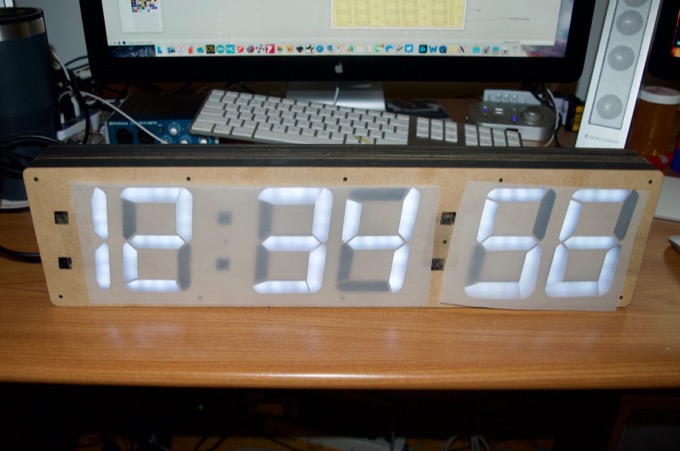
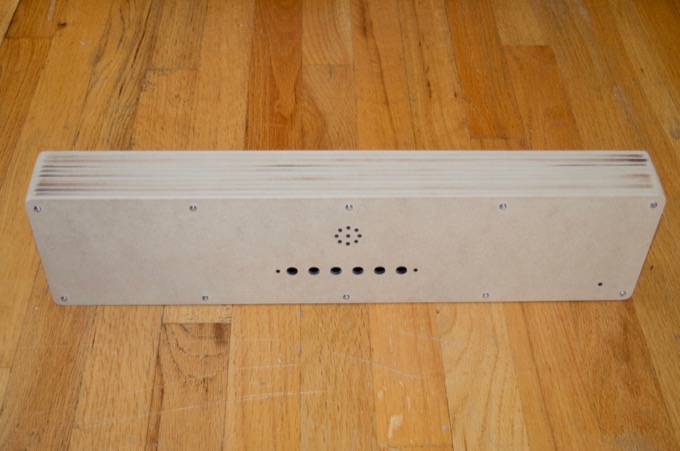
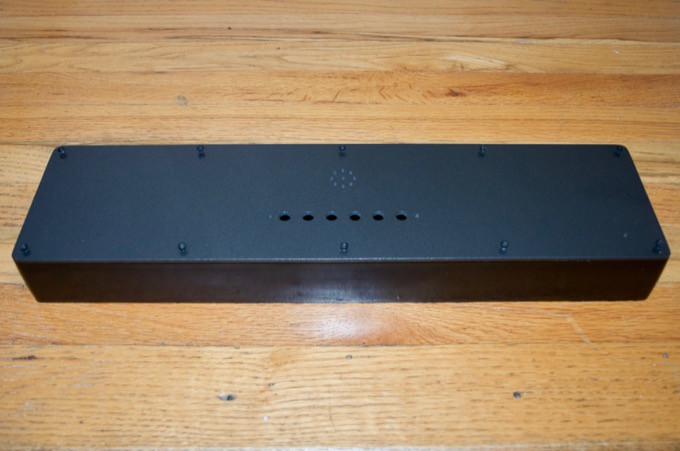
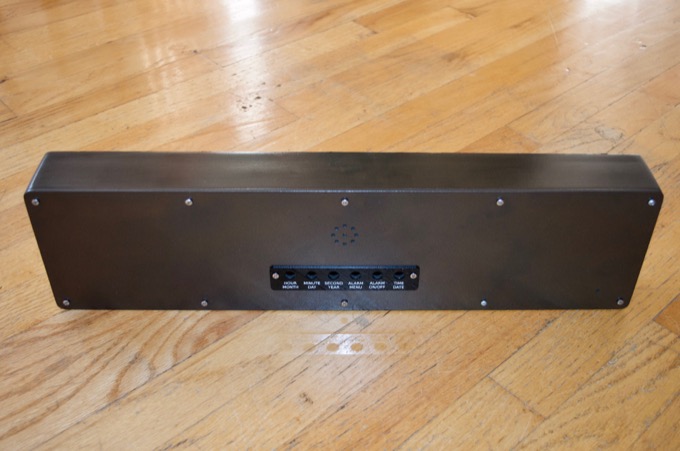
The last piece was the back. I decided to ditch the one that I previously cut. I forgot to include some holes for the speaker. I also decided to move the buttons up a little bit so that I can attach an engraved name plate to the buttons like I did with my
large VFD clock.

I screwed everything together and gave it a good sanding until the panels were all super-flush.
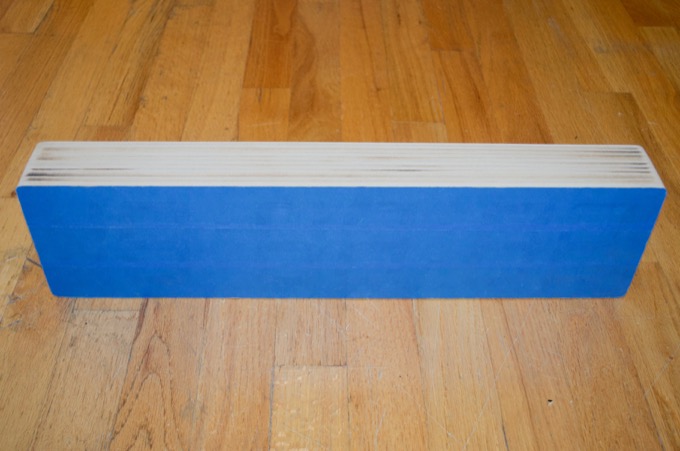
I then got it ready for a few coats of primer by masking off the front.
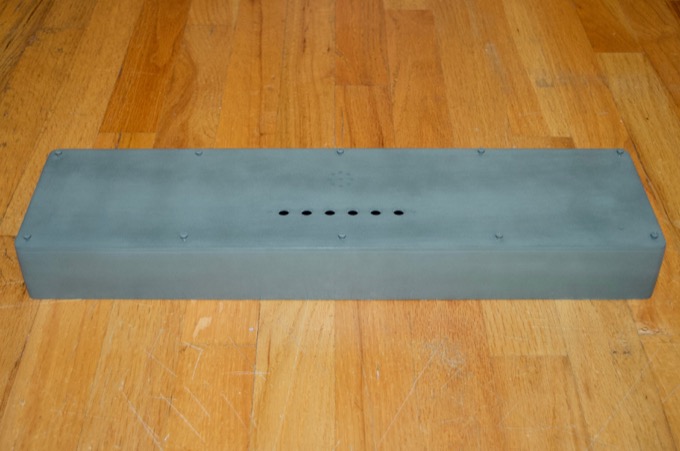
I then gave it a few coats of primer, sanded between coats up to 320 grit, and applied some Vallejo putty to the small blemishes that needed it. I repeated the process until all the sides were absolutely perfect and then buffed it with steel wool. The sides feel like glass.
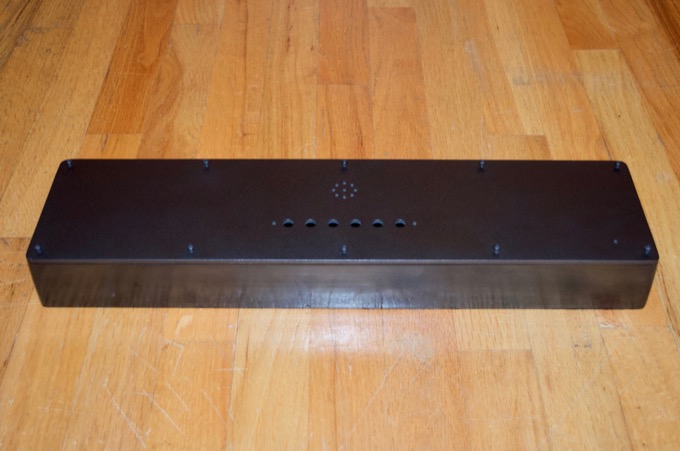
I then painted the sides black and the back with a hammered metal finish. I then gave it two coats of gloss.
I then buffed the whole enclosure with graphite and followed up with two more coats of gloss.
I then laser cut the button panel out of 1/16" black acrylic.
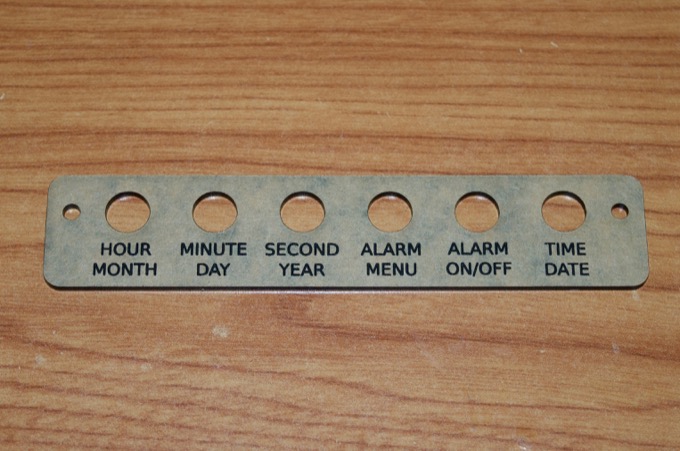
I masked off everything but the letters and spray painted it white in order to fill the letters. That came out really nice.
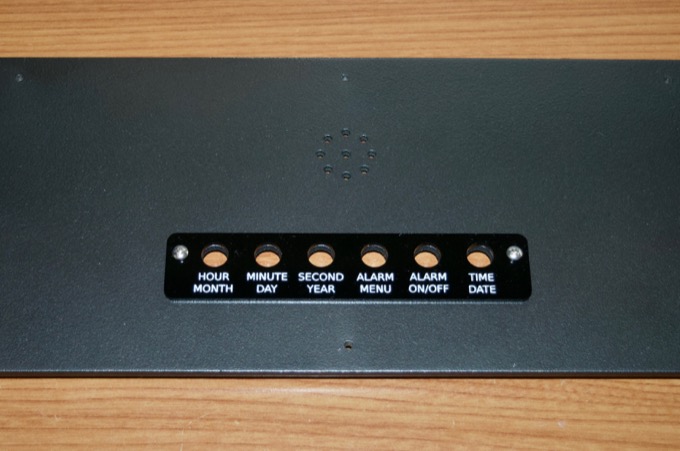
That's looking pretty sweet.
Next up is the front panel and PCB assembly.
More to come…
See this project from start to finish: Clock with DIY 7-Segment Display - Part I Clock with DIY 7-Segment Display - Part II Clock with DIY 7-Segment Display - Part III

