I've always wanted to build a clock with custom built 7-segment displays. I want it to be huge. The plan is to cut the enclosure out on my Glowforge and make it as big as I can cut it.
I first need to build a digit as a proof of concept. There's no sense in moving forward with the design unless I can make a digit that looks really good. I want the digits to be at least 3" tall. Maybe even bigger. It'll all depend on how many digits I can squeeze onto a 19" panel in my Glowforge.
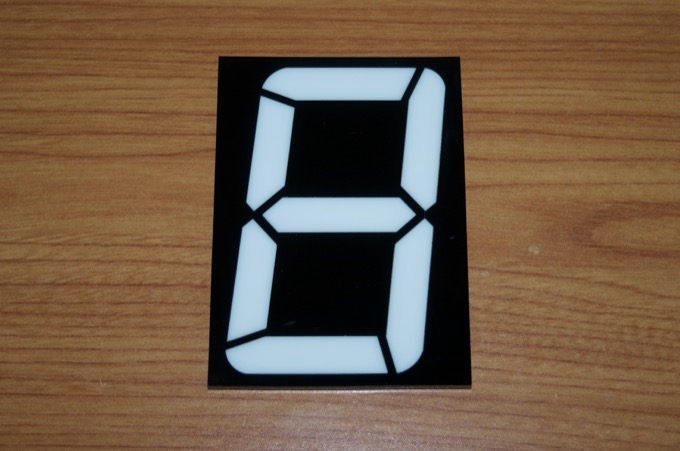
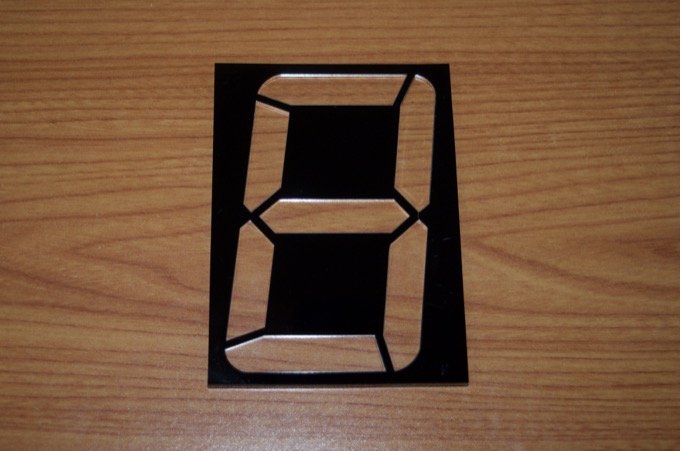
I settled on a really cool font and cut out a digit about 3.5" tall using black and white acrylic.
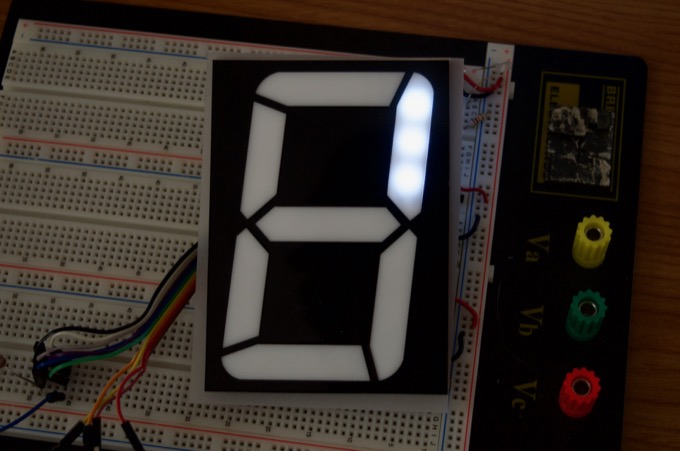
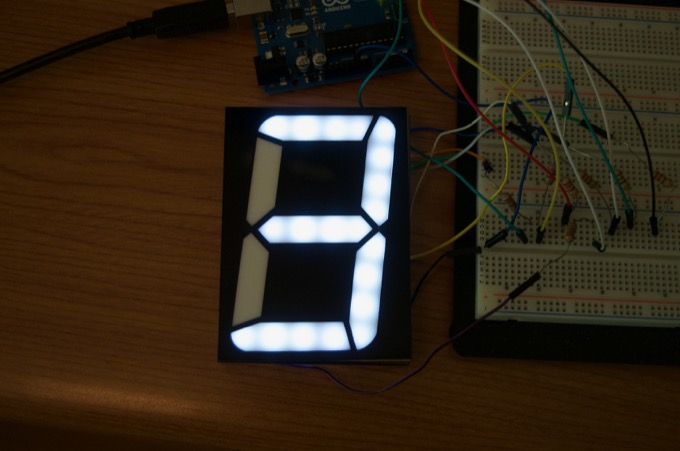
I tried to light each segment with 3 x 5mm white LEDs. I don't like the way it looks. It's hard to get them right in the corners of the digits. I'm thinking I'll go with 3mm LEDs and try and find something to help diffuse the LEDs.
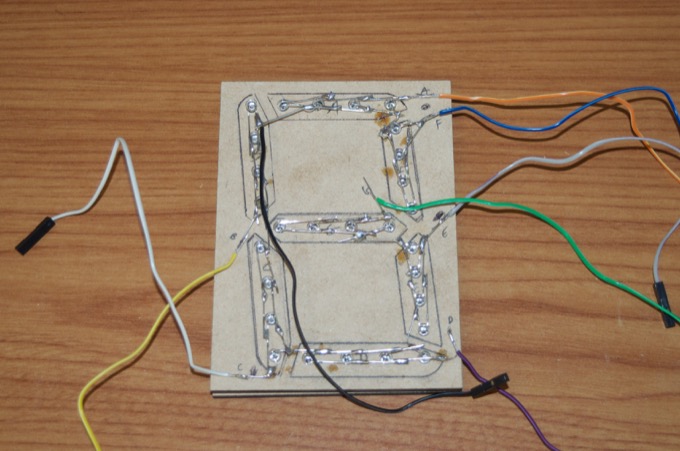
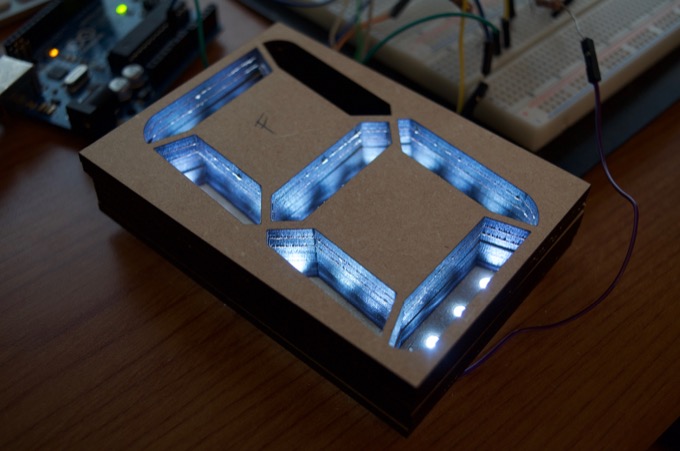
I cut a piece of draftboard to hold 4 x 3mm LEDs for each segment and wired them up.
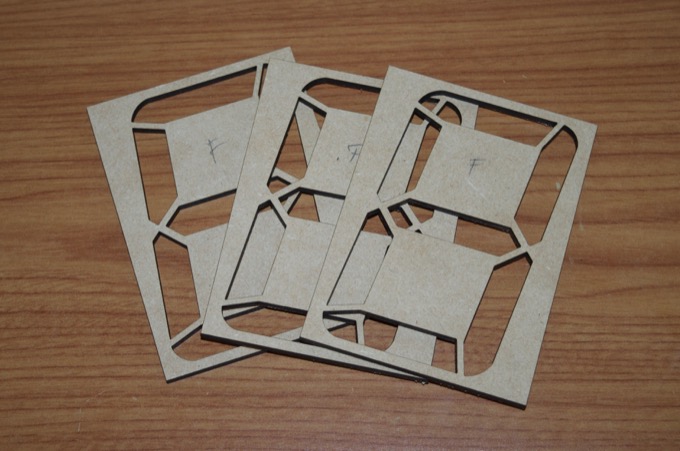
I cut out some baffles to help separate the segments.
Four LEDs definitely looks better, but I need to better diffuse the LEDs.
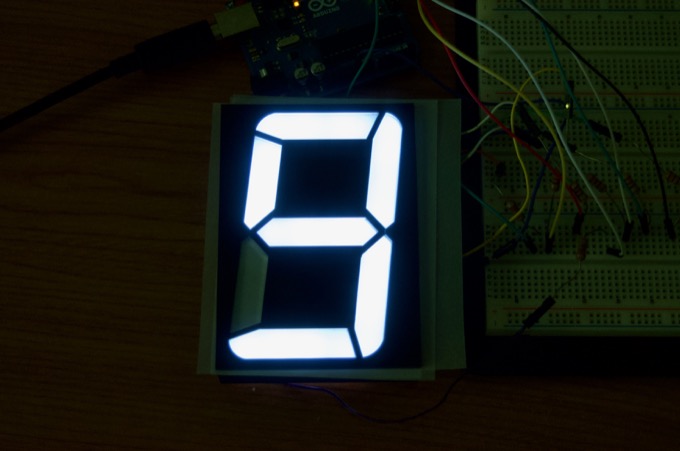
I tried a few sheets of vellum, but it does not look so great. Although it helps diffuse the light, the white acrylic on top of the vellum really dulls down the LEDs. I decided to cut the segments out of clear acrylic and try that on top of the vellum.
I also increased the baffle height to six layers.
That looks way better.
With the design of the digit nailed down I got to work on the enclosure. The digits will be built right into the enclosure like this:
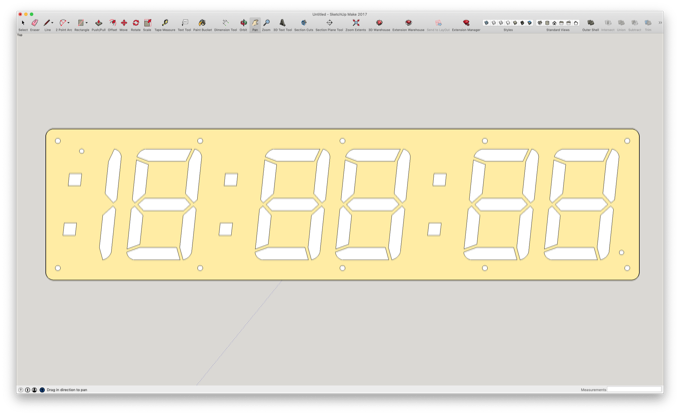
I'll stack sheets of 1/4" draftboard on top of each other and then cover the front with acrylic.
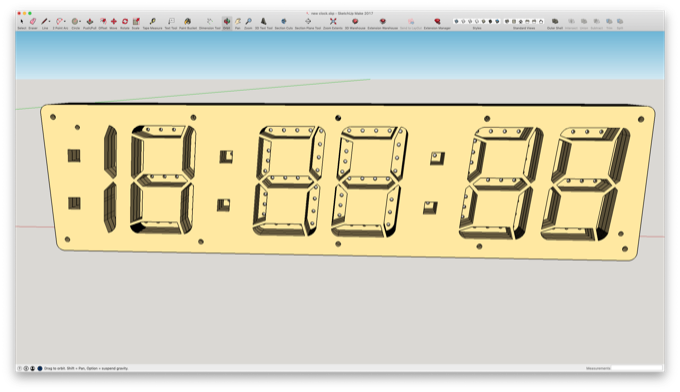
The LEDs will then be inserted in from the back.

These are all the pieces. The front panel will have to have some etching done on the back so the epoxy I'll use to glue it on will have something to bite into. Some of the other holes will be used to key the panels together using some 3mm wooden dowels. I'll then Bondo and sand all the seams. It should look pretty good when complete.
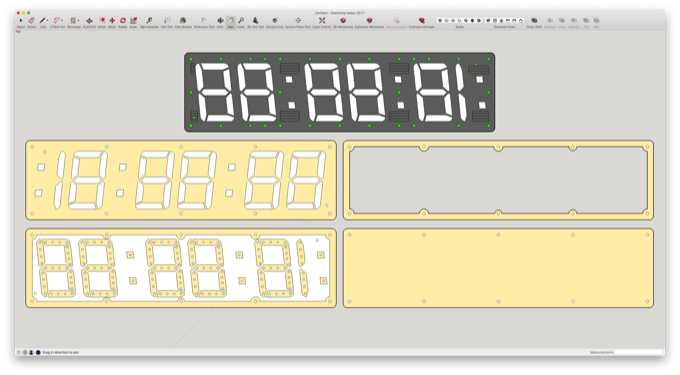
I'll just need to order some more 1/4" draftboard from Glowforge in order to get started. I only have one 1/8" piece left. Since the LED board is the only layer to be cut in 1/8" draftboard, I can at least get started on soldering in all the LEDs and prototype the electronics while I wait for the rest to arrive.
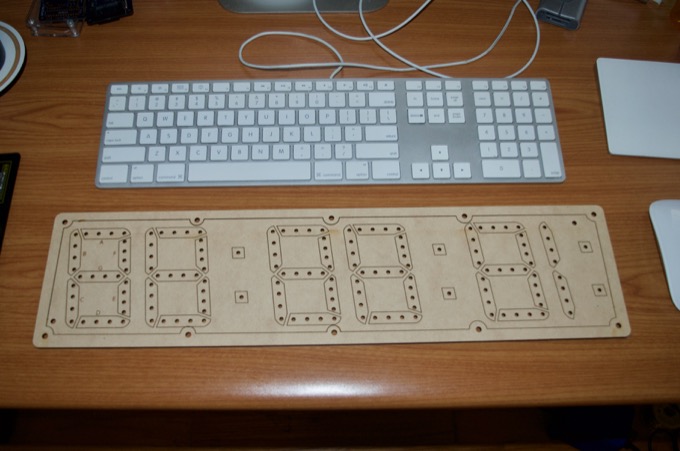
Here's a glimpse at how big this clock is going to be. Keyboard for scale. It's definitely going to be the largest I've made so far.
 See this project from start to finish:
 Clock with DIY 7-Segment Display - Part I
Clock with DIY 7-Segment Display - Part II Clock with DIY 7-Segment Display - Part III
