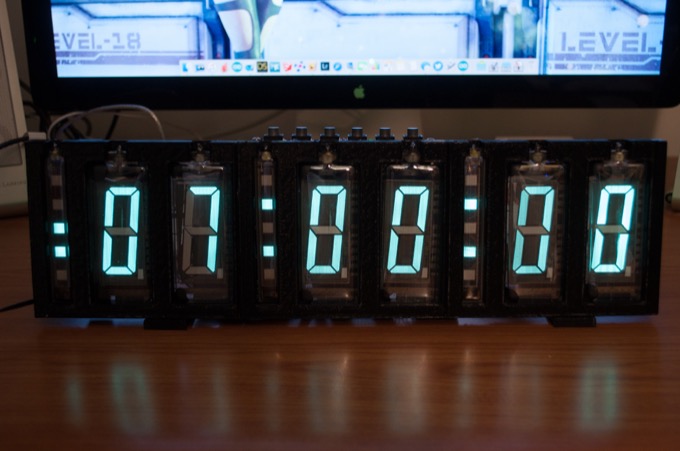
I left off six months ago with the completion of all the electronics for the new VFD clock. I was really happy with the way that it came out. All that I needed to do was make a case for it. However, I needed to wait until I had my Glowforge. There is just no way that I can get the case made from Ponoko. What I want to do is very complicated. It's going to take some degree of prototyping to get it right. Ponoko is just too expensive to use when it might take two or three iterations before I'm happy with the results.
It was a long time coming, but my
Glowforge is finally here. It's time to dig in and finally finish up this clock. I went back to my Sketchup model that I made for the carriage that held all the electronics together and used it to develope the enclosure.
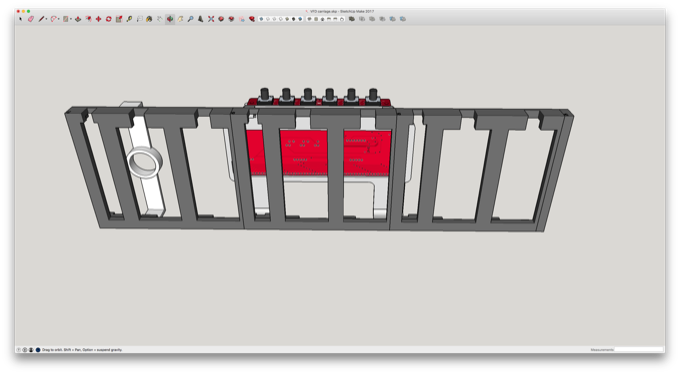
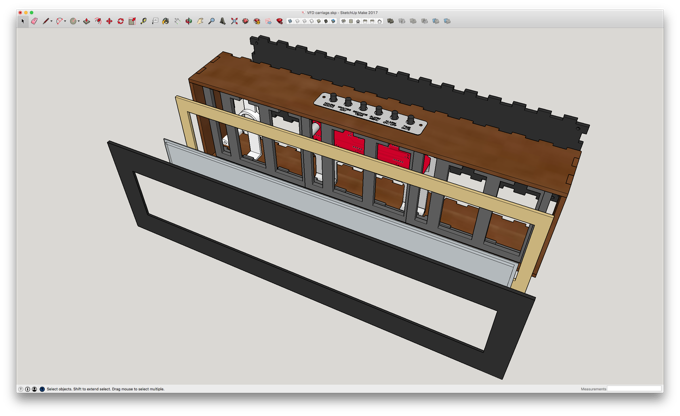
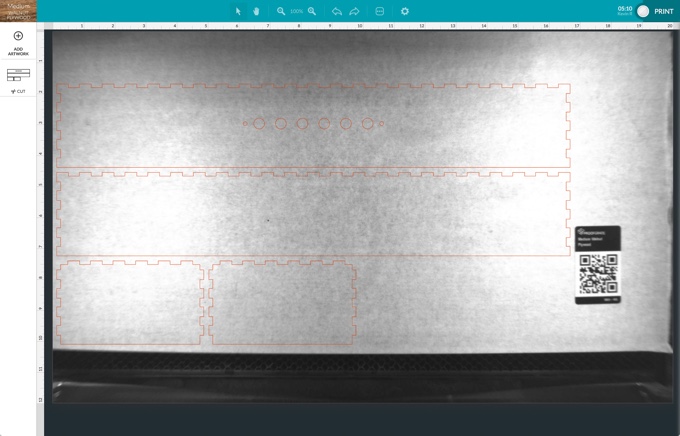
I used a box maker plugin to design a box that would hold the electronics with as little room to spare as possible. I don’t want the enclosure to be any bigger than it has to be.
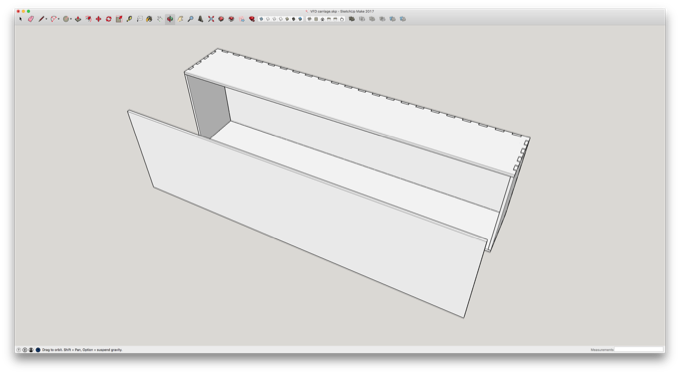
The sides and the back have tabs. I want to just glue the front panel on. I don’t want tabs around the front of the display. I think the alternating wood and black acrylic will look a little weird.
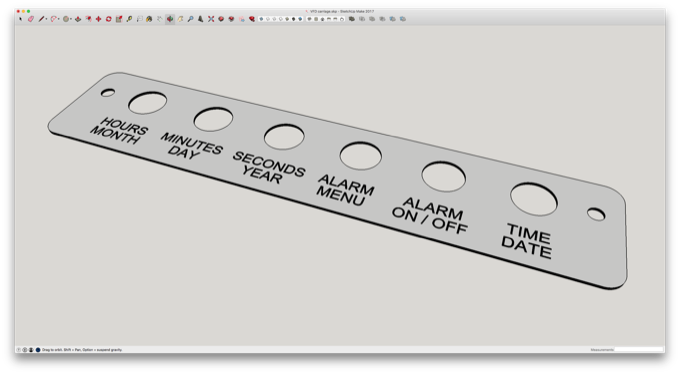
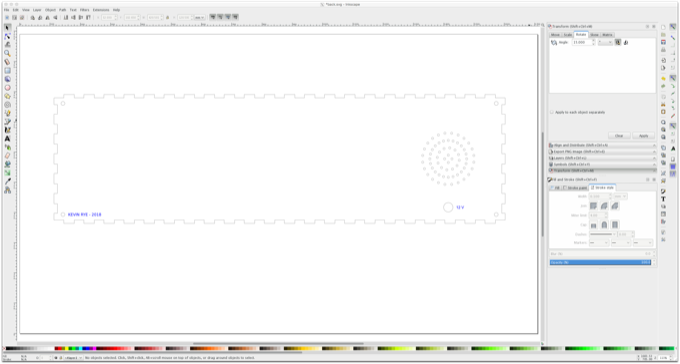
I figured out where all the holes for the buttons needed to go as well as the cutout for the display.
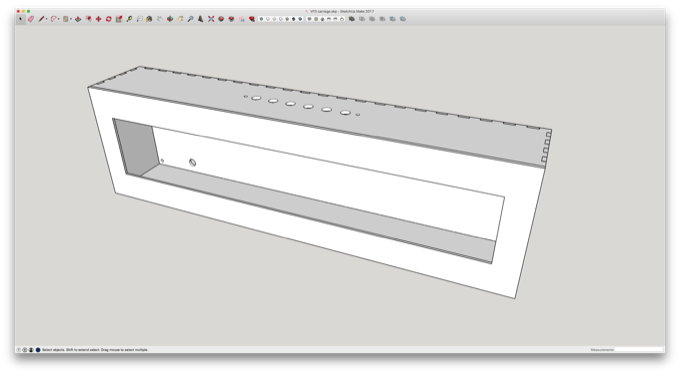
I also designed the panel for the buttons, just like I did for my
other clocks.
The front and back will be black acrylic and the sides will be wood. Since this is a VFD clock, I want it to have that vintage stereo look.
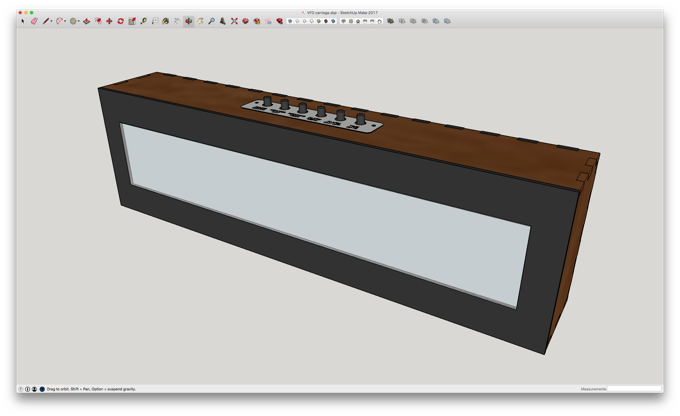
The front panel will have a piece of gray tinted acrylic glued into the center.
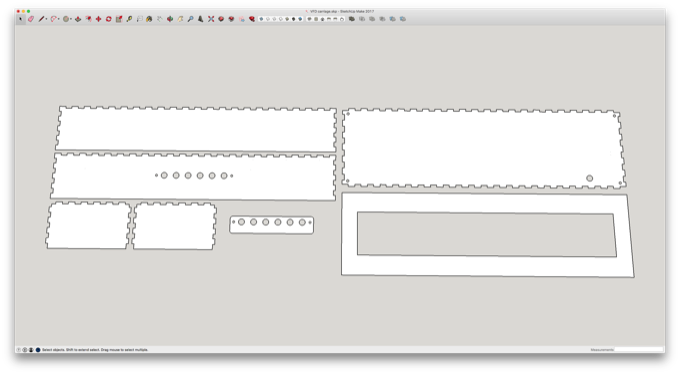
I then exported all the faces to SVG files.
6
The walnut plywood that I plan to use cost $20 bucks, so I only have one shot at getting it right. I decided to try a test cut with some cheap Proofgrade Draftboard. I laid the pieces out in the Glowforge UI and let ‘er rip.
Not bad.
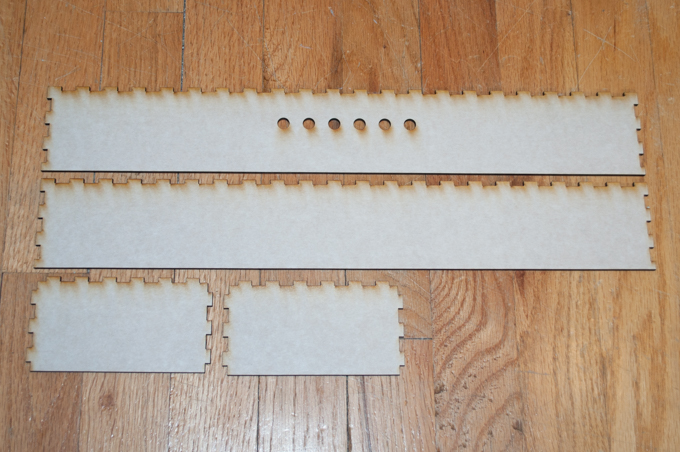
That’s a pretty good fit. There’s also space on the sides for me to glue in some 3D-printed pieces that I can put some threaded inserts into. That way I can screw the back on.
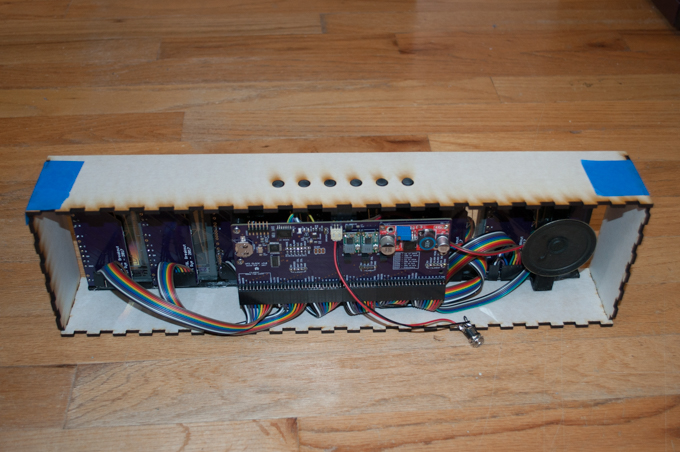
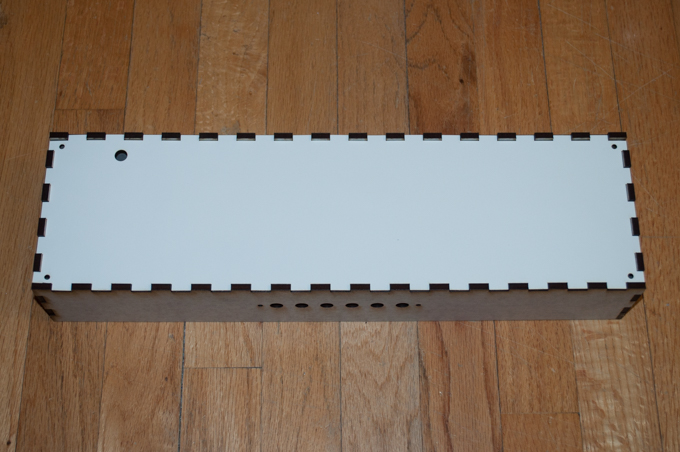
I nailed the front panel on the first go.

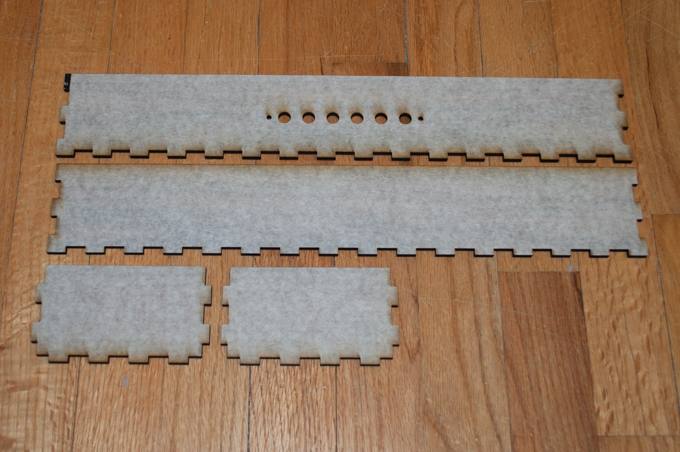
I then went for broke and cut the pieces out of the walnut plywood.
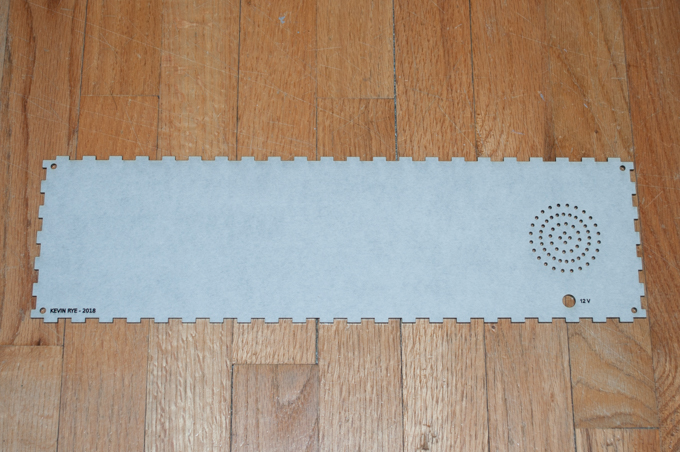
I took the back SVG into Inkscape and added some text and some holes for the speaker.
I only have two pieces of black acrylic, so again I made a test cut. This time, instead of wasting more Draftboard, I cut the back out of posterboard.
It fits perfectly.
I then cut the final one out of black acrylic.
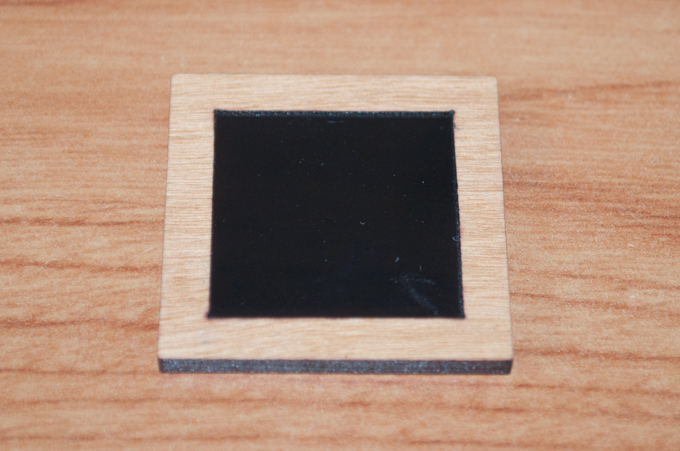
The front display is going to be tricky. I want the gray acrylic to be flush with the black. I can’t just cut it out to the same size and glue it in. That won’t work. I need to etch a lip around the gray piece and along this inside of the opening on the black piece so that the gray acrylic can sit inside the black.
Something like this.
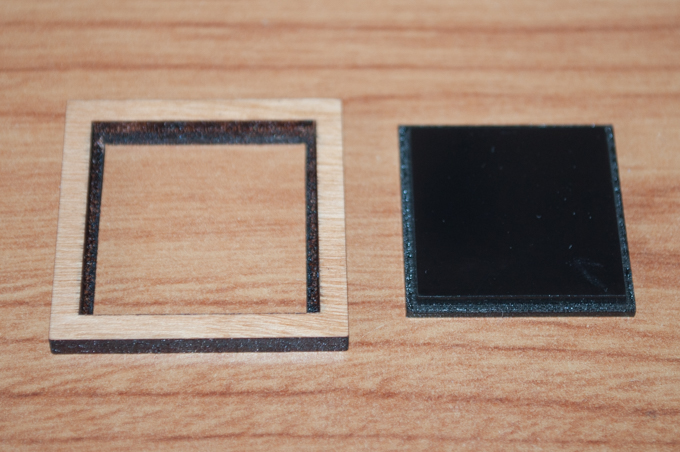
I etched away 3mm from both pieces so that the acrylic can sit inside the wood. I don’t know why for the test I used wood. I guess I forgot for a minute that the front is going to be acrylic. In any case, the idea works.
The acrylic sits nicely within the wood and is flush.
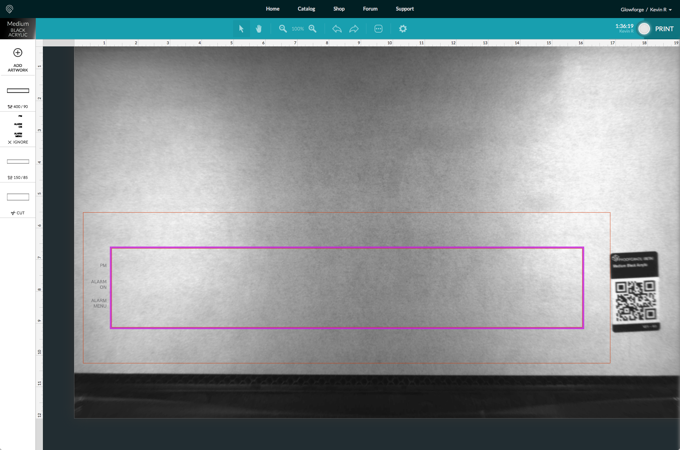
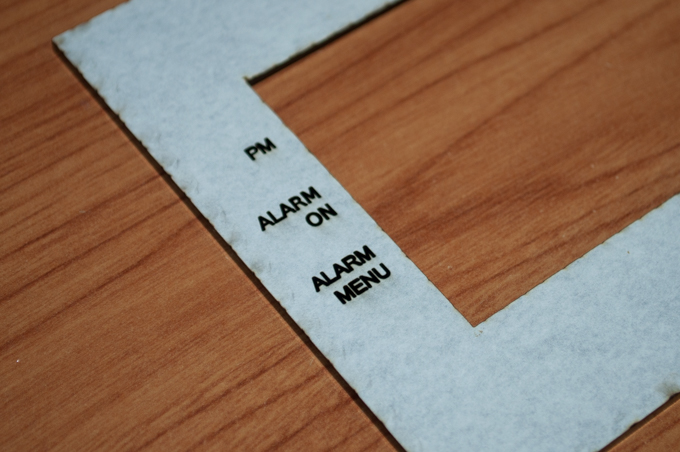
I did a few more small test cuts with the black acrylic until I found the correct power and speed settings that allowed me to engrave halfway through each piece. I then made the tweaks to the SVG file. I also added some text for the PM and alarm indicators.
I’ll have to do this in two passes. The side that is facing up is actually the back. Once the 3mm lip is engraved and the piece is cut out. I’ll have to flip it over and engrave the text.
It’s perfect.
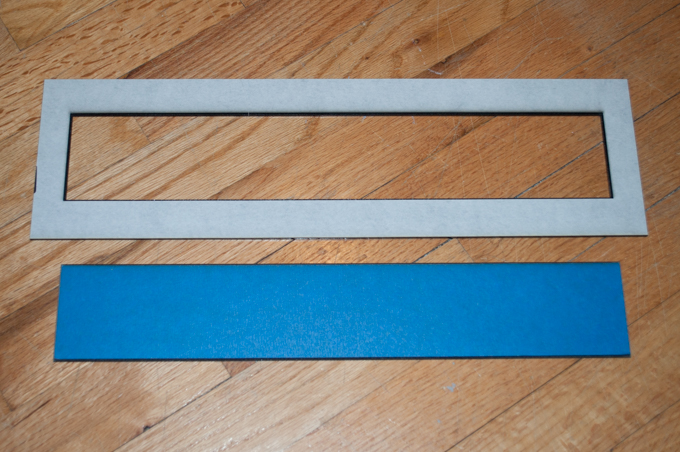
The two pieces mate perfectly. I’ll just run a bead of super glue along all the edges and it’ll stay put.
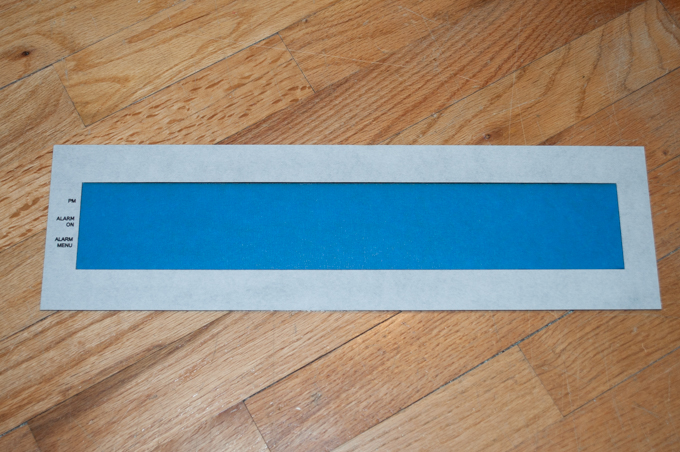
The text came out pretty nice. I think I’ll fill the letters with some white acrylic paint.
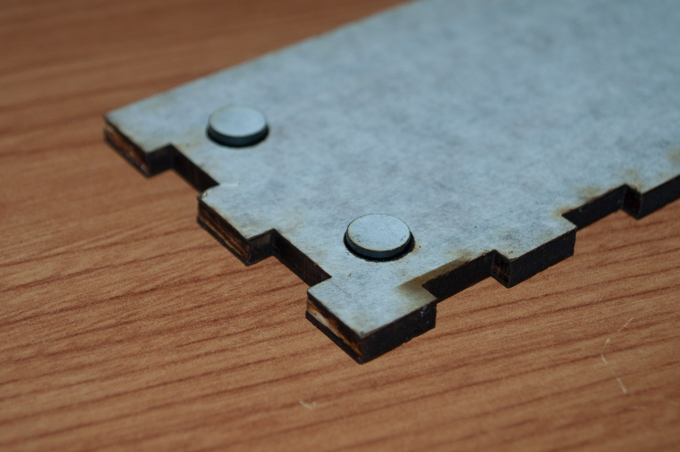
For the bottom, I thought it would be cool to add some little feet so I etched a few circles into the bottom.
I then cut out some black acrylic circles. I etched about 2mm down, so the feet will only stick out about 1mm.
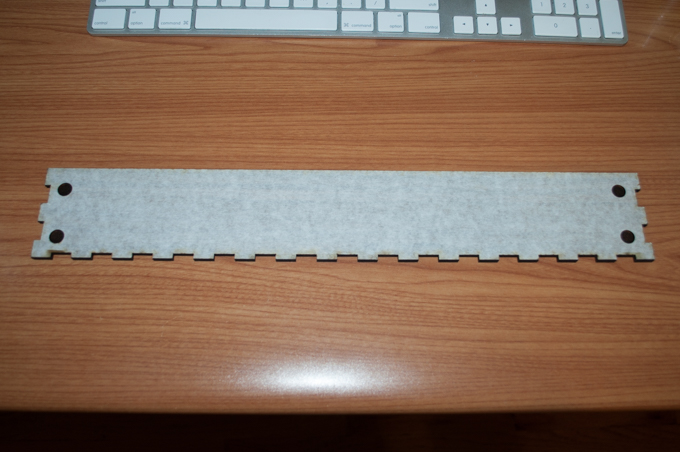
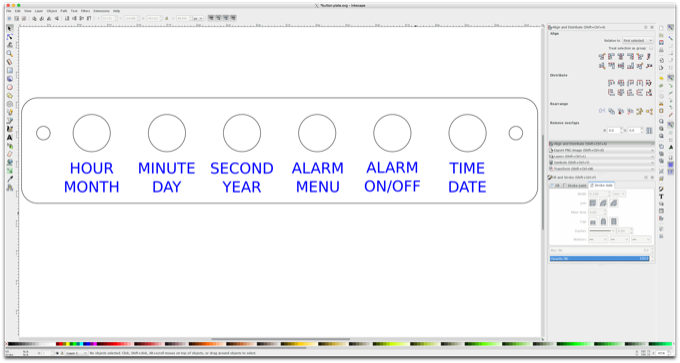
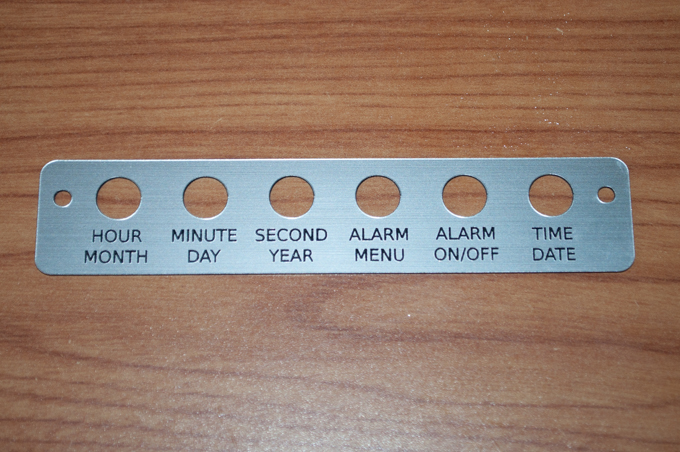
I opened up the button panel in Inkscape and added the text.
I then cut it out of some 2-layered brush-finished aluminum on black acrylic. It really looks like metal.
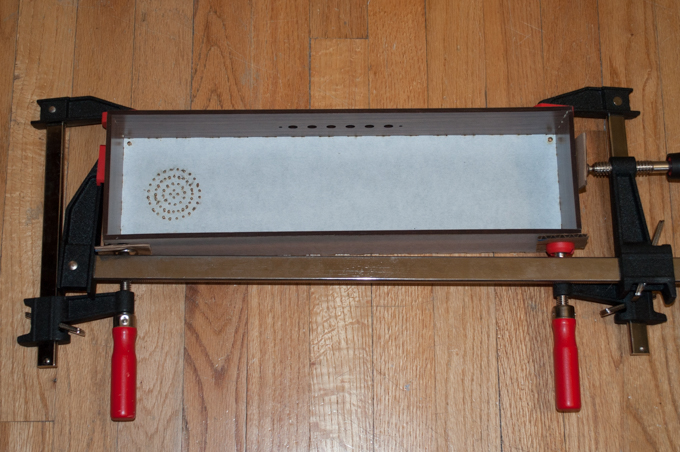
I then glued the wooden pieces together and put the back on to square everything off while the glue dried.
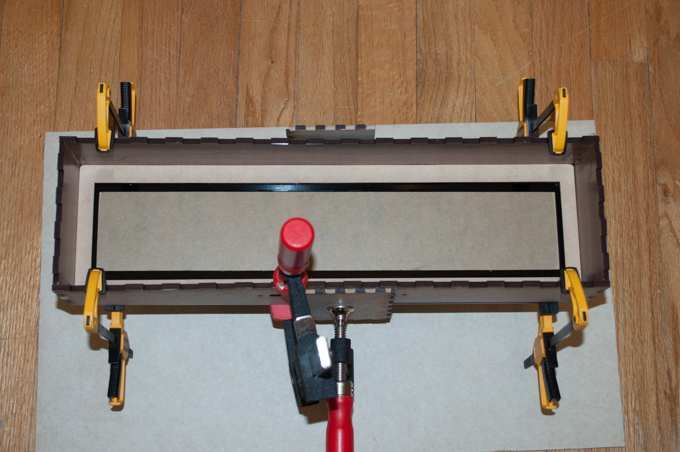
To help glue the front panel to the enclosure, I cut out a bezel out of Draftboard.

I then clamped the front panel in place and glued the bezel to the inside. This gives me a nice amount of surface area to glue the front to. I then glued the front in place with some epoxy and held it all together with some clamps.
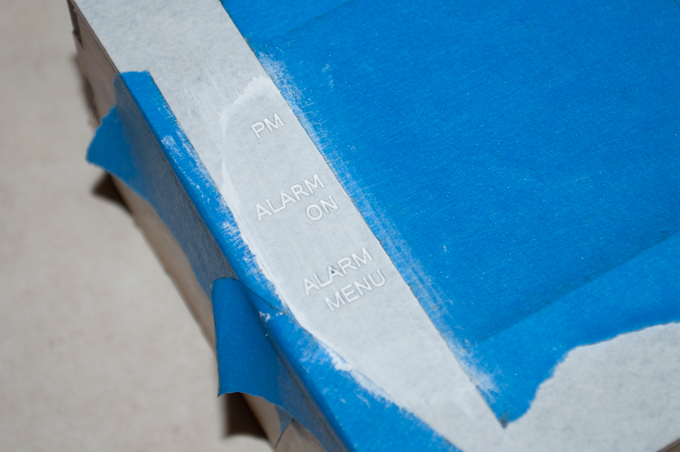
Once the glue was set, I masked off the front and painted over the text with some white acrylic paint.
I printed out these little standoffs that glue into the corners so that I have something the screw the back into. I used 4-40 threaded inserts.
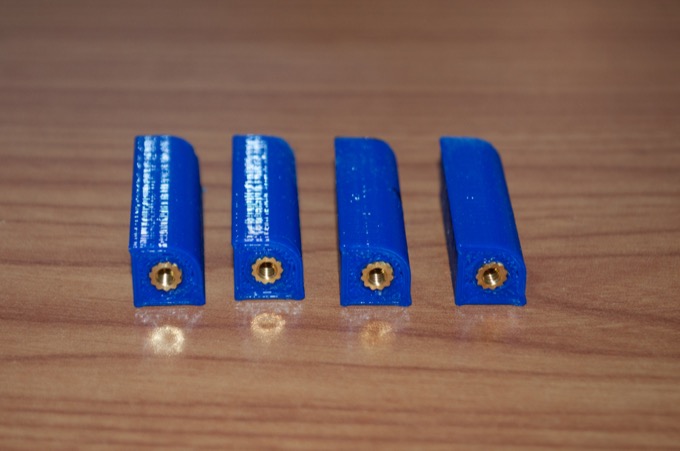
I just secured them with a little hot glue. The internals are a pretty tight fit. It just made it in. It's such a tight fit that it doesn't even need any glue to hold it in place.
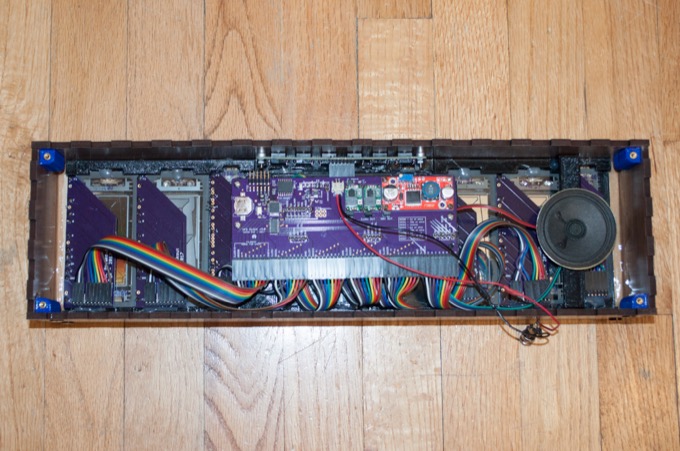
Lastly, the back went on with some screws.
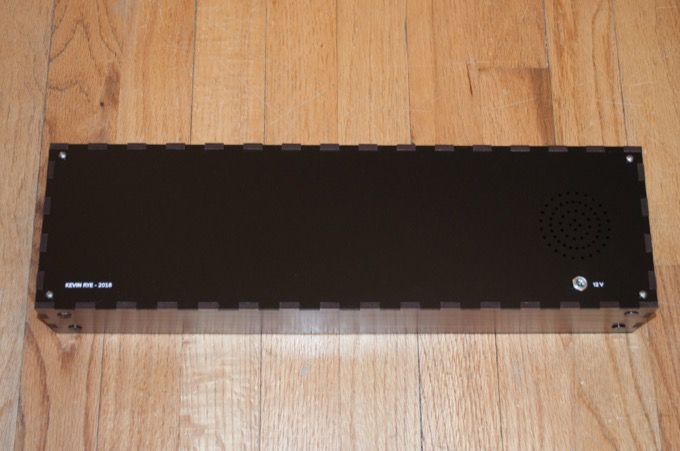
I'm really happy with the way that the text came out.

And there it is. All done.
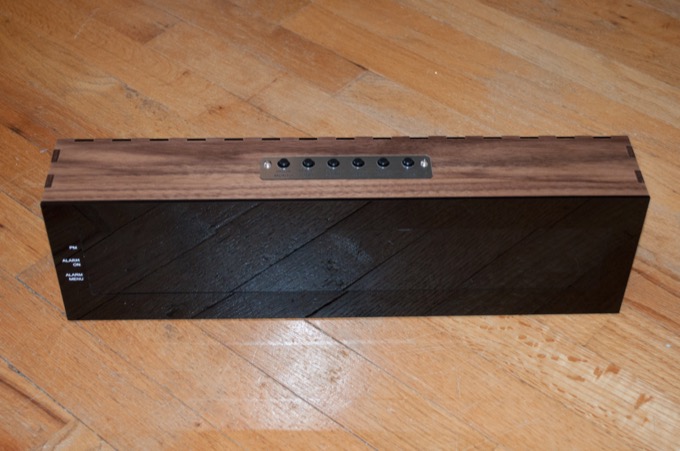
The moment of truth. Power on. Wow, that looks awesome!

This clock has been 10 months in the making. I'm so glad to finally see it complete. I'm really happy with the way that it came out.
See this project from start to finish:
More VFDs!!! VFD Breakouts Large VFD Clock - Part I VFD AC Filament Driver Large VFD Clock - Part II VFD AC Filament Driver V1.1 Large VFD Clock - Part III Large VFD Clock - Part IV Large VFD Clock - Part V

