The last
two figurines that I made came out amazing. I've been dying to make another one.
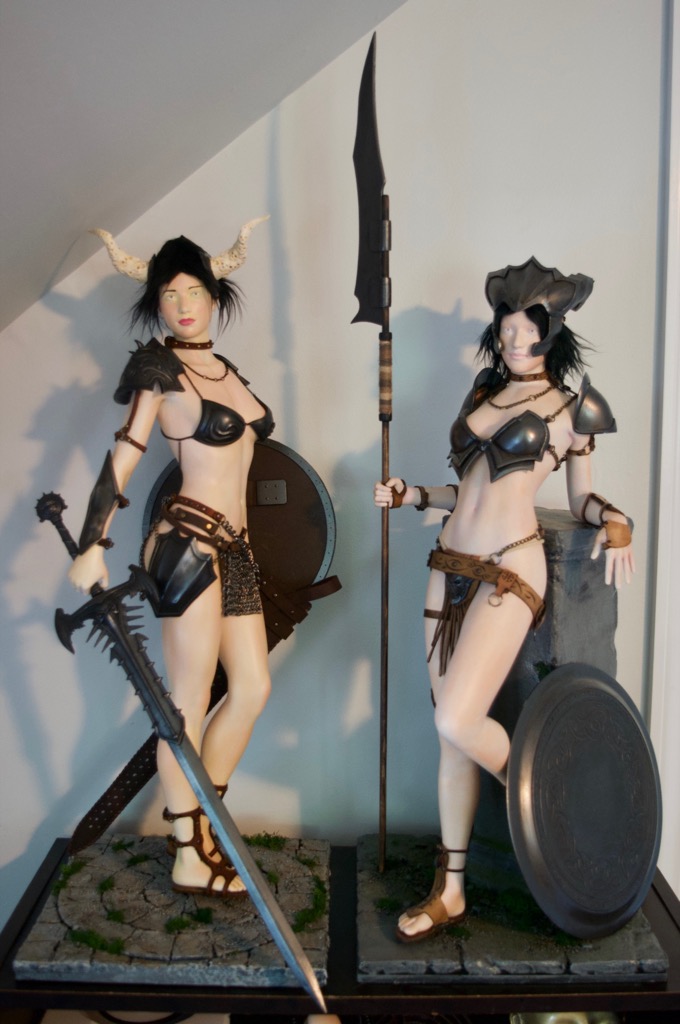
I was particularly happy with how the chainmail loincloth came out on the latest one. Ever since then I have wanted to make one with scale mail. However, making scales at this size would be almost impossible to link together since each scale gets 4 links. I would have to go really big in order to pull it off. In order to avoid making a 4 foot tall statue, I decided to just make a bust that I can use to showcase the armor.

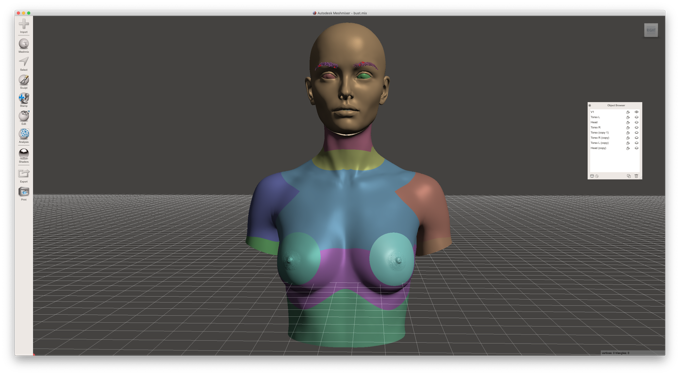
I basically started with the same model that I used for my
Android Sculpture, except that I made some improvements. I chose to model in the eyebrows this time since I am terrible at painting eyebrows! I'm going to try and print it as large as I can on my CR-10S. If I print the head separately, I can scale the torso to the full build volume and achieve a total model height of 17 inches.

I then took the model into Meshmixer, made some cuts, and got it ready for printing.
I cut the model at the neck and keyed both parts.
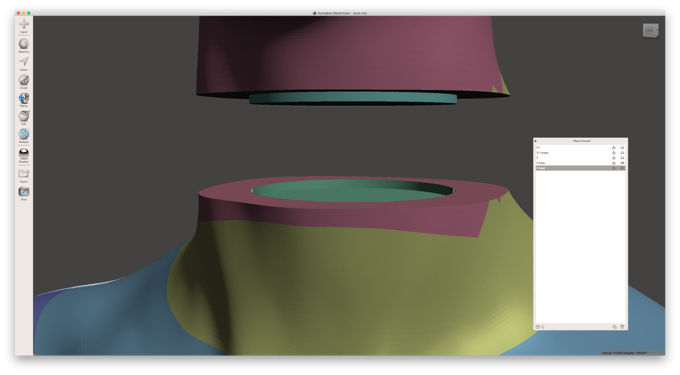
This is as large as I can go without having to split the model again. I thought about splitting it in half vertically and scaling the two halves to the full built height, but in the end I decided it was not worth the work that would be involved in gluing the two halves together and concealing the seam. In addition, once I scaled the model just to see how big it would really be, it turned out to be pretty much life-sized. Not sure where I would put a life-sized bust.
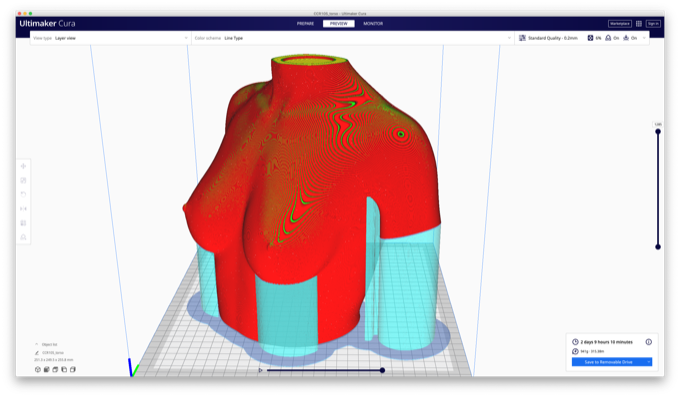
One obstacle that I had to overcome was that the model printed using my typical settings of .2mm layer height with 5% infill exceeded that of a 1KG roll of PLA. I really had to play around with the settings in order to get it under 1KG. I had to drop the infill down a hair and thin the walls in order to get it under 1KG.
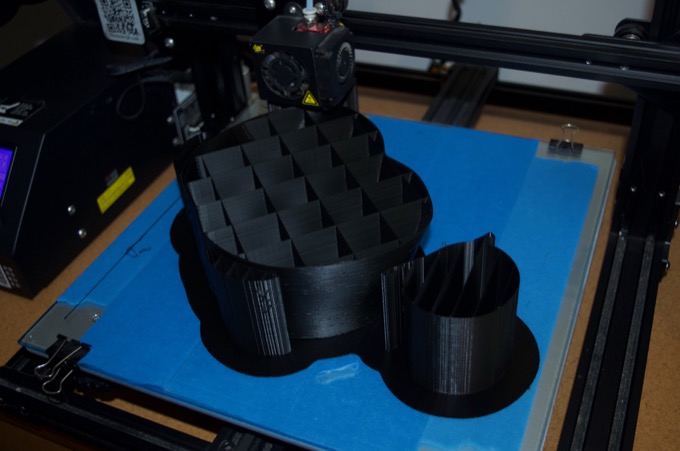
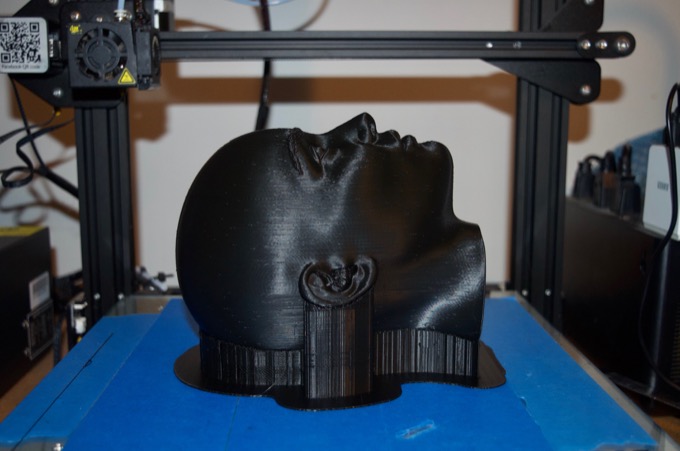
It took 37 hours to print. At first glance it looks great.
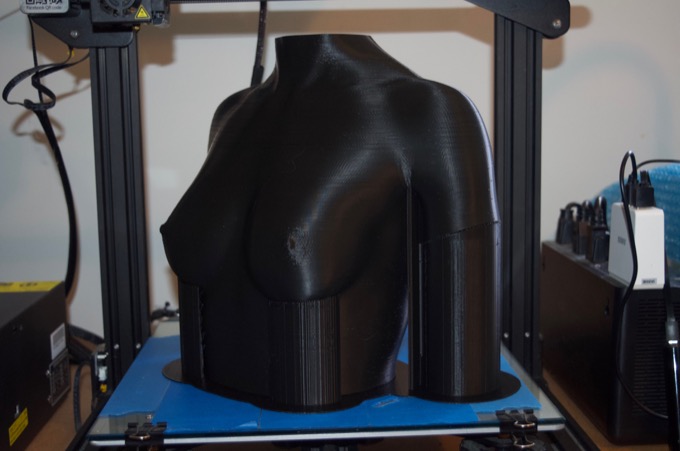
However, once I took the supports off and held it in my hands it was apparent just how terrible it came out. The walls are so thin that there was a lot of layer separation. There are some areas where I can almost put my finger through it. Since there's basically no infill, the model is really light and delicate. I think if I was to drop it, it would just break apart.
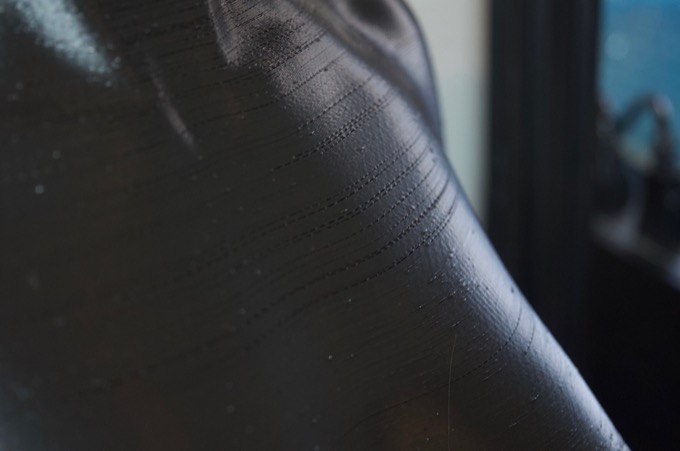
The amount of work that would be involved in cleaning this up and painting it is not worth the trouble, and I think it's just going to be too delicate. I'm going to have to revisit this.
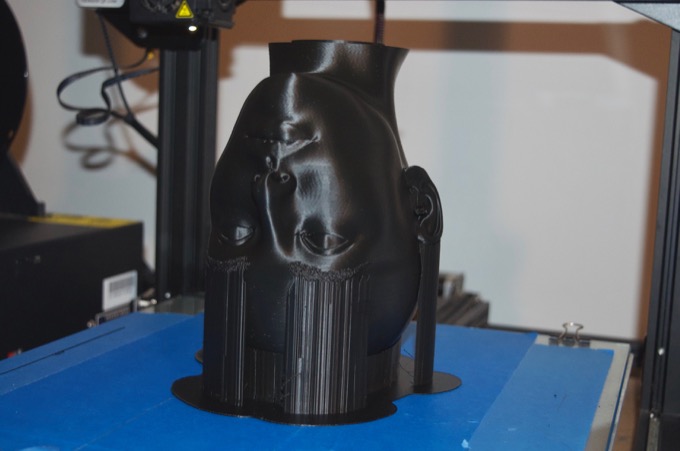
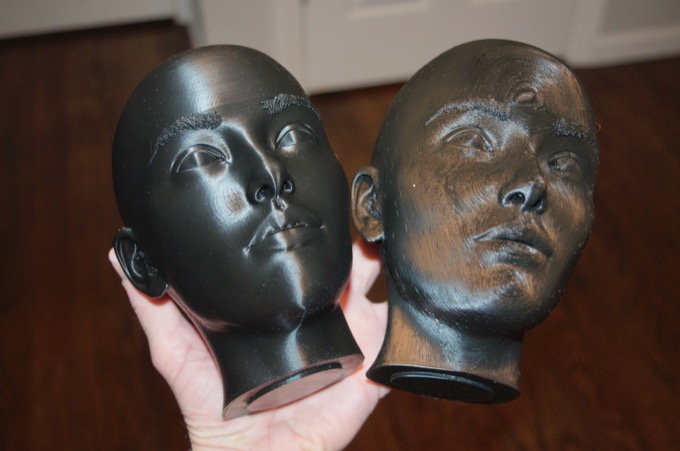
Normally when I print a head, I put the top of the head on the bed. Printing the head in that orientation does not require support material under the chin, lips, or nose. So it leaves the face untouched. All the support material that leaves a mess after it's removed will eventually be covered by a wig. This time I decided (for some unknown reason) to print it face up.
Not sure what happened here but it came out terrible. It looks like a topographical map. It took 20 hours to print. That was another waste.
One and a half rolls of PLA and 57 hours later…not happy. I think I'll keep this one to use as a fixture for designing the armor while I print another one.
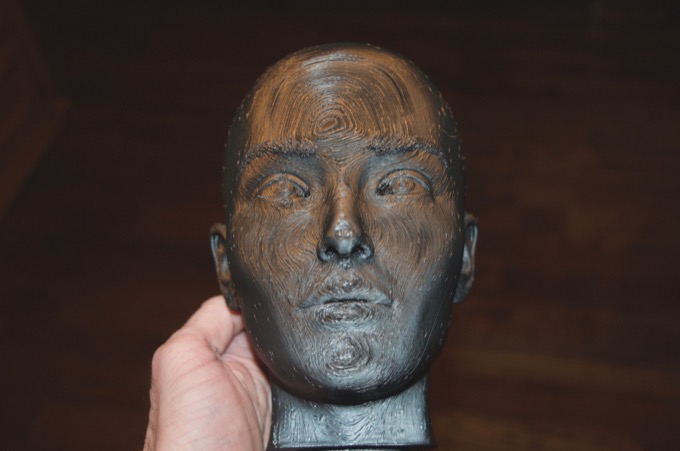
I decreased the layer height to .1mm and increased the infill. I then printed it top-down. The results were an order of magnitude better.
Night and day.
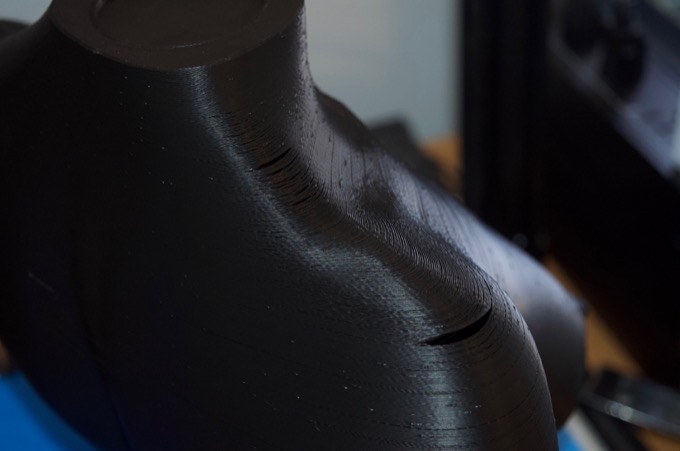
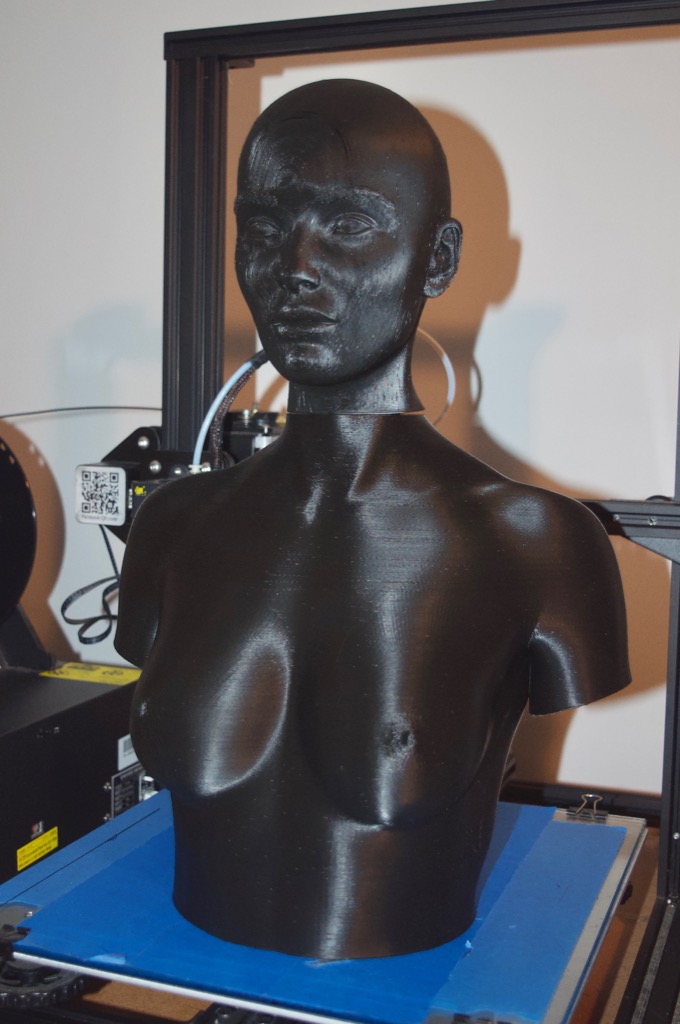
For the torso, I tweaked the settings in Cura again and managed to get a better print. The walls are a little thicker than before, as well as a slight increase in infill. The print time increased by 20 hours to a total 57 hours.
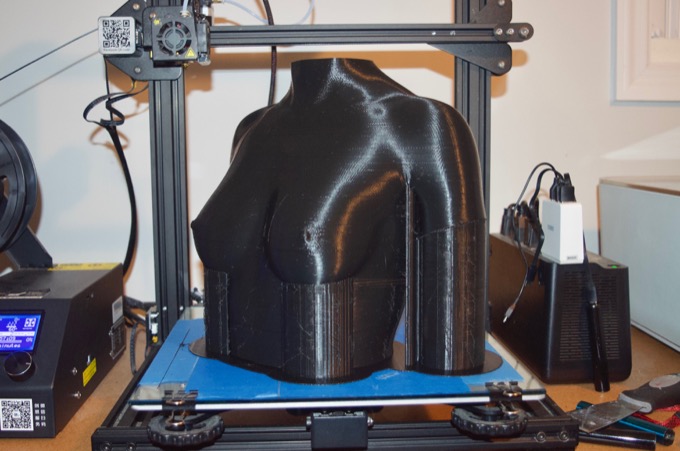
It came out much better. It definitely has a little more heft to it. However, it's not perfect. There are still some defects that hopefully I can patch up. If I had one of those huge 5KG rolls of PLA, I would have jacked up all the settings. This model really pushed what you can do with a 1KG roll.

OK, time for some sanding…
See this project from start to finish: Scale Mail Bust - Part I
Scale Mail Bust - Part II Scale Mail Bust - Part III Scale Mail Bust - Part IV Scale Mail Bust - Part V Scale Mail Bust - Part VI
