This
Glowforge is going to save me so much money. Not only did I save myself a good $40 bucks cutting my own case for my
Word Clock 2, but I just cut my own solder stencil for my IN-18 clock.
When I ordered my PCBs from OSH Park I was meant to upload my file to OSH Stencils to have a stencil cut. I forgot about it. The next day I meant to do it when I got home from work, but I got an email saying that I had been upgraded to their Super Swift service. That meant that my boards would arrive in time for the weekend. Even if I ordered the stencil that day, there's no way it would have arrived for the weekend. I went to order the stencil to see what the shipping options were but discovered that it would cost $14 bucks to have it cut, not counting shipping! No way! $14 bucks for a piece of plastic that'll be used 3 times and then go in the trash.
The weekend came and I applied the solder paste to one of the clock module PCBs by hand and reflowed it in my oven. It worked perfectly.
A few days later, my Glowforge arrived. I figured I'd try my hand at making my own solder stencil to use on the other two clock modules. I took my EAGLE file and exported the cream layer to an SVG. I opened it in the Glowforge UI and cut it out of a piece of poster board.
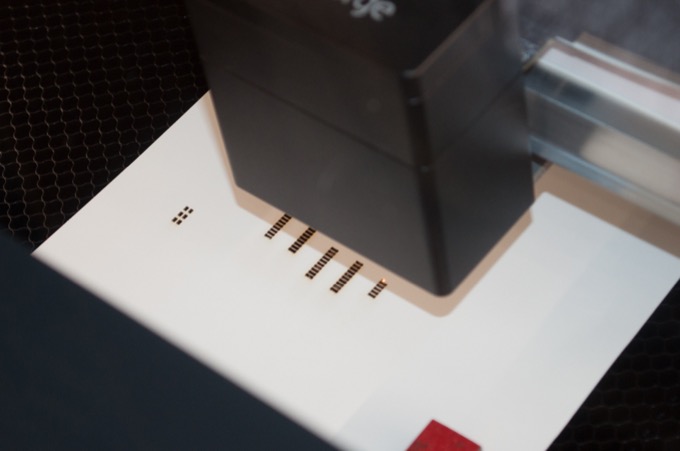
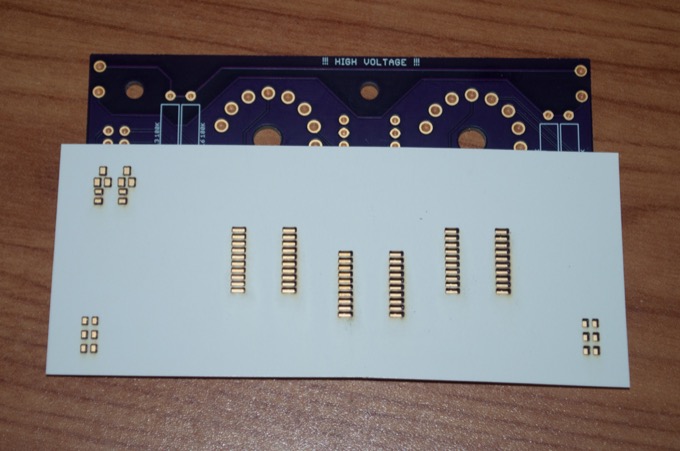
Hey, that looks pretty good!
I taped it in place…
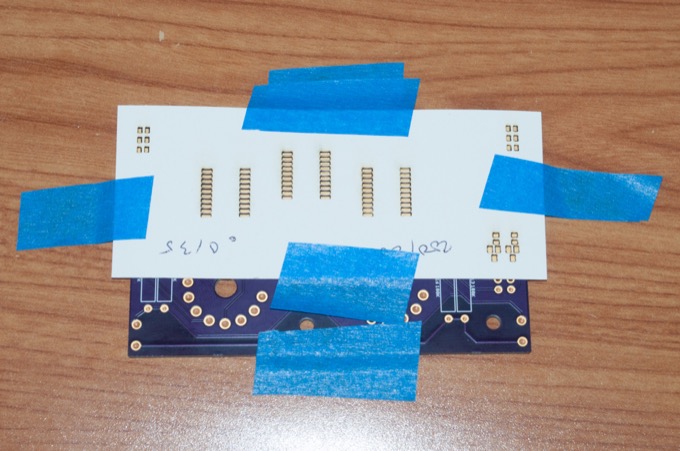
…and then spread some solder paste over the holes.
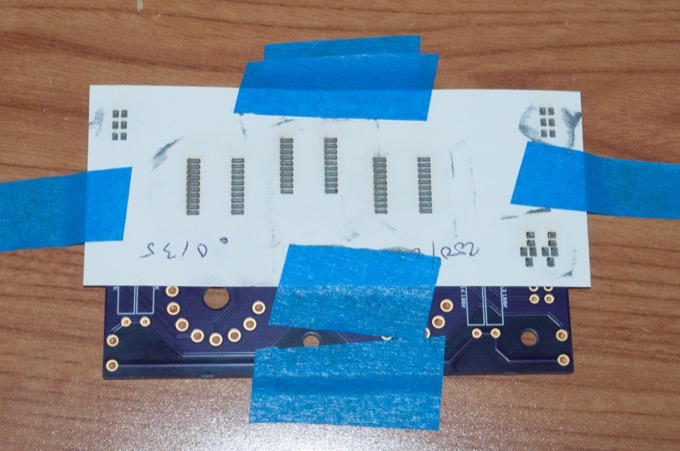
I lifted off the stencil to reveal some pretty well placed solder. The pads of the three resistors on the bottom right aren't perfect, but the solder will flow to where it needs to go once it's in the oven.
I placed my components…
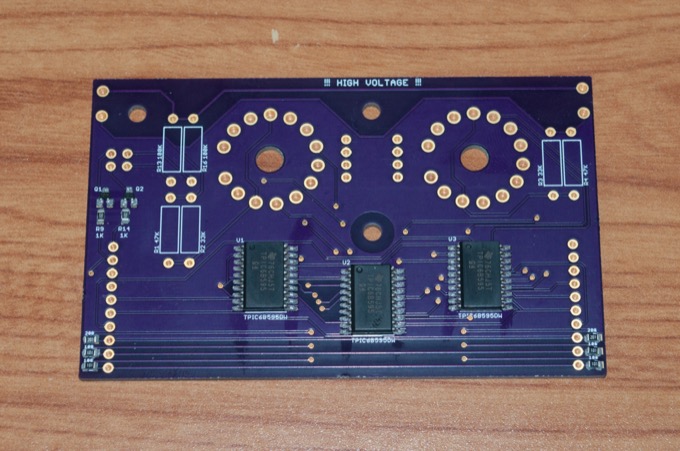
…and put it in the oven. It came out perfect!
After assembling the remaining two modules, I connected them together and wired up all the high voltage in and out connections.
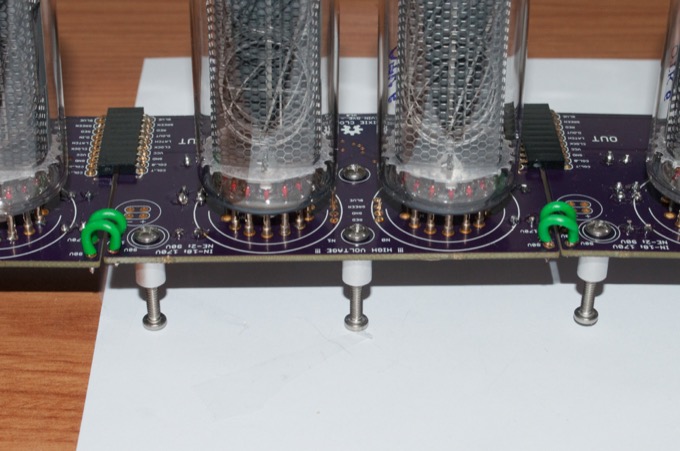
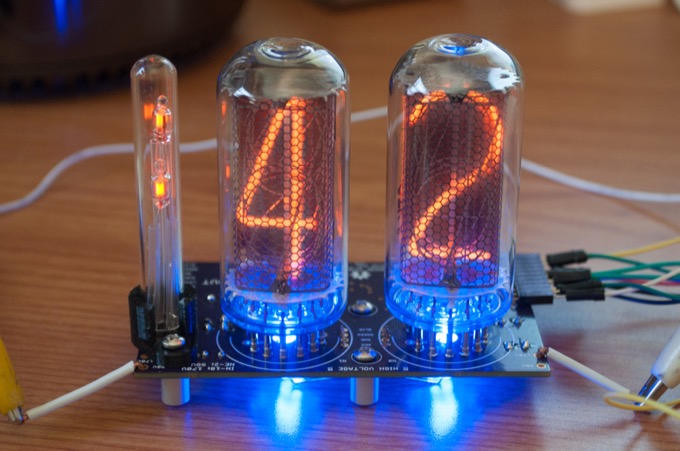
I then completed the last two colons and soldered them in place. I then powered it on. Success! It's a clock!
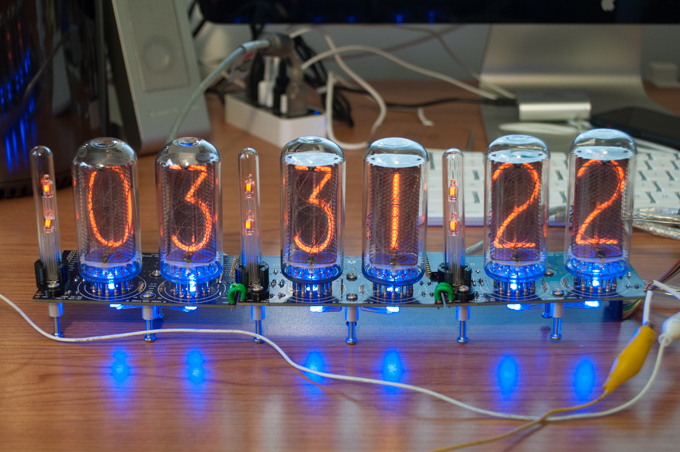
All I need to do is design the controller board and make a case for it.
See this project from start to finish:
IN-18 Nixies TPIC6B595 Shift Registers IN-18 Nixie Clock - Part I NE-2 Neon Bulbs IN-18 Nixie Clock - Part II IN-18 Nixie Clock - Part III
IN-18 Nixie Clock - Part IV IN-18 Nixie Clock - Part V
