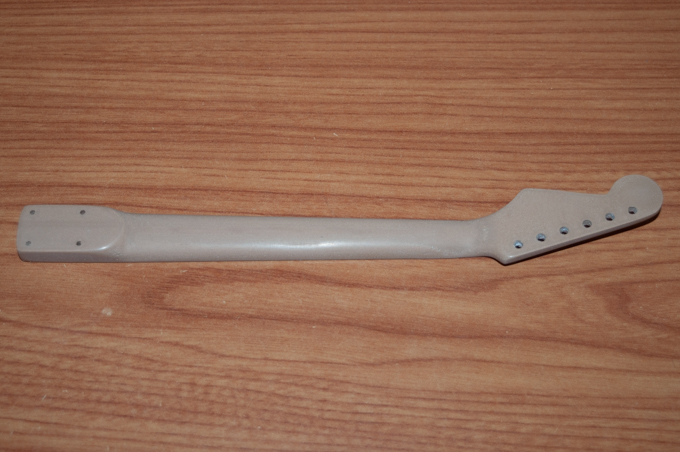
The new neck has been sanded and polished and is ready for a new fretboard.
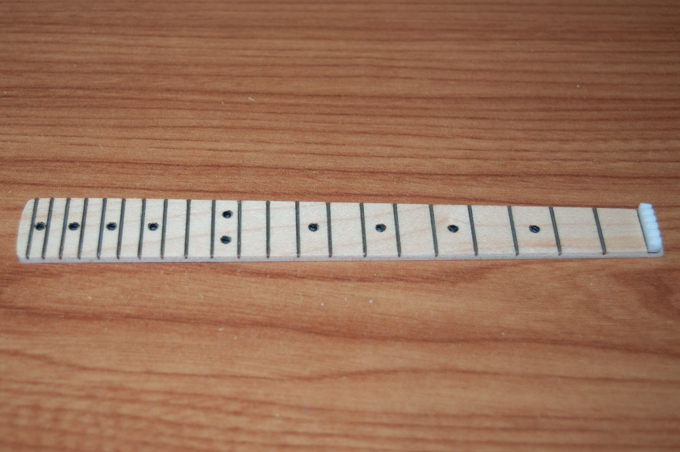
I went with a darker wood the first time because it was all that I had on hand at the time. It looked good, but I wasn't happy with it. When I think Fender, I think maple fretboards.
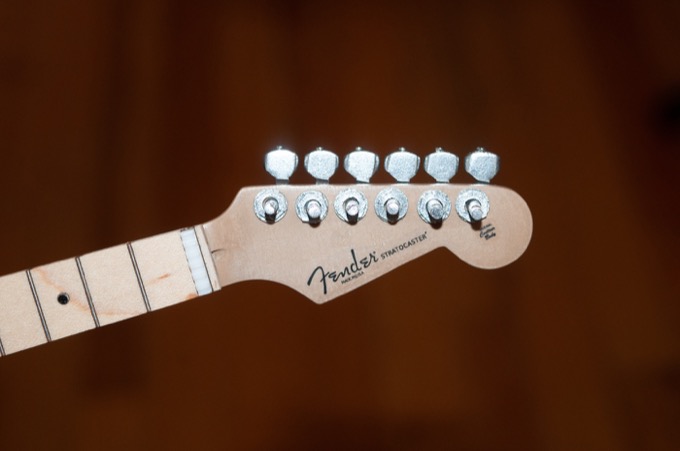
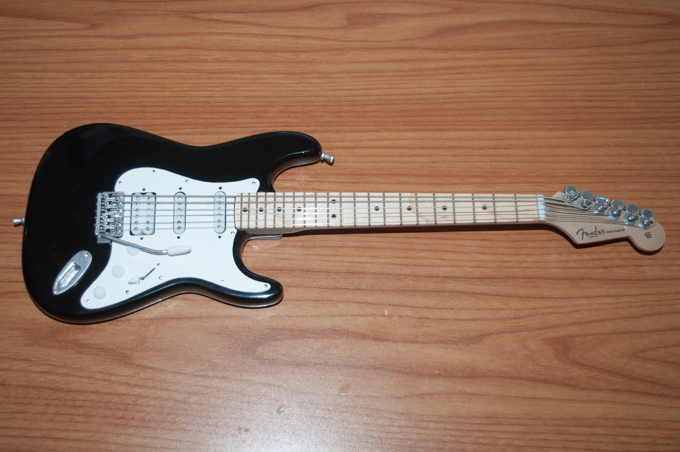
I picked up a piece of maple and made a new one.
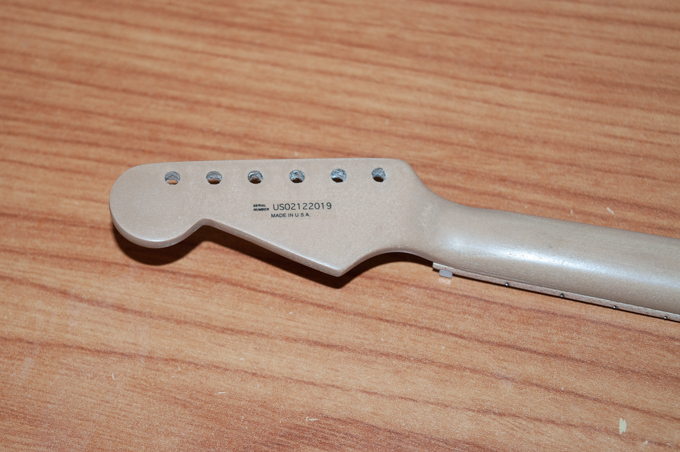
I then applied the logo using some waterslide decals.

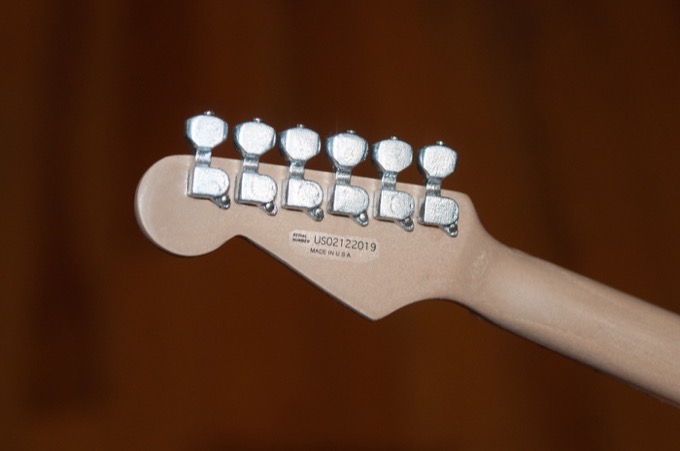
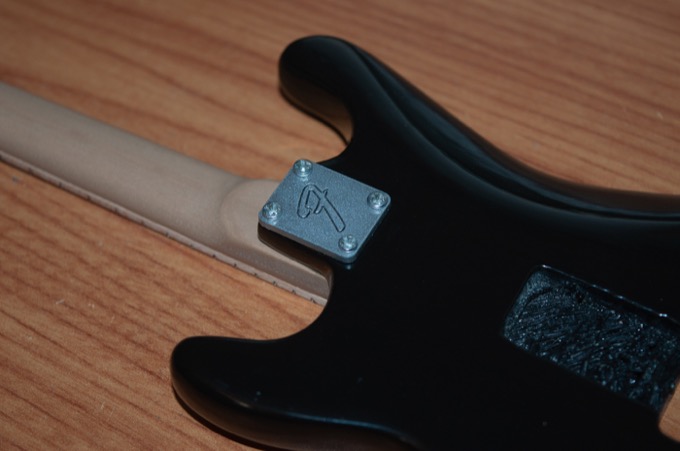
I even put one on the back. I started this project on Feb 12, so the date seemed to be a fitting serial number.
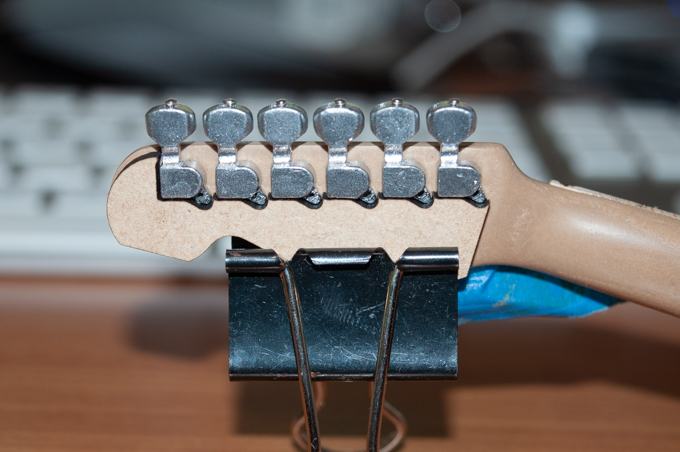
The silver paint on the tuning key posts finally dried so they were ready to finally be glued in place.
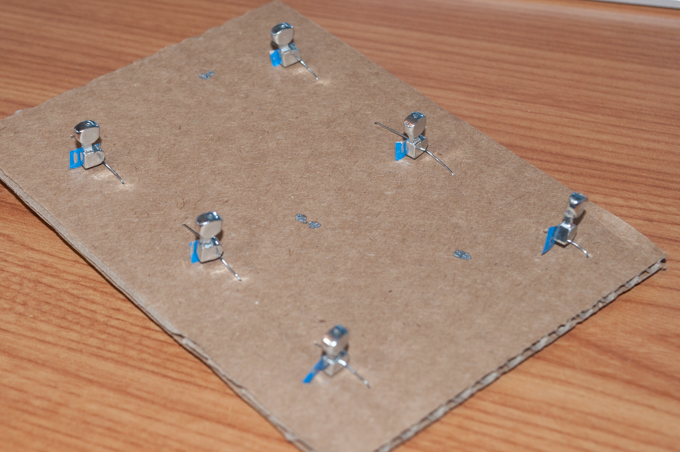
I knew it would be near impossible to glue them to the headstock and keep them straight and aligned properly without some kind of fixture. I cut out a shape that would allow me to glue them perfectly in place. It worked great.
Finally, I glued the washers and nuts on. That looks awesome.
After about 10 coats of Tru-Oil and a little polish, I was happy with the finish on the body.
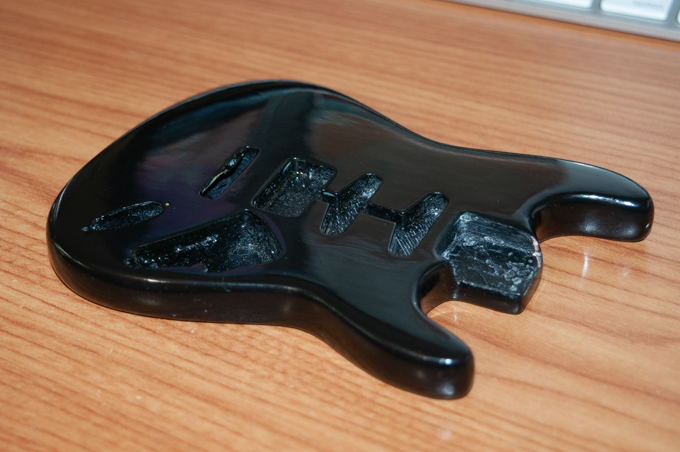

There's just a few more little things to finish and I can move on to final assembly.
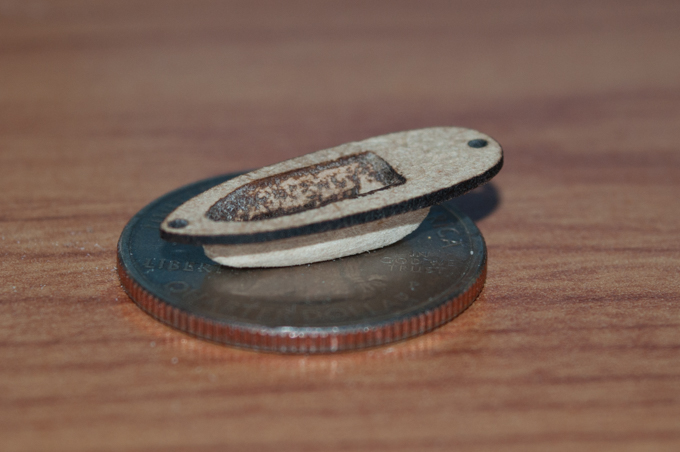
I wasn't happy with the first output jack that I made, so I designed a new one.
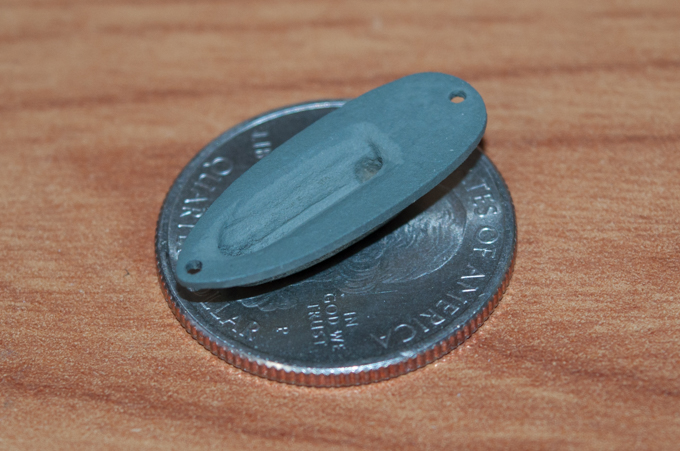
A coat of primer…
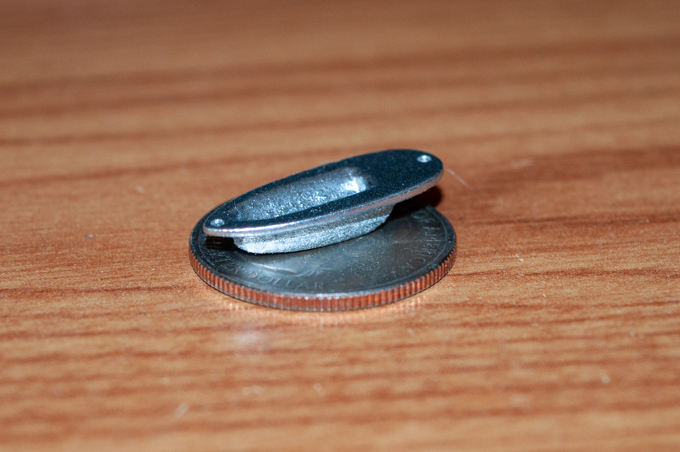
…and a few coats of silver. Much better.
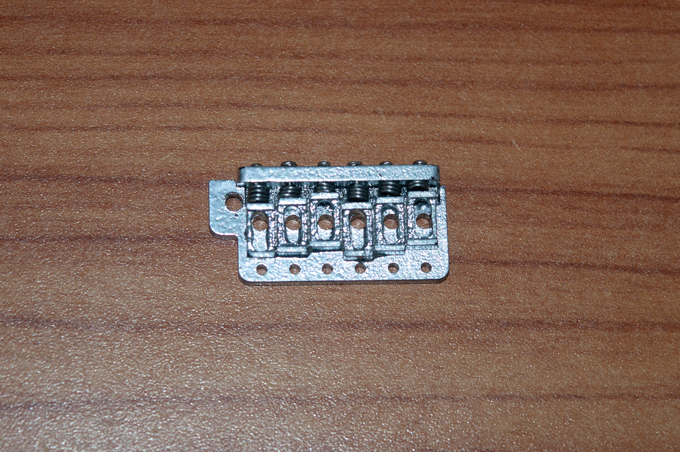
I made tiny little springs to go on the bridge and held them in place with pins.
That's it. All the pieces are done! Time for final assembly.

I attached the neck plate and screwed the neck on.
It was then just a matter of gluing in the pickups and then attaching everything else with pins. Awesome.

The last thing to do is put the strings on, and then I can glue on the neck nut and attach the back plate.

That was not easy, but I think I pulled it off.
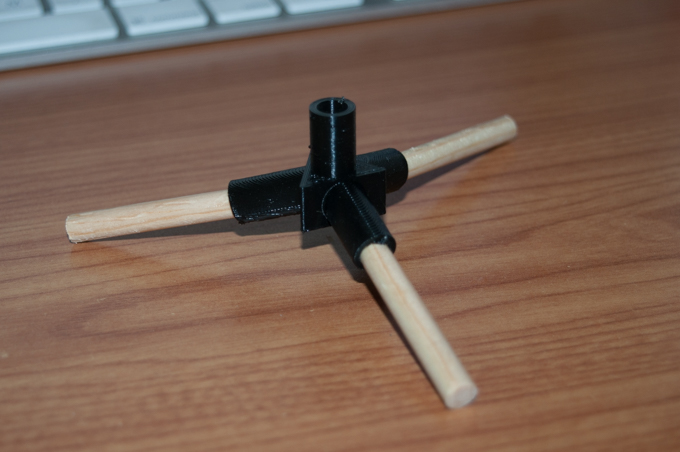
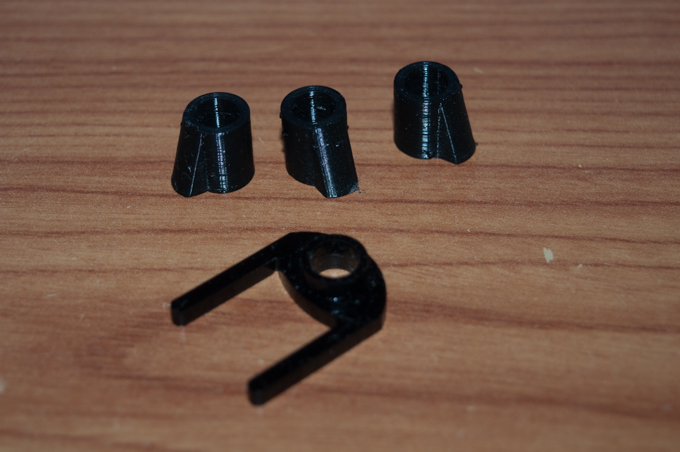
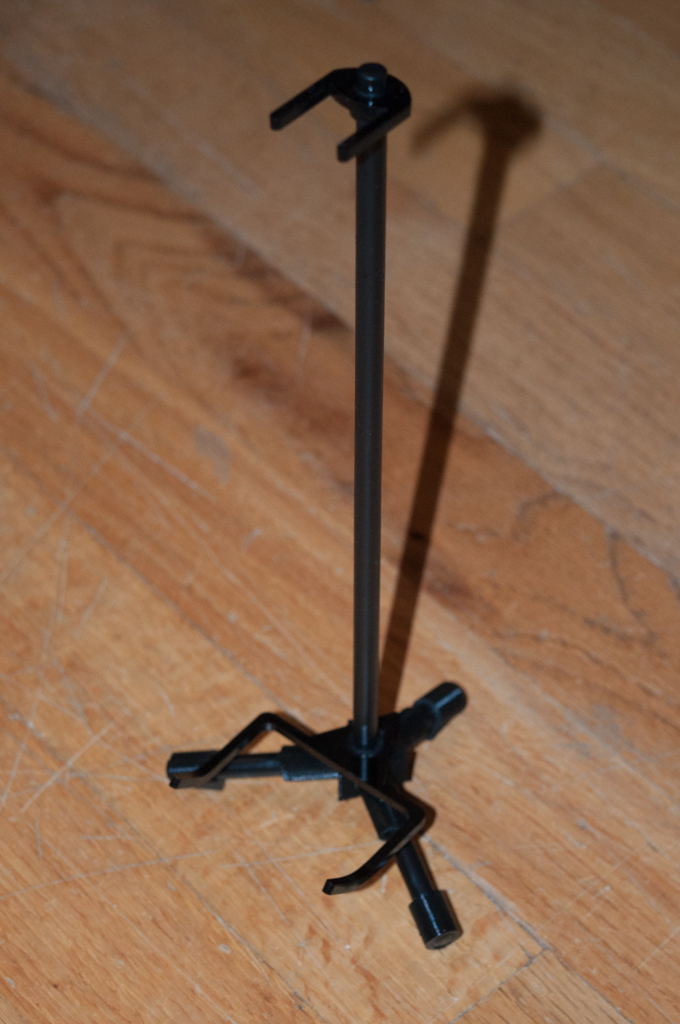
The last thing to do is make the stand. I scaled down the model for the real
guitar stand that I made a few years ago and printed the center. I cut the legs out of a wooden dowel.
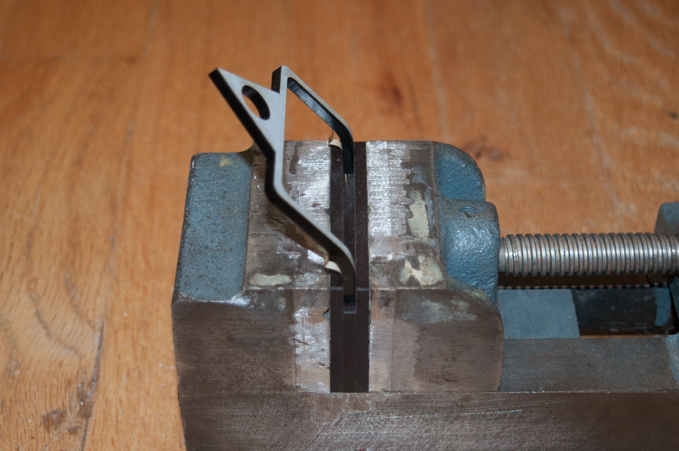
I laser cut the piece that the guitar sits on out of acrylic, put it in a vise, and heated it up with my hot air rework station. I then gave it a slight bend.
I laser cut a piece for the top that holds the neck, and 3D printed the feet.
Looking good.
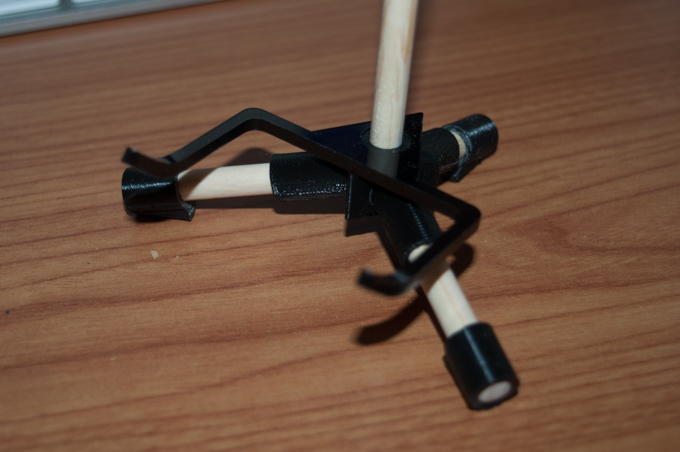
That works perfectly.

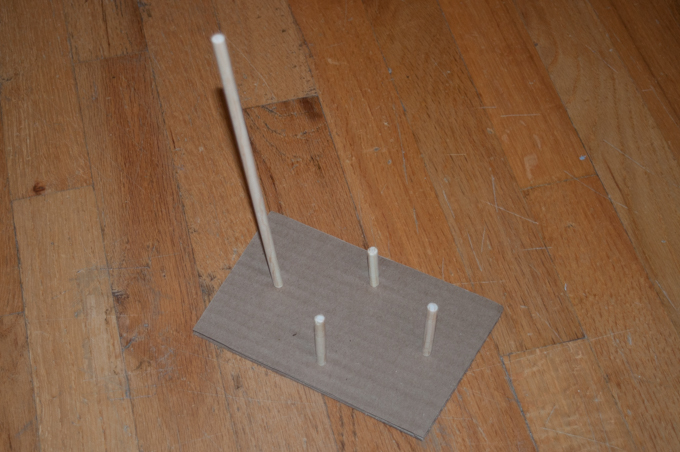
I then secured the dowels to a piece of cardboard with some thumbtacks and took it outside for some painting.
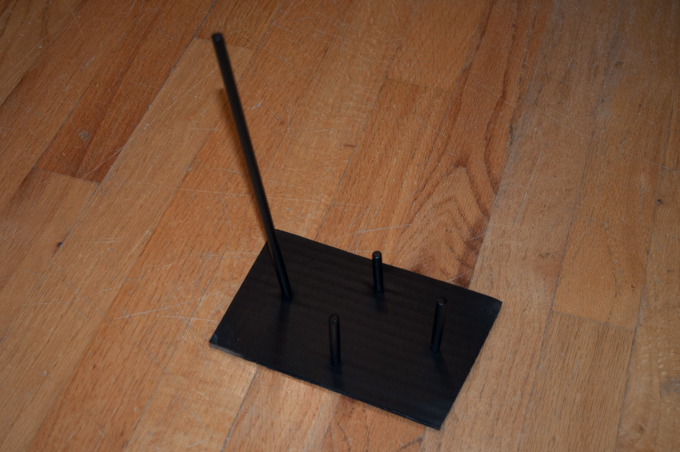
Two coats of black paint and a clear coat and I was good to go.
Final assembly. Sweet.
That's it! All done! Wow, this project took a log time to do, but if it's worth doing, it's worth overdoing. I spared no expensive nor detail in making sure that the Footlong Fender looked as real as possible. I think it came out amazing and I learned a lot of new things with this project.
Now, should I make a Fender half stack to go with it? Hummmmm…..
See this project from start to finish:
Footlong Fender - Part I Footlong Fender - Part II Footlong Fender - Part III Footlong Fender - Part IV Footlong Fender - Part V Footlong Fender - Part VI

