Work continues on the Footlong Fender. As far as the neck goes, I left off with having to make a new one. I over sanded the last one and it ended up being a do-over.
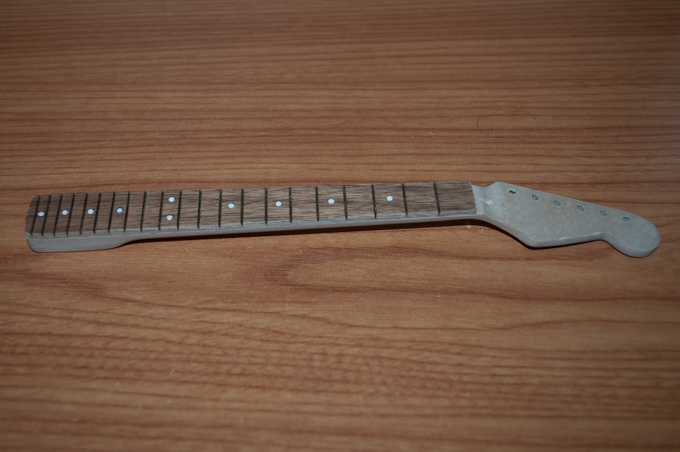
I sanded the new neck, glued on the fretboard, and installed the fret markers.
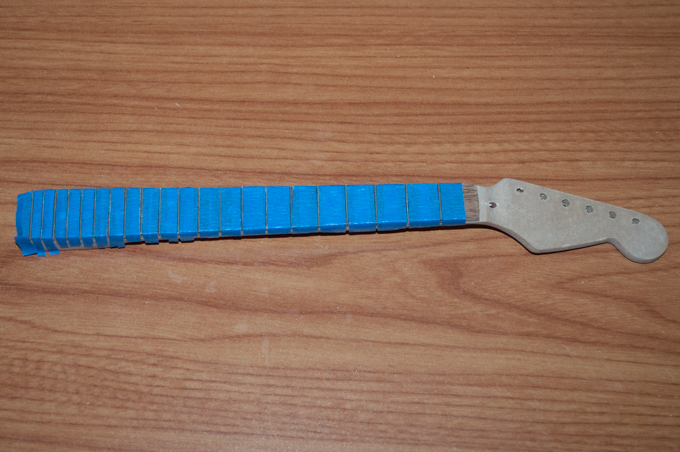
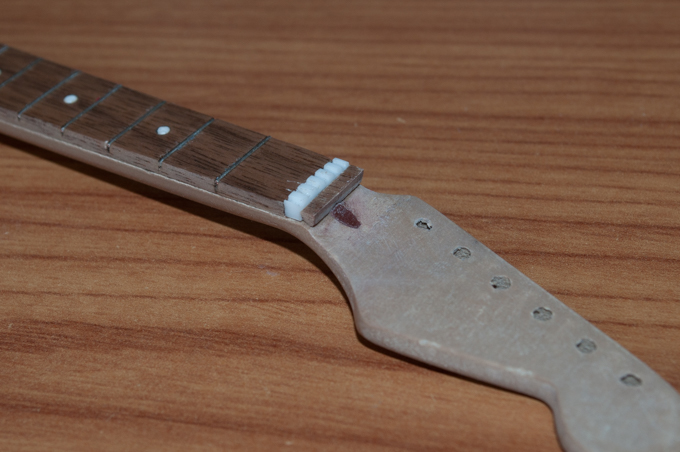
This is the hard part: gluing in the frets. I cut the lines much deeper this time so that the frets could lay right in the slots. A small drop of Krazy glue should hold them nicely. I masked off the frets this time to hopefully avoid getting glue on the wood.
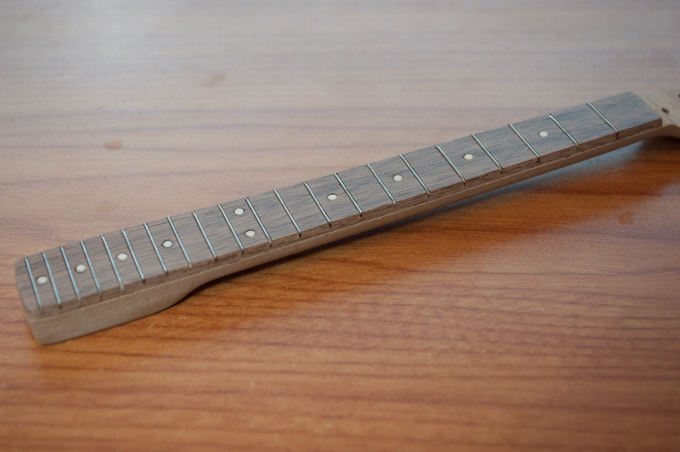
This one came out amazing! I'm really happy with it.
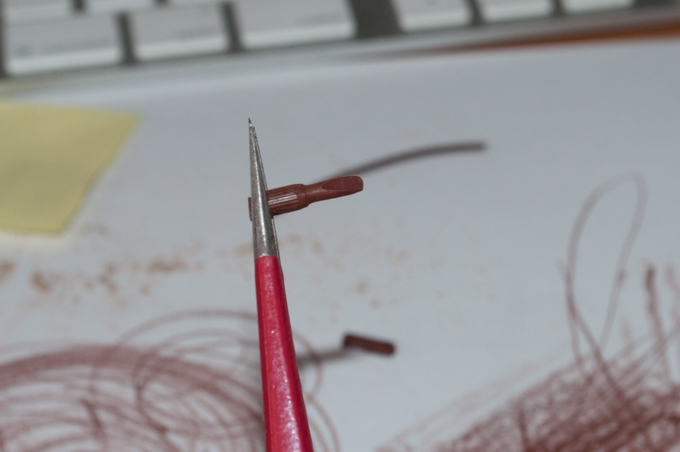
For the truss rod cover, I was planning on snipping off a small length of brown PLA and sliding it in the hole, but the hole is just a little but wider than 1.75mm and the PLA doesn't fit very well. I decided to pull a small length of brown graphite out of a colored pencil. I stuck it in the end of my Dremel and held it against some sandpaper until it was filed down to the right diameter. I then rubbed it on some paper to flatten one of the sides.
I then snipped it off and glued it in. It just needs a little cleanup and I think it'll look pretty good. I also installed the nut for the strings. The piece of wood at the end actually snapped off, so I had to make a new one and glue it at the end. I don't think anyone will notice that the nut is not glued on top of the fretboard. It's so small you'll never tell.
OK, now for the hard part. The tuning key posts. This should be interesting. I took a look at the model and tried to wrap my head around exactly how I was going to tackle them.

I jumped into Inkscape and tried to replicate the basic footprint.
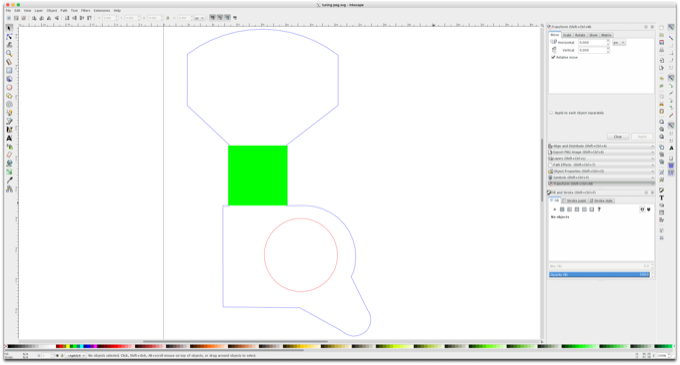
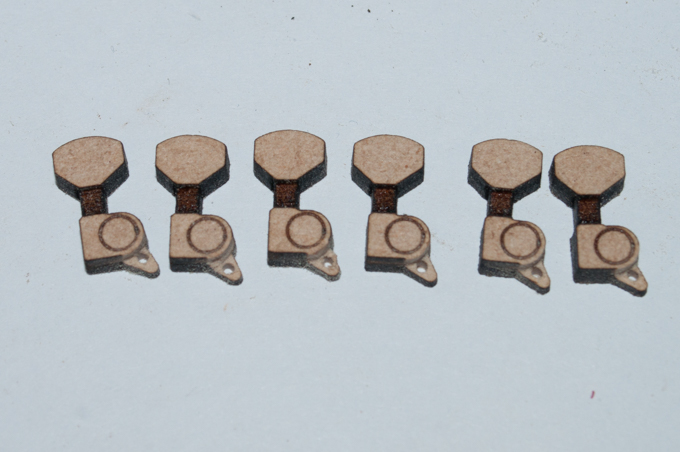
It took a few tries before I got the size right, but I think these look pretty convincing. I made the circles in the middle a little smaller than they are in the model because they cut so close to the edge that it looked a little messy.
I cut them out of wood so that I would be able to drill a hole in the top for the screws. I also needed to be able to sand down the little bits on the bottom right and drill a hole through them.
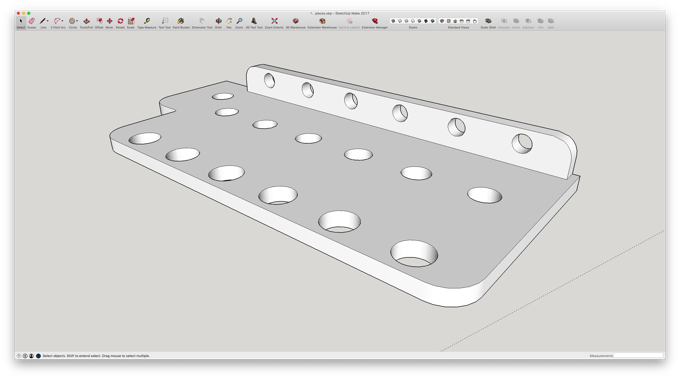
Next up is the bridge. I mocked up a model in SketchUp and exported the faces as an SVG.
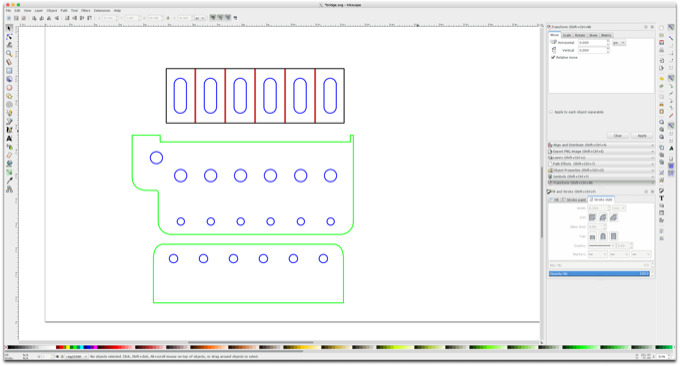
I did a few test cuts, but the back piece was a little too short. I modified the model in Inkscape to make it longer. The bridge is so small that I'm not going to bother trying to make the bridge saddles individual pieces. I'm also probably not going to put in the screws that go through them either. I'm going to just make one piece and engrave lines along the top to make it look like it's six individual saddles.
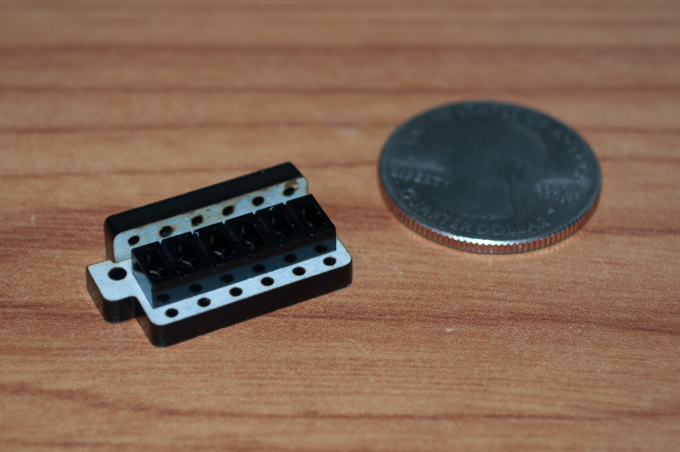
Not bad. Not bad at all. I'll have to see how it looks on the guitar. I'm used 3mm thick acrylic. That's pretty thick stuff for the scale I'm working with. If it looks too big on the guitar, I might go back and try and make another one with the 1/16" stuff that I have.
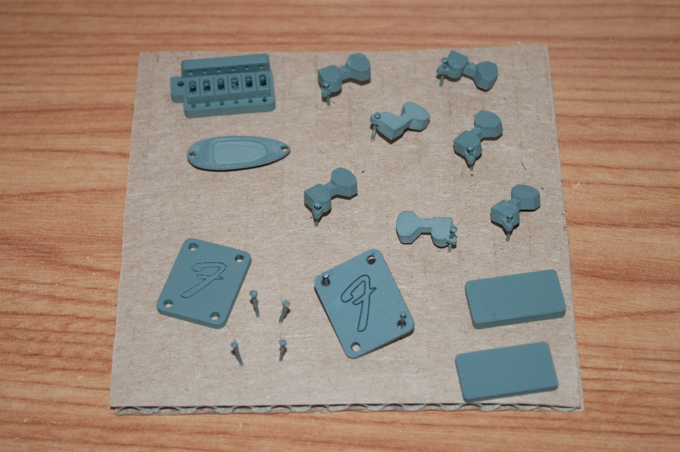
I then gave all the tiny pieces a coat of primer so that I could chrome them. I also thew in a few test pieces because I'm not sure what's going to look better: a can of chrome spray paint, or a Molotow chrome pen.
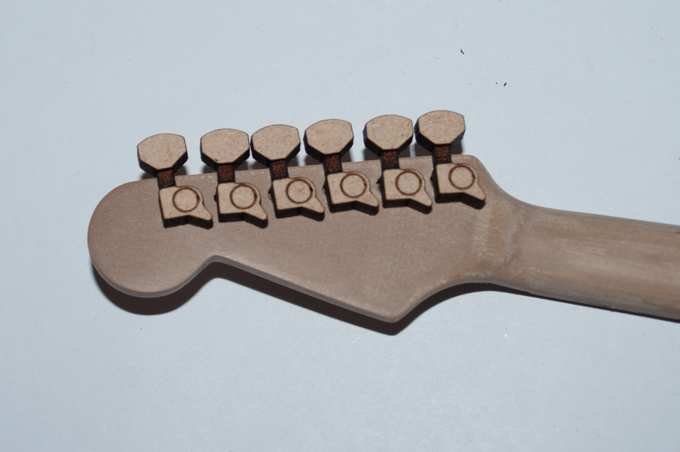
While the paint dried, I got back to work on the headstock. I hopped back into SketchUp to place some washers and hex nuts on the tuning key posts to get an idea of what size they should be.
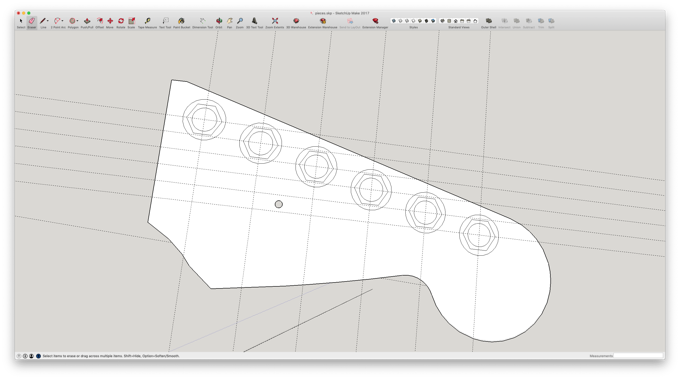
Once I had that nailed down, I created them in Inkscape.
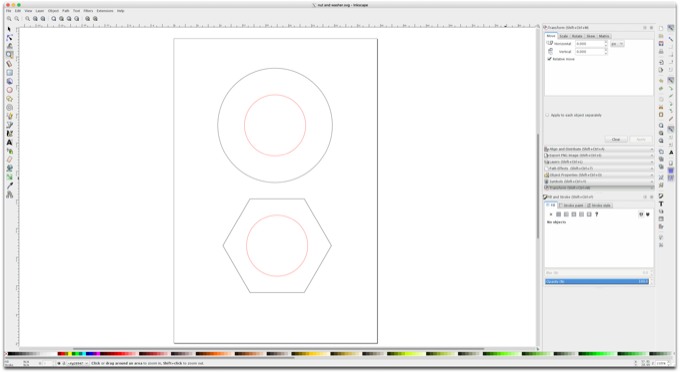
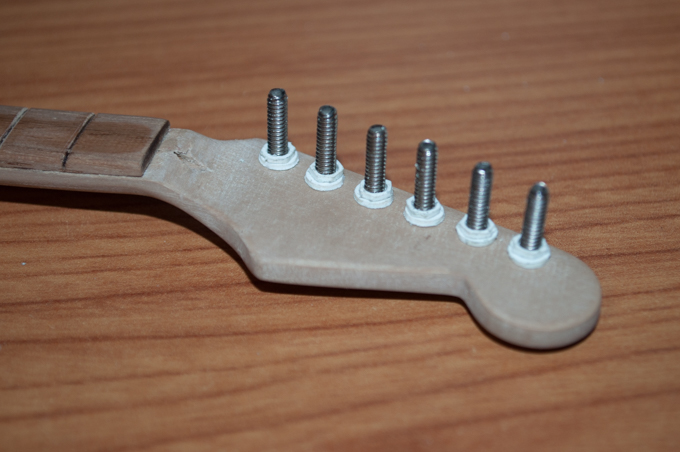
I then laser cut them out of the same 5 Star notebook that I used for the pick guard. I can't believe how small they are. I will have to chrome them as well. I also can't believe that the holes are the perfect size for 4-40 screws. I'm wondering if I can file the threads off to make them smooth. I'll have to experiment. If that doesn't work, then I'll just have to get my hands on some thin metal rods and cut them to size.
See this project from start to finish:
Footlong Fender - Part I Footlong Fender - Part II Footlong Fender - Part III
Footlong Fender - Part IV Footlong Fender - Part V Footlong Fender - Part VI
