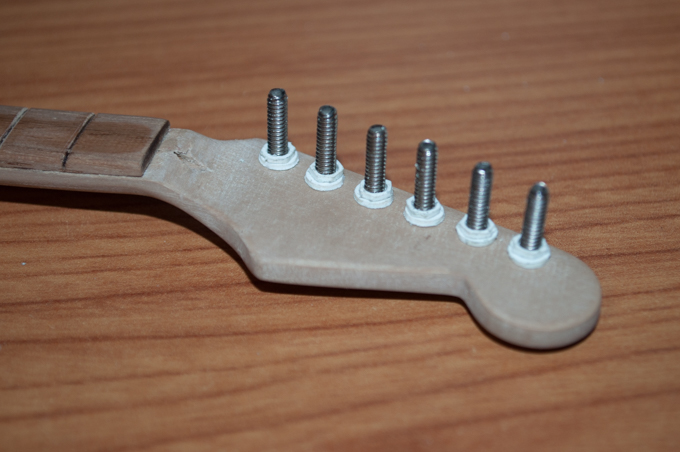
I originally thought that I'd be able to make the tuning key posts out of 4-40 screws, but after sleeping on it, I realized that it would just be too much work to file them smooth. Not to mention, it would be impossible to drill a hole through them to hold the strings.
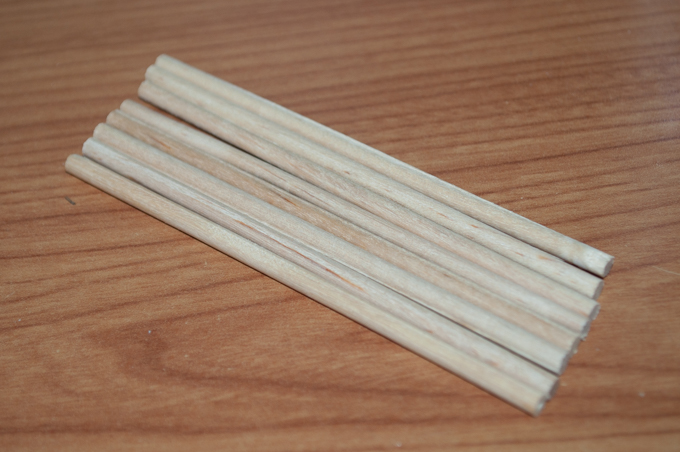
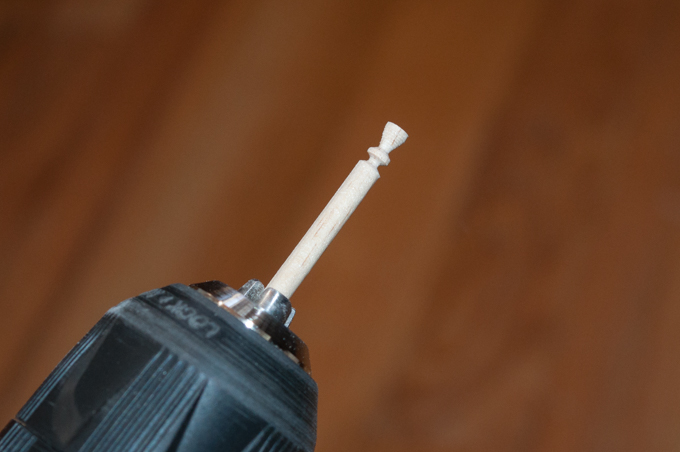
I decided to make them out of wood. It just so happens that I have a bag of 3mm dowels.
I laser cut some wood to help hold it in my vise. I then laser cut a "donut" that was the same diameter as the dowels. That way I could center my drill bit on the dowel.
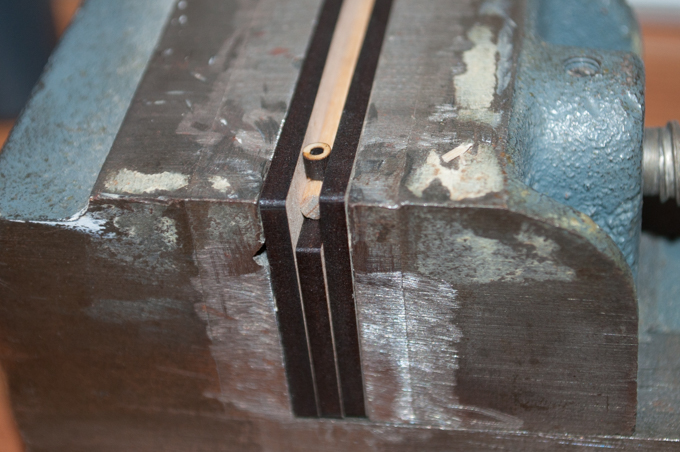
That worked perfectly!

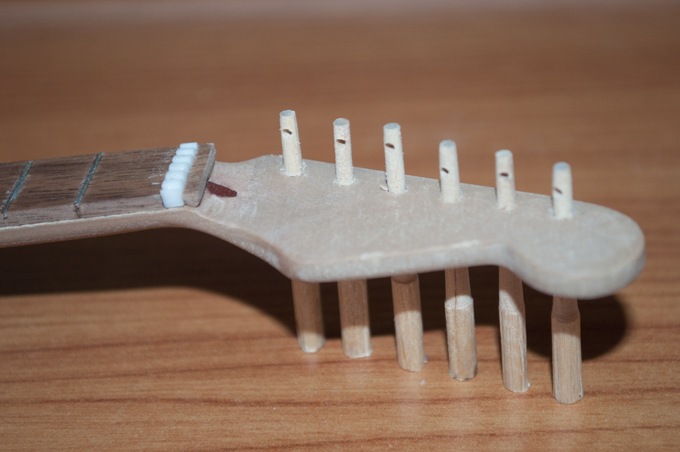
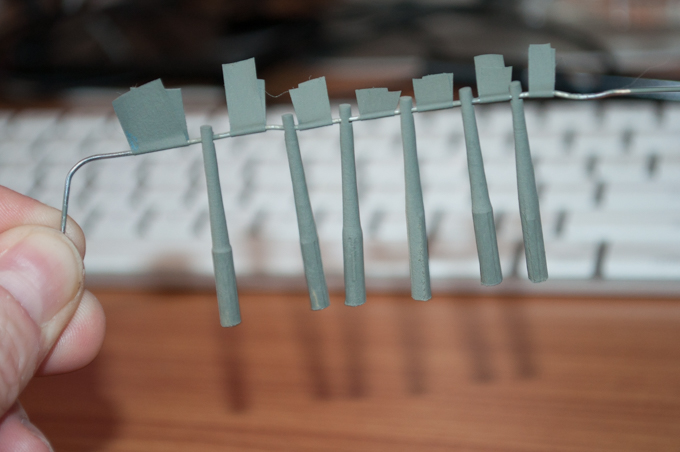
I then stuck the dowels in my drill and spun them against some sandpaper until they were the right diameter to fit into the headstock.
I then hung them on a paper clip and gave them a coat of primer.
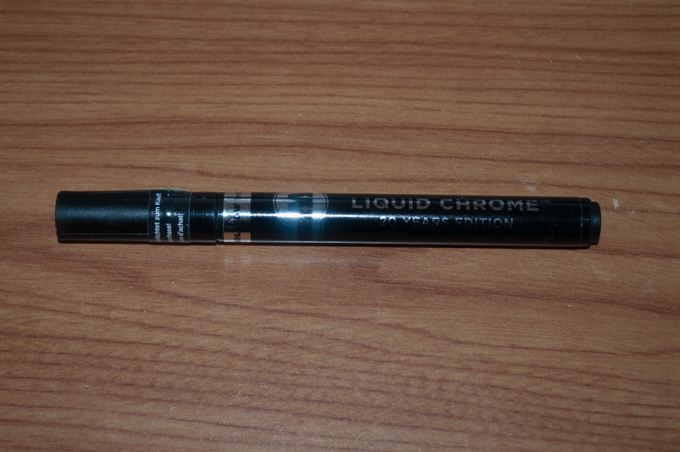
I picked up a Molotow chrome pen to paint all the little pieces.
Once the primer dried, I hit them with the Molotow pen.
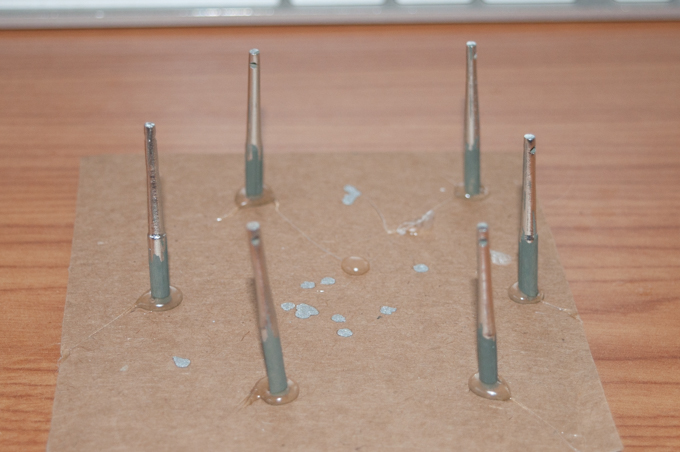
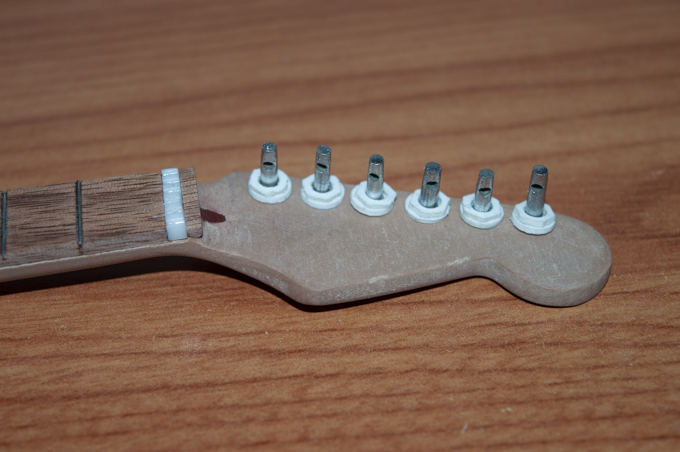
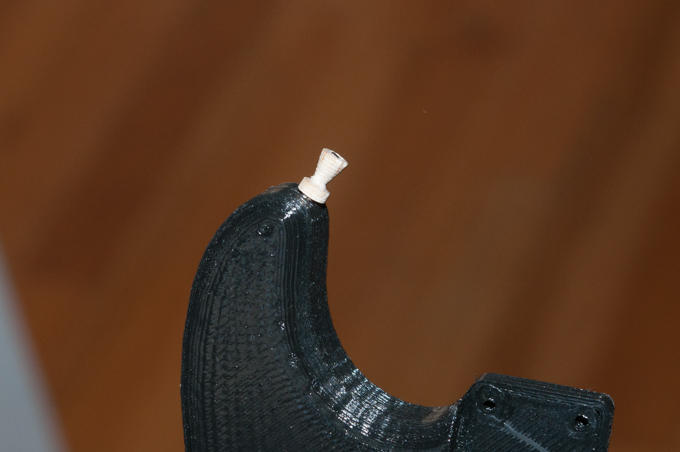
I then trimmed them to the right length with my Dremel. I also made better looking nuts and washers.
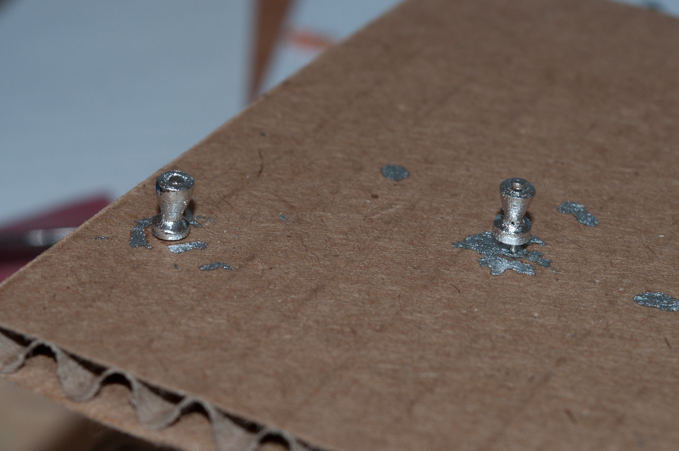
For the strap buttons, I needed to get a little creative. I wish I had a lathe. Since I do not, a drill is going to have to do. I put a wooden dowel in my drill and spun it against a metal file until I had the shape that I wanted.
I drilled a hole through the dowel before shaping it so that I can secure it to the body with a pin. Not bad looking at all.
I made a second one and then chromed them with the Molotow pen.
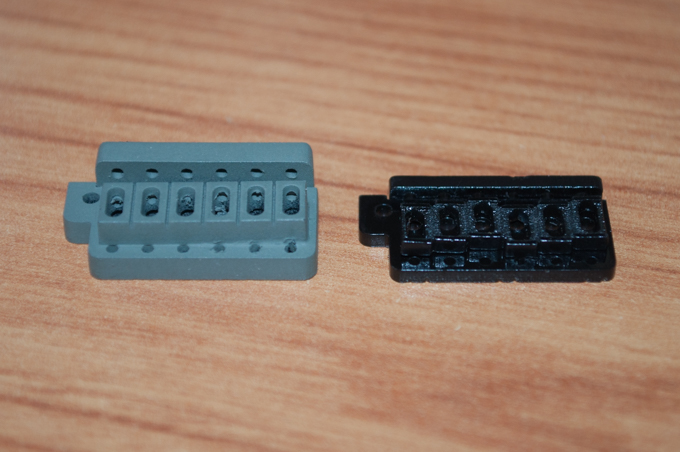
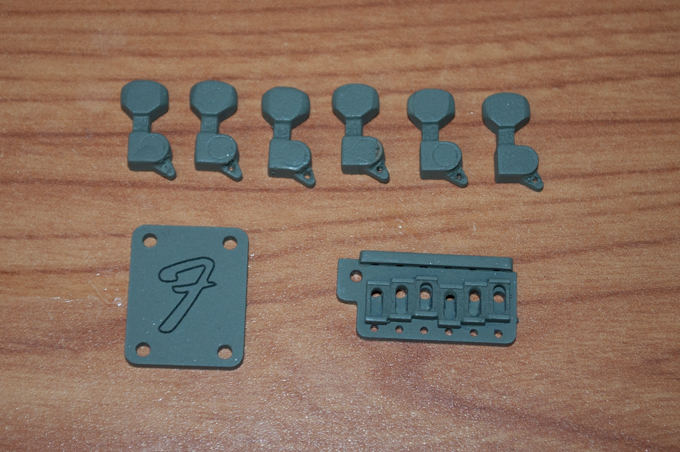
While the paint dried, I went back to the bridge. I cut the pieces out of 3mm acrylic. It's just too big. I decided to remake it out of 1/16" acrylic. I originally cut corners on the bridge saddles by just cutting a rectangle and scoring it on the top. I decided to completely redesign it and put in a little more detail by staggering the saddles like they would be in reality.
It is so much smaller than before, and looks way more convincing.
With all the pieces good to go, I gave them a coat of primer.
I made two bridges so I could experiment on it with the chrome pen. I was not happy at all with the results. It's very goopy. I don't know if I'm putting it on too thick, but it looks horrible. It's also really hard getting into all the nooks and crannies. You can still see the green primer in the recesses. I tried it too on a spare neck plate and the results were even worse. You can see lines in the paint, and it's too thick to get into the engrave for the Fender logo. I thought it would level out as it dried, but it did not.

I think I'm going to go with a tried and true can of chrome spray paint. The results are way better.
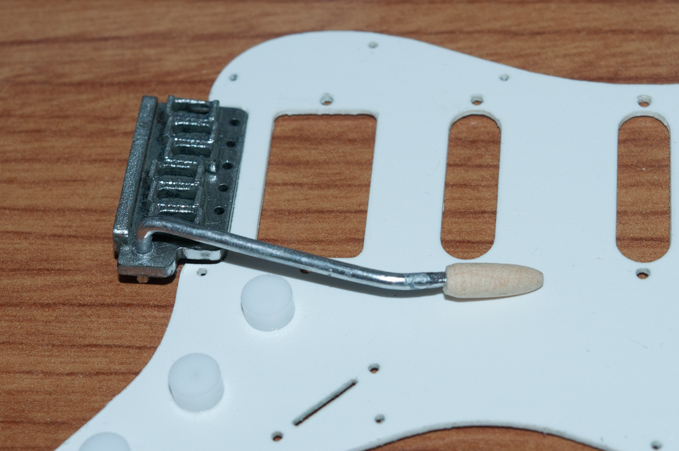
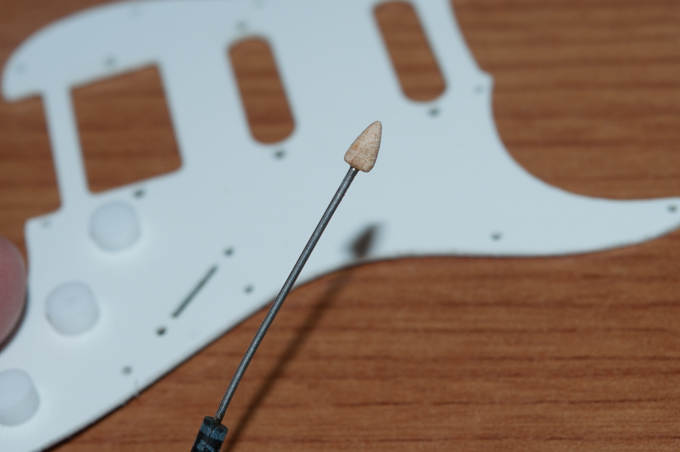
For the tremolo, I cut a small length from a wire hanger and sanded it smooth. I then bent it into shape with some pliers.

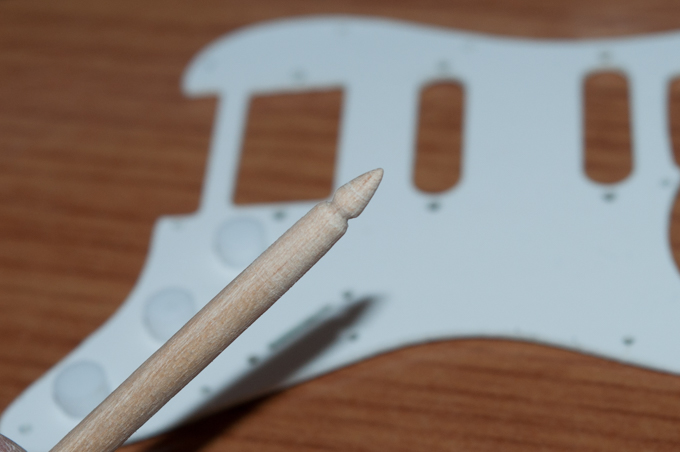
Again, I spun a wooden dowel on the drill and filed it down until I had the desired shape.
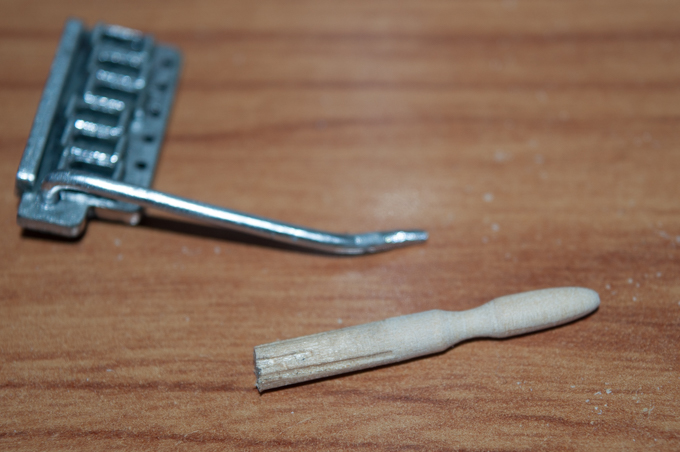
I drilled a hole through the end and trimmed and sanded down the end of the tremolo. Looks pretty good. I'm going to hold off on gluing it on until I can paint it white.
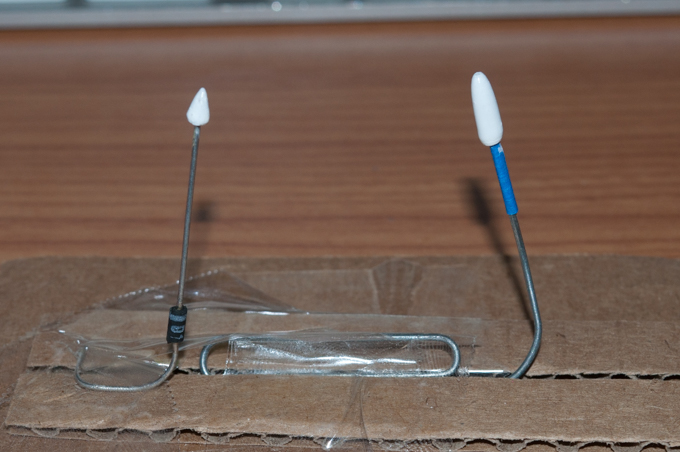
Next up was the knob for the 3-way switch. Same process.
I then glued it to the end of a diode. It turns out that the legs of Zener diode are the perfect width for a mini 3-way switch.
I then painted them glossy white so that they'd look like plastic.
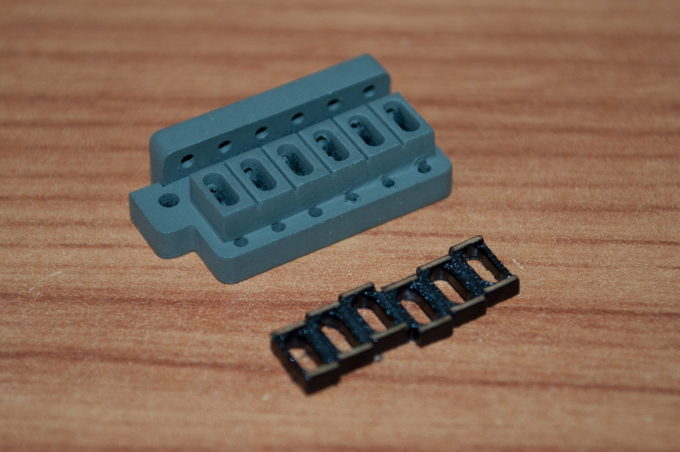
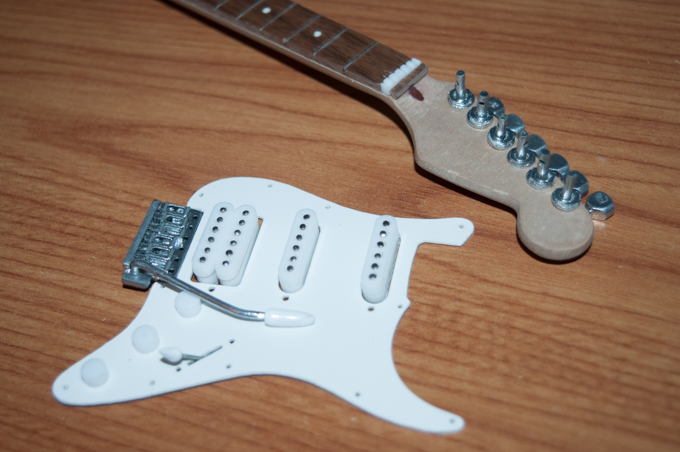
I decided to go back and redo the pickups. Originally, I just laser cut holes so that I could put pins through them to mimic the magnets. However, the heads of the pins don't look right. I decided to cut recesses in the tops of the pickups so that the heads of the pins would sit flush with the surface.
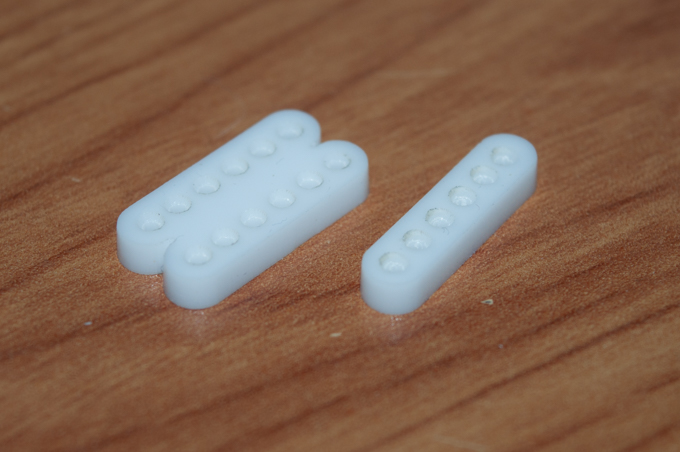
Here's a side-by-side comparison. So much better.

Wow, that was a lot of work, but it's been fun figuring out how to make each part. I think all that's left to do is finish the paint job on the body.
See this project from start to finish:
Footlong Fender - Part I Footlong Fender - Part II Footlong Fender - Part III Footlong Fender - Part IV
Footlong Fender - Part V Footlong Fender - Part VI
