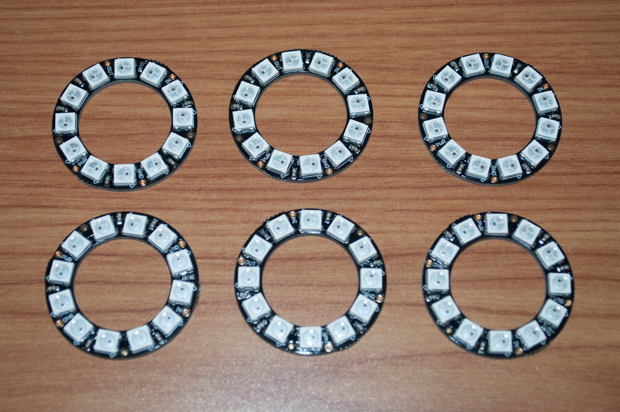
It's time for the electronics!
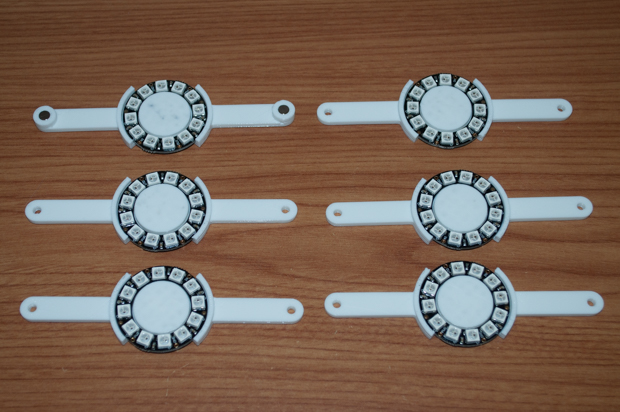
I got in the six Neopixel rings that I ordered.
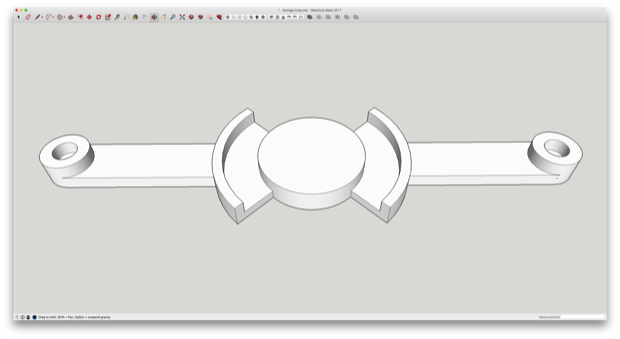
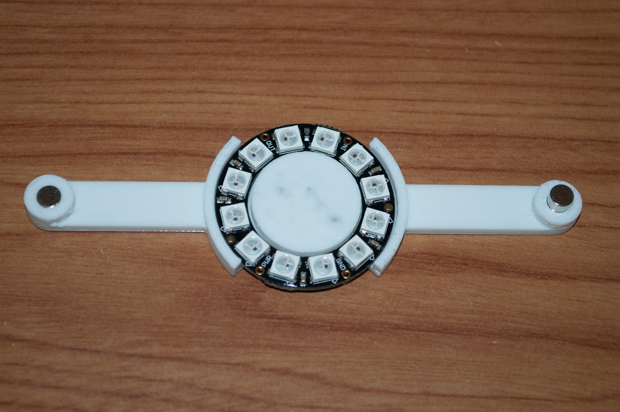
I took a few measurements and made some adjustments to my LED holder.

Everything fits like a glove.
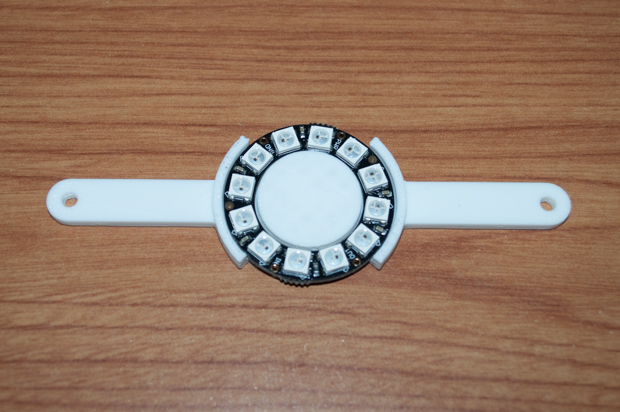
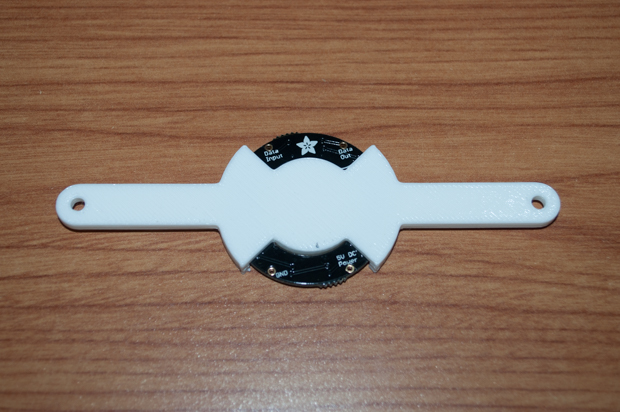
The odd shape is so that I can still solder wires to the back without the holder getting in the way of the four holes.
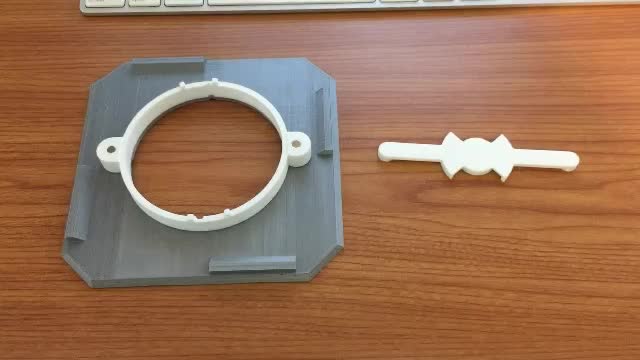
Five out of the six holders will be secured with 4-40 screws and threaded inserts. Once the five LED holders have been secured in place, there will be no way to reach in with a screwdriver to secure the last. I had to come up with something a little more elaborate for that one.
The sixth LED holder will be held in place with magnets.
With magnets in both sides, it just snaps together.
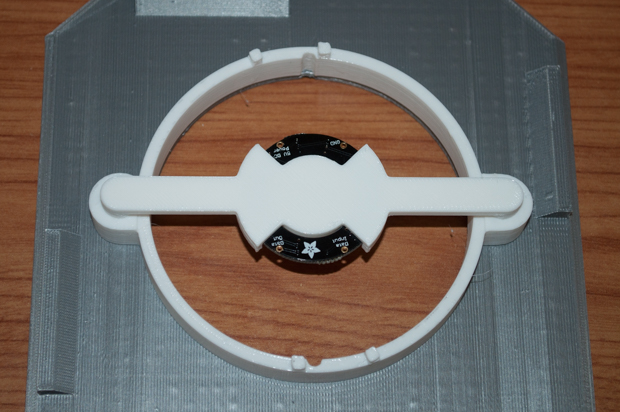
These magnets are awesome. They're so strong that you just have to get close and it self-aligns itself.
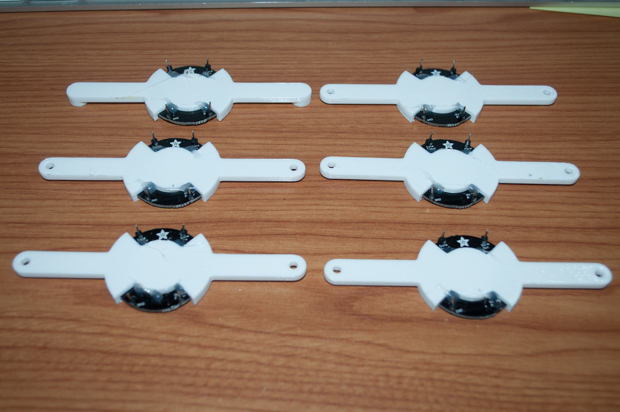
All six holders printed and ready to go.
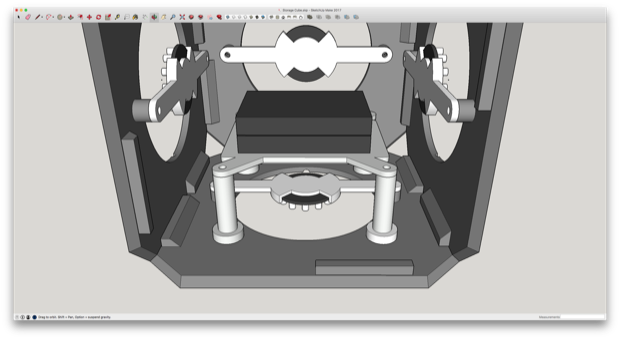
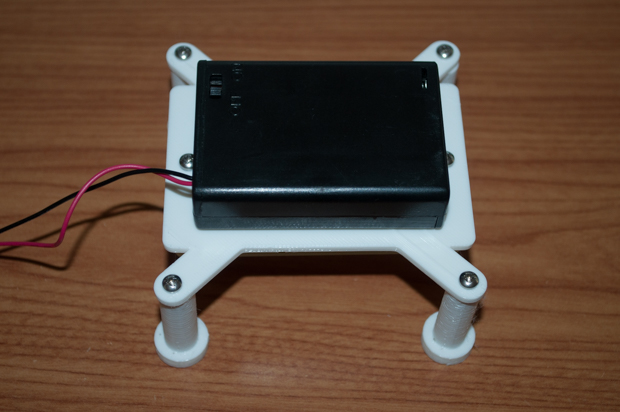
I then modeled something to hold the PCB and batteries. It just needs to be something that I can fit through one of the holes. I decided to just print a few standoffs that I can screw to a platform with some 4-40 screws and some threaded inserts. It'll hold a small PCB and a battery pack. I'll just glue the standoffs to the inside of the main enclosure with some epoxy.
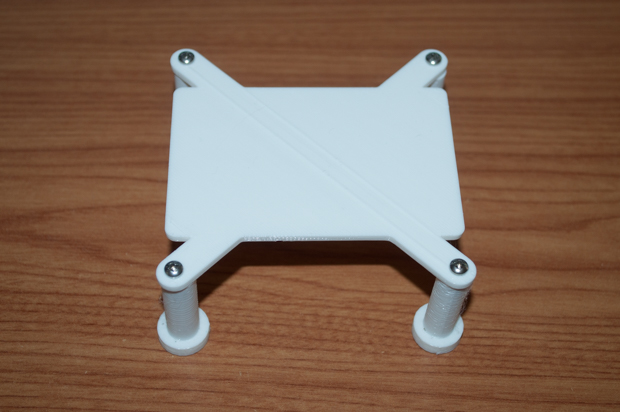
I then printed the platform, the standoffs, and inserted some threaded inserts.
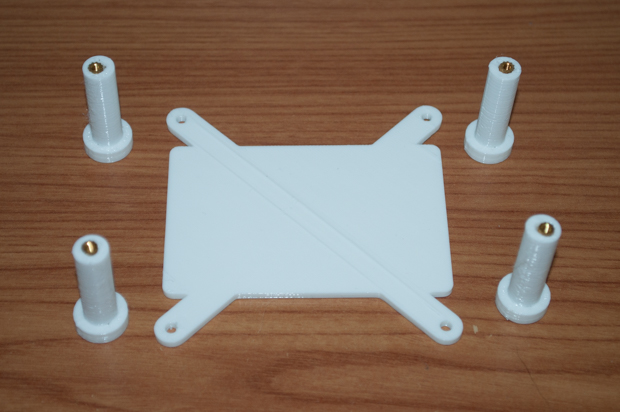
Boom. Quick and easy.
The PCB is secured to the bottom with some screws and the battery pack will go on the top with some velcro strips.
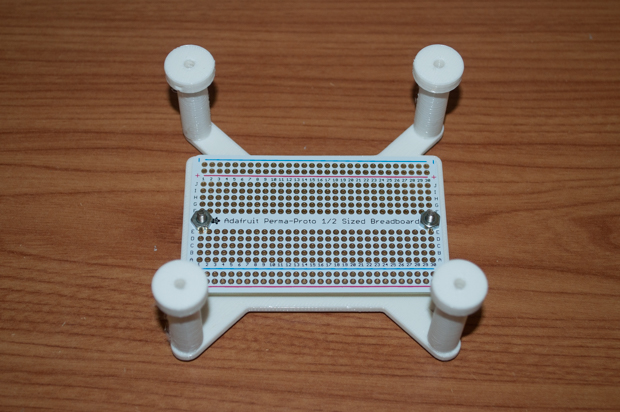
I'll be able to easily remove the battery pack to replace the batteries. I was going to use LiPo batteries and incorporate a charger, but that seems a little over the top. (And expensive.)
I soldered some header pins to the power and data points on the Neopixels and secured them to the holders with a few small blobs of hot glue.
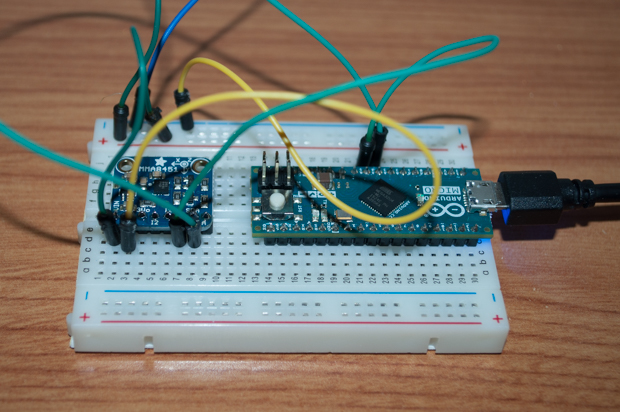
The whole thing is going to run off an Arduino micro with an accelerometer. I first prototyped my design on a small breadboard to figure out how to work the accelerometer.
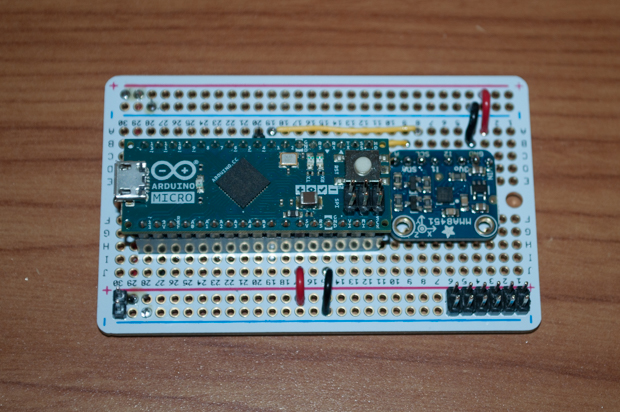
Once I figured it out, I soldered them to the final breadboard along with some headers for the LEDs and power.
I then wired up the Neopixels and connected them to the board along with the battery pack.
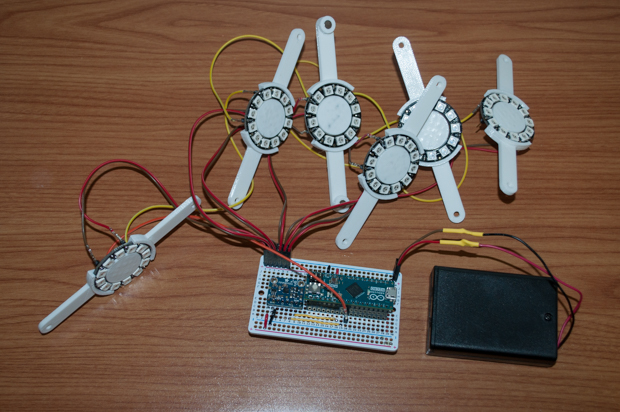
Everything works perfectly.
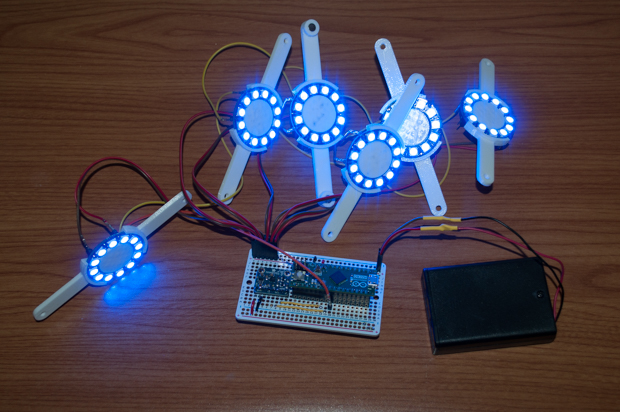
I had a few side pieces in the scrap pile left over from when I tried to print the sides face down on a raft. I pulled them out of the heap and glued them together to use as a jig to wire up the electronics. I don't want to spend too much time messing around in the painted model with tools just in case I mess it up. I don't want to wait to assemble it to start figuring out how I'm going to wire it up. So this is a good practice run.
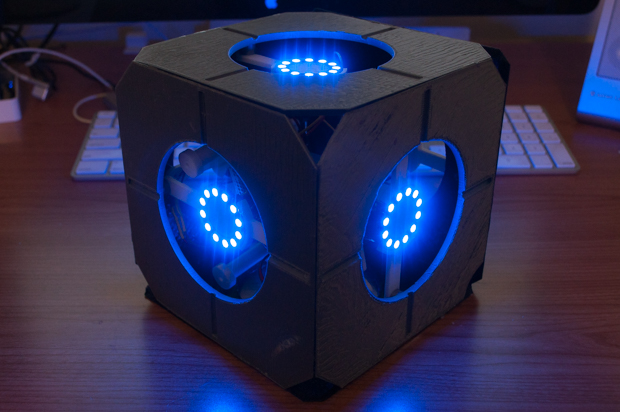
That's looking pretty awesome.
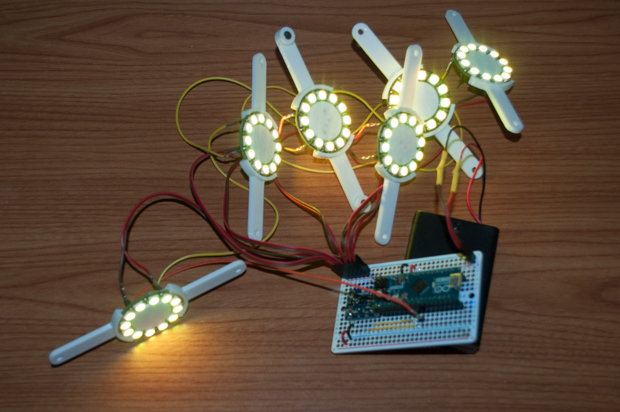
With a flip, it turns yellow.
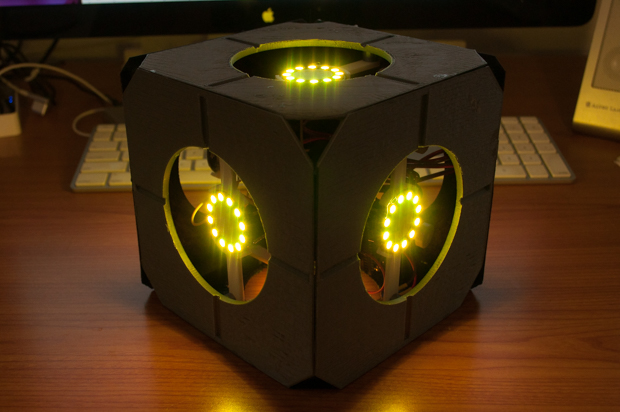
I'm not sure if I'm going to keep the code the way it is now or mess around with it a little more. Right now, holding the PCB in portrait mode makes the LEDs blue. Holding it in landscape mode makes it yellow. However, once everything's in the box, it's hard to tell which way the PCB is oriented. Needless to say, you kind of have to flip it around a few times to figure out which end is up. I might improve the code so that any 180 degree flip in any direction changes the color from blue to yellow and vice-versa. I also want to maybe include some kind of Easter egg. Maybe have the lights go crazy with a bunch of random colors.
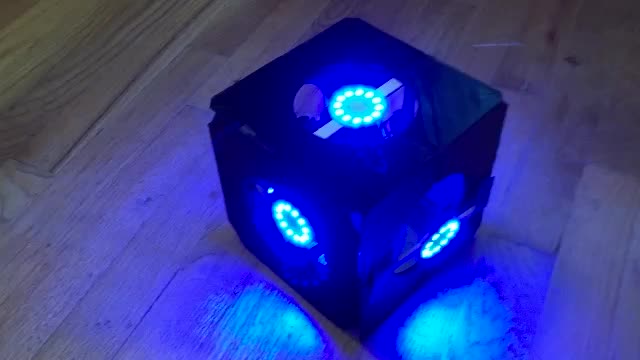
Here it is in action:
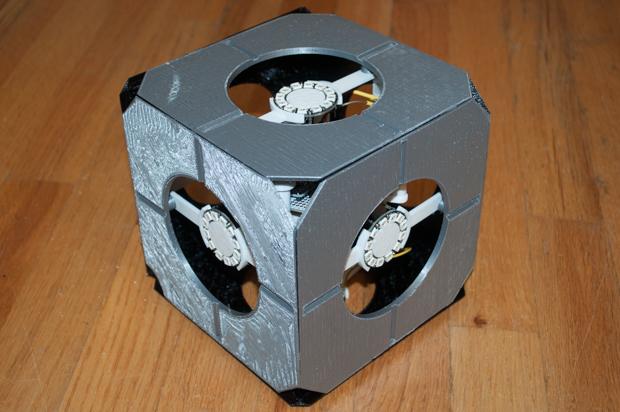
Just for fun, I inserted one of the bezels just to see how well the white acrylic will diffuse the LEDs.
That. Looks. Awesome.
 See this project from start to finish:
Portal Weighted Storage Cube - Part I Portal Weighted Storage Cube - Part II
Portal Weighted Storage Cube - Part III Portal Weighted Storage Cube - Part IV
