The 3D-printed
Balgonie Place sign that I made for my Mom for Christmas came out so great that I decided to make something for my sister too. After all, they both have Scottish-themed rooms at home. I think a pillar box would make a nice addition.
I found a nice reference image online and jumped into SketchUp to make the model.
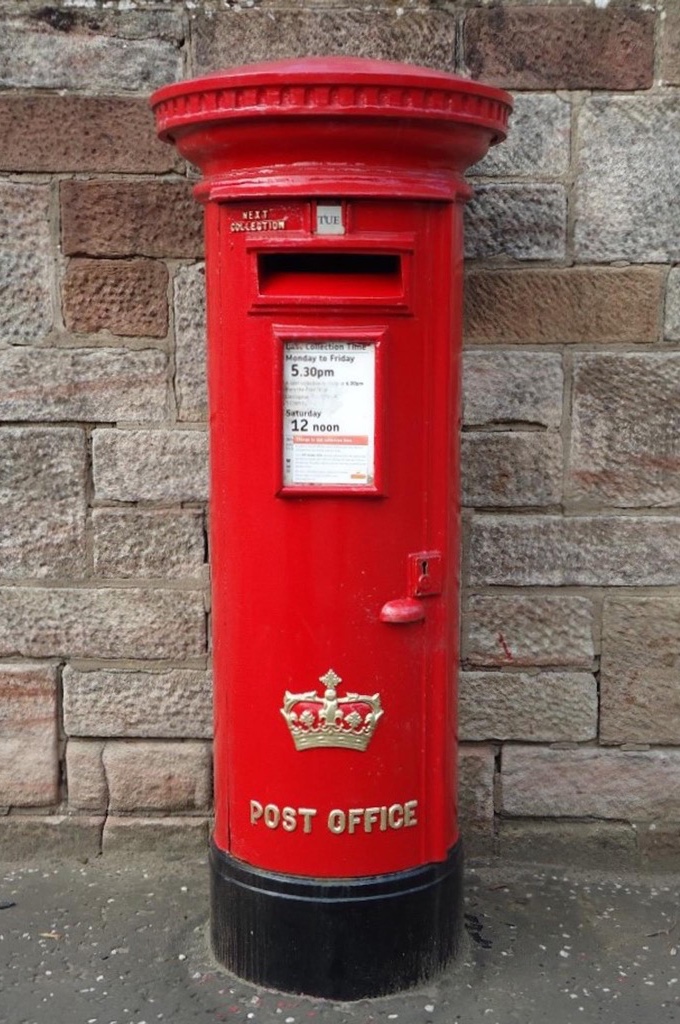
I first started with the top.
It's not gong to be absolutely perfect, but it needs to be close enough so you at least know what it's supposed to be. Without knowing what the exact dimensions are for anything, they'll be some artistic license.
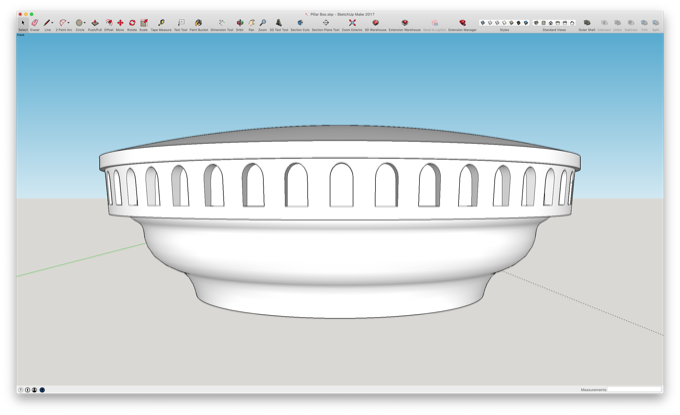
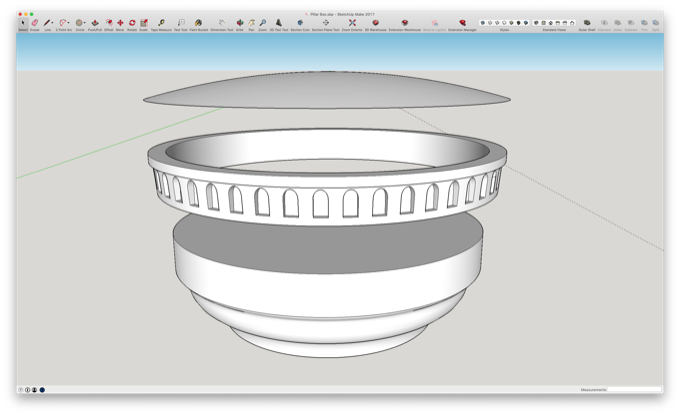
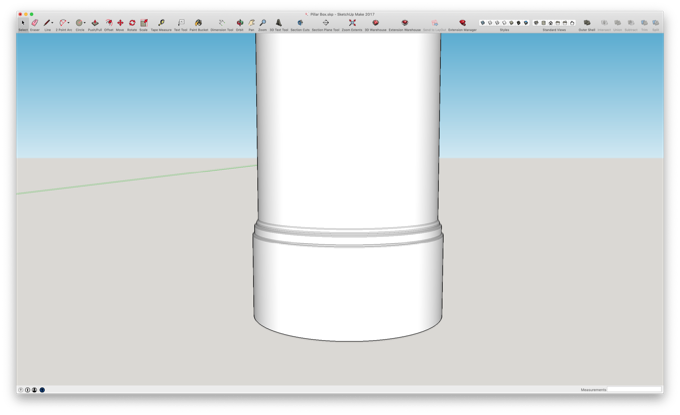
I then made the main body…
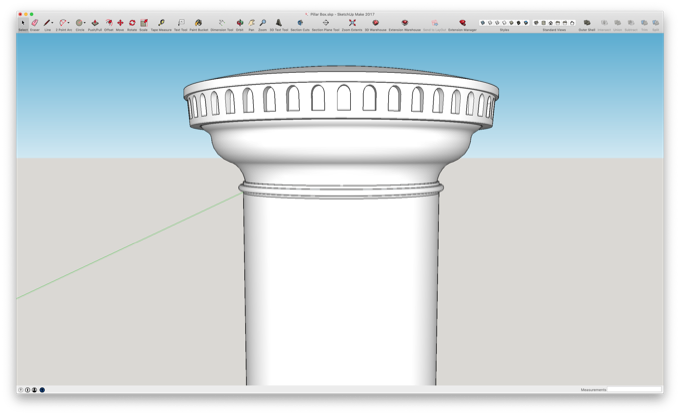
…followed by the base.
That was the easy part. I then got to work on incorporating all the details.
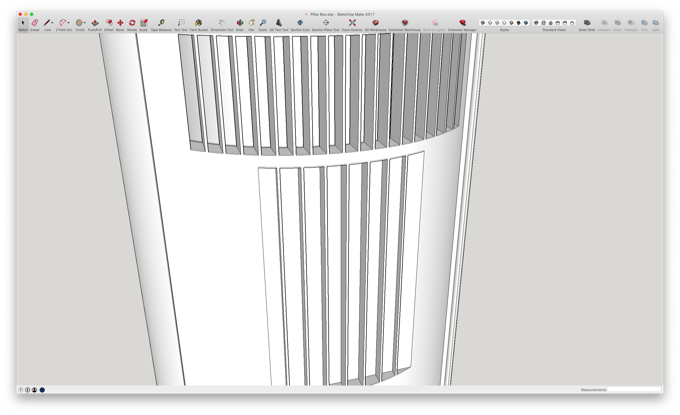
For the curved text, I first started with some 3D text and intersected it with a portion of the base.
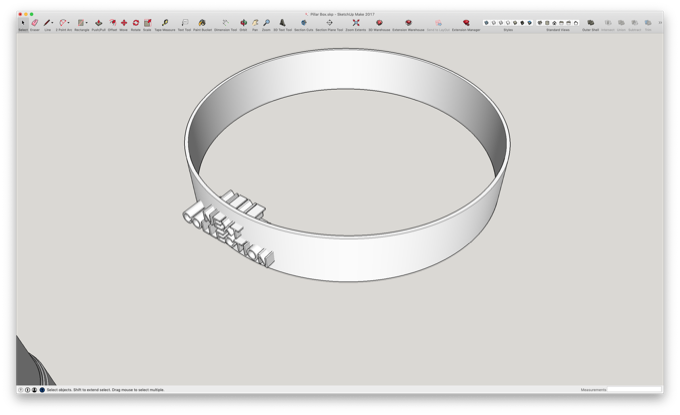
I then deleted the parts of the text that dit not intersect with the base.
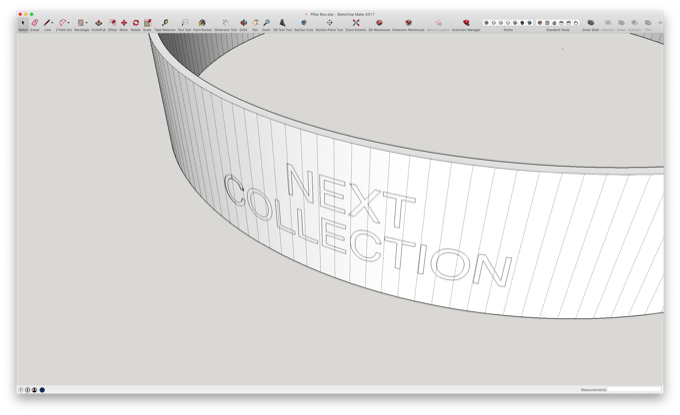
I then deleted the base, which left behind the curved text.
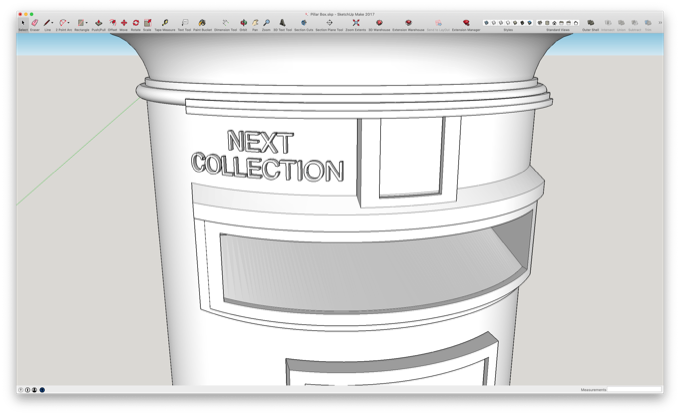
I did the same thing with POST OFFICE along the bottom.

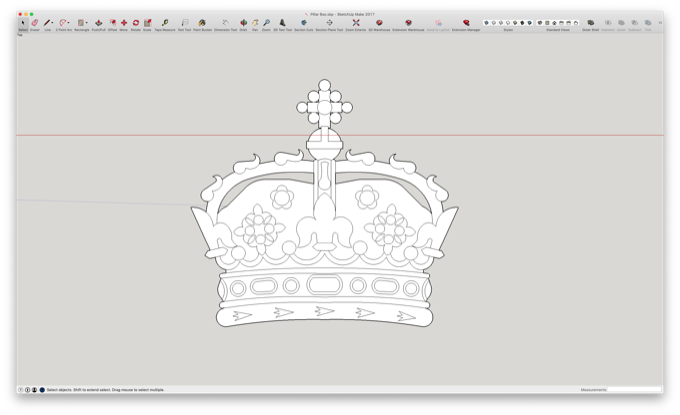
For the crown, I found a reference online and mocked up a quick image. Not perfect, but close enough.
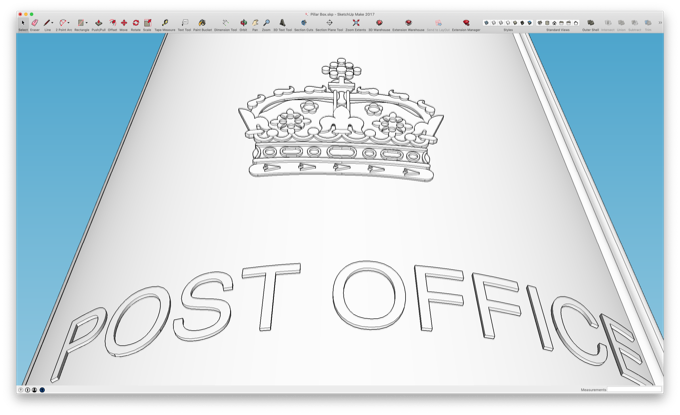
I then extruded the surface and added it to the pillar. I'm not going to bother making it curved like the text. That'll take way too much work, and you'll not even notice it.
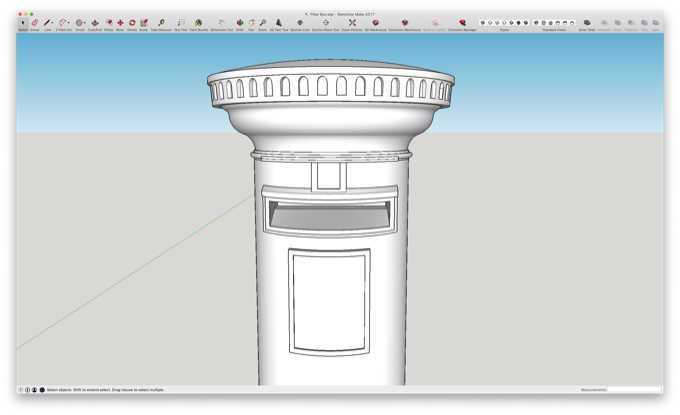
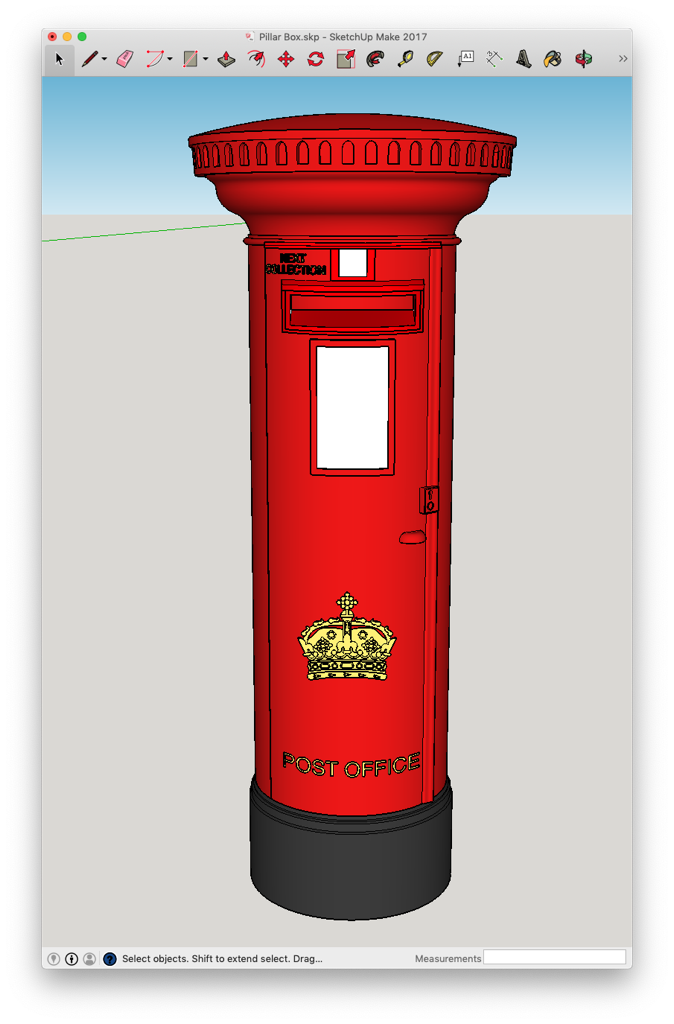
That looks pretty good. The inside is hollow and the cap comes off. Maybe it'll make a great piggy bank.
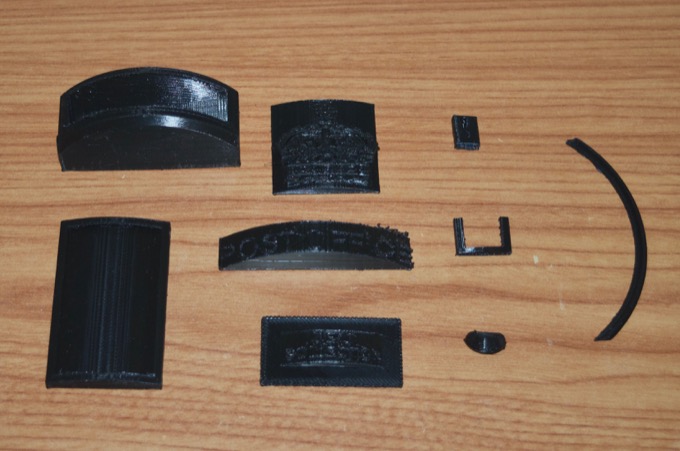
I tried to slice the model in MatterControl, but it kept crashing. I didn't think that it was that complicated of a model. I even ran it through netfabb and there are no errors in the model. I decided to remove all the details and print them separately. Also, I think adding all the support material is making it that much harder to slice. Instead of having the slicer do it I just incorporated some supports right into the model that I can cut away later.
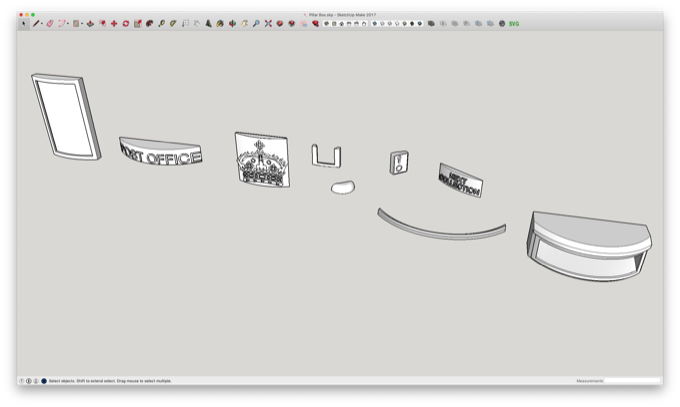
These are the models that I'll print as separate parts. I'll then glue them into place and clean up all the seams.
I took all the parts into Meshmixer and scaled the model to 13" tall.
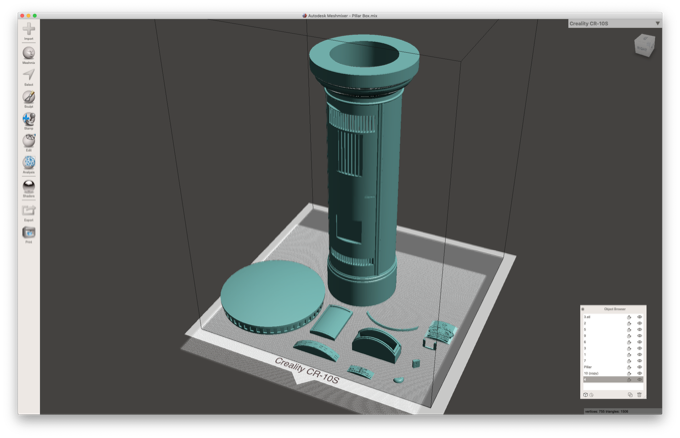
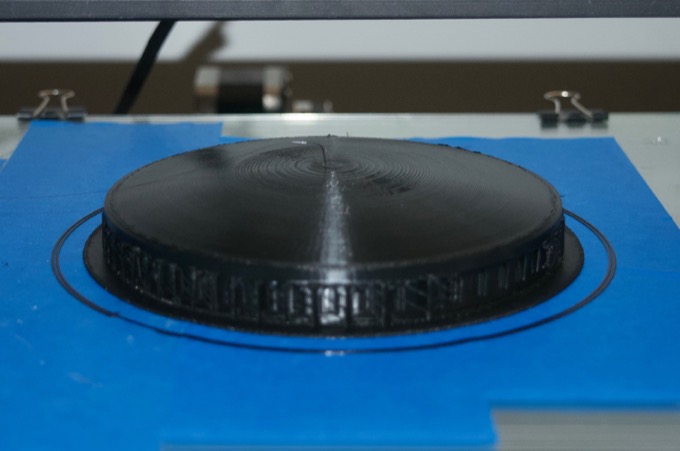
If I printed it with a .1mm layer height, it would have been a 50 hour print. That's also with only 5% infill. It's going to get several coats of primer so I printed it with a .3mm layer height. It only took 17 hours and 42 minutes to print.
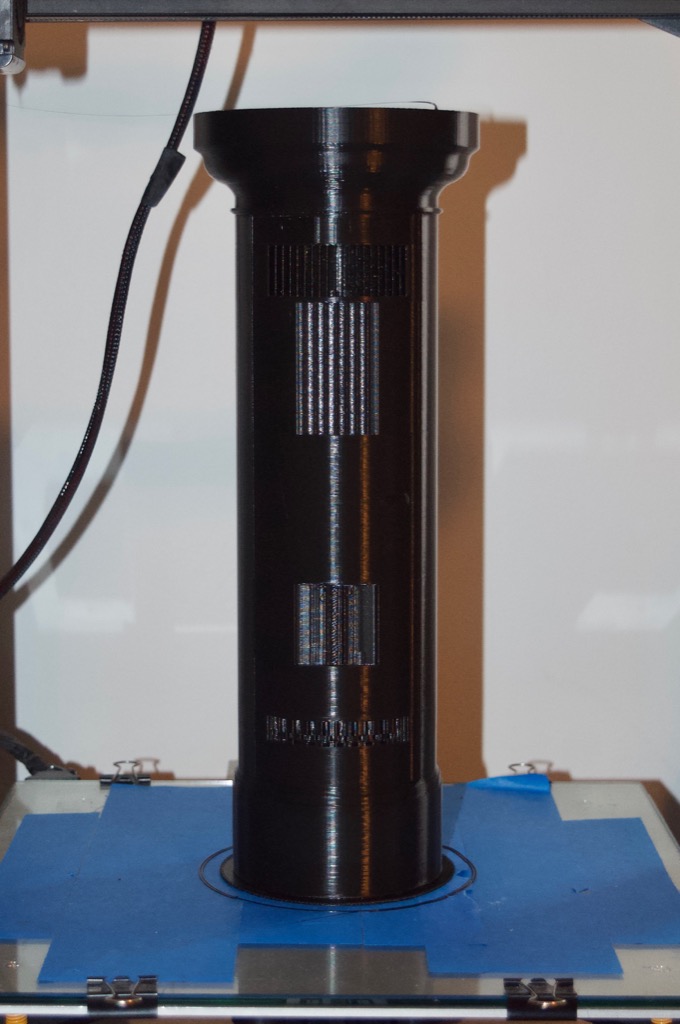
The cap took 14:15 hours to print because there was a ton of support material around the rim and underneath. Some sanding and putty should help remove all the layer lines.
It took a little over 6 hours to print all the little pieces. I printed them at .1mm layer height to preserve as much detail as possible. They are still not as detailed as I'd like, but they will work out fine. I can't wait to get my hands on a resin printer. These parts are perfect candidates for resin printing.
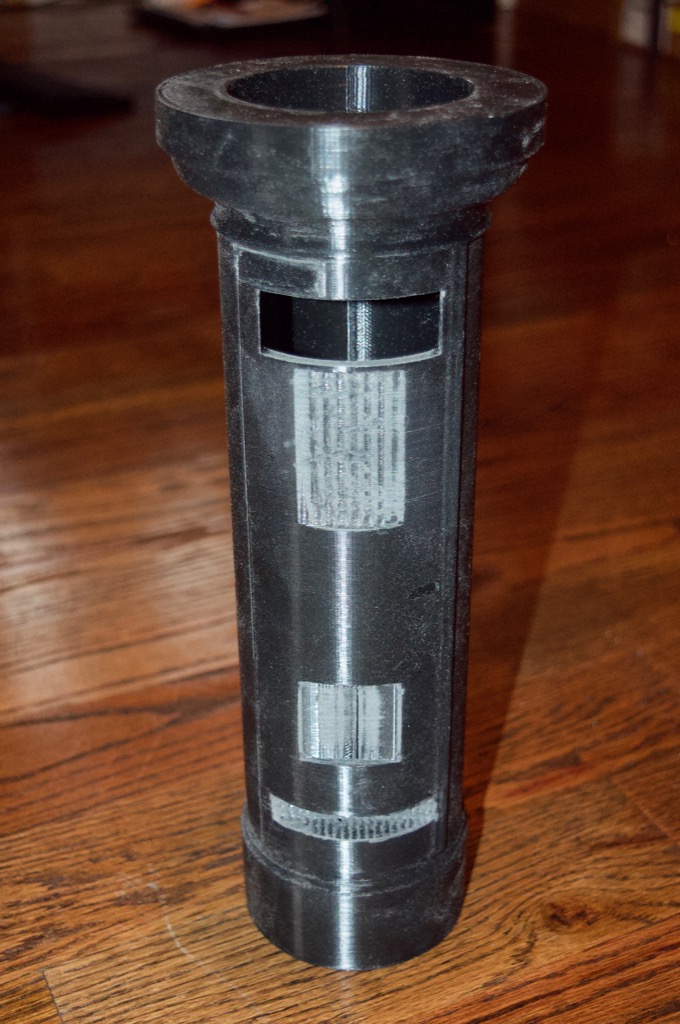
I cleaned up the body by removing the supports and sanded everything so that I could glue in the little parts.
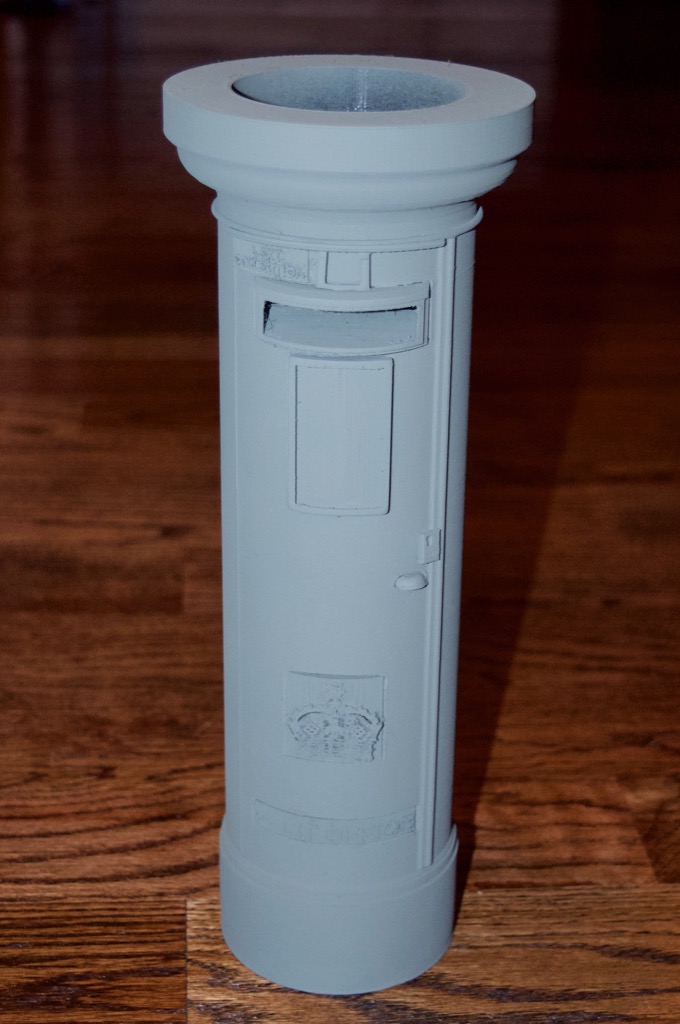
I then used some epoxy to glue all the parts together.

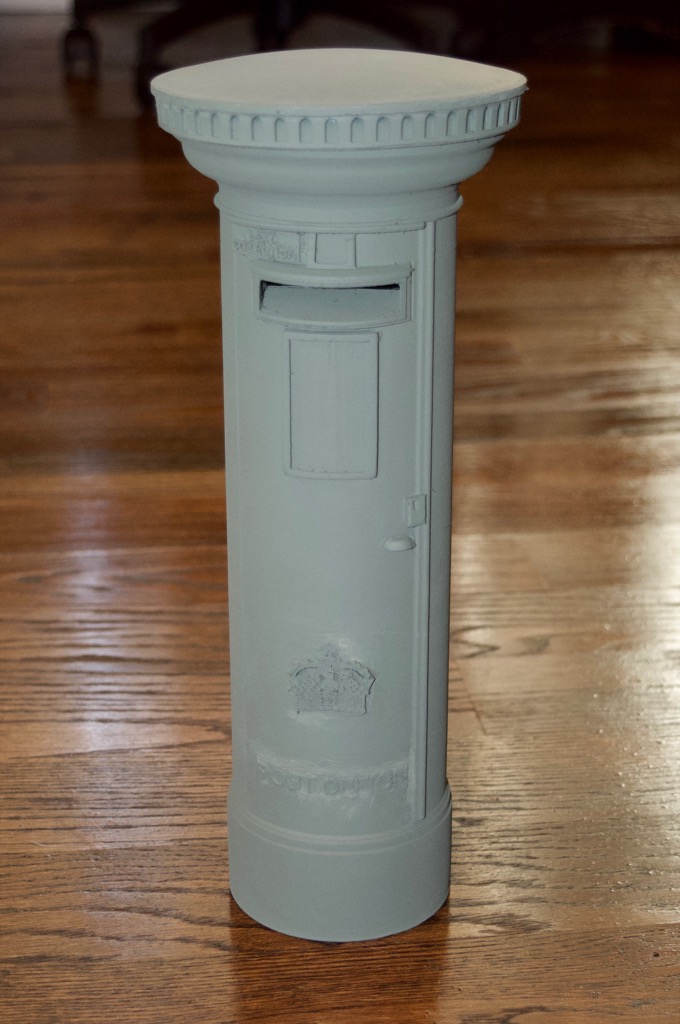
I then gave it a coat of primer. I know it's not much to look at right now, but it'll get some more cleanup work.
I then used some Vallejo putty to clean up the seams and fill the gaps and gave it another coat of primer. It's not going to be perfect, but these look pretty beat up in the wild. So if it looks sort of grungy it might just add to the overall aesthetic.
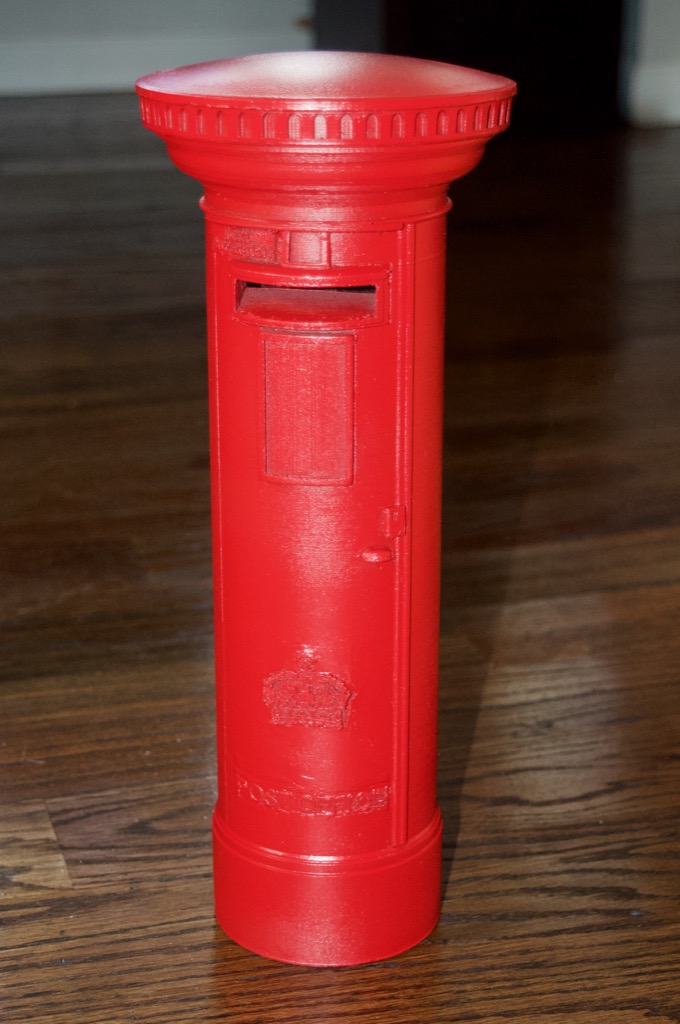
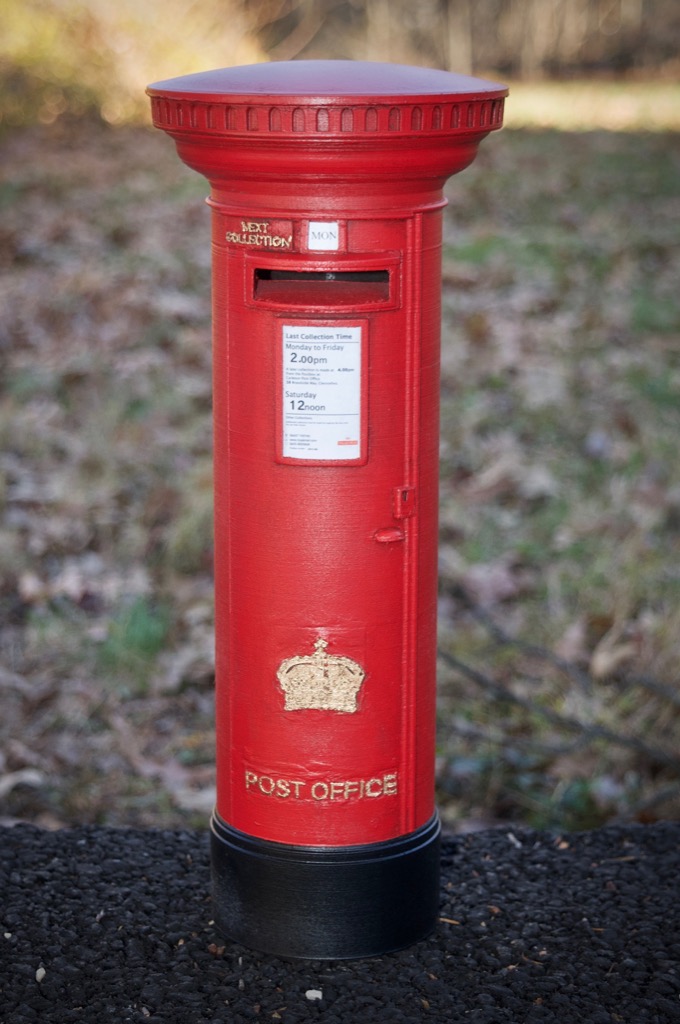
I then gave it two coats of red paint.
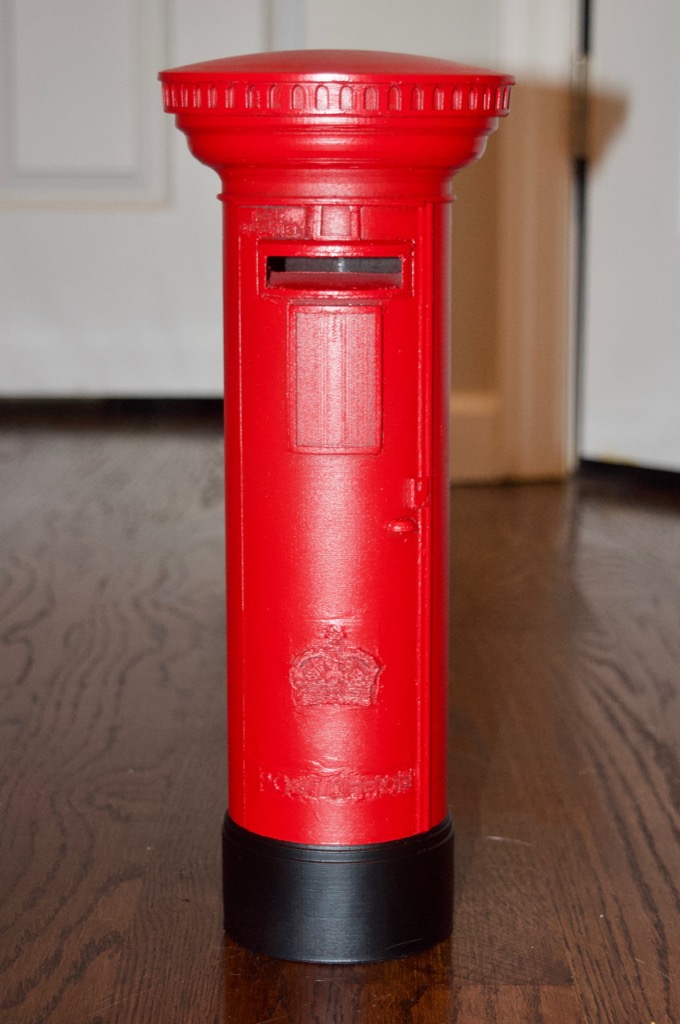
I then masked off the base and painted it black.
I then painted in the gold details and gave it some weathering with a black wash.
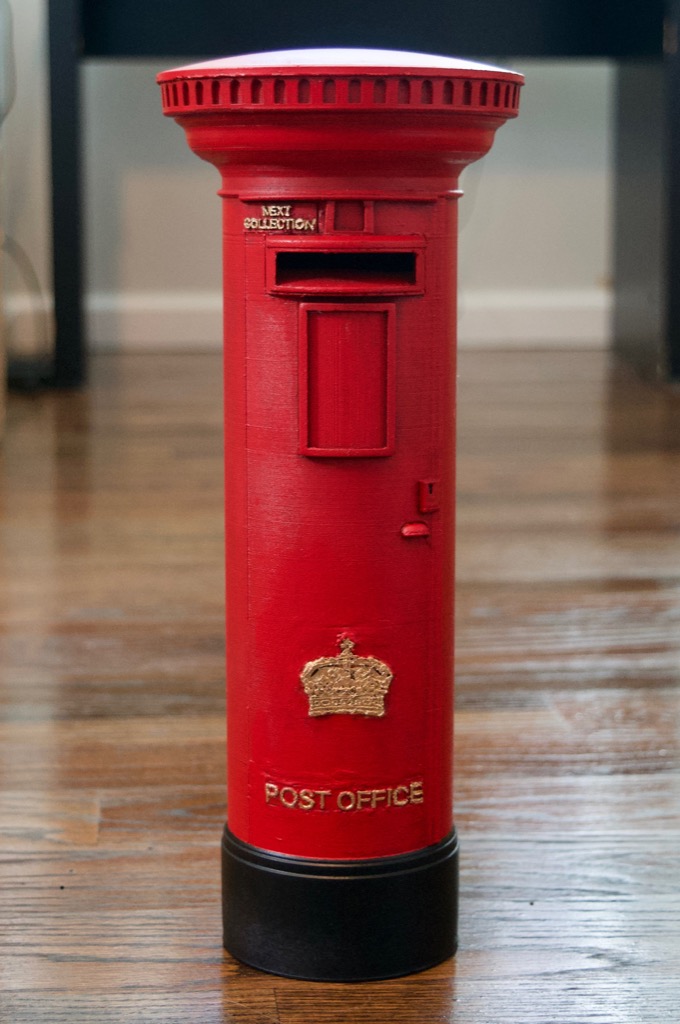
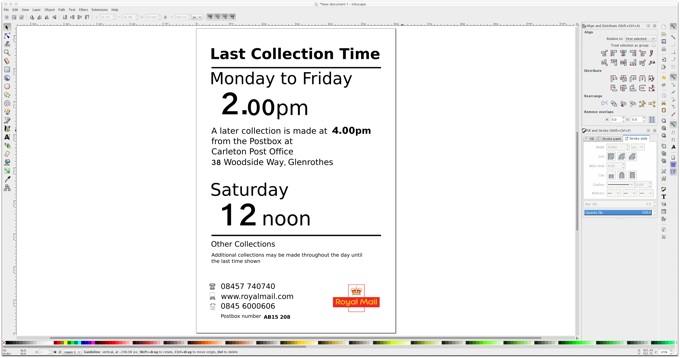
I did the best that I could to recreate the front sign. I included an Easter egg for my sister. I'm curious to see if she spots it.
For the last finishing touch I printed out some pictures of envelopes and glued them to some poster board.
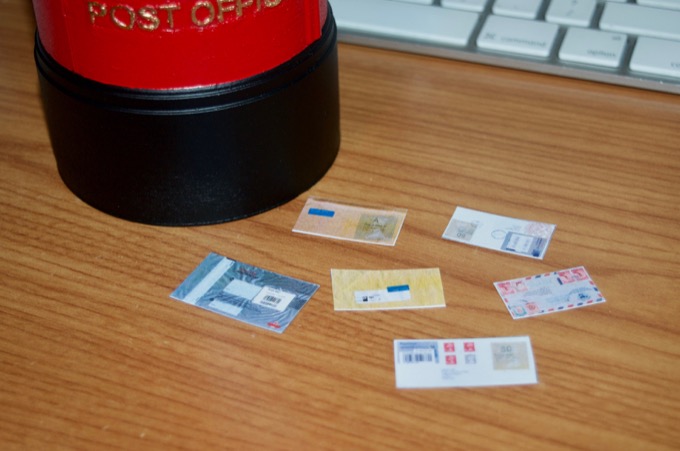
I think it came out really nice.
I just might have to make one for myself to match my
Telephone box!

