I saw this cool British Telephone Box model on Thingiverse and I thought it would be a really cool thing to make.
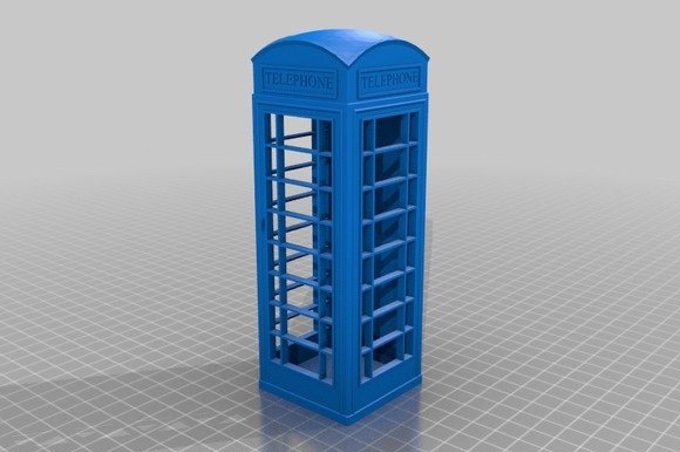
I wanted to print a huge one. Something that could put my new
Creality CR-10S through its paces. I wanted to make something that would take up the entire build volume of it's huge 12" x 12" x 15" print volume.
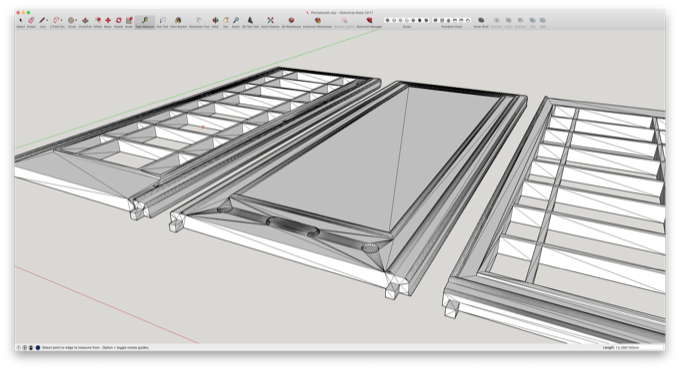
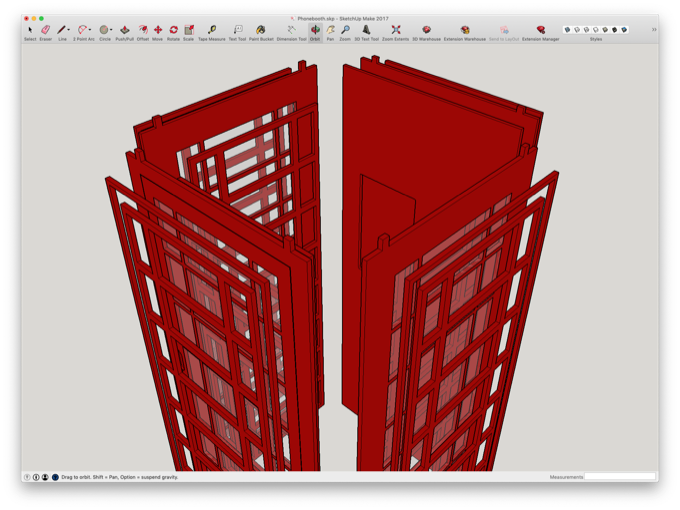
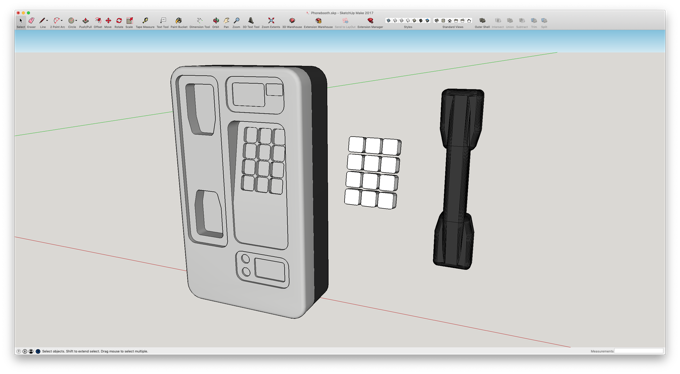
I imported the 3D model into SketchUp to do some scaling and cleanup when I realized that it was just not going to work. The plan was the print a huge one, and laser cut the windows out of clear acrylic. Scaled up, the walls are 13mm thick. There's no way to glue windows into the openings without making some kind of frame to hold them all in. It was at that point that I decided to redo the entire model from the ground up so that I could laser cut the whole thing. That way I would be able to sandwich a sheet of acrylic between two sheets of wood. Also, cutting the sides on my Glowforge meant that I could make them 18" tall. Even bigger!
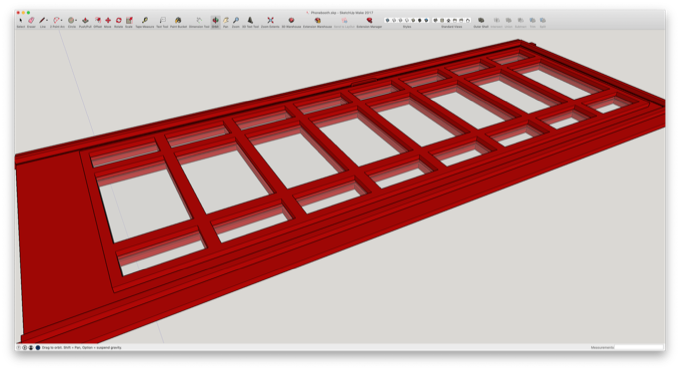
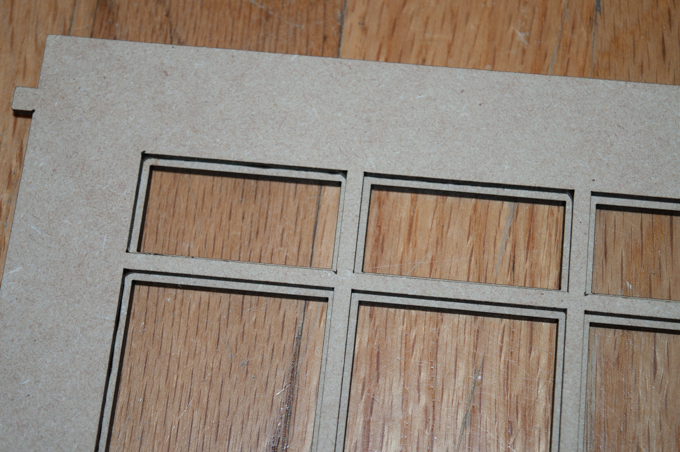
I ditched the model and started fresh by drawing all the sides. Each side will consist of four pieces all glued together.
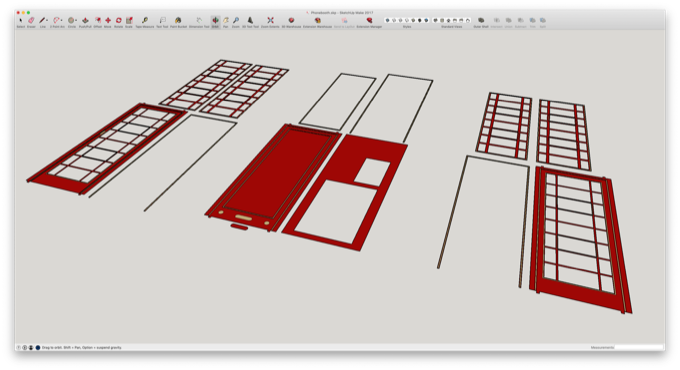
I can then fit the acrylic into the middle layer and glue a frame to the front and the back, securing them in place.
Then all four walls will come together and be secured by a laser-cut wooden base and a 3D-printed top.
I'll have to paint everything first before gluing it all together because there is no way to mask off the acrylic. They will have to go in and then I can glue the back frame on.
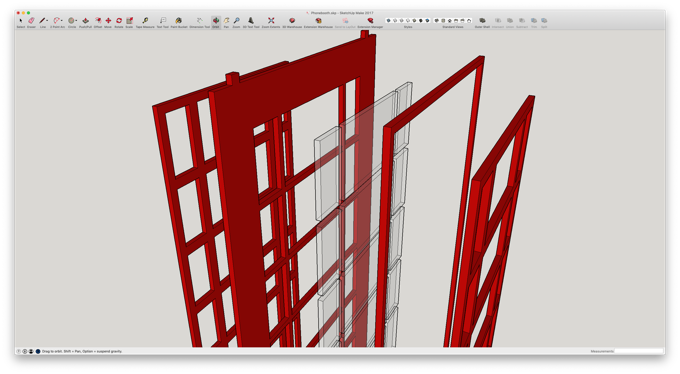
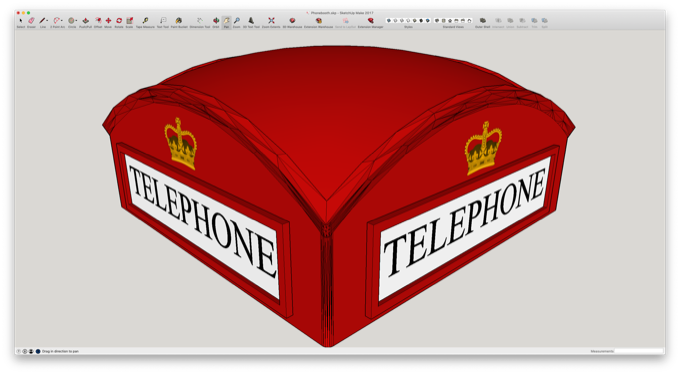
The only part of the model that I kept was the top. It just seemed quicker to keep it rather than try and make a new one.

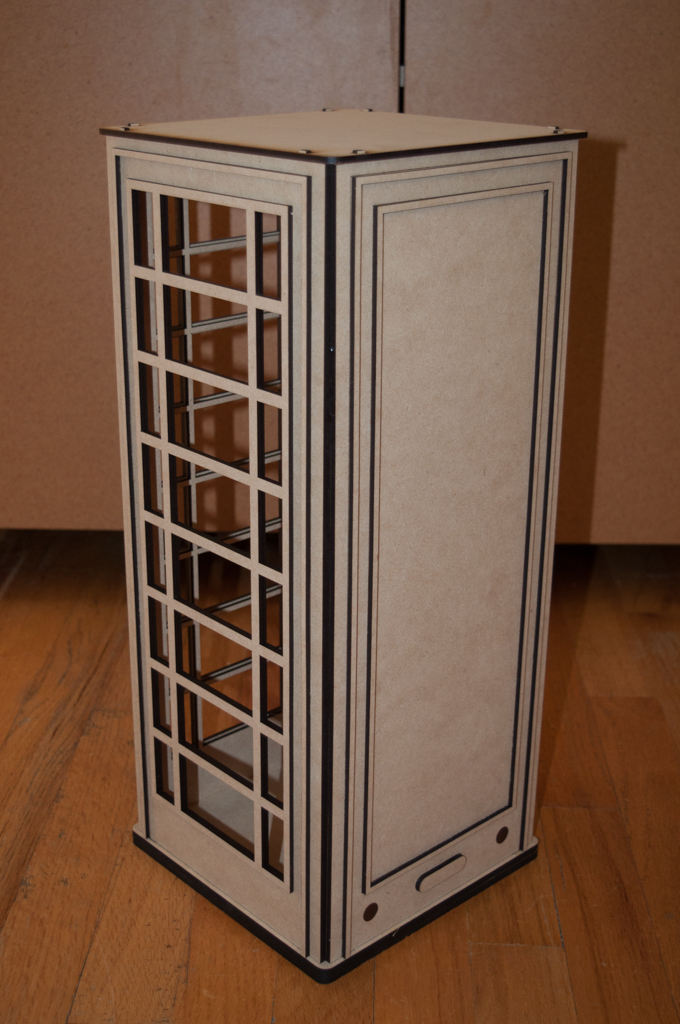
I did, however, completely redo the sides. I redid them so that I would be able to cut the TELEPHONE text out of black and white acrylic and layer them. I'll probably just etch the crown out of wood and paint it gold.
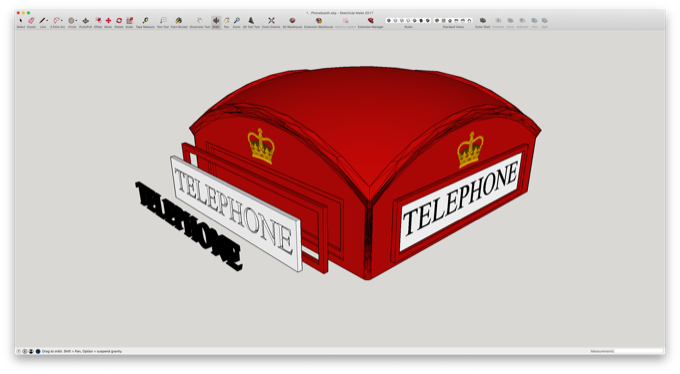
That'll look pretty cool.
The last thing to do was make a new phone.
With all the pieces complete, it was time to get cutting.

Each side piece pretty much takes up an entire sheet for Glowforge Proofgrade material. I probably could have made them 18.5" tall, but I like even numbers.

Keyboard for scale. Wow, this is going to be pretty big!

I ordered 15 sheets of Proofgrade draftboard for this project. It was just enough. I think I have two sheets left. That was a lot of cutting, but after a few hours I was done. I made the base out of 2 pieces of 1/4 draftboard so that it would be nice and thick.

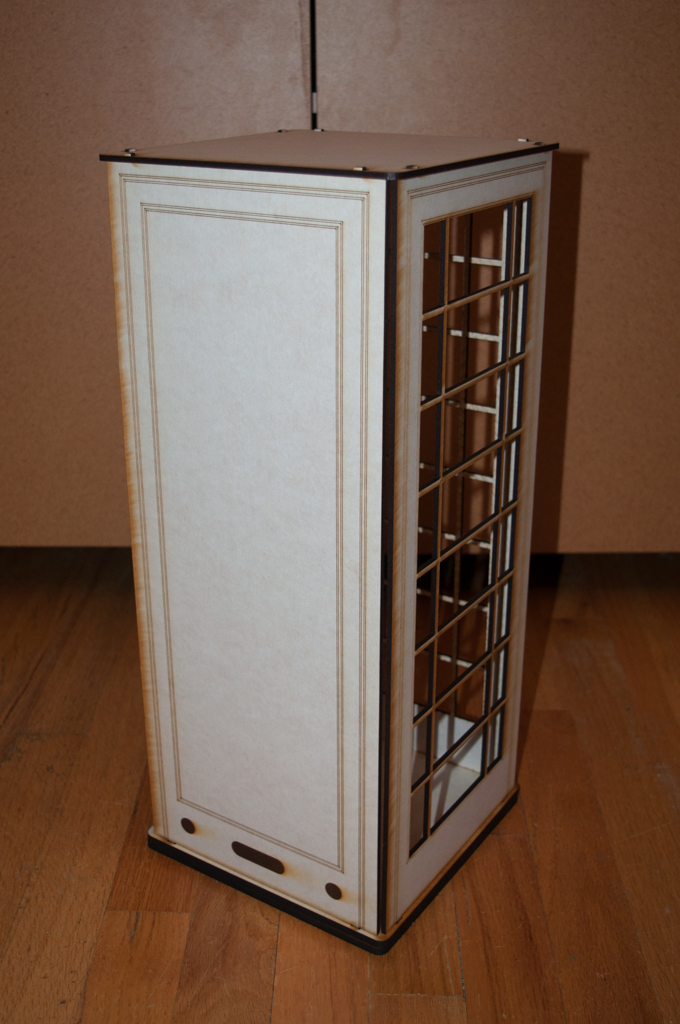
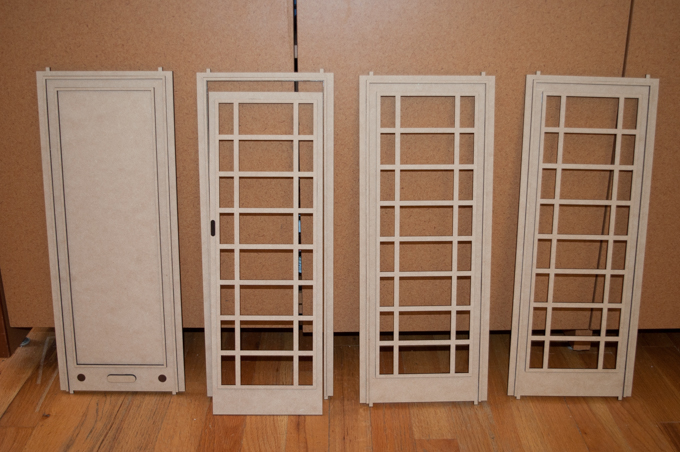
I test fitted the pieces to make sure that everything was going to go together as planned.
Everything looks good. The top is going to be 3D-printed, so I cut a temporary top so that I could keep the whole thing together while I painted it. A few drops of hot glue should keep everything together.
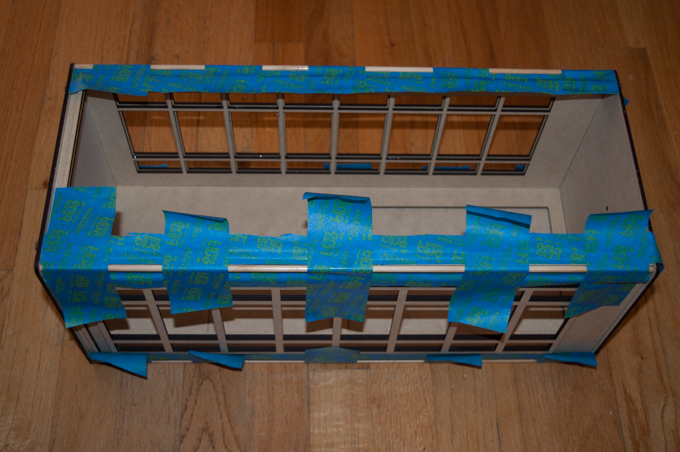
I then started to epoxy all the trim pieces on and clamped them together with binder clips.
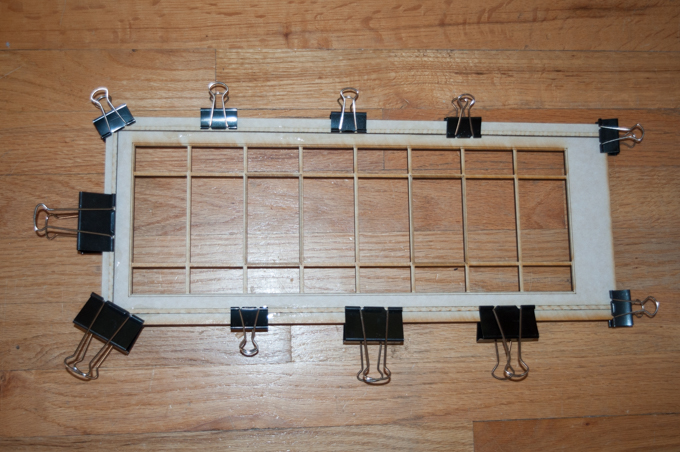
It was then time to glue the front frames on. See, once the sides are glued and painted, I can lay the acrylic pieces in the holes and then glue another frame on top to secure them. It's going to look awesome!
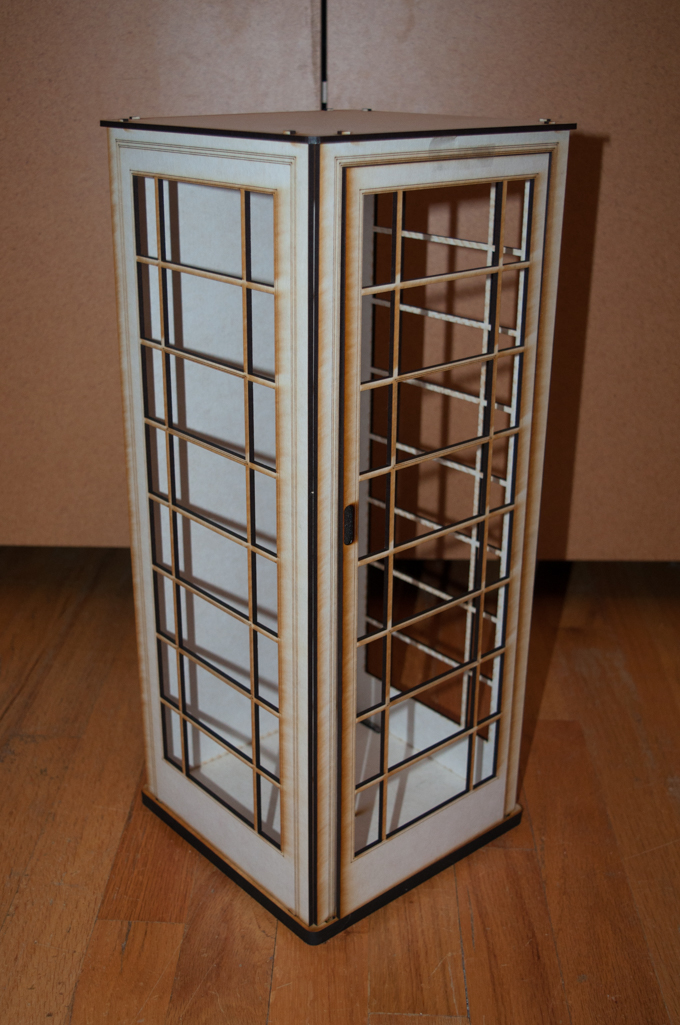
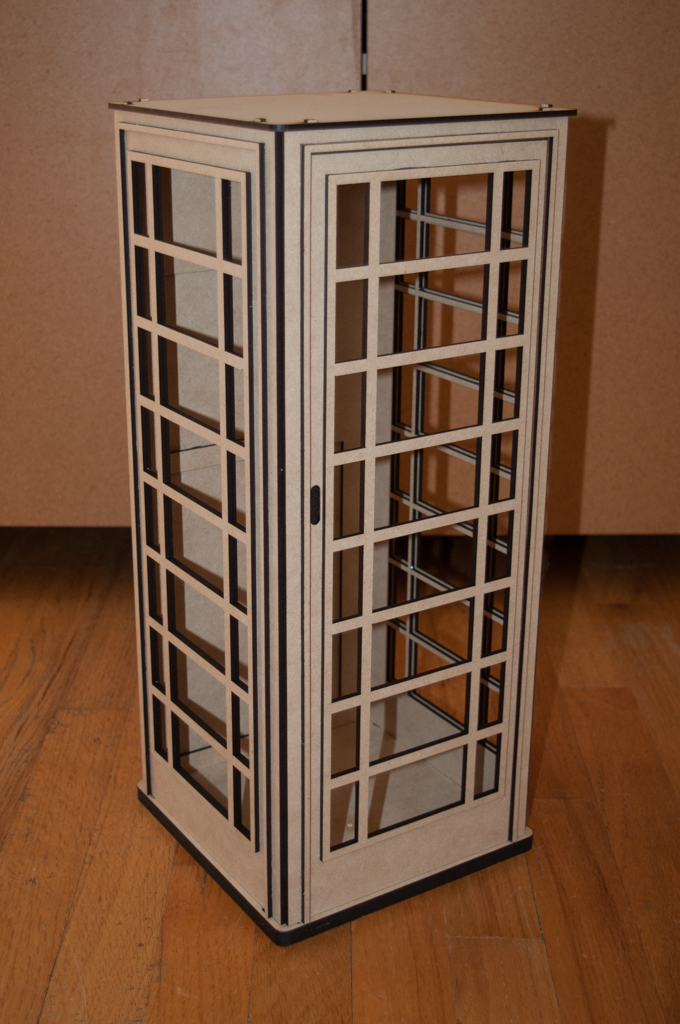
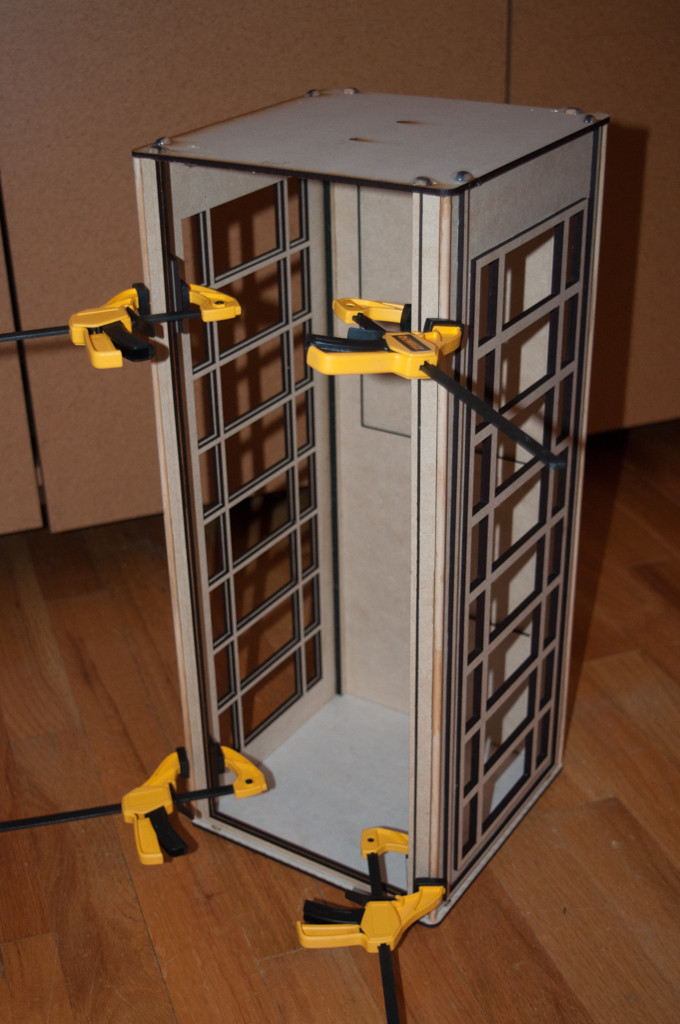
All the sides have been glued together and were allowed to cure overnight.
One last assembly to see what it'll look like. That's going to look awesome once it's painted!
I then glued some dowels down the sides to give it a nice rounded edge.
I then cut some strips out of the 1/4" draftboard and glued them into the corners to add some support to the sides. This thing feels pretty solid now.
I can't wait to paint it!
See this project from start to finish: British Telephone Box - Part I
British Telephone Box - Part II British Telephone Box - Part III
