I'm getting close to the end of this project. I just need to make the scabbard for the sword, and attach handles to the shield. The last things to do will be to paint the figurine and finish the base.
For the scabbard, I started out with a basic rough shape and ran some thread through the holes just to make sure there was enough space to slide the sword inside once the sides were stitched together.

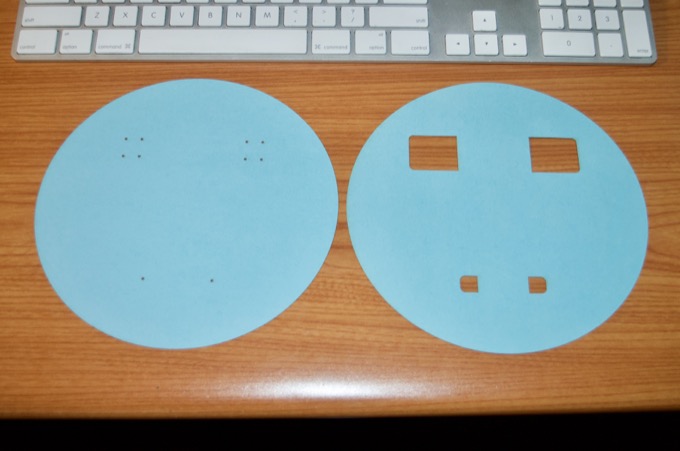
Once I nailed down the basic dimensions, I finalized the design and laser cut them out of poster board for a final test fit.
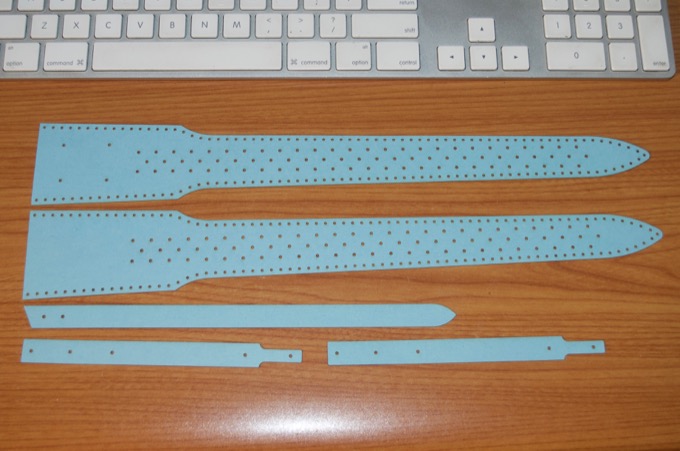
That is going to look awesome when it's done. Of course, the metal brads will all be the same color. I just wanted to quickly test the spacing.
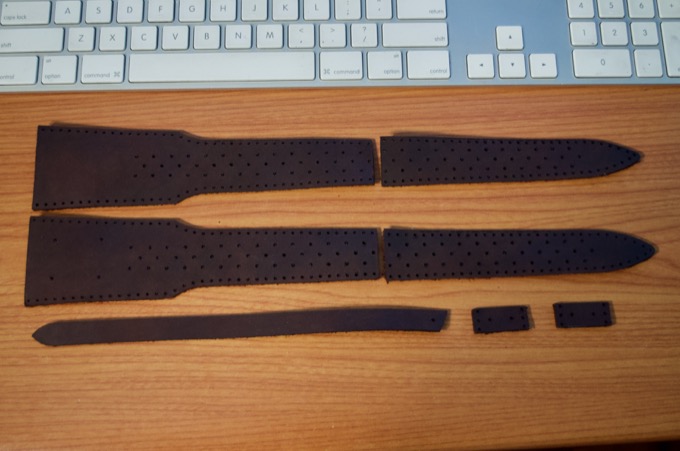
I the cut the pieces out of leather.
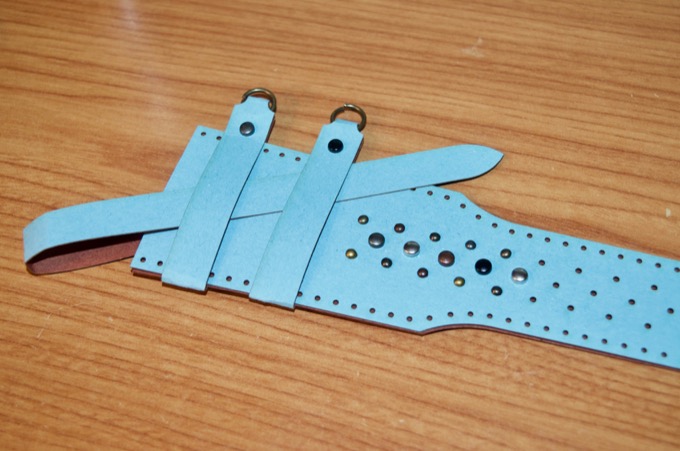
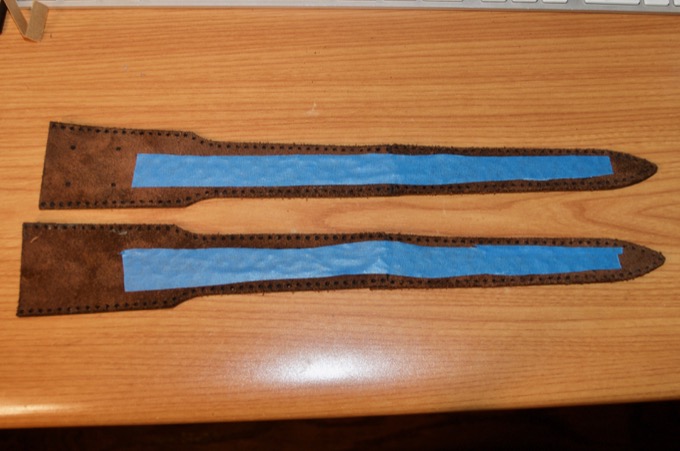
I then installed all 150 brads.
I covered the backs of them with some blue tape so that if I put the sword into the scabbard, the metal brads do not scratch it up.
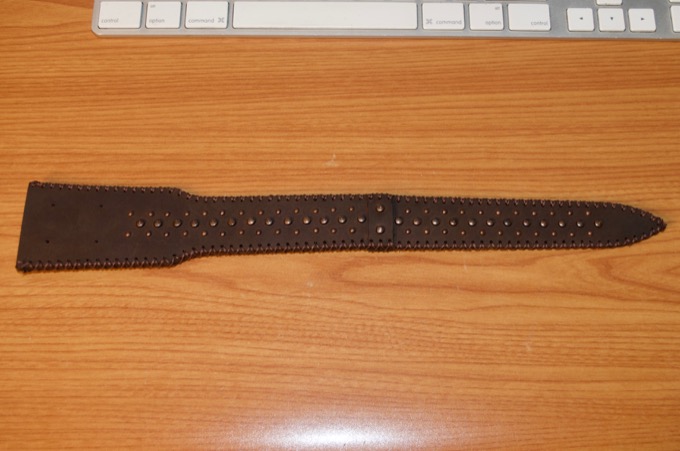
I then stitched the two halves together.
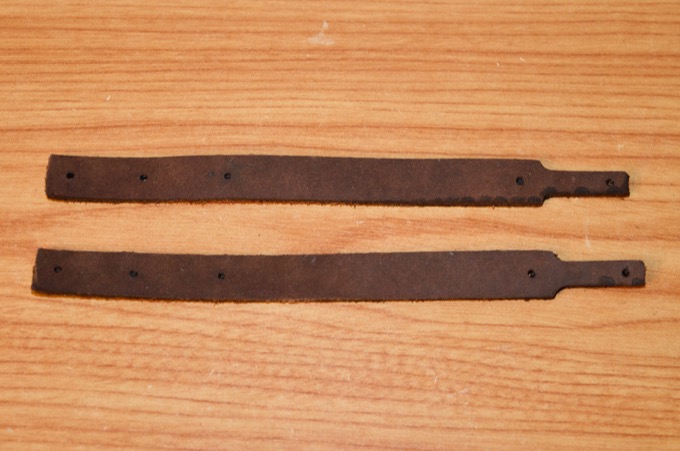
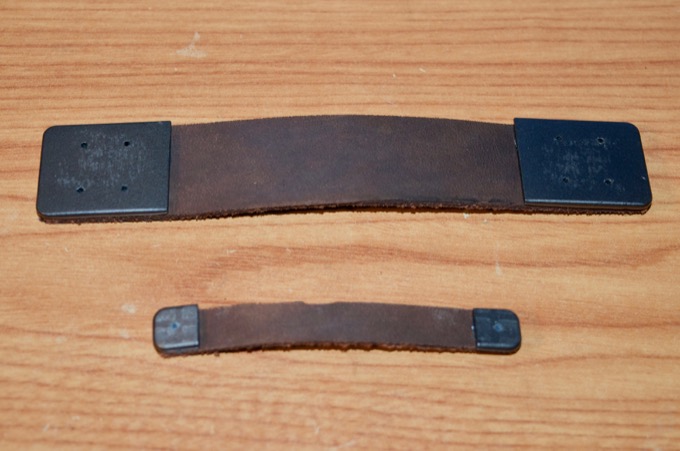
I didn't want to cut the straps out of leather until I could test fit them with the sword inside. As I suspected, they were a little too short so I had to lengthen them so that they would fit.

Once I got the lengths right, I cut them out of leather.
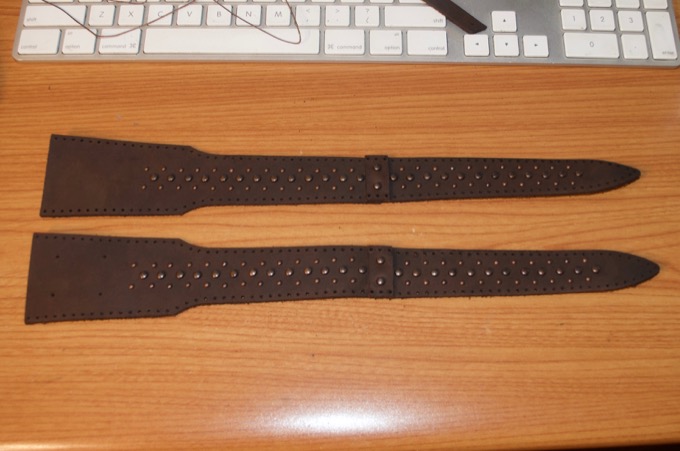
That looks awesome!
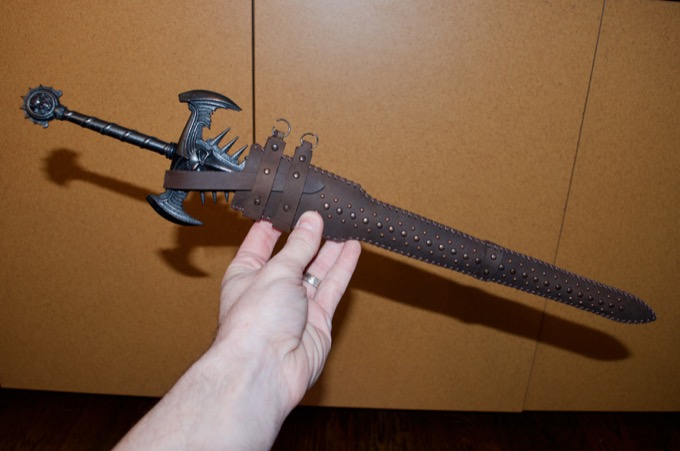
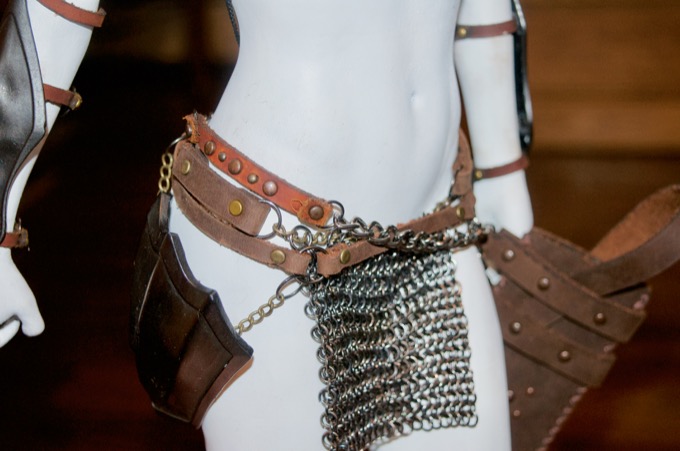
I then made a new belt for it. There is a leather strap that sits on the hip and then a thick heavy chain that's connected to the straps of the scabbard.
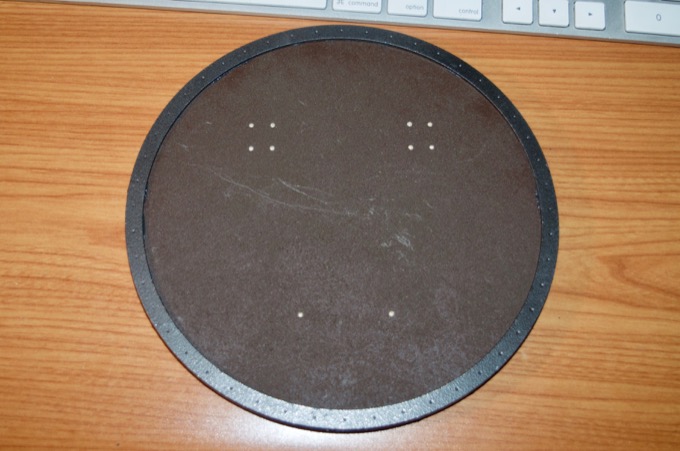
The last thing to do was to make the straps for the shield. I cut out some paper templates to help get the lengths right and aid with placement when I glue them.
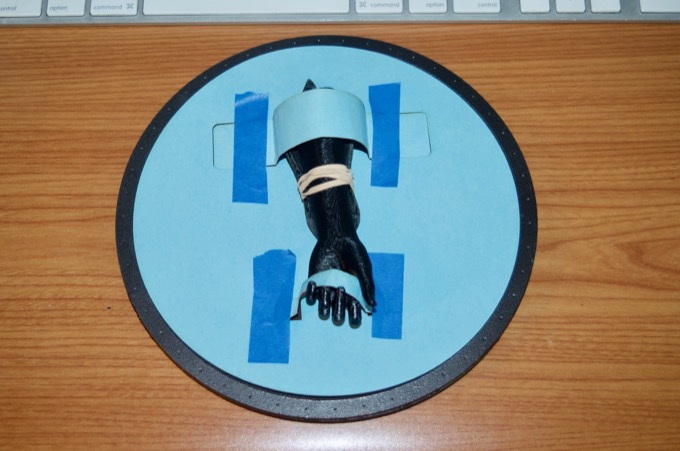
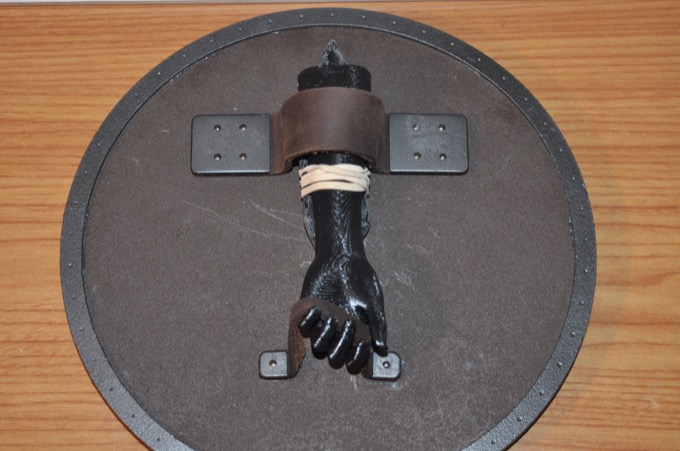
I printed another arm and bracer to use as a jig so I wouldn't have to use the actual model. I need to lay the shield flat to do this.
Once I had the lengths right, I cut them out of leather. I also printed the plates in resin and gave them the graphite treatment.
I used one of my templates to drill some holes for the nails. They are a nice little added detail and they will also help with the glue.
Adding the nails along with the epoxy made a really strong connection.
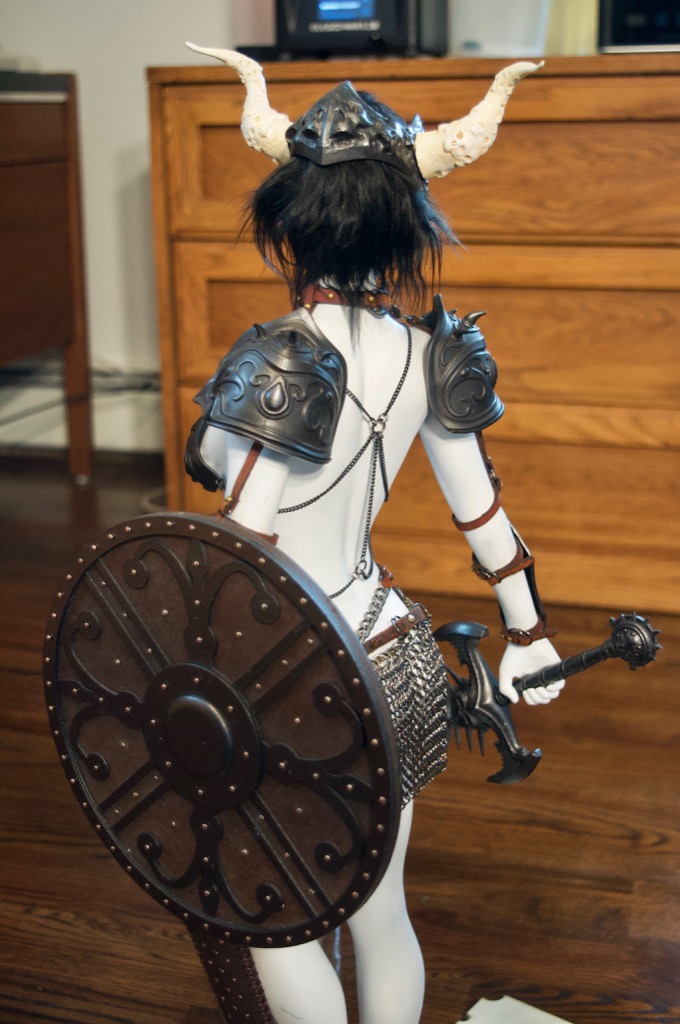
That's it! All the clothing and armor are complete. I just need to paint it and finish the base.

 See this project from start to finish:
23" 3D Printed Victoria 8 Figurine - Part I 23" 3D Printed Victoria 8 Figurine - Part II 23" 3D Printed Victoria 8 Figurine - Part III 23" 3D Printed Victoria 8 Figurine - Part IV 23" 3D Printed Victoria 8 Figurine - Part V 23" 3D Printed Victoria 8 Figurine - Part VI 23" 3D Printed Victoria 8 Figurine - Part VII 23" 3D Printed Victoria 8 Figurine - Part VIII
23" 3D Printed Victoria 8 Figurine - Part IX 23" 3D Printed Victoria 8 Figurine - Part X
