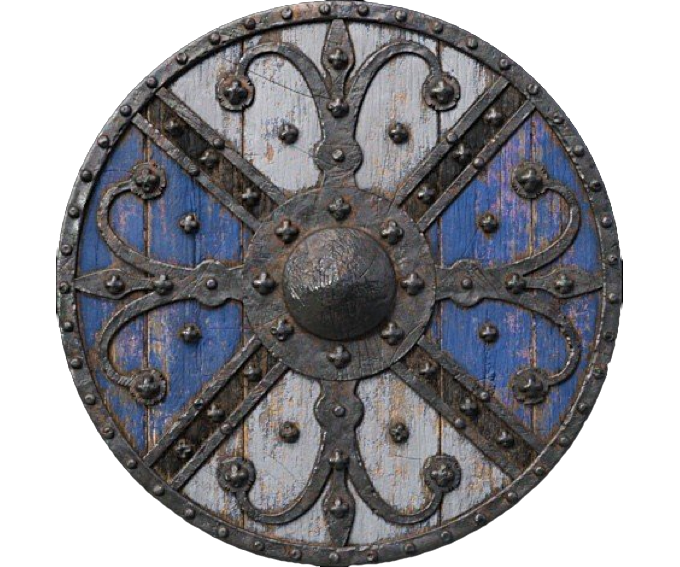
I found this really sweet looking shield
on DAZ Studio's site. I am going to do my best to try and replicate the look.
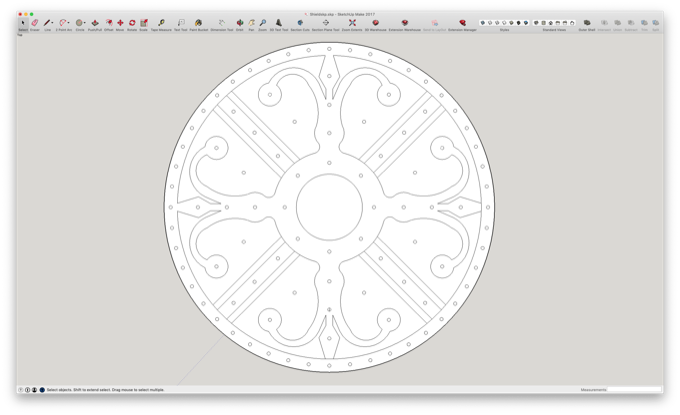
I created the basic design in SketchUp.
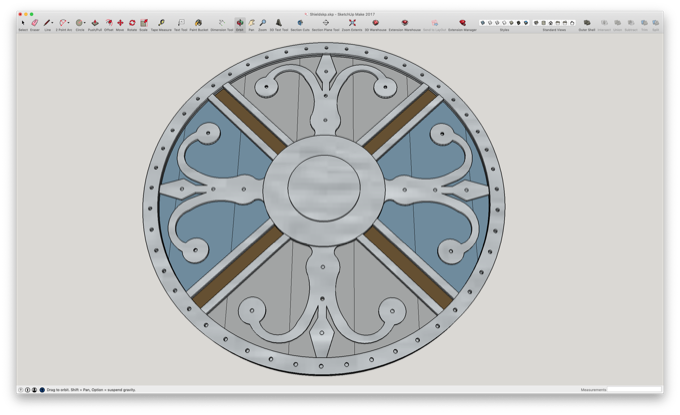
I then created the entire 3D model and then exported the individual layers as SVGs do that that I could them finalize in Inkscape.
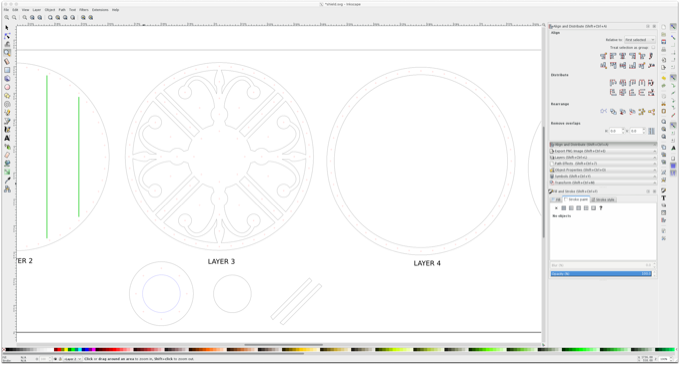
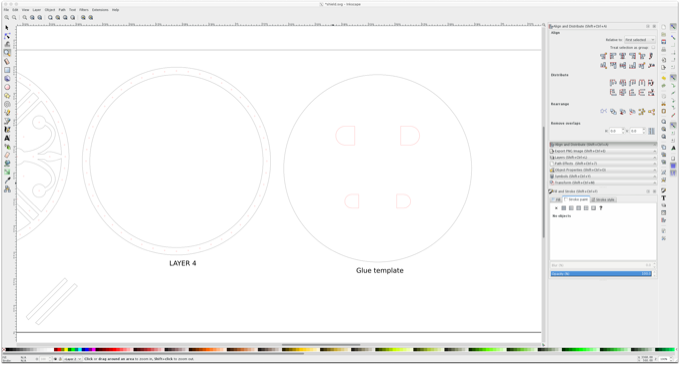
I did a little more cleanup work in Inkscape.
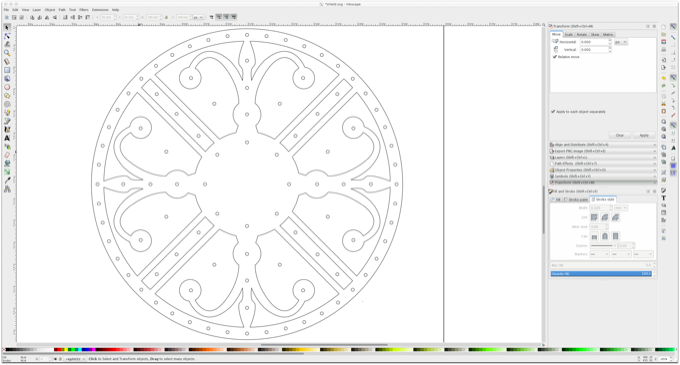
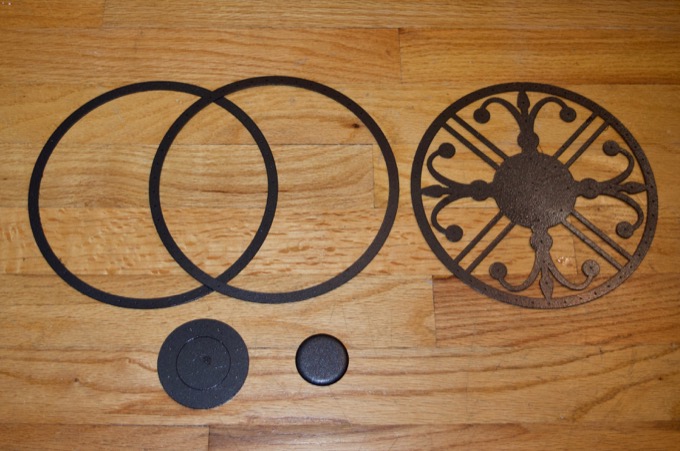
I then created all the individual layers and set the colors for the engraves and cut order.

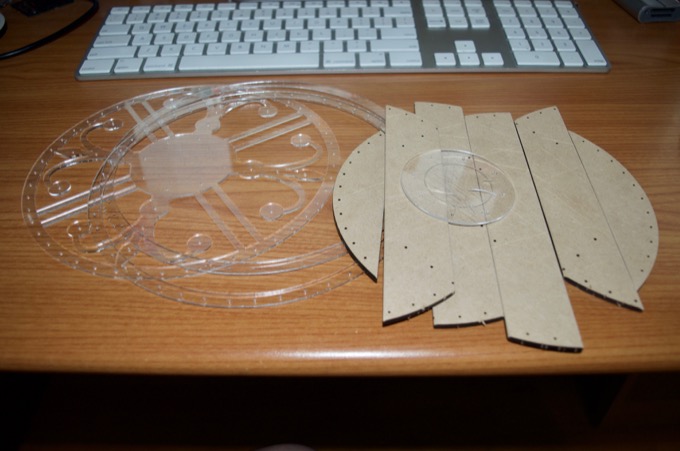
I then cut the pieces out of 1/16" clear acrylic.
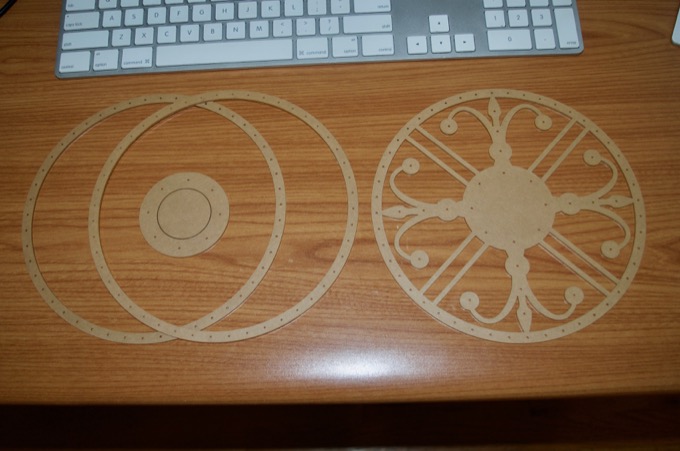
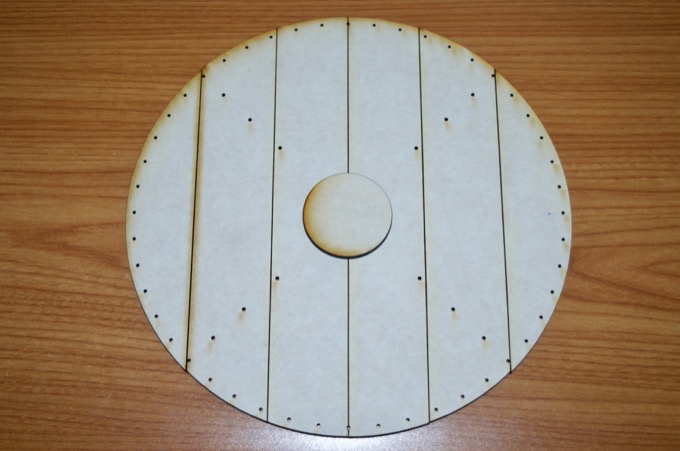
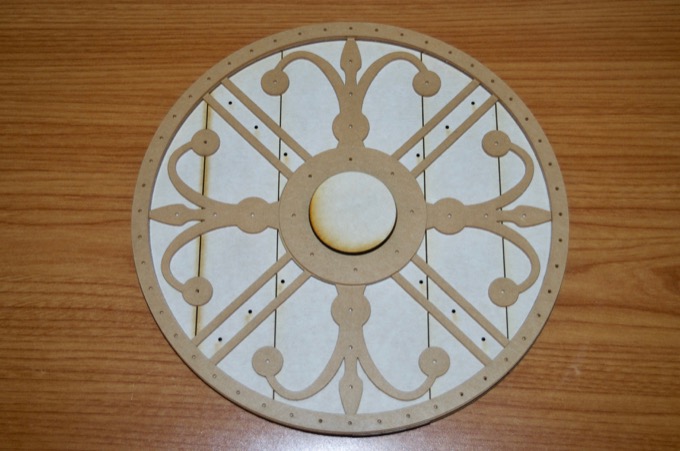
The wooden pieces were cut out of 1/8" Draftboard.
That's going to look pretty sweet.
I then took a blade and scored up the pieces to add some battle damage. You can't really tell in the picture, but I scratched them up pretty good.
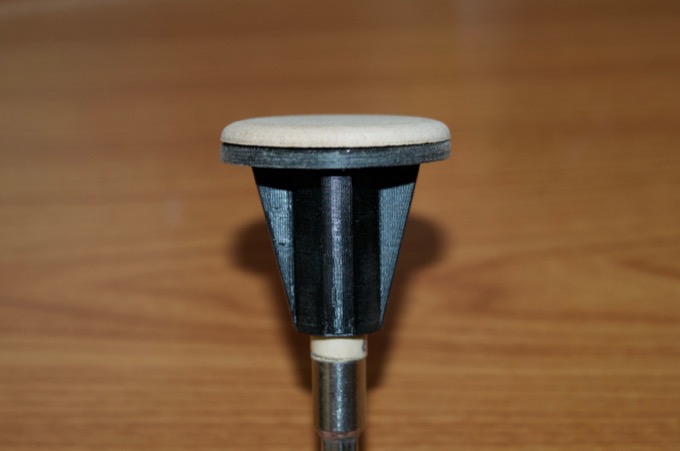
The round piece that gets glued in the center needs to have a nice beveled edge to it. In order to sand the edge perfectly, I designed this little widget that I can attach to my drill with a screwdriver bit holder
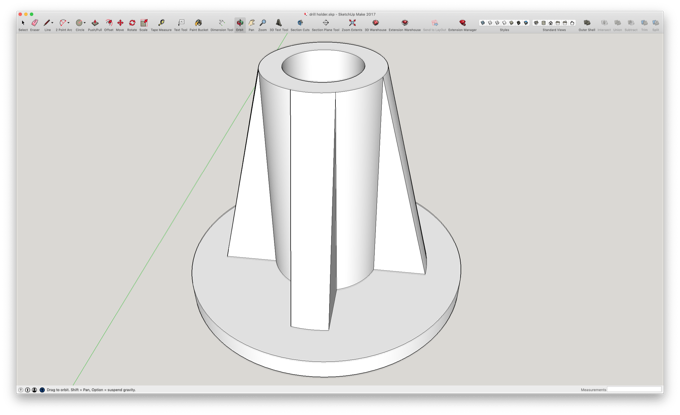
I then hot glued the wooden piece to it.
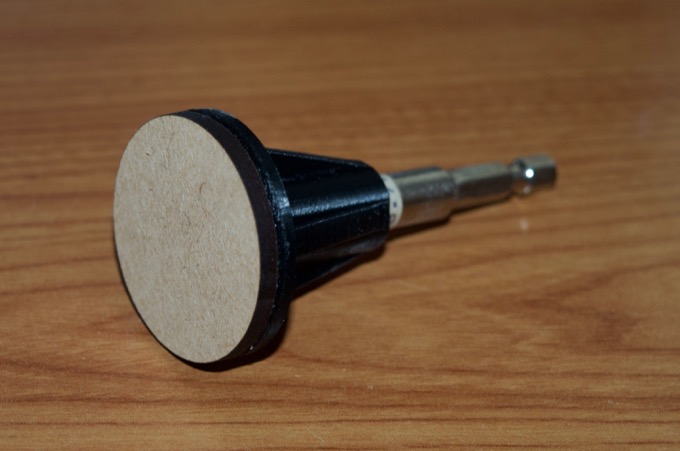
I then stuck it in my drill and spun it against some sandpaper. That worked perfectly.
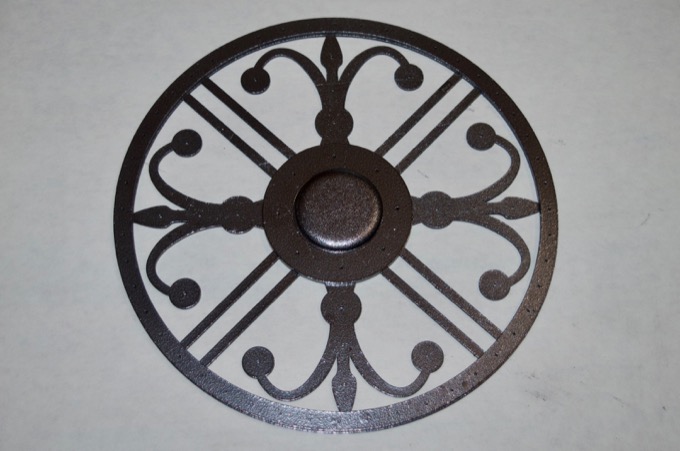
I then gave all the parts a few coats of primer, followed by some gloss black, and then buffed on some graphite. I then sealed everything with a clear coat.
That looks awesome.
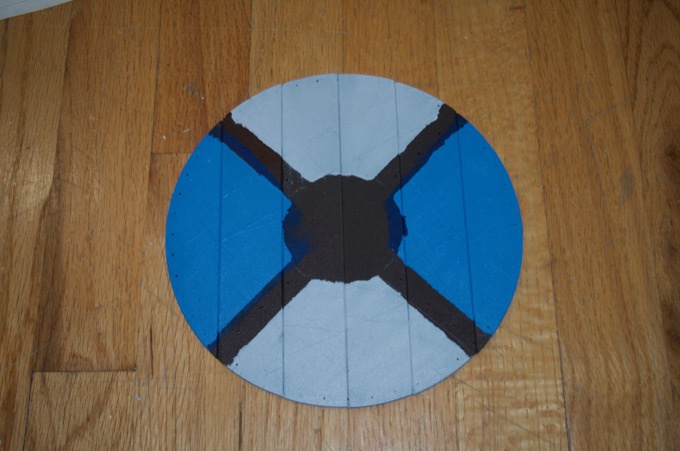
Next, I painted the wood pieces.
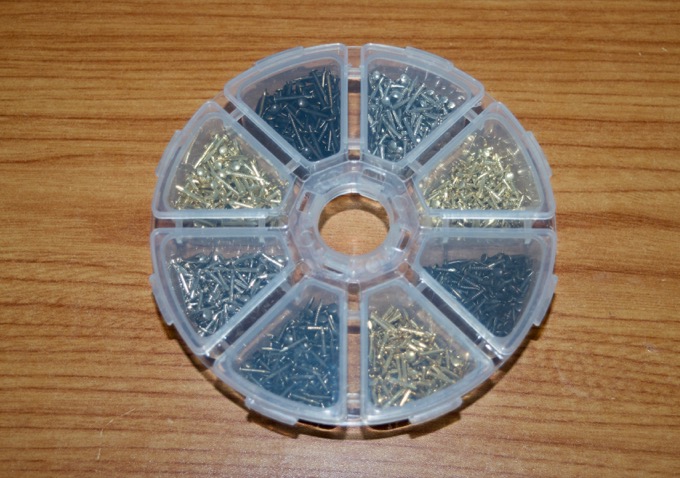
I picked up these tiny intel metal nails. They will go in all the holes and hold everything together.
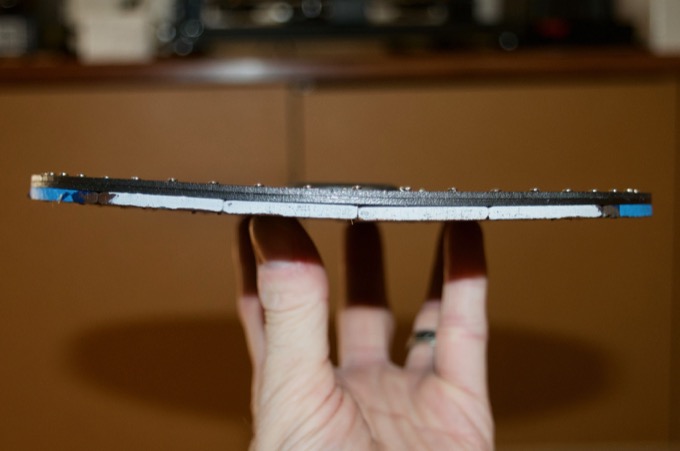
It came out OK, but I am not happy with it. I should have better trimmed the nails so that they do not poke through the back. The back looks horrible. Unfortunately, that's the side you'll see once its mounted on the figurine.
In addition, there is some warping to it for some reason. It looks horrible, I think I'll remake the whole thing but use one piece for the wooden back instead of six individual planks.
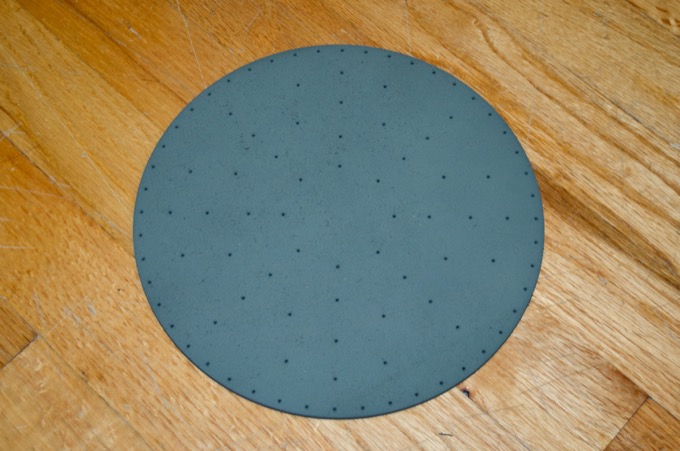
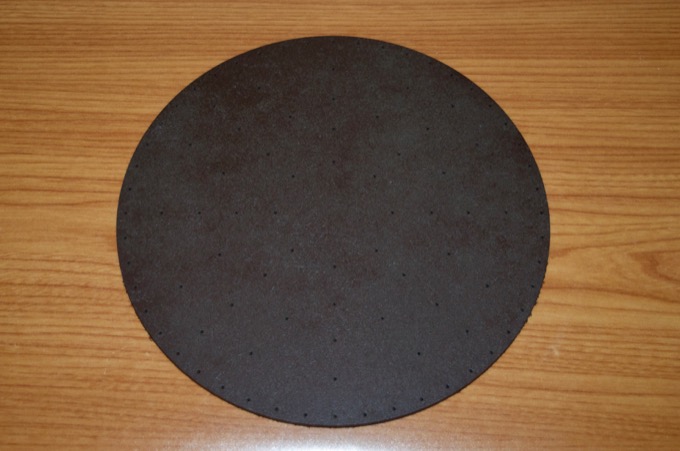
I decided to engrave the holes half way through so that there would not be any holes on the back.

I then gave it a coat of self-etching primer. I did not sand it so that the finish would remain rather rough looking. I like the texture.
I then spray-painted it brown.
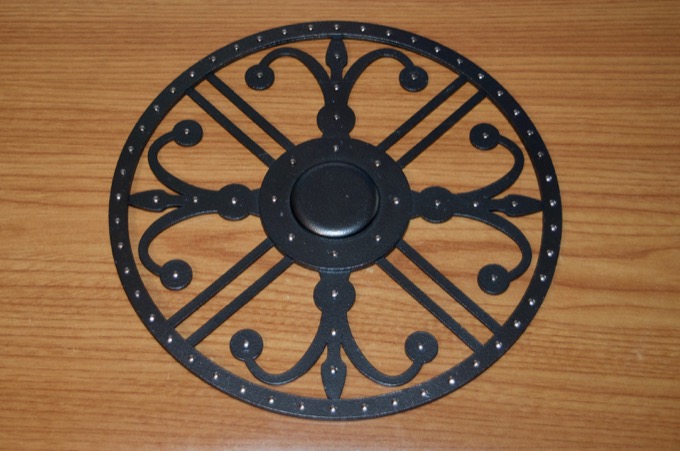
I joined two plastic pieces together by inserting all the nails. I then snipped them off at the back so that they were flush. Any pointy bits that may be sticking out will go into the holes that I engraved into the wood.
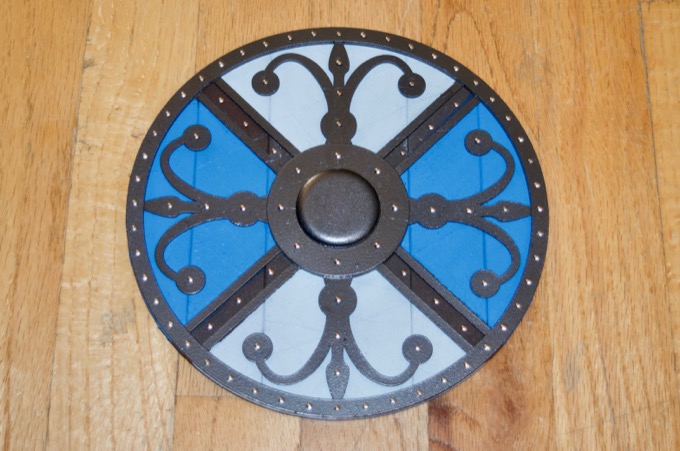
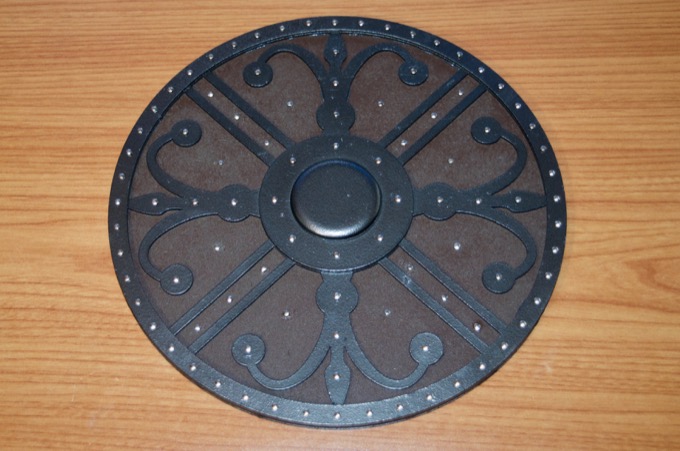
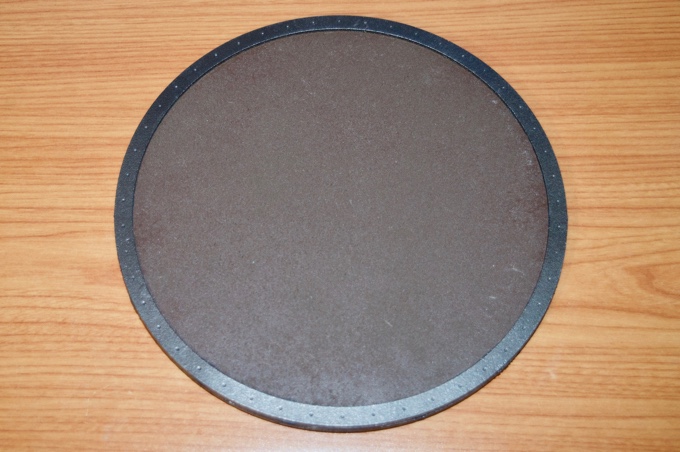
I then epoxied all the pieces together and clammed it until it was dry. It came out awesome, and so much better than the first attempt.
I still need to make the handle, but I'll work on that later. I haven't quite decided how I want to do it yet.
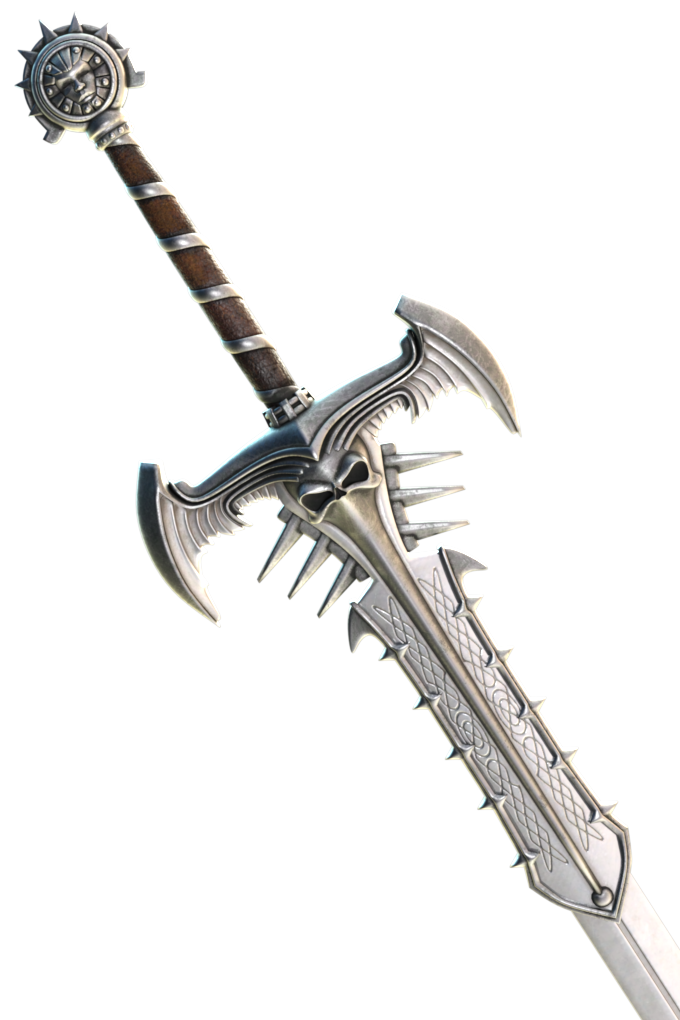
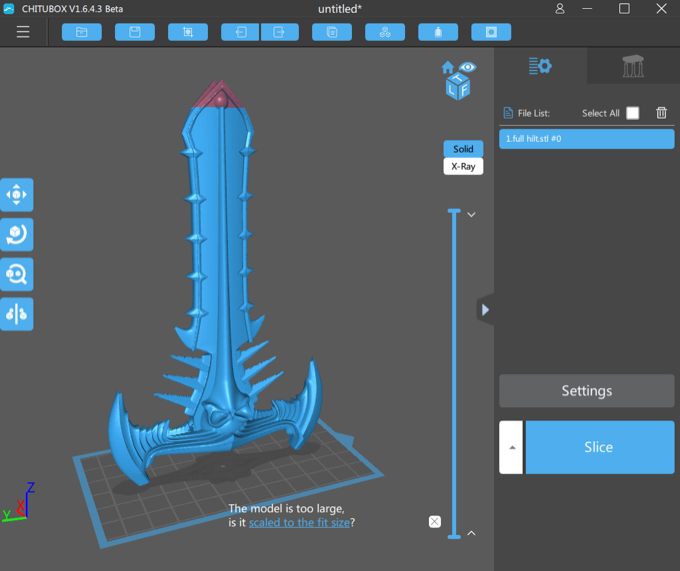
The next weapon to make is the sword. This is going to be really hard to print.
I took the model into Meshmixer and made the individual pieces solid so that I could do a boolean with a rod to run a hole through the whole model.
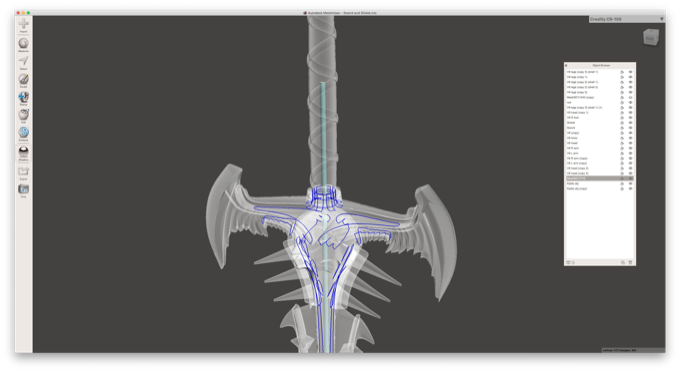
Having a hole through the whole thing will make it easier for me to glue it together. I can use a metal rod from a hanger.
Once it's glued together, I will not be able to slide the sword into the figurine's hand because the pommel will be in the way. To get around that, I will put some magnets in the handle and the pommel so that they will just snap together.
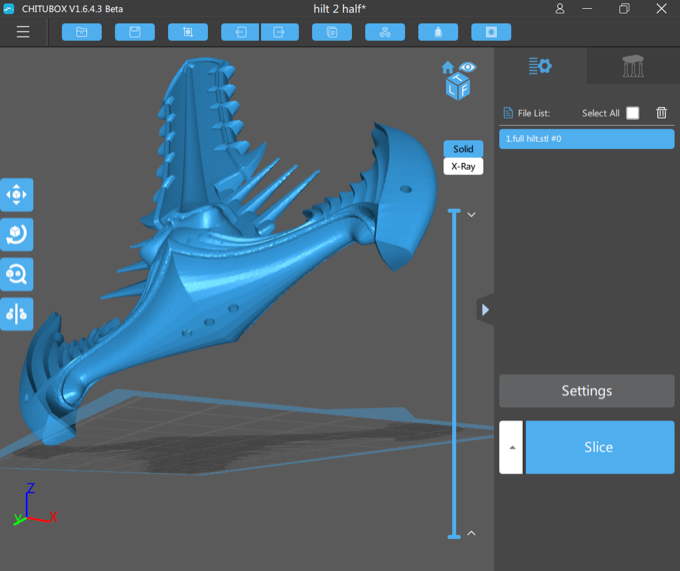
I then cut the model up and arranged it on the bed to add the supports where they're needed.
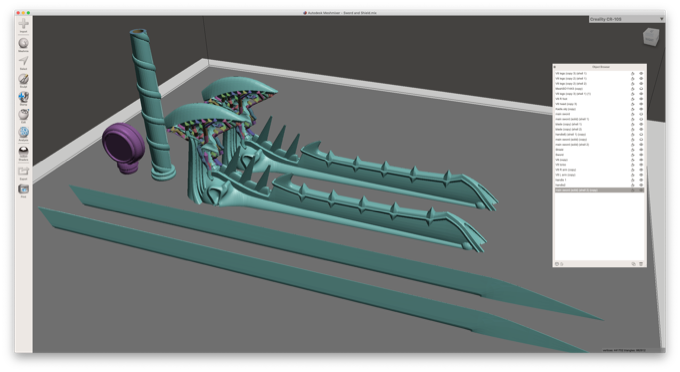
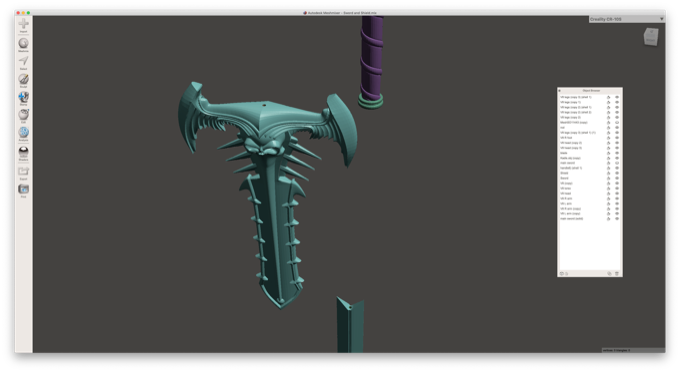
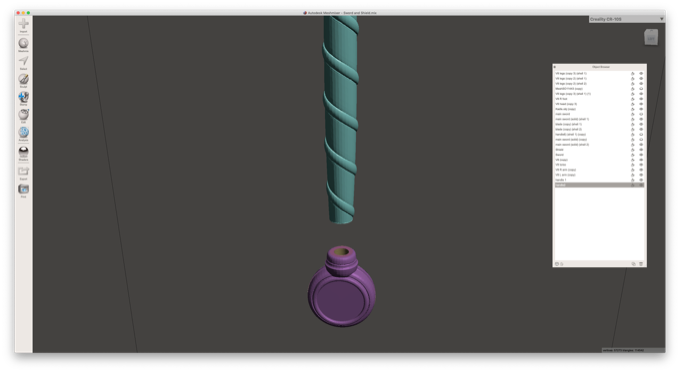
I stripped away a lot of the detail from the pommel because I didn't think that it was going to come out very well on the print. I don't think I fully realized just how big this sword is going to be. Judging by the handle, it's going to be huge. The print might have been fine with the details left in.
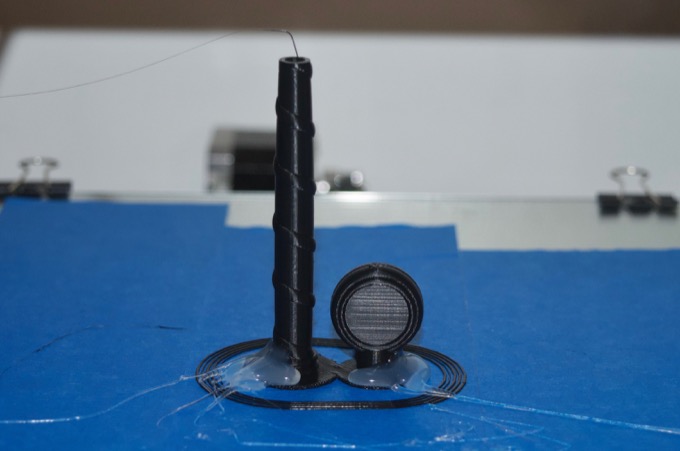
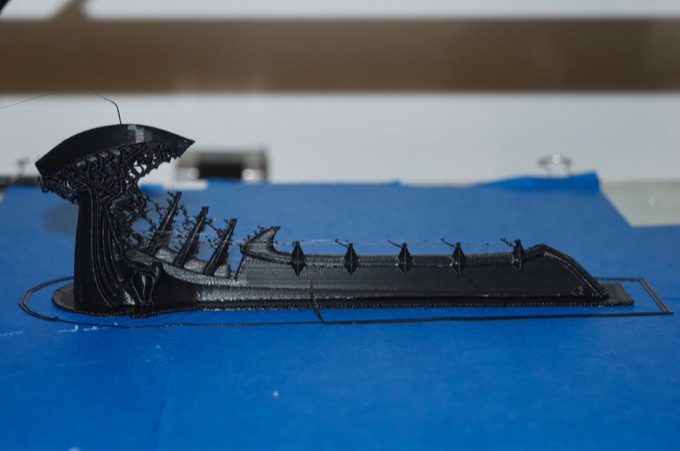
It took 15 and a half hours to print both halves. They both had a lot of stringing on them for some reason, but it should come off easily enough.
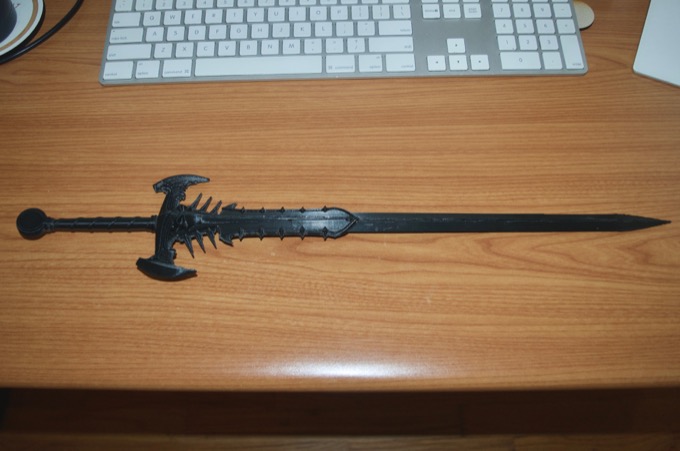
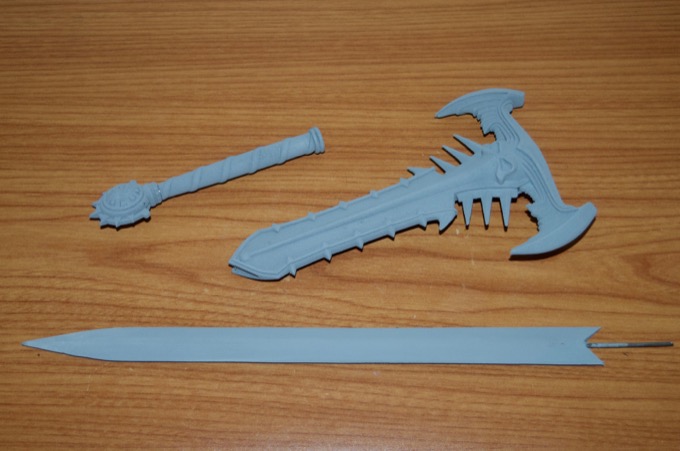
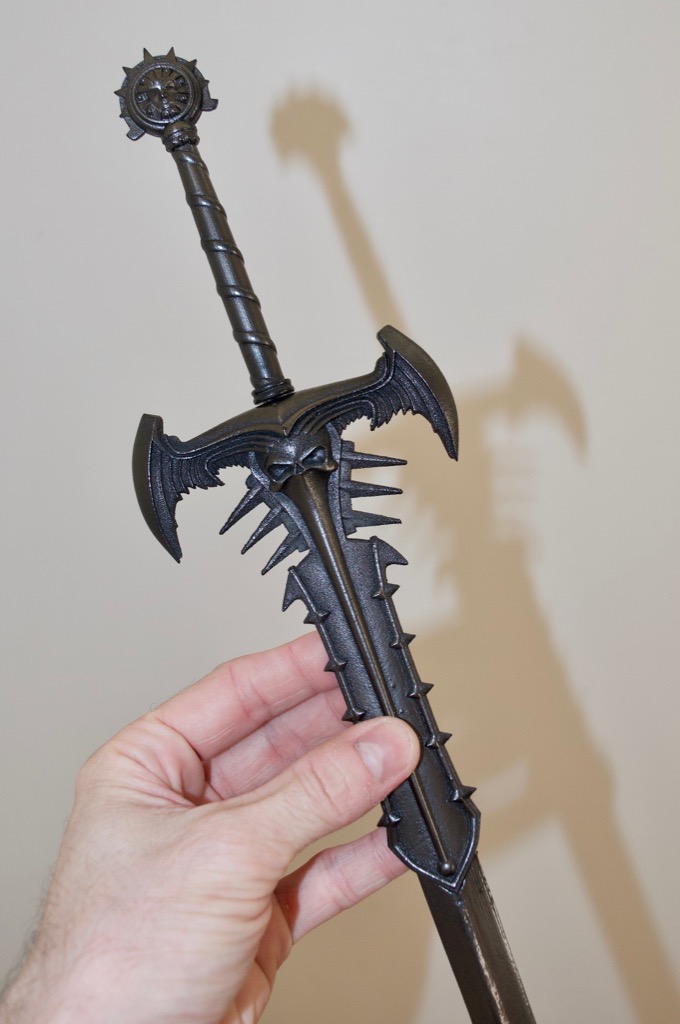
Altogether, it took about 20 hours to print the sword. After it was all printed, I slid a length of wire hanger through the whole thing to hold it together. It is pretty big. It measures just shy of 20".
I showed a picture to my friend and he said the sword looked pretty extreme and would most likely look way better printed on his resin primer. I couldn't pass up the opportunity to see it printed in resin.
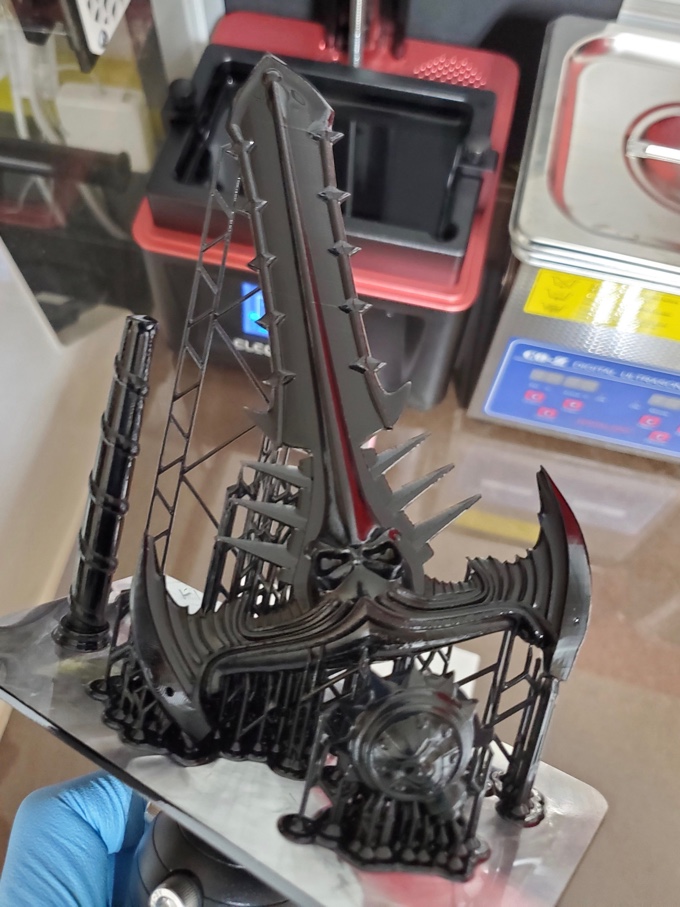
He tried to print it vertically but it's a little bigger than the height allowed by the Elegoo Mars.
He had to print it at an angle and add a ton of supports.
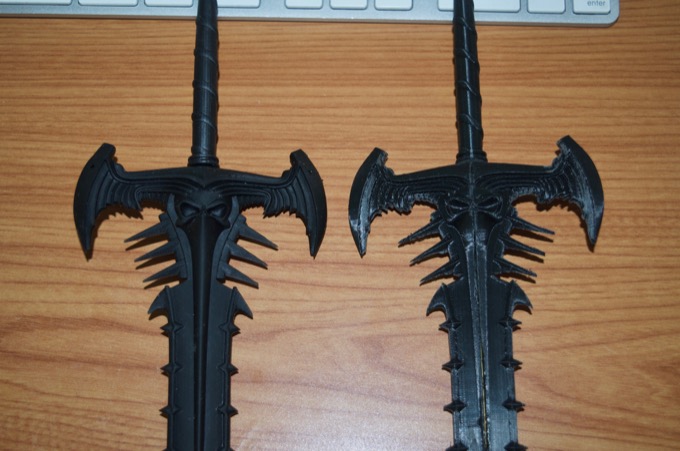
Wow, that already looks awesome. Since he was printing it in resin I sent him the model with all the details on the pommel.
How amazing is that! I need to get a resin printer. Seeing the results first hand has totally sold me on the idea of getting one.
Just look at the difference. The quality is like night and day.
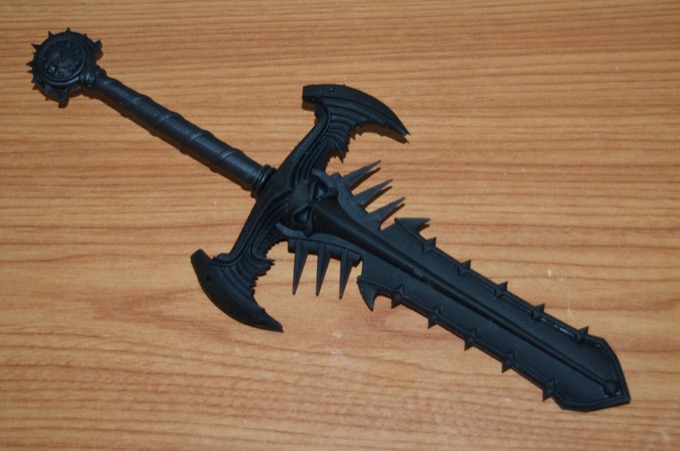
I am still going to use the blade that I printed, but it needs a lot of cleanup work. I first started by filling in the seams with some 3M Acryl-Green. I then gave it a good sanding.
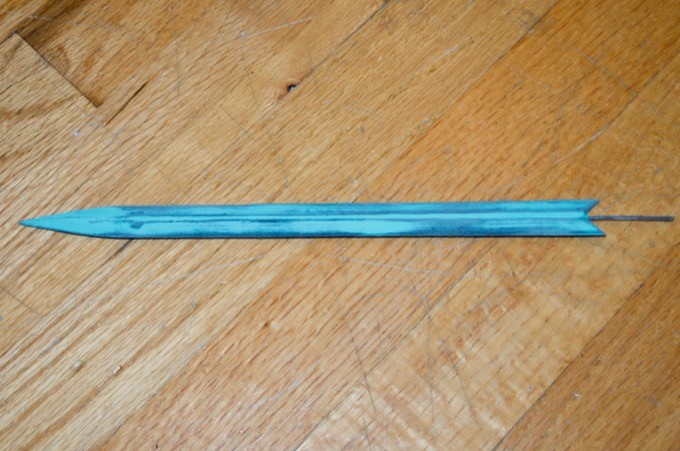
Then then gave everything a few coats of primer.
Next up was black, followed by some glossy clear coats.
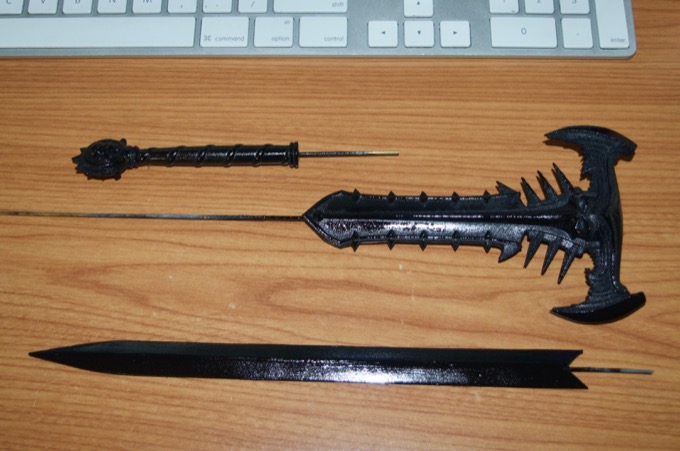
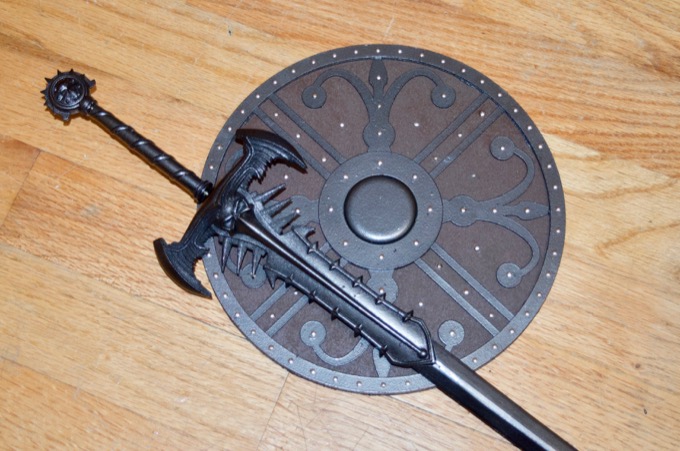
I then buffed on some graphite and gave it one final glossy clear coat. Legendary! It looks amazing. I'll probably also make a scabbard for it, but I'll do that later once I decide on what the clothes for the figurine are going to look like.
They came out awesome. I'm really pleased with how nice they came out.
Next up…armor!
See this project from start to finish:
23" 3D Printed Victoria 8 Figurine - Part I 23" 3D Printed Victoria 8 Figurine - Part II 23" 3D Printed Victoria 8 Figurine - Part III
23" 3D Printed Victoria 8 Figurine - Part IV 23" 3D Printed Victoria 8 Figurine - Part V 23" 3D Printed Victoria 8 Figurine - Part VI 23" 3D Printed Victoria 8 Figurine - Part VII 23" 3D Printed Victoria 8 Figurine - Part VIII 23" 3D Printed Victoria 8 Figurine - Part IX 23" 3D Printed Victoria 8 Figurine - Part X
