If Google brought you here looking for the MegaMini by JK Devices, check here. If not, read on....
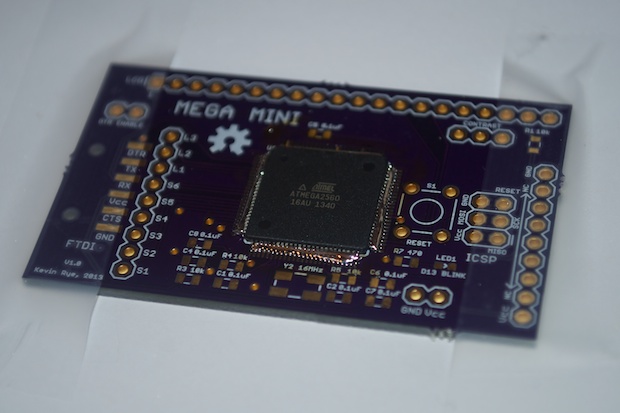
After a 2-week wait, my MEGA MINI PCBs arrived in the mail. They turned out pretty cool.
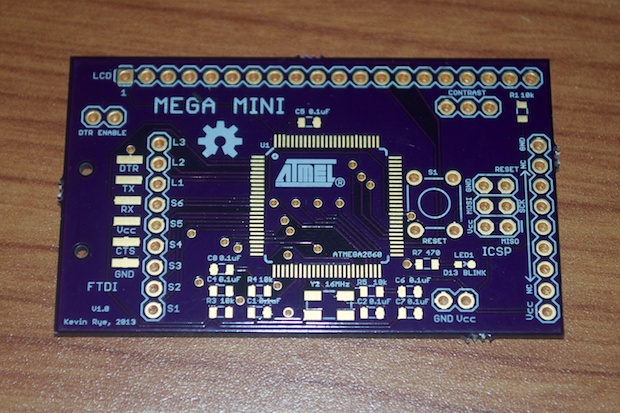
Let’s get to it!
First, I spread a healthy amount of flux on the pads for the ATmega2560.
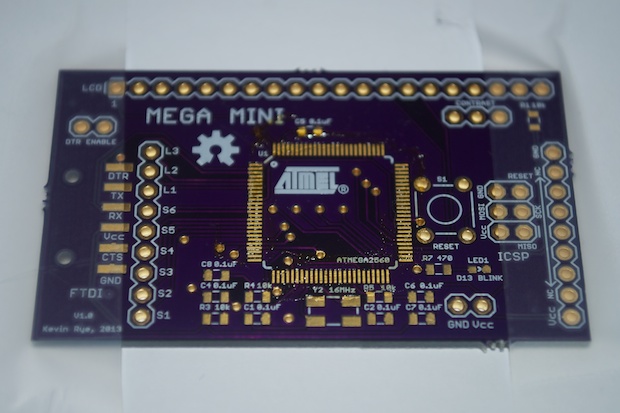
I then placed the chip on the pads.
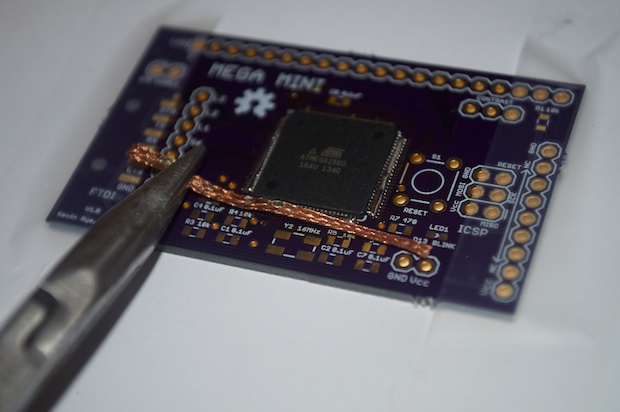
I tacked down one of the corners to hold it in place while I soldered it.
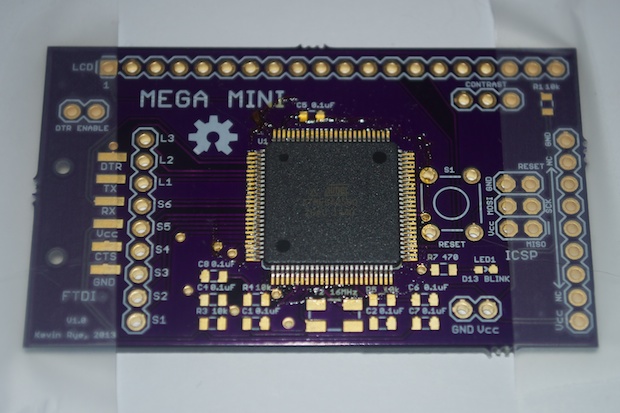
The easiest way to solder a chip with 100 pins is to run a bead of solder across all the pins. With such a fine-pitch, it’s unrealistic to think you can solder each pin individually.
Then use some solder wick to suck up the excess solder. The solder wick will only suck up what’s between the pins. The flux will help the solder flow to the pins.
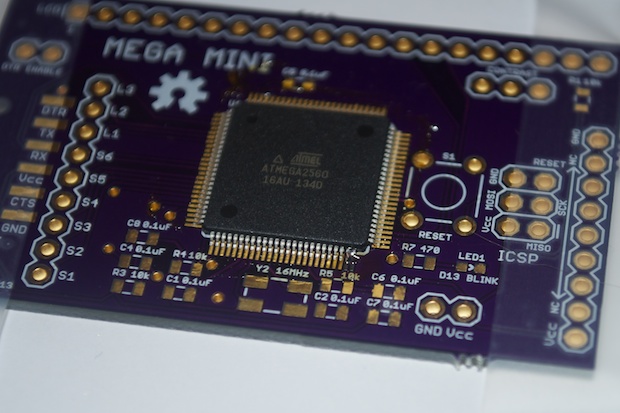
When you’re done, you’ll have 100 nicely-soldered pins.
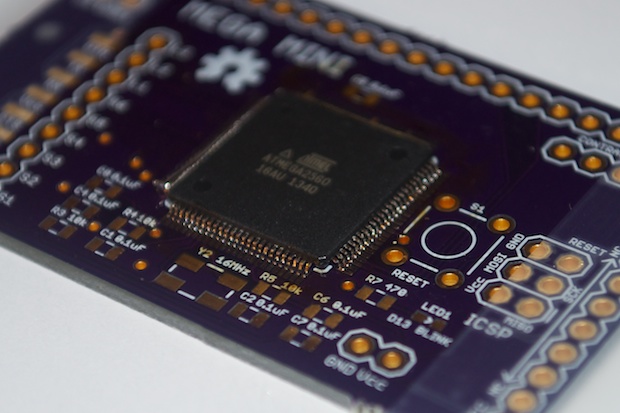
With the tricky part out of the way, I went ahead with the rest of the assembly. I didn’t bother soldering the rest of the headers for the Mini Button Breakout or the LCD. I wanted to make sure it actually worked before I wasted them.

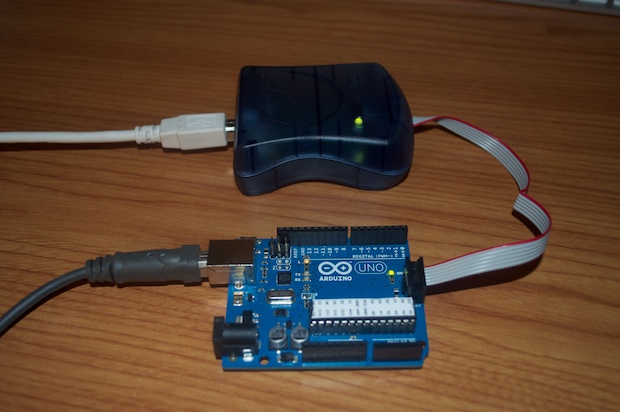
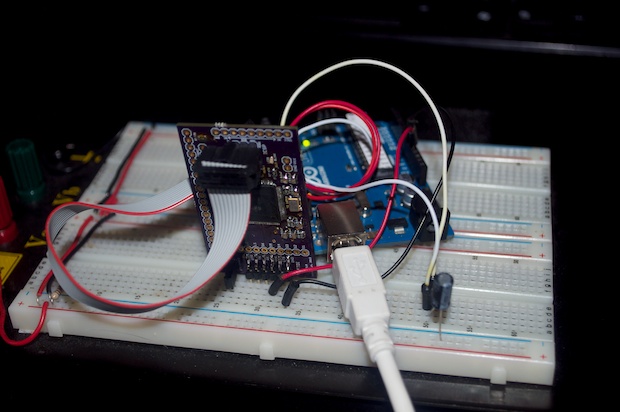
I then hooked up my FTDI adapter to power the board along with my AVRISP mkII programmer.
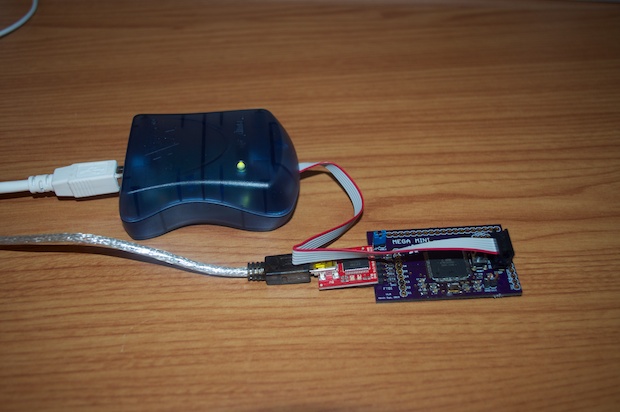
I installed Atmel Studio 6 on my computer and fired it up to write the bootloader.
I pressed “Read” and was thrilled to see that Atmel Studio could read the chip. It’s alive!

Being my first time using Atmel Studio, I wasn’t sure where to find the bootloader hex file. I also wasn’t sure what the fuse settings should be. It was time to feed the kids lunch, so I figured I’d disconnect everything for now, do a little more research, and go back to it later.
After lunch, I figured out what bootloader to use. (It’s actually in the Arduino/hardware folder.) I also figured out what the fuse settings should be.
I reconnected everything to the computer and jumped back into Atmel Studio. However, this time I can’t seem to enter programming mode. I just get an error.
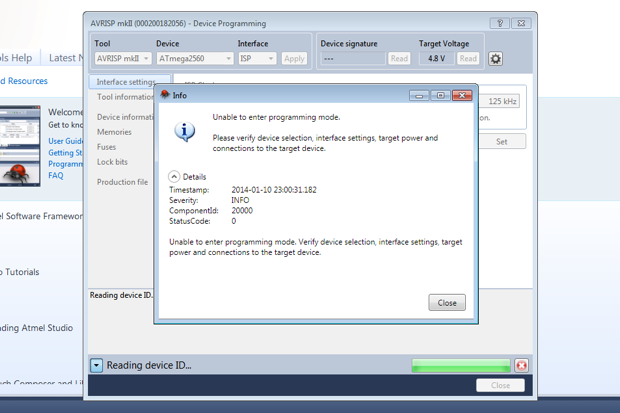
I tried everything. I restarted the computer. Nothing. I keep getting the same error. I then attempted to bootload my Arduino Uno as a test. Atmel Studio connected to it, reads it, and was able to program it without any problems. I even tried it with my Arduino Mega, and Atmel Studio can talk to it without a problem.
That means it’s not the computer. Something must have happened to my MEGA MINI board. I can’t imagine what. I even assembled another MEGA MINI using my 2nd ATmega2560 chip. Still nothing. Both of them can’t be put into programming mode. If they both didn’t work, I’d say that there was a problem with my design, but I was able to read one on the PC. What changed?
I tried Atmel Studio, the Arduino IDE, on both my PC and Mac. Still nothing. I can write the bootloader to my Arduino Uno as well as my Arduino Mega. That rules out the computer and programmer as the root of the problem. The second MEGA MINI just doesn’t work at all.
I even configured my Arduino Uno as an ISP and tried that. Still nothing. I just get a bunch of errors.
Despite not being able to be read and put into programming mode, the chips seem to be working. The crystal seems to be good. I grabbed my logic probe and pocked around. Everything seems to be in order. I just can’t seem to figure out what happened.
I think I’ll take a break from this for a day or so and come back to it with a clear head. I just hope I didn’t kill $36 bucks worth of ATmegas.
See this project from start to finish: The MEGA MINI v1.0 MEGA MINI Assembly, Part I
MEGA MINI Assembly, Part II 
