A friend of mine at work cut the cord on his cable TV. Needless to say, the cable box had to be returned. Unfortunately, he relies on that little clock under the TV all the time. Several times throughout the day (and night) he finds himself looking over there for the time, and thinking, "dammit!".
He needs a new clock, but he has very specific demands. It has to be small enough to fit under his TV in the spot that was previously occupied by the cable box. It has to be a 7-segment display. Finally, it has to be green.
He really likes the look of my
Barebones Temperature Monitor.
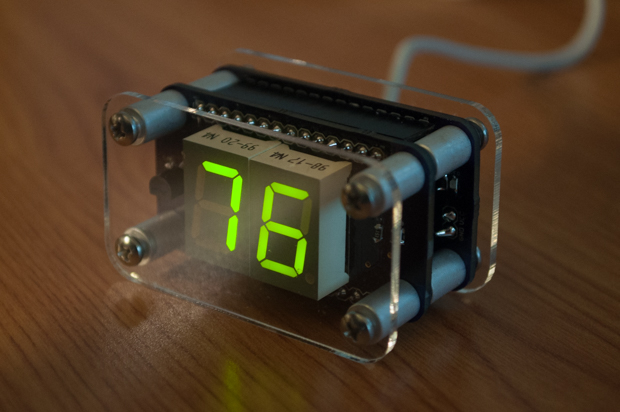
He wanted me to make him something that looked like that. I showed him my
Mini 7-segment Clock V2 thinking that it would be more than adequate, but he thought it had too much stuff on the front. He really wants it to look like the temperature monitor. He asked if it was possible to basically take the Mini 7-segment Clock V2 and cut it in half.
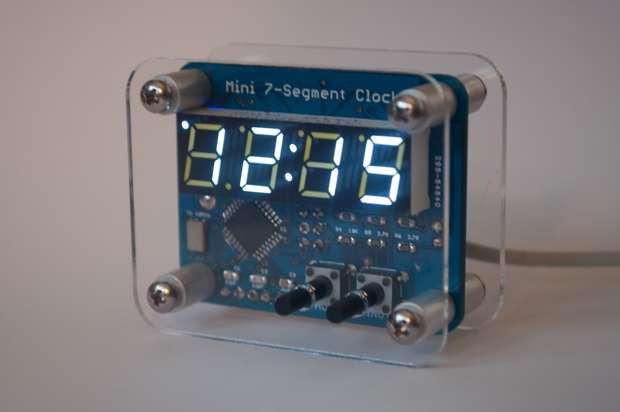
Would it be possible to cut the clock in half and put all the guts at the back, and mount the display on the front like a shield? It sounded like a really good idea as well a good challenge. I went for it.
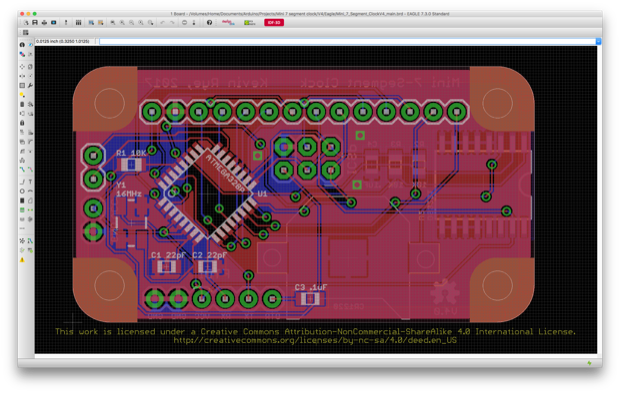
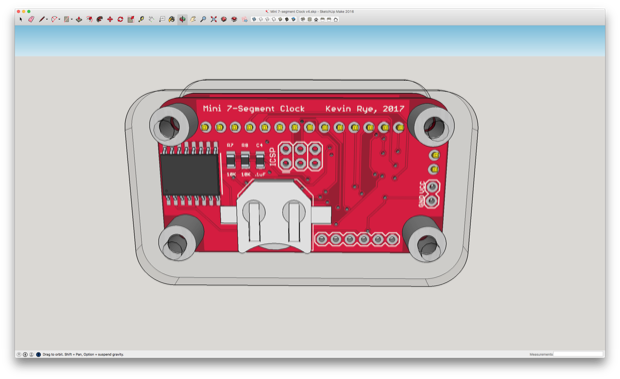
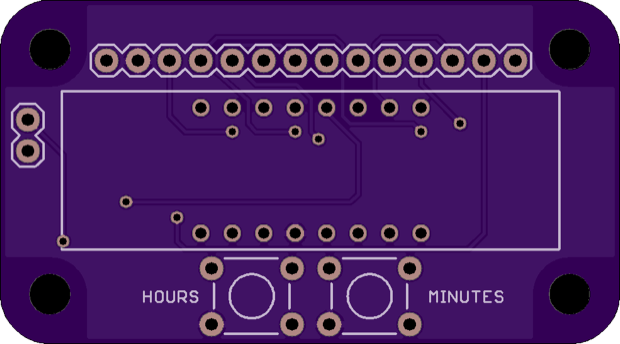
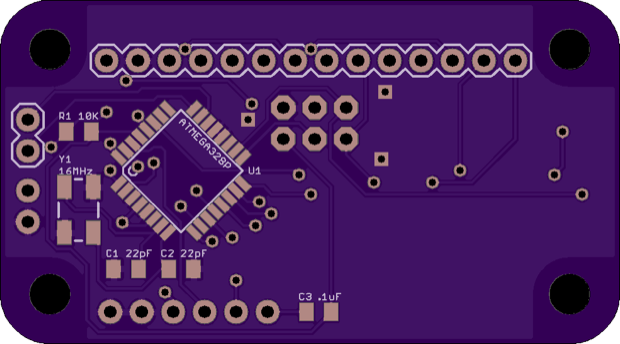
I jumped into EAGLE and got to work on redoing the PCB. I thought it would be easy, but I basically had to redesign everything from the ground up. I stripped away the display and brought all the connections out to a header.
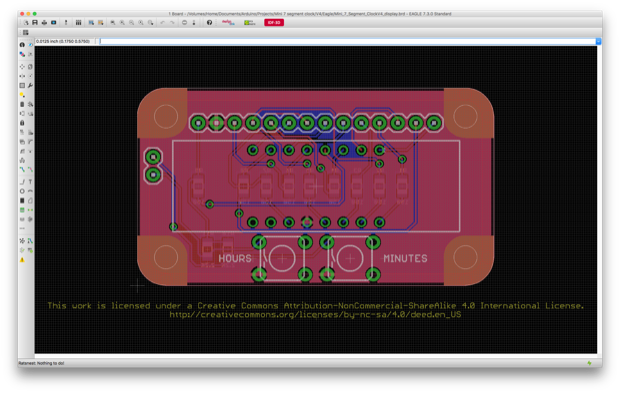
I then made the display shield for it. All that'll be on the front is the display and the two set buttons. I really wanted to put the buttons on the back, but there was no way to pull it off.
Just for a sanity check to make sure everything made sense, I mocked up a 3D model.
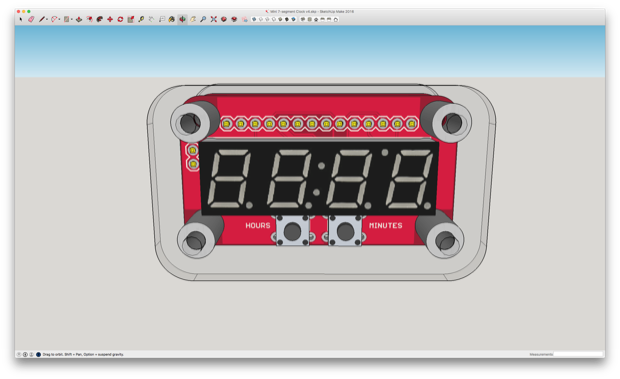
I didn't bother with the screws, but everything looks like it's going to go together nicely.
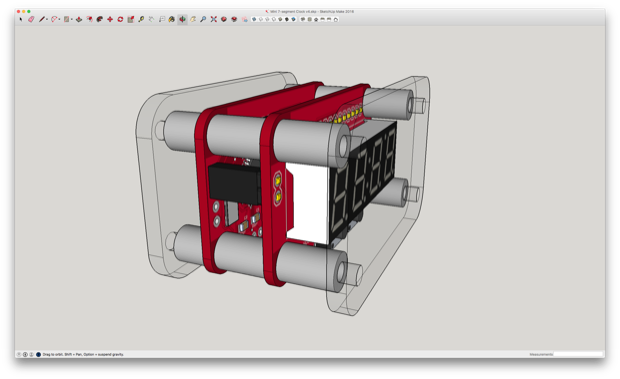
I might even be able to 3D-print my own standoffs and do away with the 1/4" and 3/8" standoffs. If I do that, I might be able to shave off a good 1/4" from the clock.
With everything looking good, I went ahead and ordered the PCBs from OSH Park.
It'll take a good two weeks for the PCBs to arrive so I got to work on the laser-cut acrylic. I used the PCB footprint in SketchUp to make the panels.
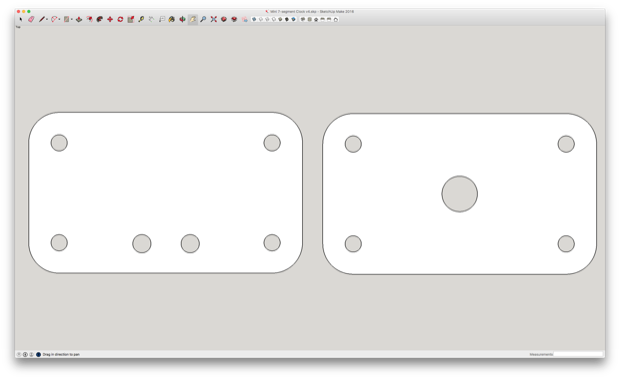
I then exported the faces as SVGs and brought them into Inkscape so I could put them on Ponoko's template.
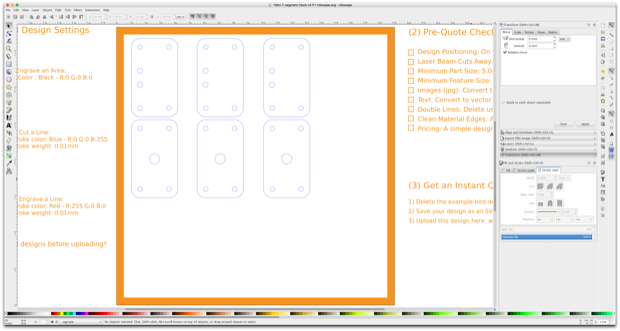
I then uploaded my file to
Ponoko and paid an extra few bucks to rush the order. If you don't throw them a few bucks to expedite things, they'll drag their feet. I've placed some orders with them that took weeks.
See this project from start to finish:
Mini 7-Segment Clock V4 - Part I
Mini 7-Segment Clock V4 - Part II
