It's been a week and I'm having a blast playing around with the
Glowforge. It's so easy to use. Although I haven't done much since it's been a busy week. It's been mostly tests and experiments. I ordered a bunch of Proofgrade materials so I don't really want to cut loose until the good stuff arrives. Anything I make out of the boring maple hardwood and draftboard is probably going to just end up in the garbage. It's OK for test cuts, but it's not exactly the kind of wood I'd make into a clock enclosure.
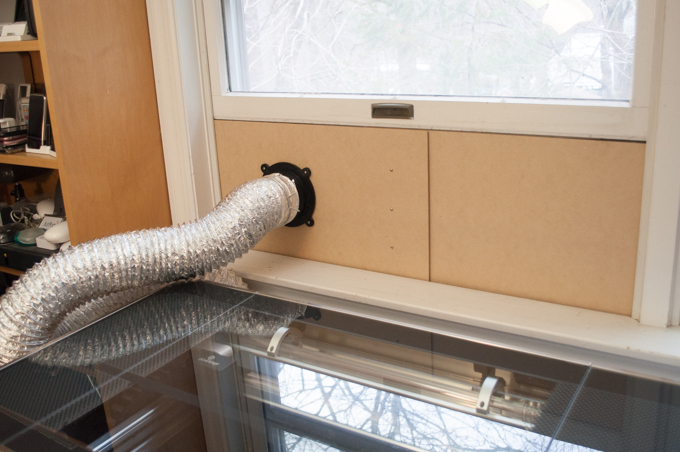
The first thing I really want to do is come up with a better solution for the exhaust hose. It's not very practical just hanging the hose out the window. That, and it's a real pain to reach up to the top of the window behind the Glowforge.
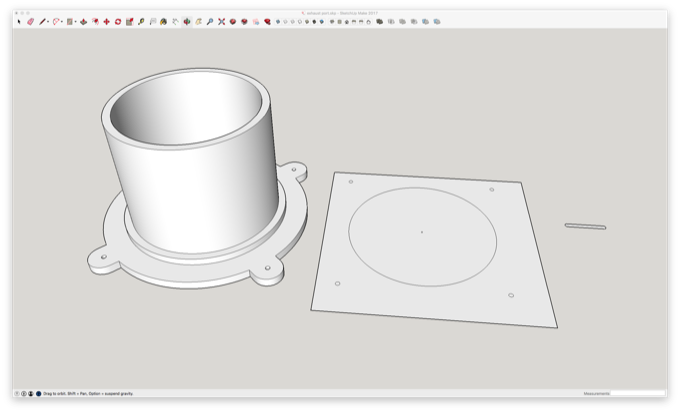
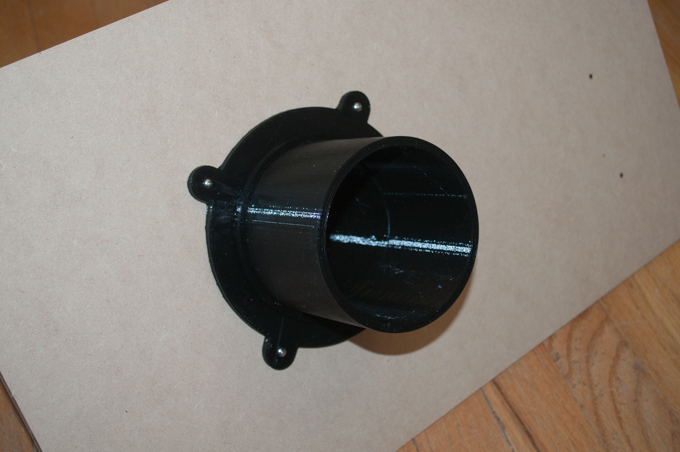
I jumped into SketchUp and put together a design for an exhaust port that I can screw to a piece of wood that can be installed in the window.
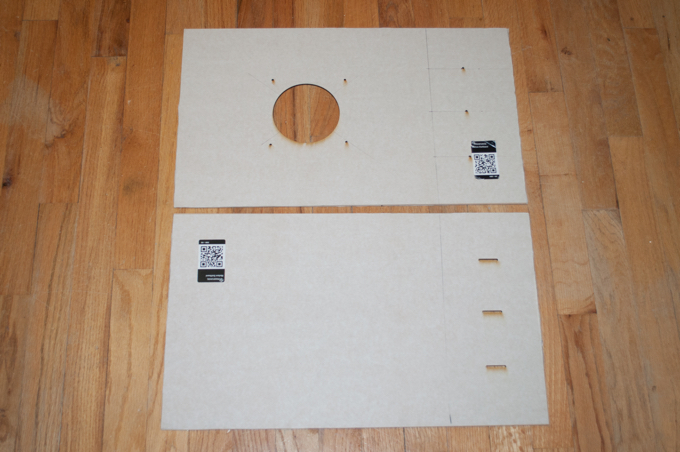
I let that print overnight since it was going to take 10 hours.
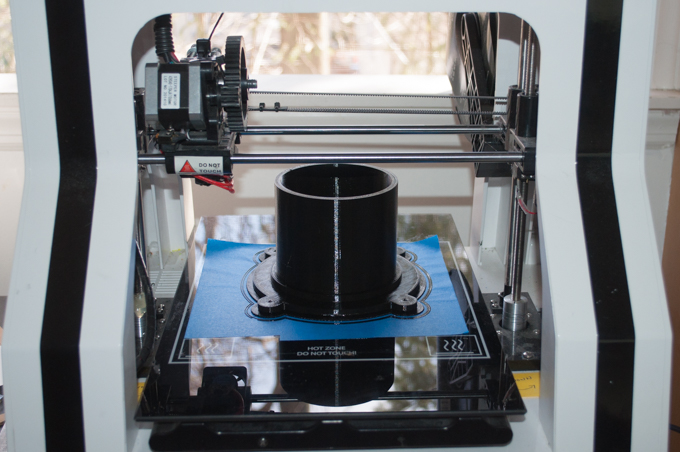
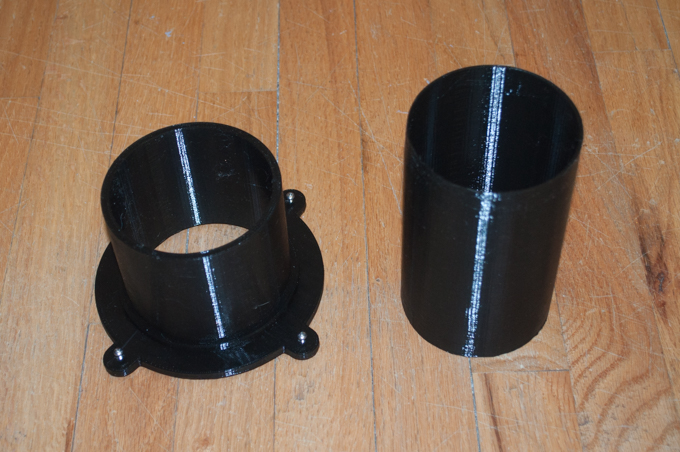
The smaller piece took 6 hours and is 6" tall.
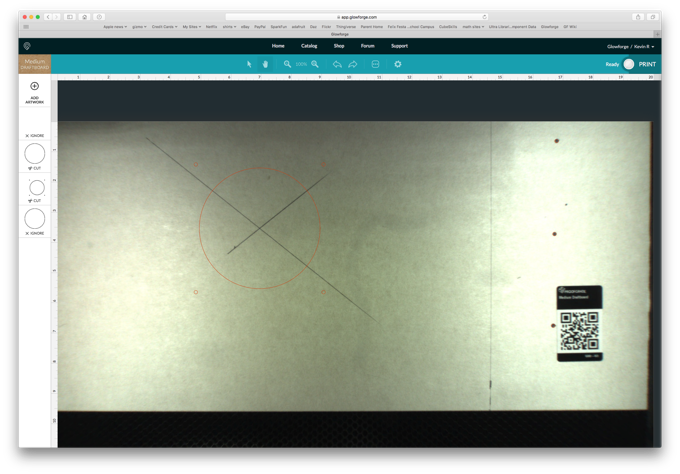
I exported the cut guide to an SVG and dragged it into the Glowforge interface. I had marked the spots on the wood where I needed the cuts to go and then positioned the files accordingly.
This literally took about a minute to do.
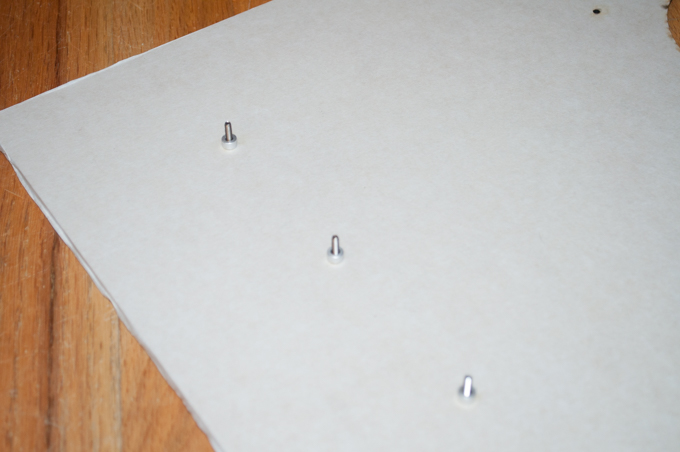
I put some screws through the holes followed by some 1/4" spacers.
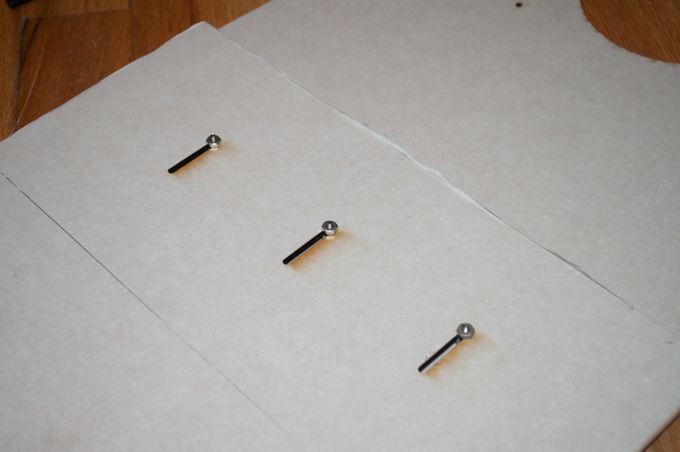
I placed the other piece of wood on top and fastened some nuts. The slits in the wood panel will allow me to slide the boards back and forth so they can fit in the window.
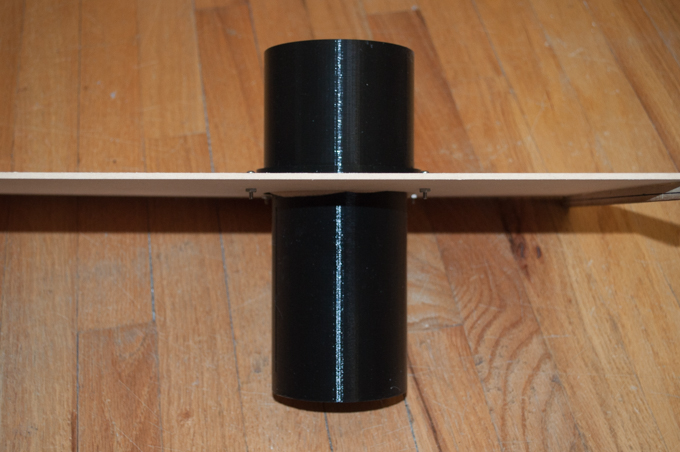
I screwed the exhaust port to the front and inserted the 6" extension into the back. I also placed a ring of foam under the exhaust port to act like a gasket.
Sweet. This thing is solid.
I cut some wood strips and glued them to the ends followed by 2" of foam along the top edge.
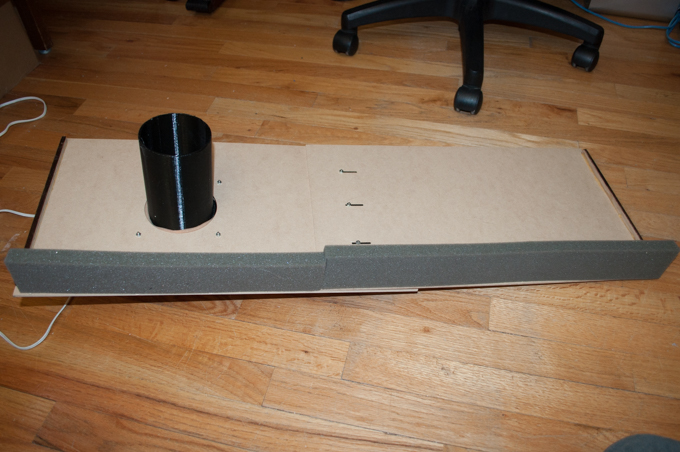
It fits into the window perfectly and extends into the molding nicely to create a nice tight seal. The foam on the top stops the draft from coming in along with any smoke. This by no means is meant to be a permanent solution. I only plan to pop it in the window when I'm cutting. I can then lay it to the side when it's not in use.