I admit it: I'm a total geek. I love electronics, programming, 3D printing, 3D art, and vintage Apple hardware. I'm always juggling half a dozen projects. I also enjoy documenting it all: my successes, my failures, my experiences... and everything geeky along the way.
First Arduino Project - LCD Display | Kevin Rye.net - Main
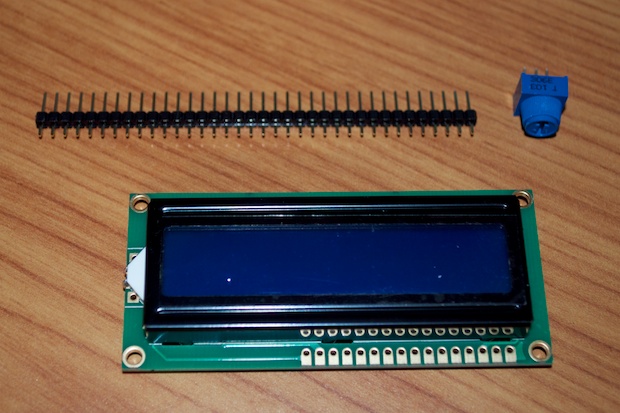
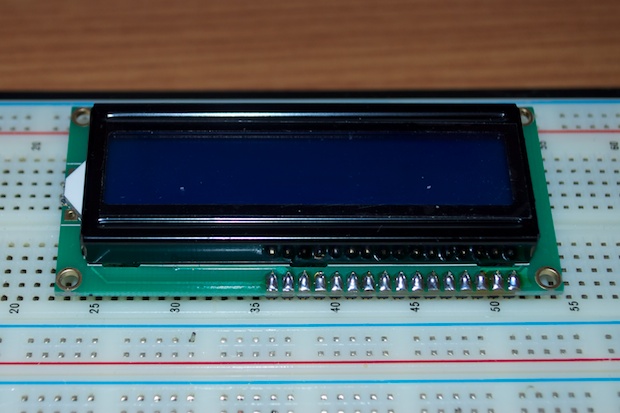
My first project is going to be a clock. So I’m going to get my feet wet with a simple LCD project using the Arduino. Along with the Arduino Uno board, I picked up a 2-line, 16 character LCD display with a blue backlight. It was only $10 bucks. This stuff is cheap!
It comes with a header so you can plug it into your breadboard as well as a pot for adjusting the backlight contrast.
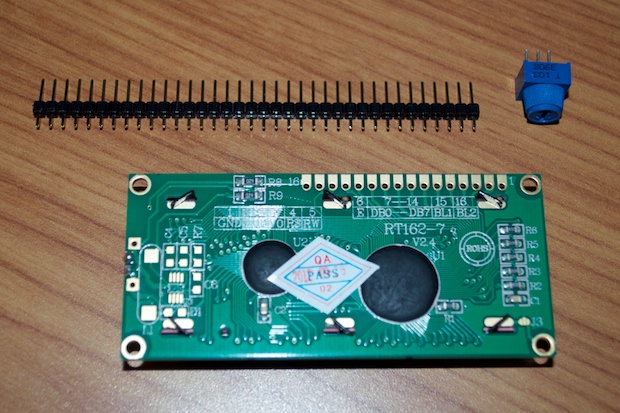
You have to solder the header onto the LCD board. It’s a little longer than it needs to be, so I just cut it down to 16 pins.
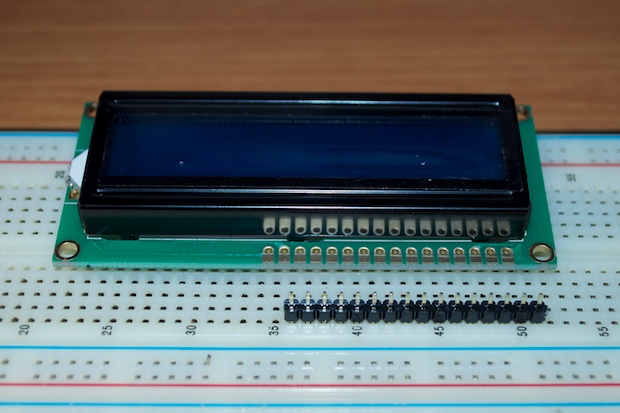
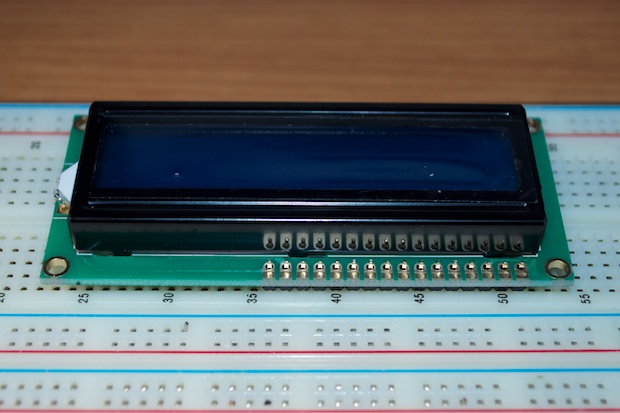
I plugged the header into the breadboard and placed the LCD on top of it. That way everything stays put while I solder it.
Boom. Easy.
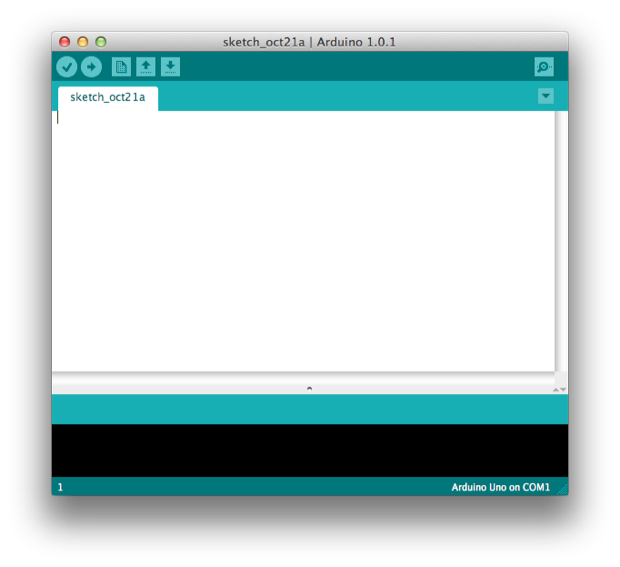
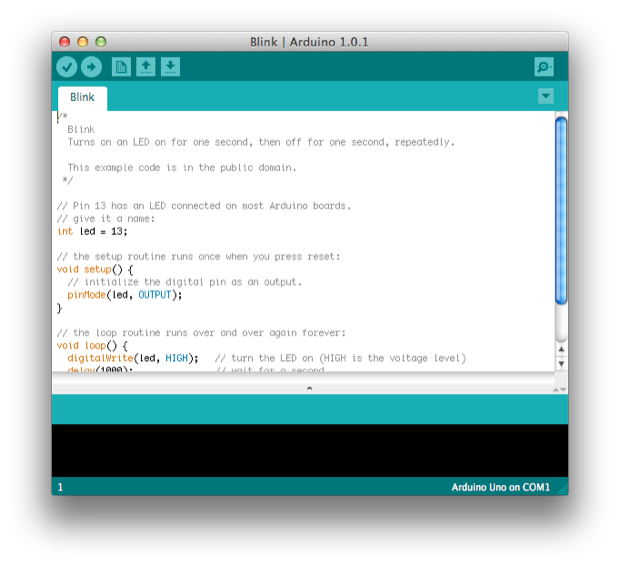
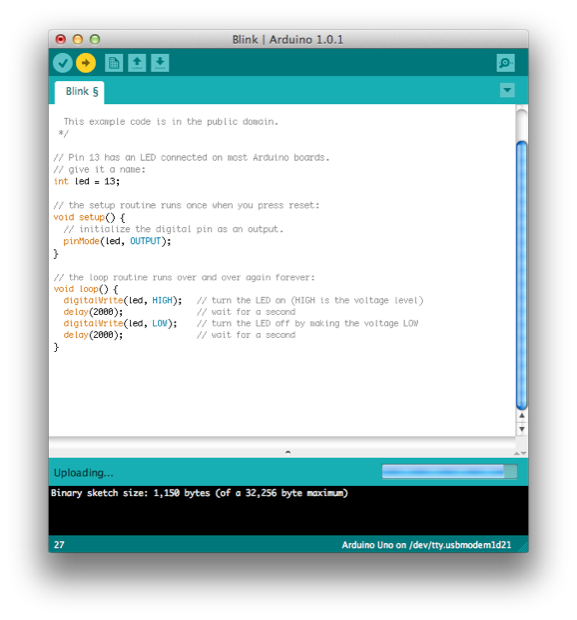
I downloaded the Arduino IDE and fired it up.
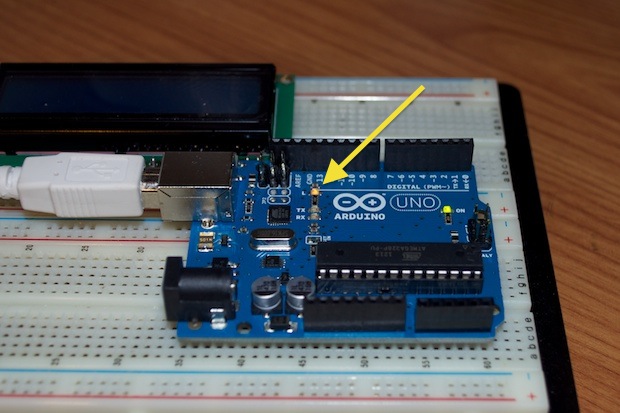
I pugged the Arduino board into my Mac. The green LED on the right shows that it’s powered. The amber LED on the left corresponds to pin 13 on the Atmel328. It’s flashing at 1Hz showing that the Atmel328 is running the default “blink” LED flashing app.
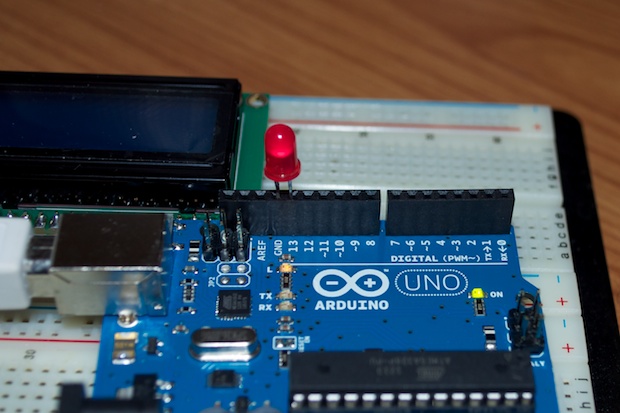
Just to prove that, you can plug an LED into pin 13 and the adjacent ground and it’ll blink at 1Hz.
Here’s a video:
I opened the “blink” sample sketch. (Arduino apps/programs are called “sketches”.)
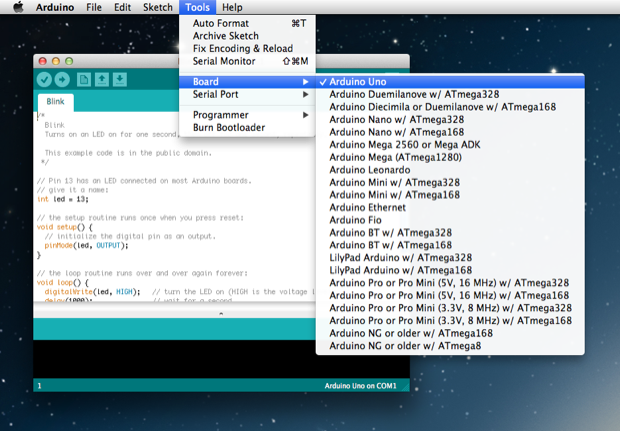
I went to Tools > Board and made sure that my board was selected.
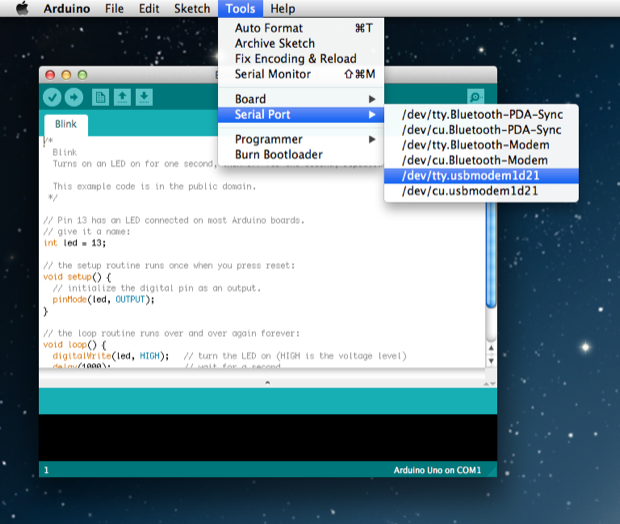
I then went to Tools > Serial Port and made sure that USB was selected. That should be enough to communicate with the board.
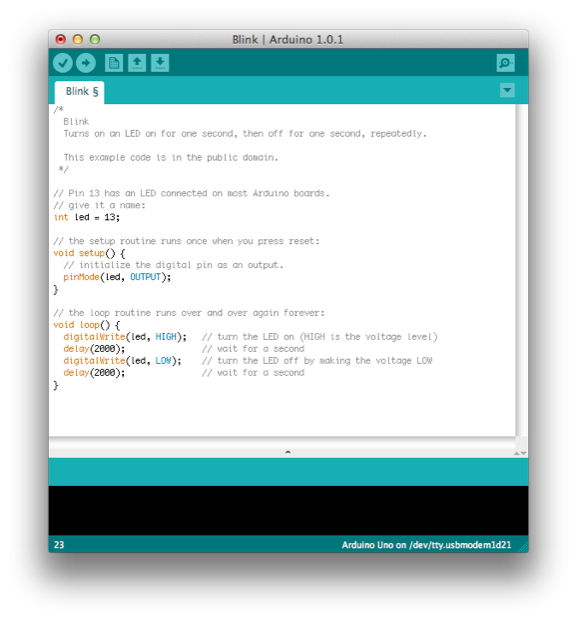
With the Arduino, all the timing is done in milliseconds. Previously, the default sketch had the LED switch on for 1000 milliseconds, then switch off for 1000 milliseconds. I changed the timing to 2000 milliseconds. So now, if all goes well, the LED should turn on for 2 seconds and then turn off for 2 seconds.
I pressed the upload button and watched the Arduino program the new sketch to the Atmel328. It’s almost instant.
Here’s a video of the modified sketch. It worked. The sketch was successfully loaded onto the Atmel328 and the LED now flashes with the new pattern.
Now that I know everything works. I can go ahead and try hooking up the LCD. Adafruit has a lot of really well done tutorials on how to use a lot of the components they sell, including this LCD.
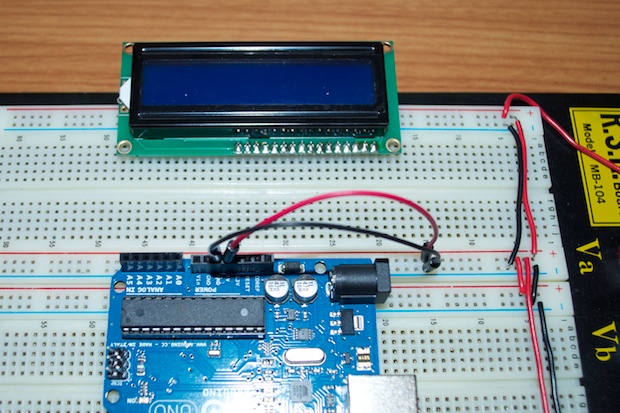
You can power your breadboard off the Arduino by running the 5V and ground output pins to your breadboard.
Then power up the LCD.
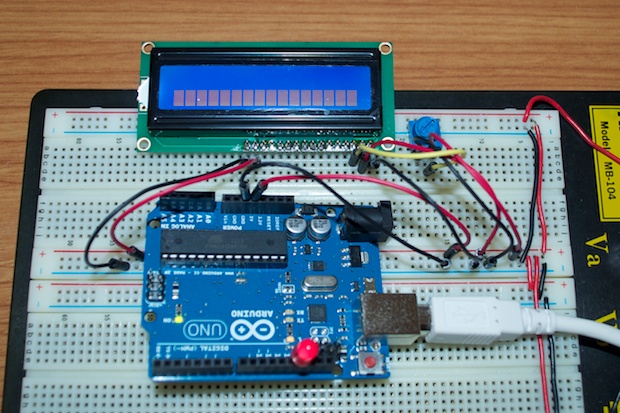
Once you plug the Arduino in to power it up, you’ll see that the LCD also powers on.
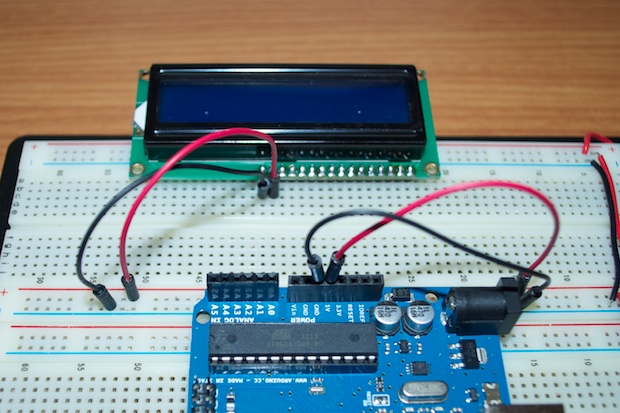
I then added the contrast pot and power to the display logic. Once the logic is powered, you can turn the contrast knob until you see the default output.
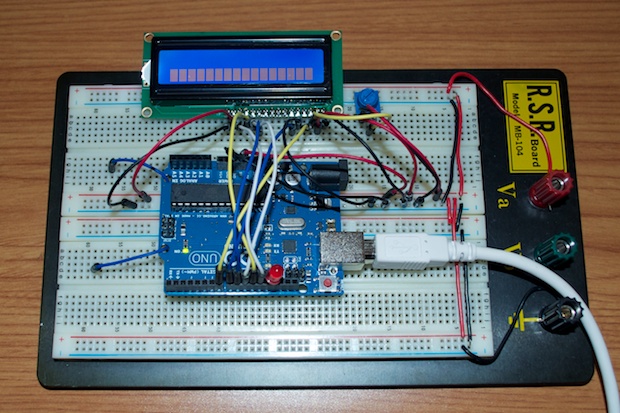
I then ran lines from the Arduino digital outputs to the corresponding inputs on the LCD.
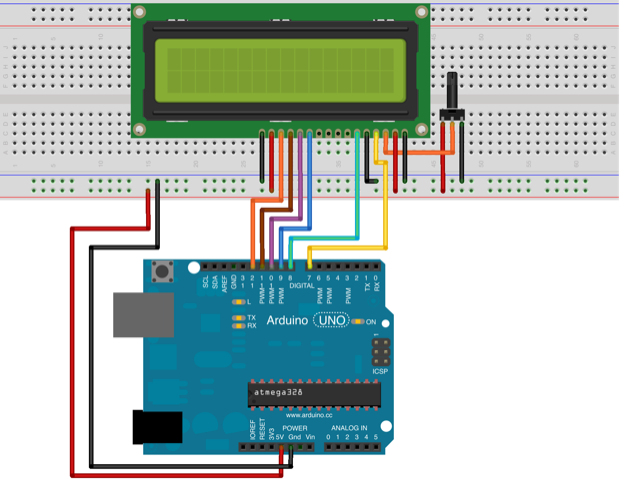
I used the open-source design tool Fritzing to chalk up a drawing. When it’s all hooked up, you should have something that looks like this:
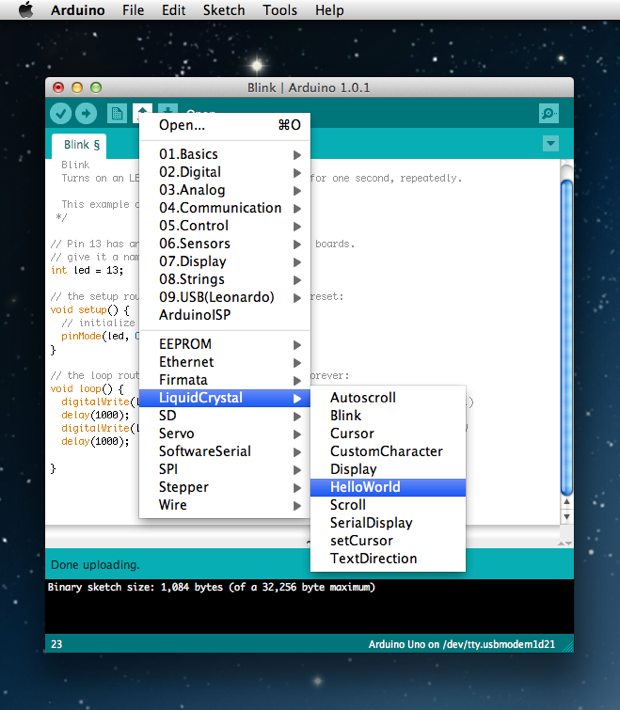
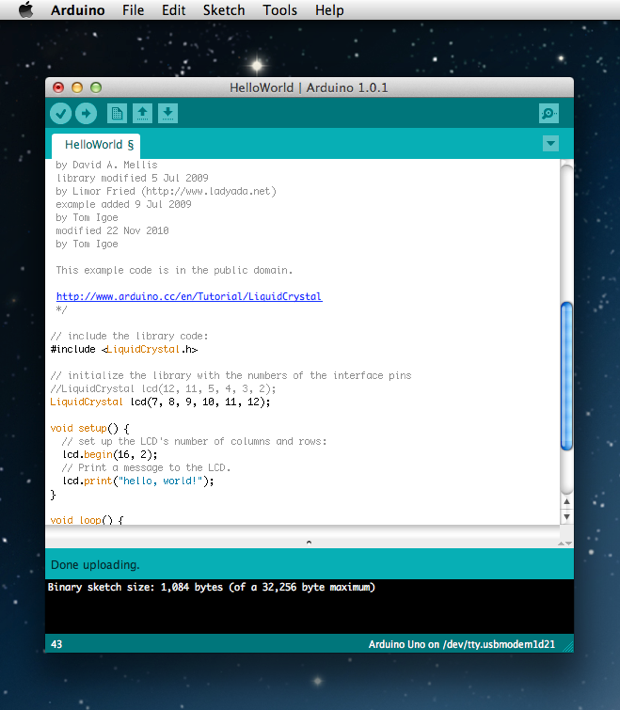
What’s great about the Arduino IDE is that it comes with a whole host of built-in libraries. It even has an LCD library called “LiquidCrystal”.
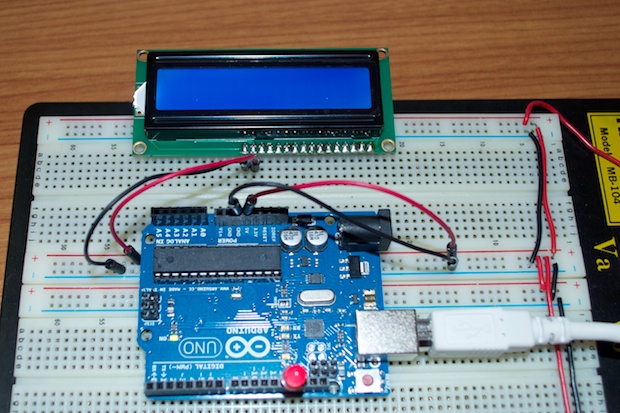
I opened the “HelloWorld” sketch and configured the LCD pinouts to match my LCD.
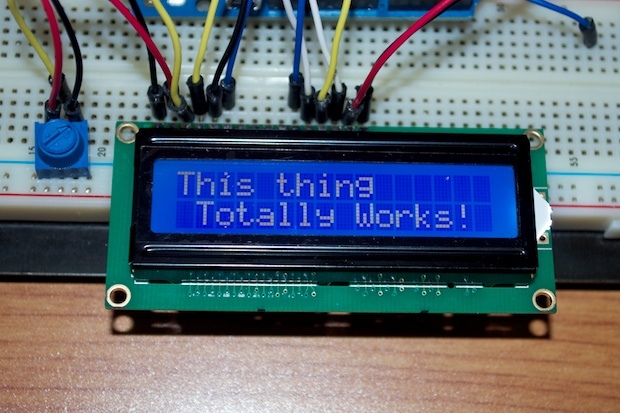
I then changed the “Hello World!“ default text to something a little more personal and uploaded it to the chip.
OK, my feet are officially wet! This thing totally works. It looks like I’m reading to dive in and start writing my own code for a clock!