The Fifth Element is one of my all-time favorite movies. A few years ago, I made a clock that looks just like the
Zorg Door bomb. I've been wanting to make some more props from the movie for a long time.
I figured the famous temple key would be a great one day build.
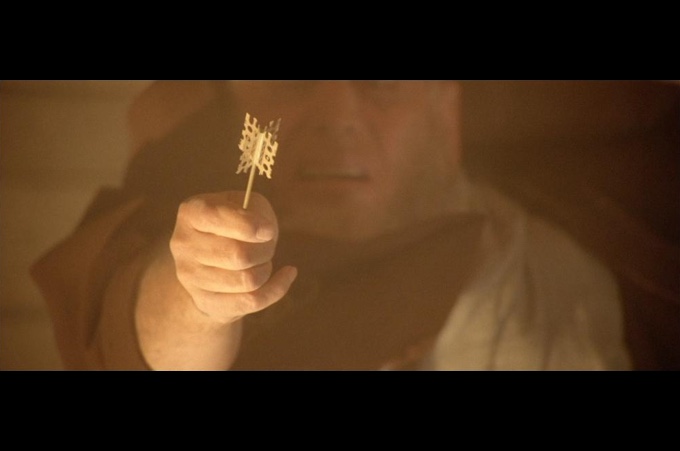
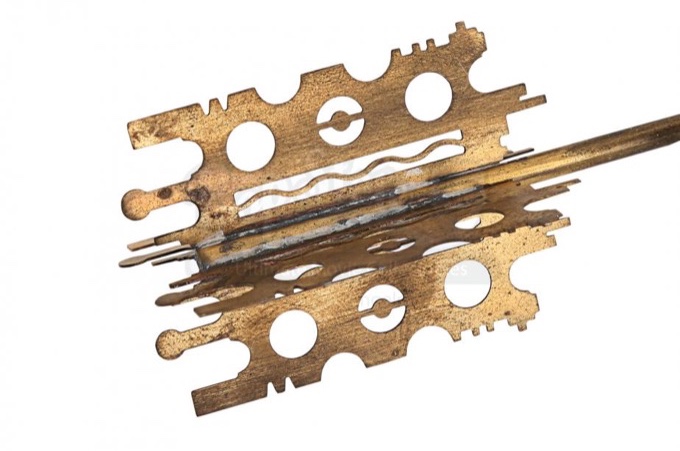
While searching for reference images online, I found an
online auction that featured the original movie prop. It had some really nice closeup photos and listed the exact dimensions of the prop.
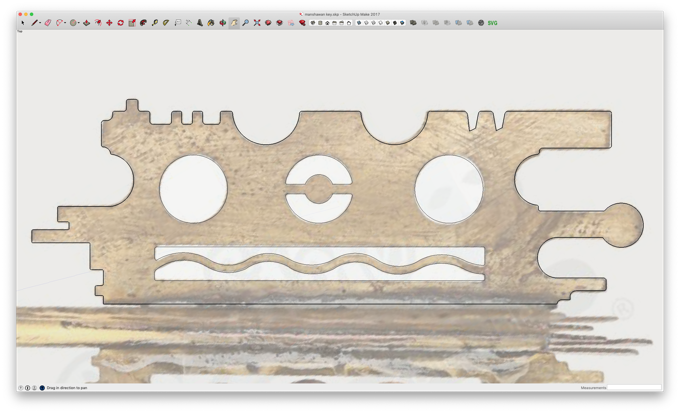
I took one of the images into SketchUp and got to work on tracing the shape.
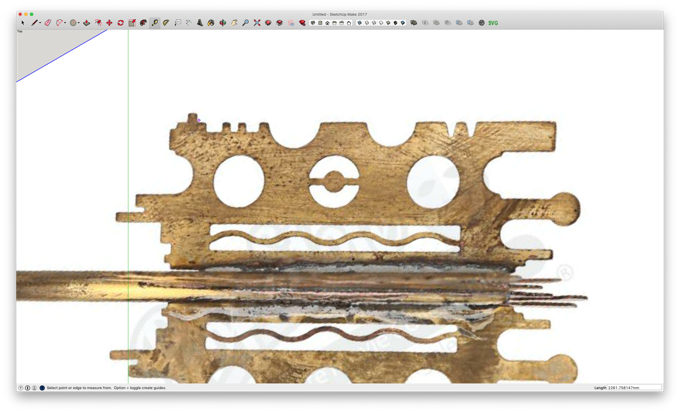
Not too shabby!
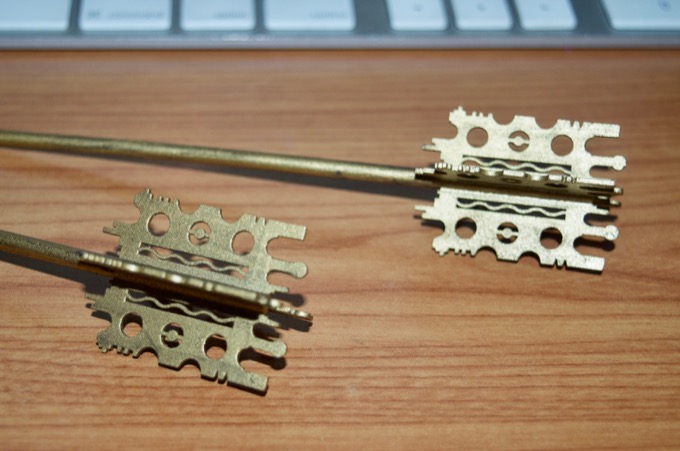
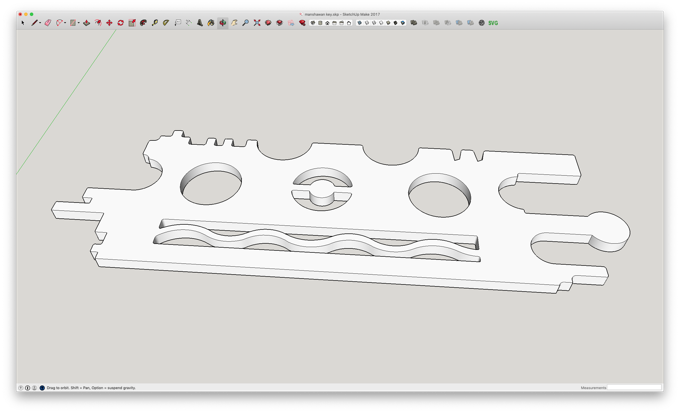
I then extruded it 1mm to make one of the fins.
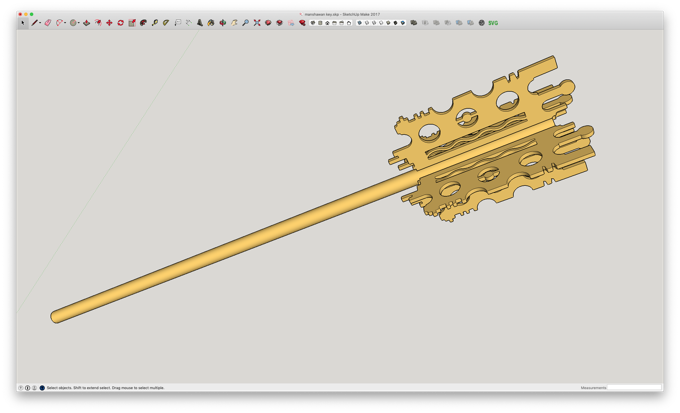
I then copied and rotated the shape a few times and placed it against a 160mm rod. That looks pretty spot on!
Ideally, I'd love to laser cut these out of brass, but my GlowForge cannot cut metal. I thought about cutting them out of acrylic, but the thinnest I have is 1/16" (which is about 1.6mm) and it's just a tad too thick. The blades are supposed to be almost razor thin. I figured 1mm was the thinnest I could go in resin and still remain somewhat rigid and not break trying to remove it from the build plate and supports.
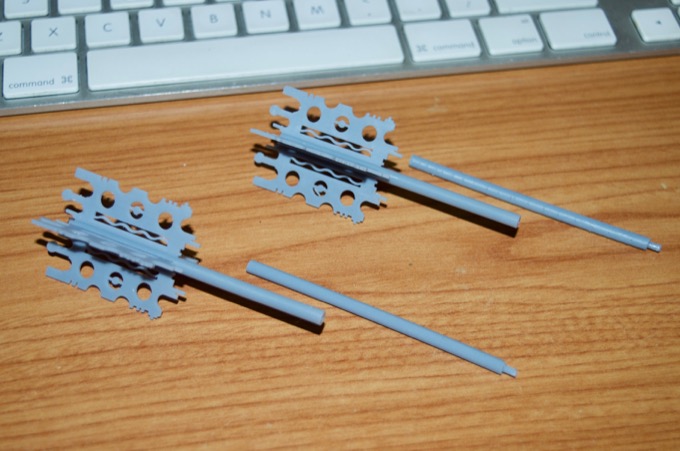
I printed it in two parts so that it would fit in my printer. I probably could have printed it in one piece at a 45 degree angle, but it would have taken forever and it would have used a ton of supports.
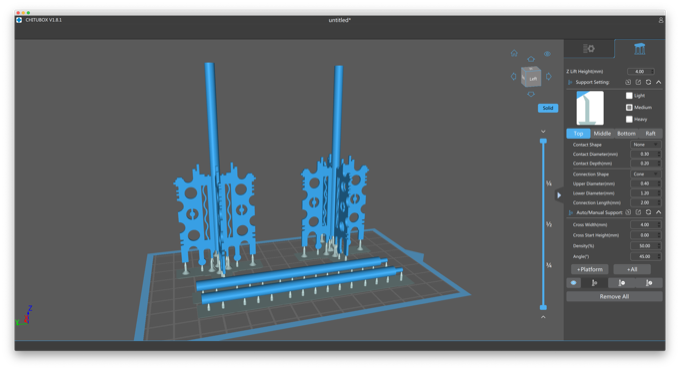
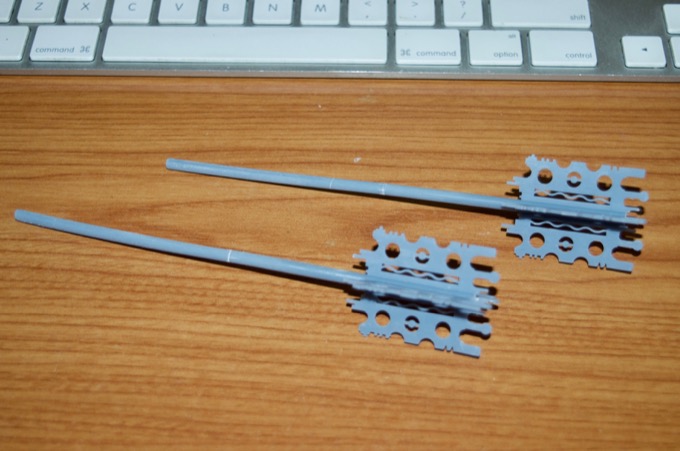
It's pretty fragile, so I printed two just in case I broke one.
I glued them together and filled the seams with Vallejo putty and then sanded them smooth. Luckily, I did not break one.
I then gave them a coat of primer and brass.
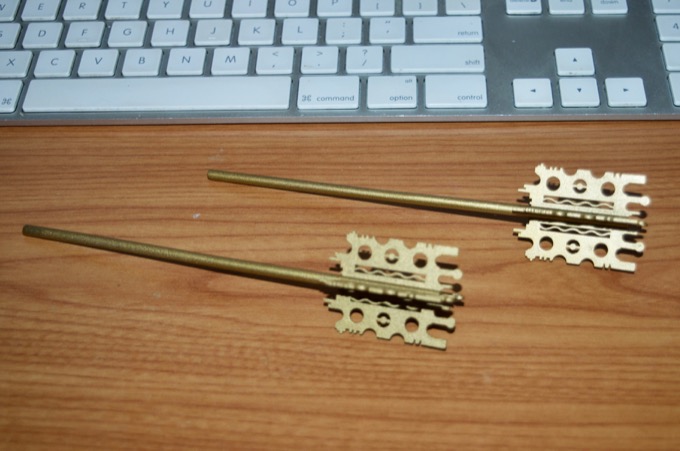
Finally, a light wash with some black acrylic. They came out pretty sweet.