Mini OLED Clock - Part V
Apr 30, 2016 Filed in:
Arduino | Clocks | PCBsMy
first attempt at making an 18650 battery charger for my Mini OLED Clock was a disaster. I made some silly mistakes on the board, and needless to say, I let the smoke out.
I hope this new board works.
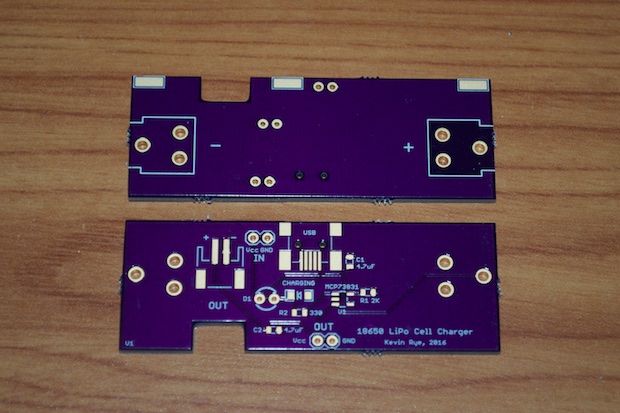
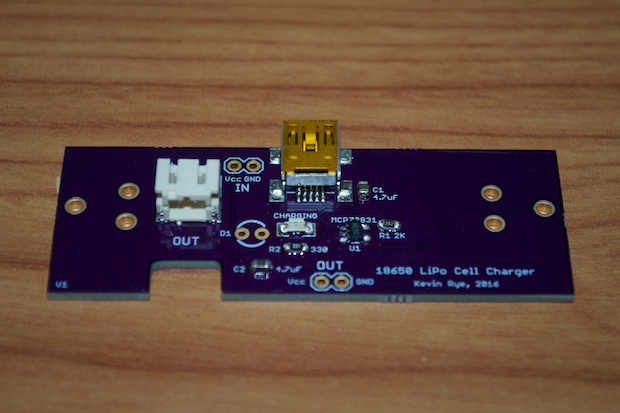
I applied some solder paste and put it in the oven. A few minutes later, I had one sweet looking board. I'm really loving the fact that I can
reflow boards now.
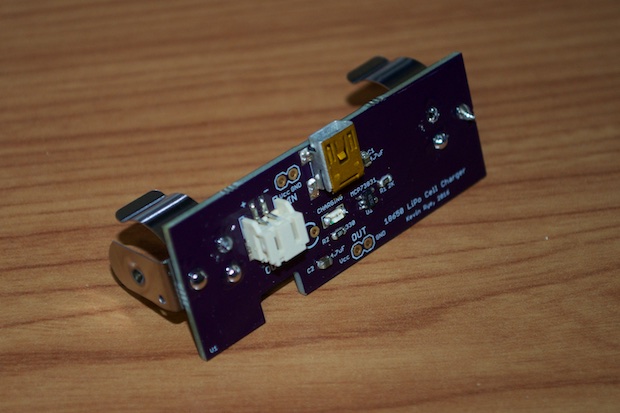
It was then just a matter of soldering on the 18650 battery clips.
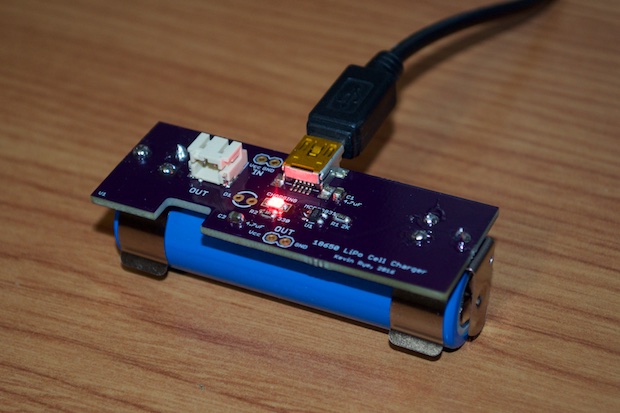
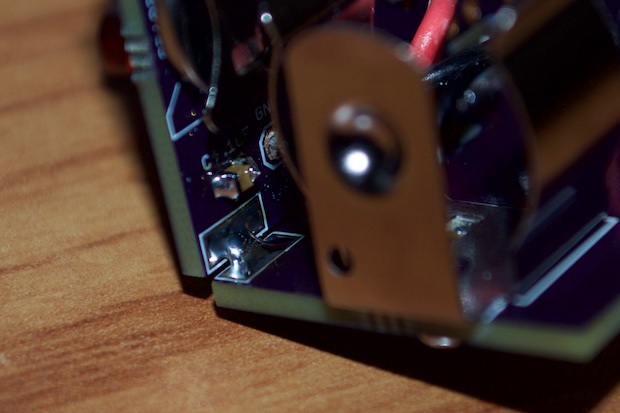
I inserted the battery and connected it to a USB charger. It looks like all systems are go. The red charging LED came on and no smoke came out of anything!
I then soldered the 18650 battery charger to the clock and inserted the battery. The clock instantly powered up. It works!
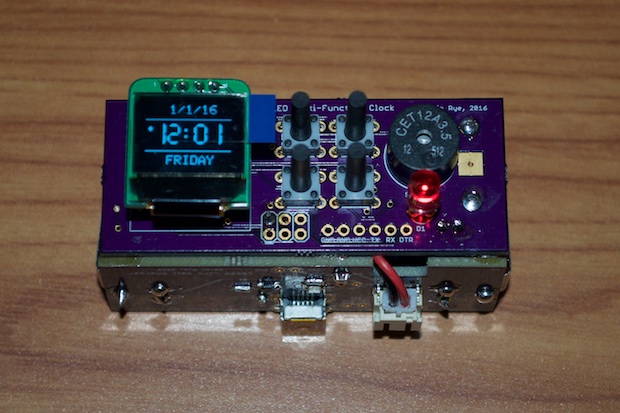
The two PCBs are connected together by way of some edge-connecting SMD pads that allow me to add a little blob of solder to connect the two boards together. No screws or additional hardware required!
I measured the current draw of the clock and it's pulling a ridiculous 70mA. At that rate, the battery will only last about 36 hours on a single charge; and that's a theoretical max. I thought about putting the clock to sleep to save power. I can wake it up with a button press. Luckily, the up button is connected to pin 2, so I can attach an interrupt to wake it up. We’ll see. I might just give up on the whole idea of running it off a battery and just disconnect the board and attach a USB cable.
First, I’d like to just run the clock and see how long the battery lasts before it cuts out. I’m still not even sure if this battery charging circuit cuts the battery off at the right voltage, or if the battery will drain down to 0. The datasheet states that this battery should be cutoff at 3 volts.
I ran the clock for about a day and a half when I noticed that the screen was frozen. It was about an hour off, so something cut out. The image on the screen from an hour ago persisted, albeit very dim. My estimate was right. I got about 36 hours before the battery voltage was too low to operate the clock. I measured the voltage of the battery and it was about 2.3V. Yikes! So much for that. Maybe I should have used a protected battery!
See this project from start to finish:
Mini OLED Clock - Part I Mini OLED Clock - Part II Mini OLED Clock - Part III Mini OLED Clock - Part IV Mini OLED Clock - Part V
Mini OLED Clock - Part VI
