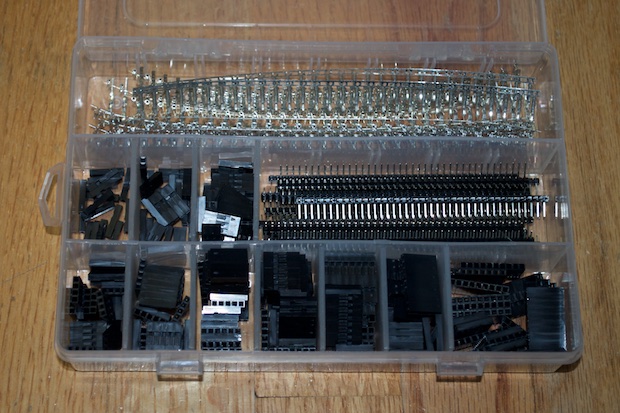
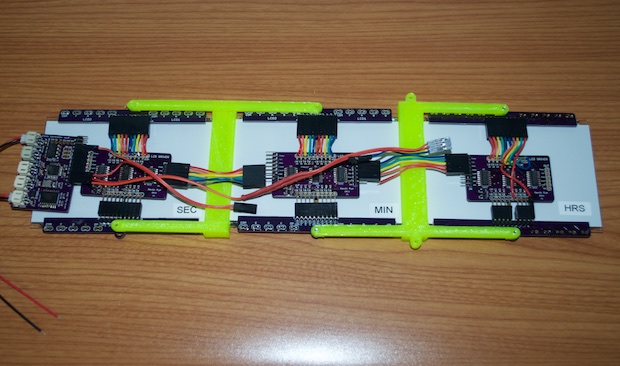
In order to shorten the jumper wires that connect each section of the clock, I had to pick up a crimper and a Dupont connector kit.
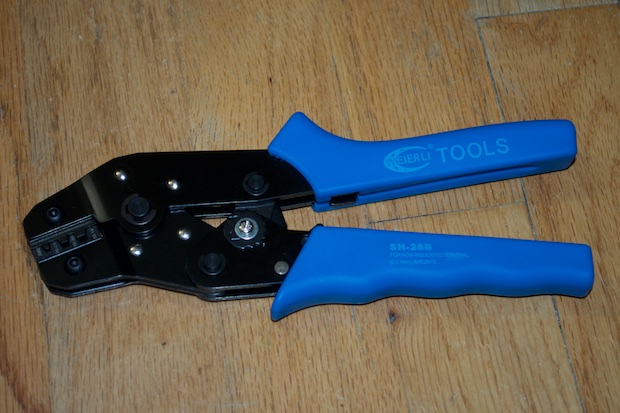
The crimper was pretty tricky to get the hang of. There were many failed attempts before the results were acceptable. I’ve used crimpers before, so I’m no stranger to the process. I have the sneaking suspicion that this is either the wrong crimper (although it was advertised as being for Dupont connectors) or it’s just a piece of junk. For the $15 I paid, I’m thinking the latter.
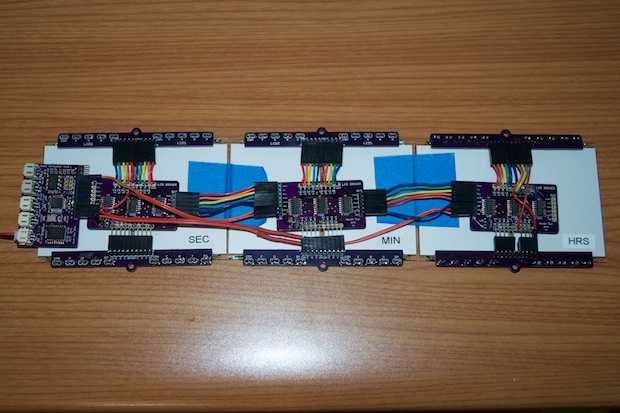
I did what I could to eliminate as much slack as I could. I’m starting to think it was more trouble than it was worth. I should have just soldered fixed-length wires in place instead of using connectors everywhere.
With all the PCBs assembled, I got to work on the 3D model. I imported the button PCB that I used in my
Nixie Clock and made a new USB PCB that I modeled after SparkFun’s USB Breakout board.
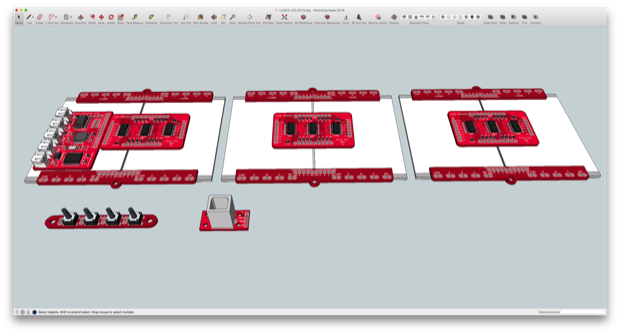
I then got to work on designing some sort of rig that I could use to connect the 3 PCB assemblies together.
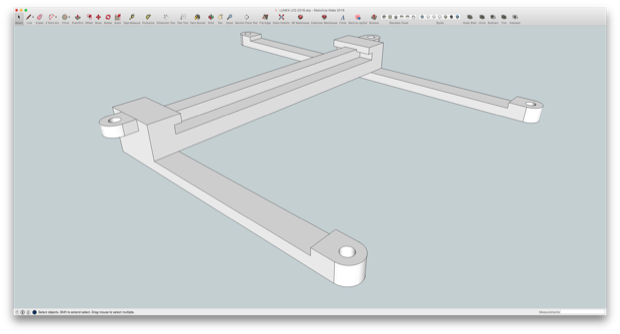
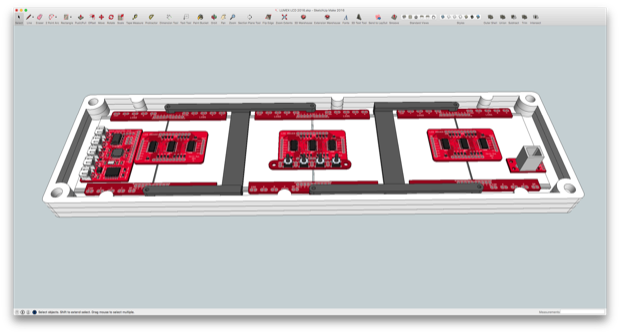
I tried a few different variations. Some with mounting holes, and some without. I’m not sure what I’ll end up using. I won’t know for sure until I can physically mount them in the laser-cut enclosure and see how much room I really have to play with. I have a tendency to over-engineer things, and this might be a case of that.
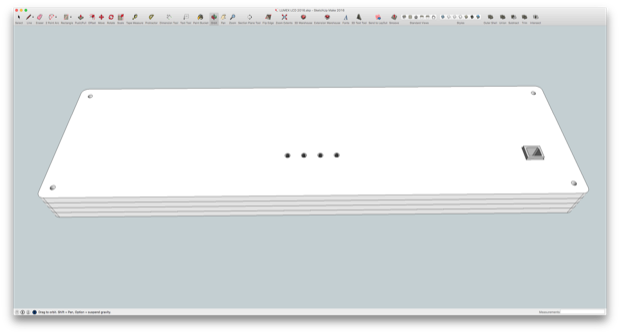
The enclosure is basically 4 panels laser-cut out of 1/4” MDF.
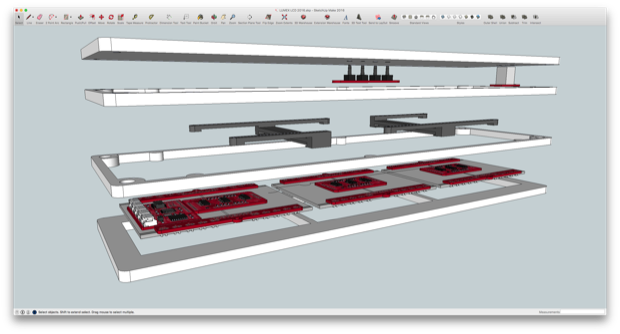
The front panel, as well as the two middle panels, will be glued together. The back panel will then screw onto the back.
I’m going to glue in some 4-40 threaded inserts so that I can secure the back with some thumb screws.
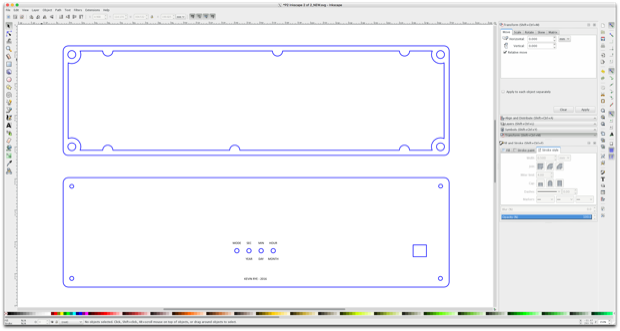
I exported my faces as svgs and imported them into Inkscape so that I could panelize them.
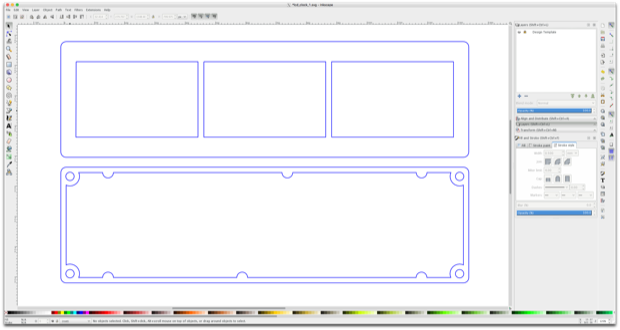
I also wanted to engrave the text for the set buttons.
I then sent off to have the boards cut. It’ll probably take two weeks to get here.
See this project from start to finish: LUMEX 3" 7-Segment Displays 3" LCD Clock - Part I 3" LCD Clock - Part II 3" LCD Clock - Part III 3" LCD Clock - Part IV
3" LCD Clock - Part V 3" LCD Clock - Part VI
